Millet roti/ pulka :

Millets are “no glutenous” flours. To attain soft-edged, easy to roll roti’s, we need to prepare the proper, pliable dough. When you want to prepare roti dough, you can either add little rice flour or whole wheat flour to millet flour. Even though it is not a traditional method, it works out just fine to my family needs. It remains soft even after cooling, easy to make and works out just perfect for any rolls or wraps.

How: First, make a porridge of millet flour or a mixture of two to three millet flours by boiling water, salt,0ne a spoon of any cooking oil. When it starts boiling, add millet flour and cook until it is glossy.

When it is cool, add rice or whole wheat flour and make a dough. In this way, you would get very soft pulkas.

How I usually do is –

Ingredients:

Ragi flour – ½ cup

Bajra flour – ½ cup

Jowar flour – ½ cup

Whole wheat flour- as needed

Water- 2 cup

Salt

 Oil -1 tsp.

Method:

-Take two cups of water, add oil, salt and boil. Now add millet flours and keep this for 2 to 3 minutes or until it cooks. Now remove from the flame and keep aside.

-When it is ready to handle, add whole wheat flour, make a firm ball like Chapati dough. Cover and keep this aside for 10 minutes for resting.

-Then start making a little thicker Chapati than the regular Chapati/ pulka’s and cook both the sides and place it on fire to fluff and serve either as it is or by applying ghee or oil.

NOTE:

-To make Glutenfree roti, add rice flour instead of whole wheat flour. 

-To make an initial porridge, you can use the microwave as well. 


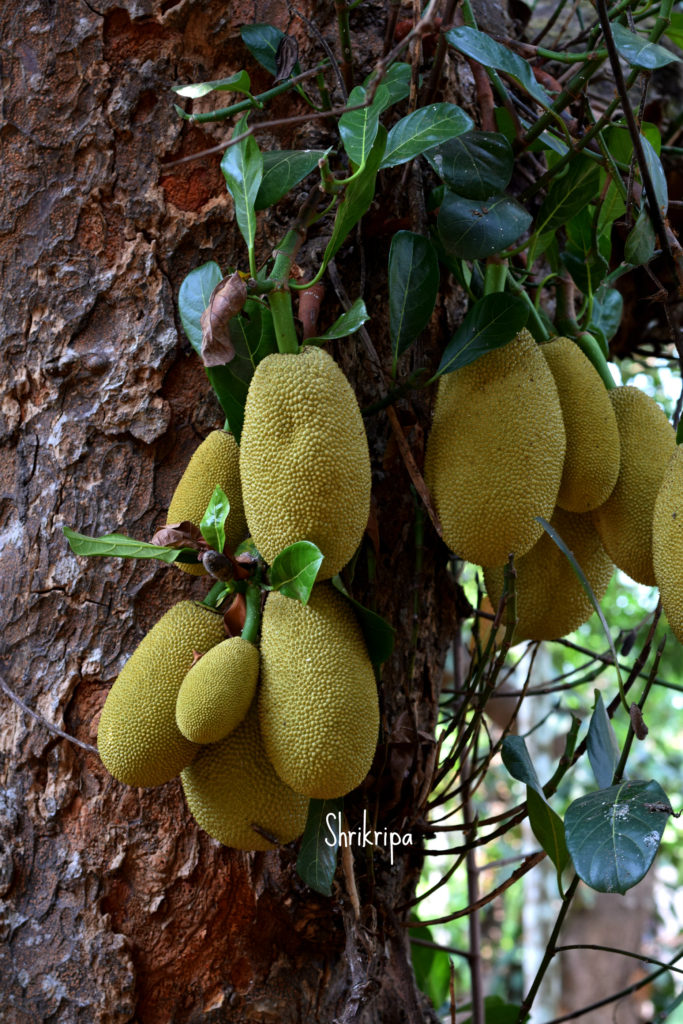
How to chop young jack fruit: Beginner’s guide

 Tender jackfruit is an integral part of our traditional cooking. In our region, we start to consume raw jack in different stages and each developing stage of jack has its own unique traditional recipes and is considered as a delicacy. I have shared many recipes of jackfruit in my blog and it is available in my blog archive or you can find in recipe index as well.

Nowadays, people follow many forms of diets and Jackfruit is used extensively in other parts of the world as well. As a plant-based meat alternative, young jack is considered as a Vegan meat.  It suits very well as a vegan meat, due to its fibrous structure and its neutral flavour works very well in cooking savoury dishes and soaks the added flavours.

Tender jackfruit is a super food, which is high in vitamins, minerals and dietary fibers and at the same time, less in calories, salt and fats. Now a day, it is available in almost all parts of the globe as fresh or frozen.

If you get a whole young/ green/ tiny raw jackfruit, what you would do? How to chop? What is the procedure we normally follow? These are the aspects I want to share in this post and I am sure, you would try to use these techniques while chopping the fruit by yourself.

Wanted to include the chopping/ cleaning procedure from a long time, it is tedious to do photography with my latex laden hand while chopping. This post is all thanks to my mother in law, who offered me a helpful hand in chopping, and I grabbed the opportunity to click pictures and the result is here –

First thing is –

  • Centre core part of jackfruit contain a sticky, white latex also known as sap. So, before chopping, apply some cooking oil to your hand and the knife that you use.
  • We normally use traditional vegetable cutter. in which, half-moon shaped knife fixed into raised wooden plank in which, person sits over and holds the vegetable in both the hands and cuts and moves it against the blade. The sharp edge of the knife will face the user. In this method, large sized vegetables can be handled with ease.
  • If you are using the knife or any other material, before cutting – spread a couple of newspapers beneath the work area.
  • Keep a couple of tiny pieces of papers ready, it would be handy while removing the latex.
  • Take one bowl of water as well.
  • Now, take one young jack fruit, make half and slice them to length wise.
  • Clean the oozed-out latex by using tiny paper pieces.

  • Now remove outer thorny skin as well as inner core.
  • It is ready to chop, as per your requirement or the recipe.
  • Make pieces as required and put it in a water containing bowl.

  • Drain the pieces, discard water and proceed to cook or store it in a zip lock and refrigerate or freeze it.
  • Wash your gummy hand by applying little oil once again, rub both the hands and wash it by using normal hand wash.


How to cook Vermicelli:

Initial days of cooking are very challenging. We face lots of hardships at the kitchen. Generally in south Indian cooking,  the quantity of water used, is crucial and the end result is depends on that. So, if we know the requirement of water for cooking that particular ingredient, half the battle is won.

Usually I get a query in my message box regarding some doubts or the other from my near and dear ones. In one such query’s person had asked me, why she can’t cook perfect vermicelli Upma?  Further she said, her preparation becomes little soggy each time she makes vermicelli upma. That day, while answering her query, I thought of making one separate category for learners in my future blog and today here I am, writing my first post, dedicated to cooking learners.

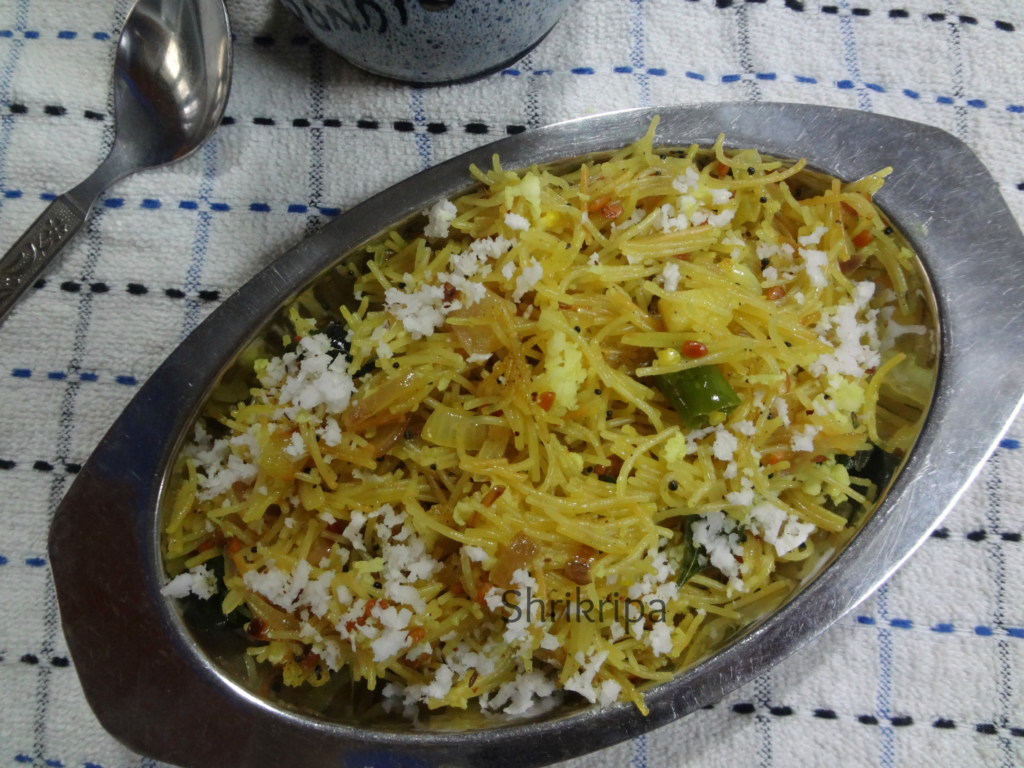
Here, I will guide you to make simple Vermicelli Upma

pic-9

Ingredients:

Vermicelli – 2 cups

Onion – 2 medium

Green chillies -2

Salt

Grated coconut – 1 table sp

Lemon – 1/2

For seasoning –

Mustard – 1 teaspoon

Urad dal – 1teaspoon

Curry leaves – 1 spring

Cumin- ½ teaspoon

Red chilli -1

Oil /ghee – 2 table spoon.

Method:

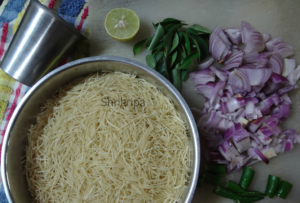
-First, Chop the onions, chillies and measure vermicelli and keep aside.

pic-1

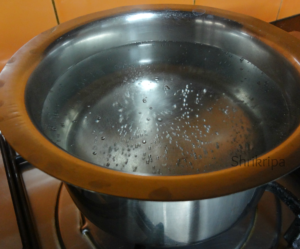
  • Keep one small bowl of water for boiling.

pic-2

  • In another burner, keep thick bottomed kadai; do seasoning by heating ghee or oil, or mix of both. When it is hot, add mustard. When the mustard splutters add urad dal. After it becomes light brown add red chilli, cumin, curry leaves.
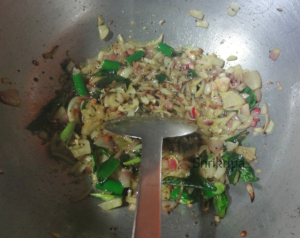
  • After this add chopped onion, green chillies and fry for a while.

pic-3

  • If you wish to add turmeric, you can add it now.
  • Add little salt and fry onion until it is light brown.
  • Add vermicelli and fry for a while.
  • How to check if oil is sufficient or not: while mixing vermicelli, if oil coats vermicelli and becomes wet and shiny, oil content is perfect for this upma. If you feel vermicelli is dry and it is not holding together, add little more oil or ghee.

pic-4

  • Next- how much roasting or frying is needed? After frying it for a couple of minutes on a low flame, you will see the colour change and each strand will becomes whitish and crispy. It is now time to add boiling water.(refer to this above picture)

pic-5

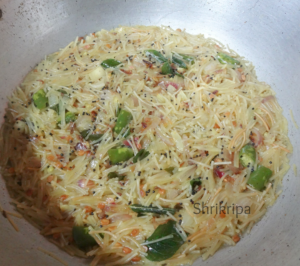
  • How much quantity of water? Please refer to the picture. While pouring, Water should be just above the vermicelli. Mix the mixture and check for the salt. If salt is needed add and cover the kadai with a lid and cook it in a low flame.

pic-6

  • After a couple of minutes, open the lid, if water is evaporated and top part of the layer appears cooked, that is it. If you find, it is yet to cook, sprinkle little water and keep it covered for couple of minutes.

pic-7

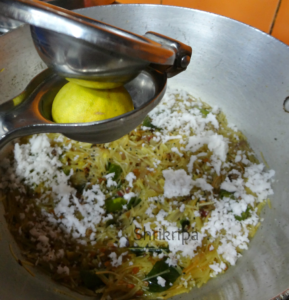
  • If you like to garnish with coconut, add coconut and add lemon juice and mix.

pic-8

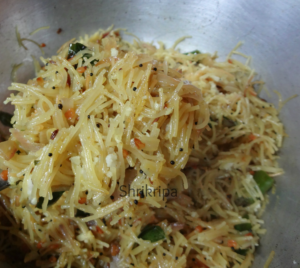
Serve this upma with a cup of coffee or tea.