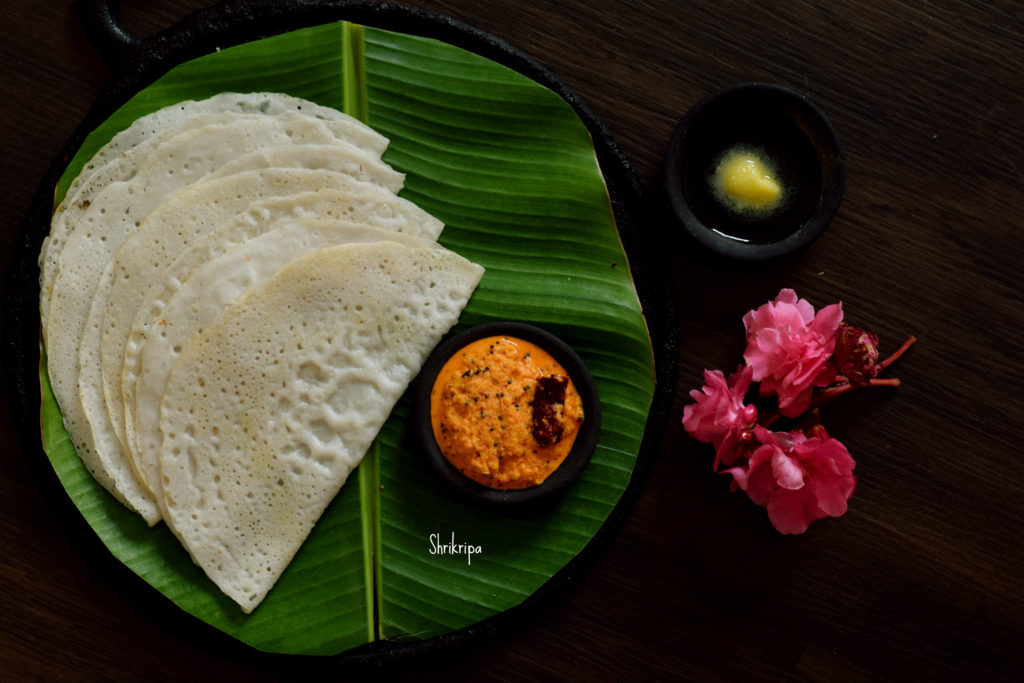
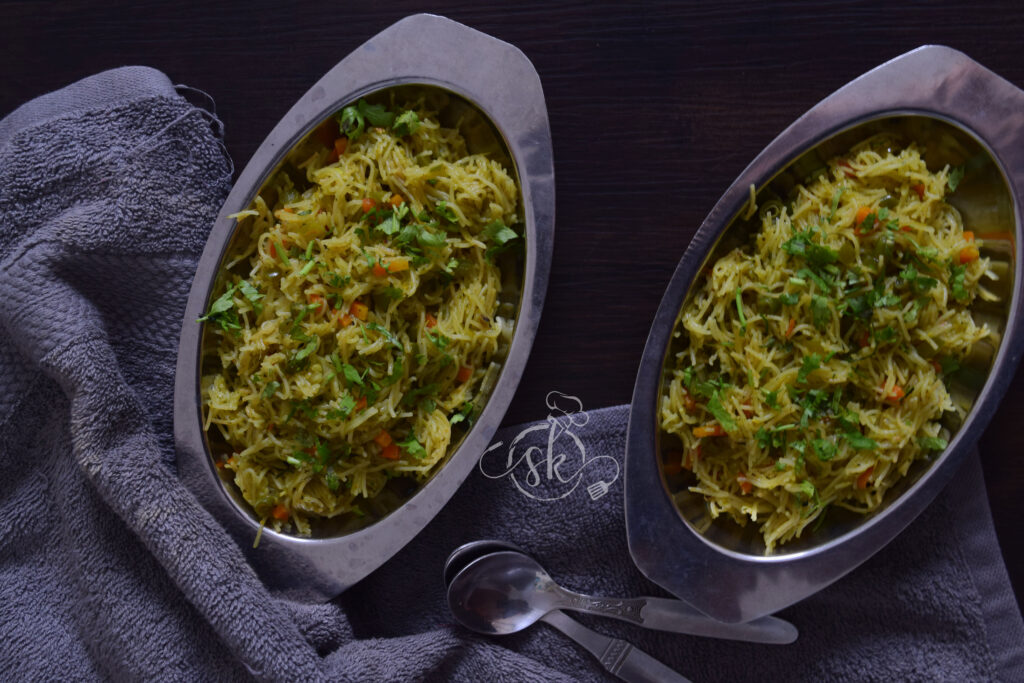
My daughter persuaded me to write my version of Vermicelli Pulav, which they used to enjoy during their schooling days. It is a one-pot, quick meal with veggies and greens.
Earlier, I posted how to cook vermicelli under the Beginner’s guide. Here is one more recipe with vermicelli from our kitchen to yours.
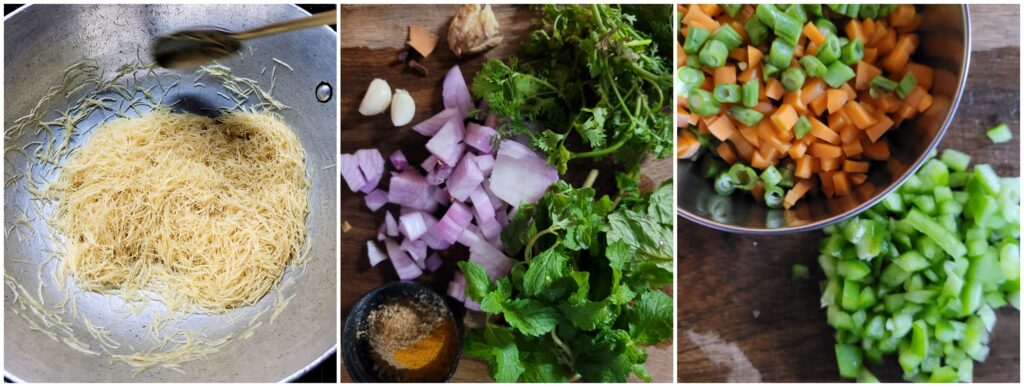
Ingredients:
Vermicelli – 3 Cups
Mixed Vegetables – 1.5 Cups
Ghee and oil 2 tbsp+2 tbsp.
salt and ½ lemon.
To Grind:
Onion – 1 small
Pudina and coriander leaves – ¼ Cup
Green Chillies – 4
Ginger – ½ inch piece
Garlic – 2 cloves
Cloves – 3
Cinnamon – ¼ “
Turmeric – ½ tsp
Dhania/Coriander powder – 2 tsp
Method
-Toast vermicelli in one tbsp of Ghee. Set it aside.
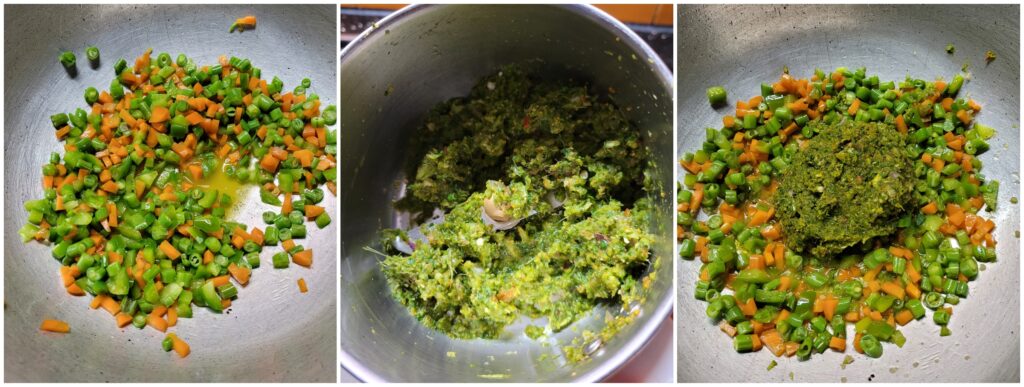
-Chop all the vegetables and keep them aside. (I normally use capsicum, beans, carrot and green peas)
-Grind all the ingredients under “grind” in a mixie jar till smooth.
-Heat the remaining oil and ghee in a pan. Put chopped vegetables in it and fry till half done. Now, add the ground mixture and salt. Cook till the spices are fragrant and the raw smell vanishes.
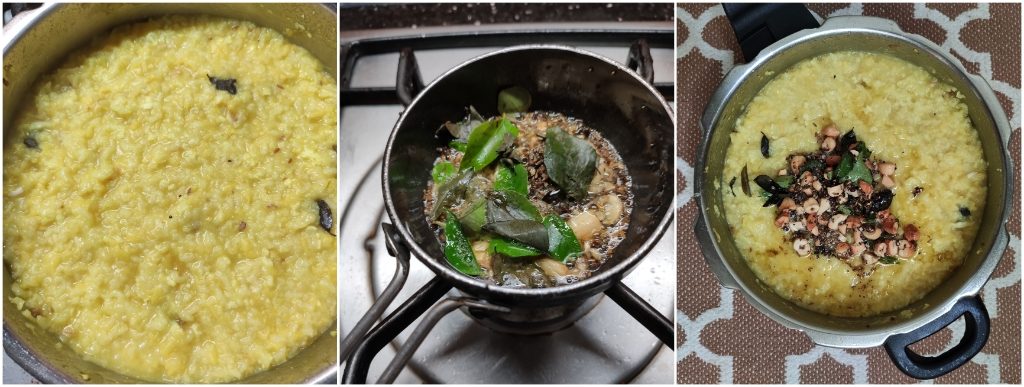
-Add 4.5 cups of water and boil; add roasted vermicelli, stir well and cover. Cook till done. Add the juice of ½ lemon and mix.
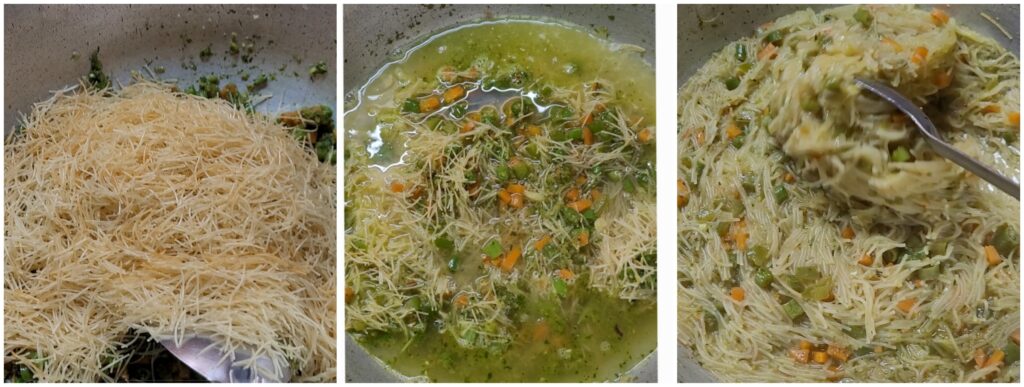
-If you add water after adding the vermicelli, ensure sufficient water, just like we add while making regular vermicelli. Water should be just above the vermicelli. Mix the mixture and check for the salt. Add and cover the kadai with a lid if salt is needed, and cook it on a low flame.
-leave it to rest for a while and then serve.