Kodagasana / Kutaja Tambli :

The Kutaja plant (Holarrhena antidysenterica) is one of India’s most valuable medicinal plants. also known as ‘Indrajav’, ‘Coneru’ in English, and ‘Kutaja’ in Sanskrit,

(Picture Courtesy: Swathi )

In our language, It is called kodagasana, kodasige, kodenchi, kurchi etc.

The scientific name of this plant itself suggests the use of this plant.’ Holos means whole, and ‘Arrhen’ means male. So ‘Holarrhena’ means the male part of the flower or entire anther (The part of the stamen where pollen is produced), and ‘antidysenterica’ is to stop dysentery.

Kutaja plants are common in tropical parts, especially in rocky areas of India. Here, Ku-taja, as the name depicts, is grown in-between rocks.

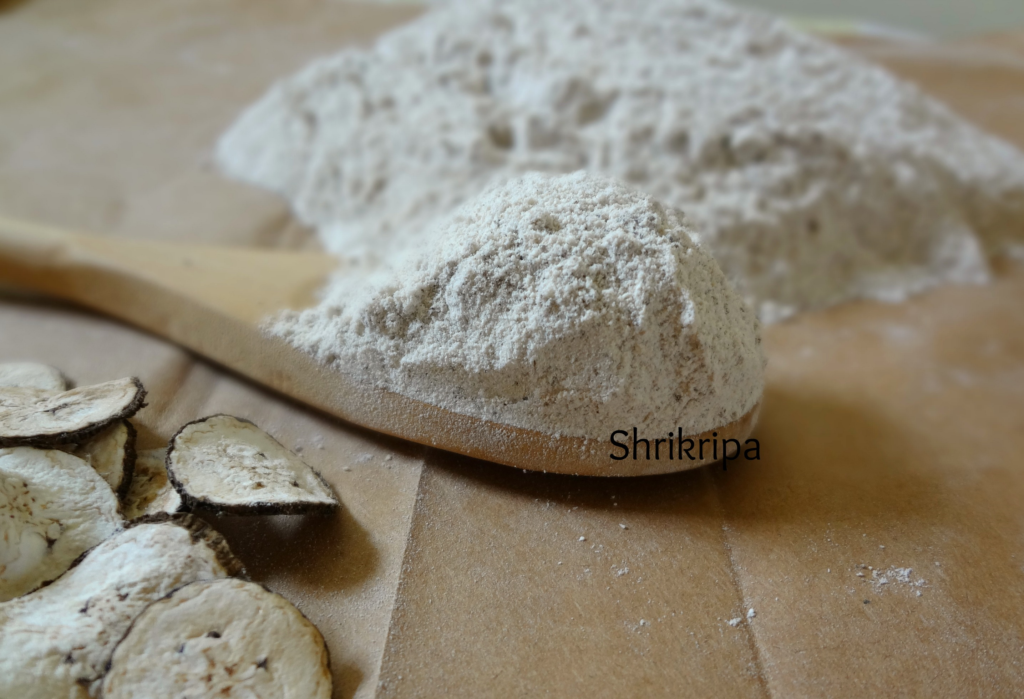
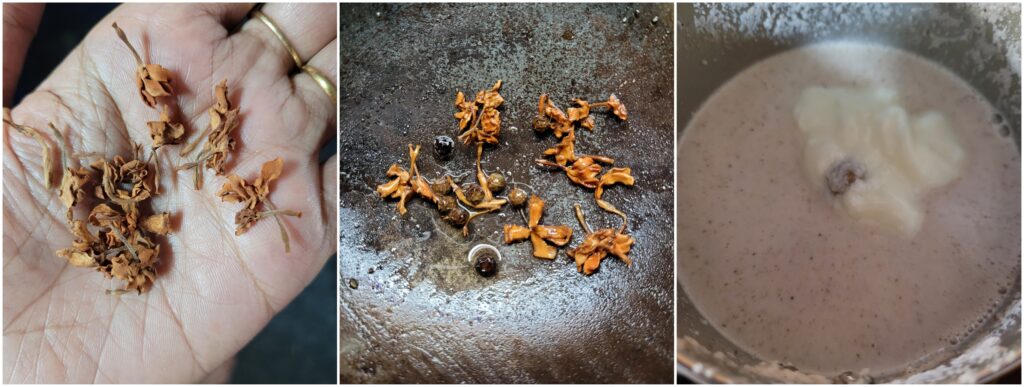
 Now, how it is procured or stored: In season, we pluck the flowers, clean them and sun dry them for a few days till it shrinks and becomes brown and crisp. We store it for years and use it as and when needed to treat or maintain gut health.

In our region, our ancestors occasionally included Kutaja flowers to maintain tummy health by frying 7 to 8 flowers in little ghee and having it with the first morsel of rice while having lunch.

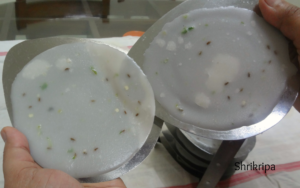
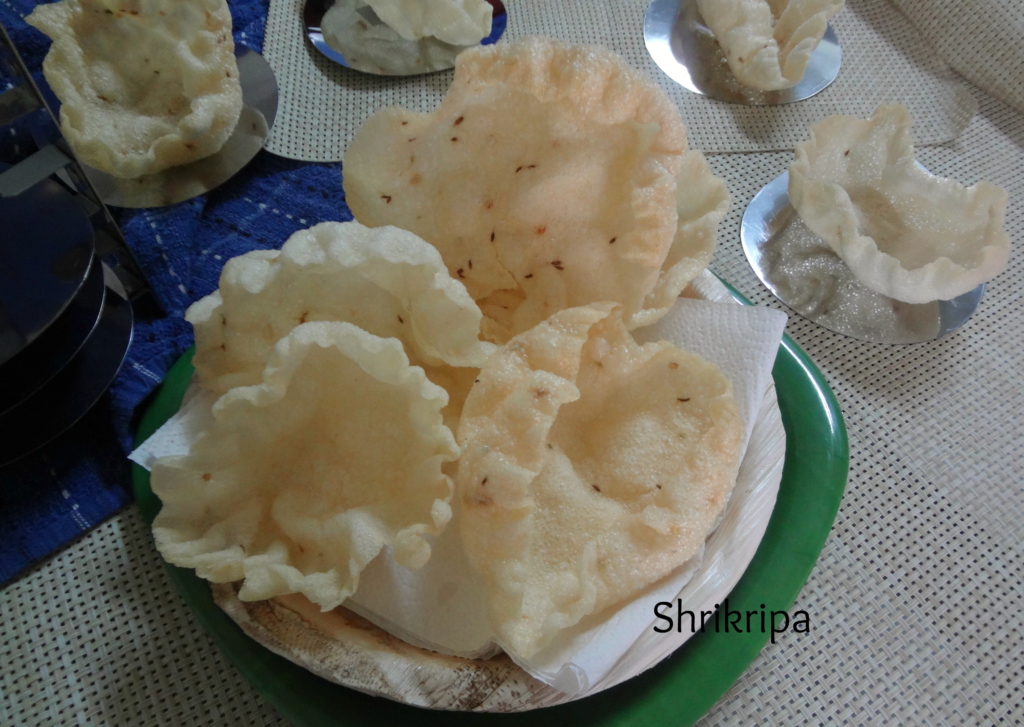
In some households, it is used while seasoning the Huli menasu ( one of the age-old recipes)

We all know how our grandmoms treated us for our tummy aches, be it because of overeating during childhood, excess indulgence during summer vacation, or any upset tummy episodes.

The only remedy was Kutajarishta, an ayurvedic concoction OR

Homemade kutaja or kodagasana tambli: recipes of our region.

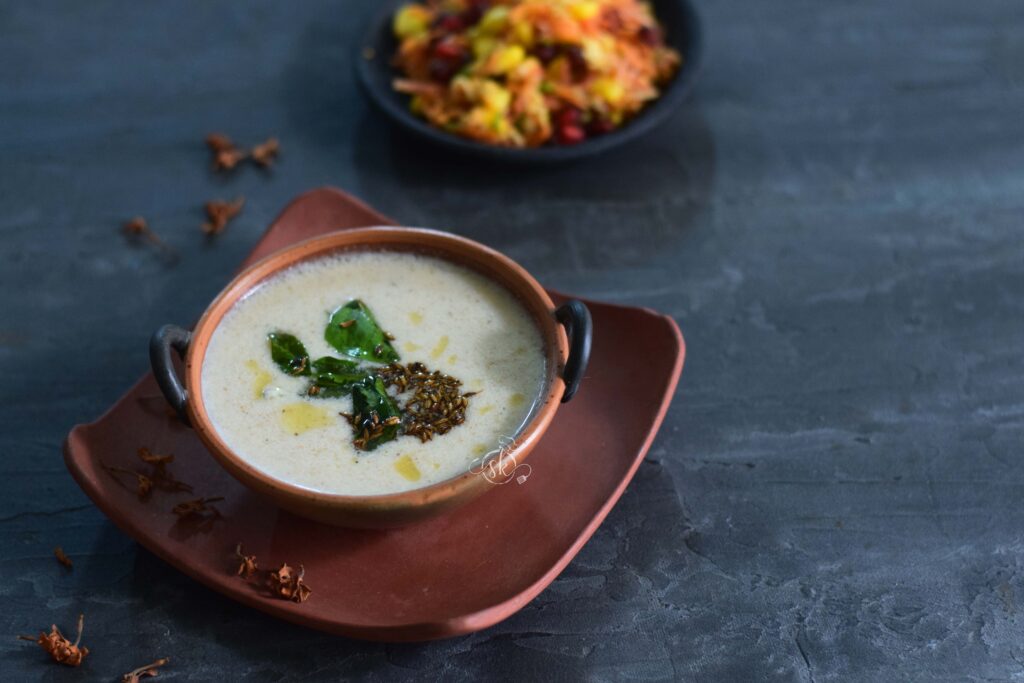
Let us see how it is made in our household –

Ingredients:

Dried Kutaja flowers – 8 to 12

Ghee or coconut oil – ½  tsp

Black peppercorns – 6 to 8

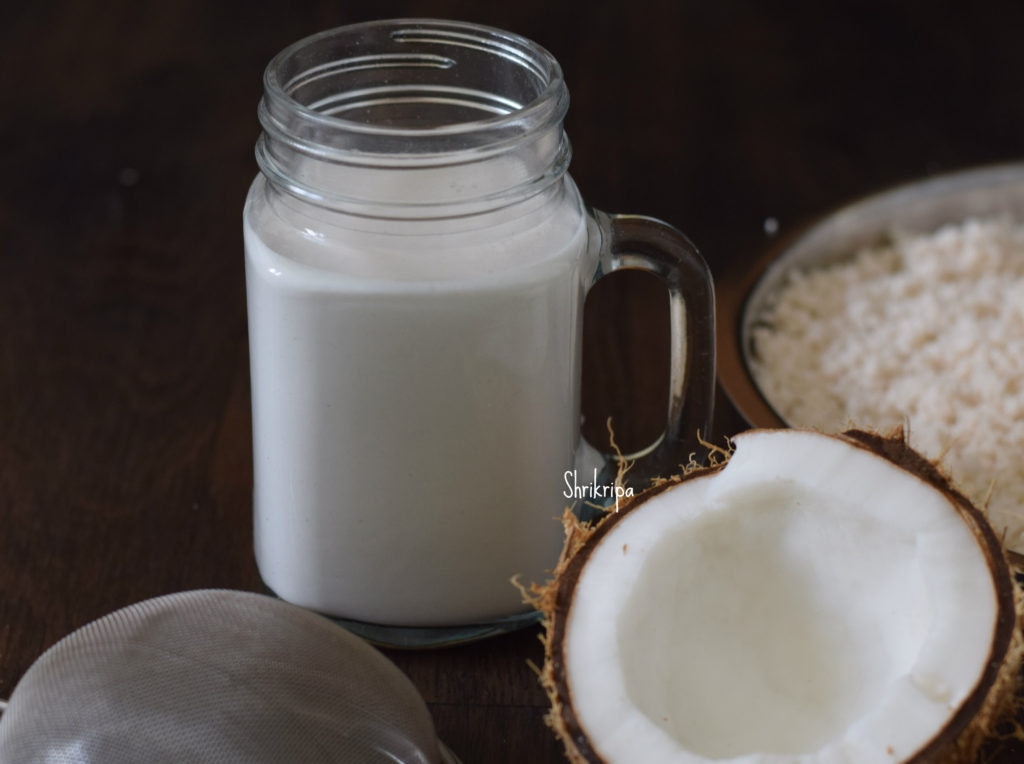
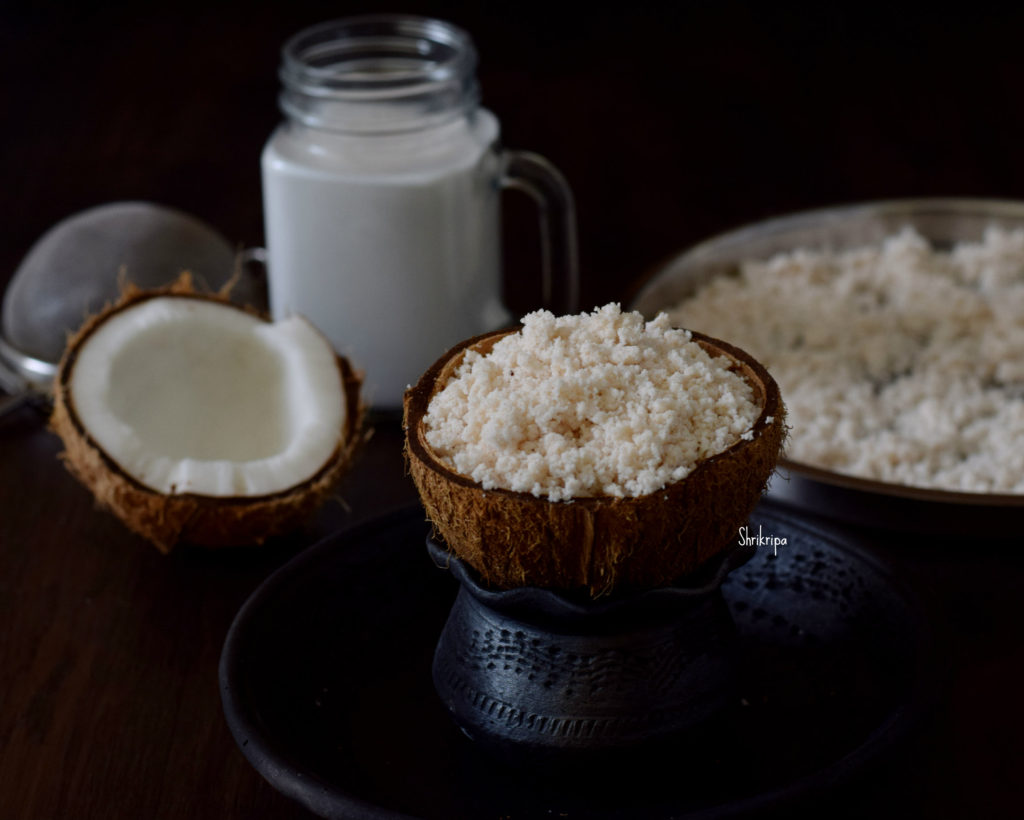
Grated Fresh Coconut – ½ cup

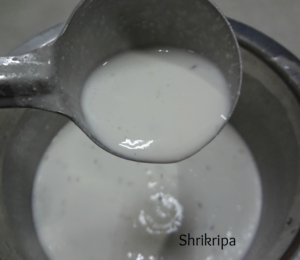
Buttermilk – 1 serving spoon

Method:

-Take ½ tsp of ghee or oil, and fry kutaja flowers and peppercorns.

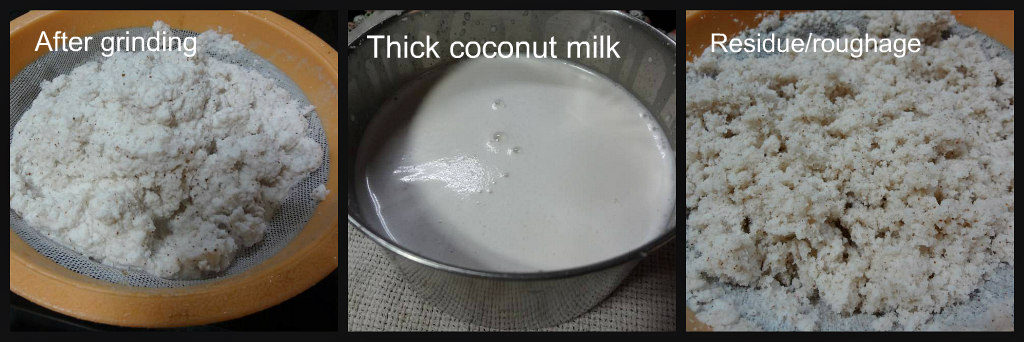
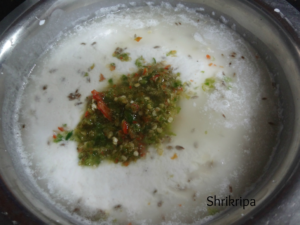
-Grind fried items, Coconut, salt and water to make a smooth paste.

-Add buttermilk and adjust the consistency by adding water and boil once.

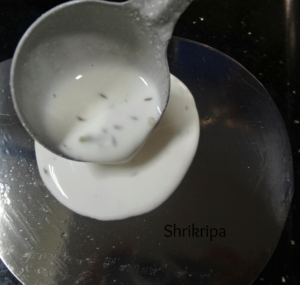
-If you like seasoning on tambli like me, please go ahead and heat some ghee and add cumin and curry leaves. Pour on Tambli and enjoy it as a soothing drink or with Hot Rice.

Sundried Amla/ Preserved Indian gooseberries:

Amla is good for human kind. It is a great source of Vitamin C and antioxidant as well as anti-inflammatory which boosts the immune system. It is a source of total nourishment for our hair as well as skin.

Traditionally each region has its own method to preserve the goodness of Amla. Be it in a morabba form or as a candy.  In our household, I make it a point to preserve it by Sun drying. One with salt and other one with plain, powder form.

Salted Amla is used for making chutney or Tambli for any stomach ailments. To drink with buttermilk by mixing it. (Raw form of goodness)

Powder form for any smoothies, hair pack or face pack.

Method:

-Wash, either grate it or cut open and remove the seed.

-Put all the pieces in a vegetable chopper / small processor. In this way, you would get nice uniform chunks in an easy way.

-If you want to make powder, don’t add any salt. Straightway sundry until it is crisp and powder and store it.

-If you want a salted one. Add some salt to gratings, mix by hand and sundry until it is crisp and store it in an air tight pouch or container.

-I normally keep it in a fridge.

How to use these salted chunks: Soak 1 tsp of dried amla chunks in a table spoon of water and after 10minutes, use it for chutneys, tambli’s or drink with buttermilk.

Mango Pickle (North Indian style):

This pickle happened due to my daughters. It is a perfect accompaniment for any parathas or Thepla. I came to know about this recipe from my friend Kavita, who had gifted me this pickle, prepared by her. When it was about to finish my daughters insisted that I prepare it at home and this is the result of their insistence. I want to thank Kavita, who did answer all my queries patiently and guided me through the process.

According to my friend, Thothapuri variety of mango tastes good for this masala. Hence I tried with the same.

Ingredients:

Mango – 1 kg (used Thothapuri variety)

Salt

Turmeric – 1 table spoon

Mustard oil – 1 cup

For Masala:

Red chilli powder – 2 table spoons

Hing – 1 table spoon

Fennel seeds -2 table spoons

Kalonji – 2 table spoons

Yellow mustard seeds – 3 table spoons

Fenugreek/Methi seeds- 1 ½ table spoons

Method:

-Wash, dry and cut the mango into pieces.

-Marinate these pieces with 2 fistful of salt, 1 table spoon of Haldi/ turmeric and mix thoroughly by using dry hand.

-Keep this for two hours and drain the oozed-out water and reserve it for future use.


-Spread these marinated mango pieces over dry cloth and dry under partial sun light or air dry.

-In the evening , remove those shrunken mango pieces and once again mix it with oozed out salted water which we have reserved from previous Marination process.

– The next (second) morning, drain and repeat the process of drying.

-On the second evening, those mango pieces will be ready to mix masala.

-First heat half a cup of mustard oil until it is very hot, then cool it.

-Take all the ingredients from fennel seeds to methi seeds and lightly pound in a small mixer jar by using pulse option. Don’t make fine powder.

-Now take one bowl, mix in all the masalas, sun dried mango, additional salt and mix nicely by using your clean and dry hand.

-Fill the mixture in a glass bottle and pour cooled mustard oil and cover the bottle with muslin cloth and keep it under sunlight for 1 week or partial sunlight.

-After one week, pickle would reduce in quantity. Pour remaining half of mustard oil by heating at first, then cooling it.

-Cover the cloth and repeat the process of keeping it in sunlight for some more days.

-Now it is ready to consume.


How to make Coconut Milk and Flour at Home:

If you are a person, who extracts coconut milk for kheer/ payasam like me, it is best suited for you.

Coconut flour is rich in fibre, low in calorie as well as carbohydrate, gluten free and very popular in flour less or grain free baking.

From past two years I am experimenting with various home made healthy flours and last week when I extracted milk from couple of fresh coconuts, I wanted to try this and proceeded.

Method:

First, we will see the Procedure for Coconut Milk Extraction:

DSC_4524_Fotor

Ingredients:

Fresh coconut– 1 or 2

Water – 3 cups

Strainer – to extract the milk.

Procedure:

-Grate the coconut and collect the gratings. (If you are using some frozen fresh gratings, you can thaw and proceed).

-Next is a coconut milk extraction:

-Take fresh gratings, put one cup of water and grind into smooth paste and extract milk through sieve. This milk is a thick milk.

Ribbet collage 2

-Now once again take roughage of the coconut, put one more cup of water and grind, sieve the paste and it is our second extraction of milk.

-Repeat the process and take out a third extraction as well and Collect the roughage and it is the Raw material what we need to make coconut flour.


Now we will see how to make coconut Flour:

DSC_4523_Fotor

Now you will know, what is coconut flour?

It is nothing but dried form of this roughage that we have, after the extraction of coconut milk.

Take a dry towel, spread this roughage and air dry in a shaded place for a couple of days. That is it.

DSC_4553_Fotor

Your coconut flour is ready to use. When it has dried, it will be very dry and airy. It will appear like small beads.


Plantain/Raw banana flour:

Plantain flour is a powdered form of dried banana, which can be a good raw material for any healthy baking or cooking, for people who follow Paleo, Vegan, gluten-free diet and it is diabetic friendly and organic too. Last month when I was thinking about gluten-free baking and options regarding its flours, what immediately comes to mind is our day to day available ingredient- the cheaper, more nutritious alternative to commercially available gluten-free flours. I have seen banana flour as baby food in my native and people prepare this flour at home and feed their babies as a healthy top food. Keeping that in my mind, I headed towards preparing homemade banana flour. I took small varieties of homegrown bananas from my native and started my journey.

pic 1

Ingredients:

Raw bananas – 1 kgs

Method:

-Select firm and raw bananas.

-wash, peel outer skin and immerse in plain water.

collage 1

-Take one wide, big plate. Line with one clean towel.

-Slice bananas directly on towel. Keep this in bright area, either near window sill or under sunlight.

collage 2

-If you keep under sunlight, it will take 2 days to dehydrate and become crisp.

-If you keep indoors, it will take 4 days to dehydrate.

-After it becomes crisp and dry, powder this in a dry grinding jar in a mixer grinder.

-Sieve the mixture and collect the fine powder.

pic 2

-Such a simple method and you will be ready with your gluten-free healthy flour for any of your bakes or for cooking!

Akki Happala/Rice Papad:

This is a very light and tasty papad, which is relatively very easy and there is no need to keep it under the sun to dry as it dries under the fan or partial sun at balcony or wherever.

Previously I used to struggle to make this by keeping my tiny 3 steel plates in idly steamer to cook but this year, when I visited Chennai; I bought one papad stand, which is known there as an Elai Vadam Stand and its plates are known as Elai Vada plates. This is my most treasured asset and I wanted to own it from so long. If you don’t have this stand and still want to make this, you can use your thatte idly stand or simply you can keep any small plates or banana leaves and still you can make.

akki happala 1

I usually use Dosa Rice for this and for seasoning; I add chopped green chillies, cumin and salt. You can add any seasoning of your choice.

Ingredient:

Dosa rice – 2 cups

Salt

Cumin – 2 tsp

Green chillies – 4 to 6

Method:

-Soak Dosa rice in the afternoon.

-Around night, grind this into smooth batter by adding salt and little water. Batter should be like Dosa batter. Add Cumin and Keep aside for overnight fermentation.

pic 1          pic 2

-The next morning, when you are ready to prepare papad, dry grind green chillies in small mixer jar and add this to ready fermented batter.

-Adjust the consistency by adding extra water. Batter should be a little thinner than regular Dosa batter.

-Check for salt and adjust that as well.

-Now keep idly steamer on gas stove with little water at the bottom.

-Apply little oil to steel Elai vada plates. In this stand 6 plates will be there. I recommend you to buy extra set of 6 plates with this stand, so that process will finish off in a jiffy.

pic 3    pic 4

– Now pour a little batter on each plate and spread the batter. Place them in the stand and steam cook this only for 2 minutes.

pic 5     pic 6

-At this time, take out the other set of Elai vada plates and apply some oil and spread the batter.

-There is no need to apply oil every time, only once at the beginning is more than enough.

-Now remove adai stand from the steamer, remove those leaves from the stand and replace with the new set and keep it inside the steamer for 2 minutes.

pic 7    pic 8

-Now remove all those cooked papad’s from the leaves by using other leaf’s edge and slightly lift that and peel off.

-Transfer these peeled papad’s over clean cloth and sun-dry wherever you want. If you have access to sun light, dry under the sun (very partial sunlight is required). If you don’t have access to sunlight, you can dry it indoors, but it will take an extra day  or two.

pic 9    pic 10

-Dry for 3 days and store it in a tight container.

akki happala main

Fry this whenever you want and Enjoy as it is or with Rice- Rasam/dhal.