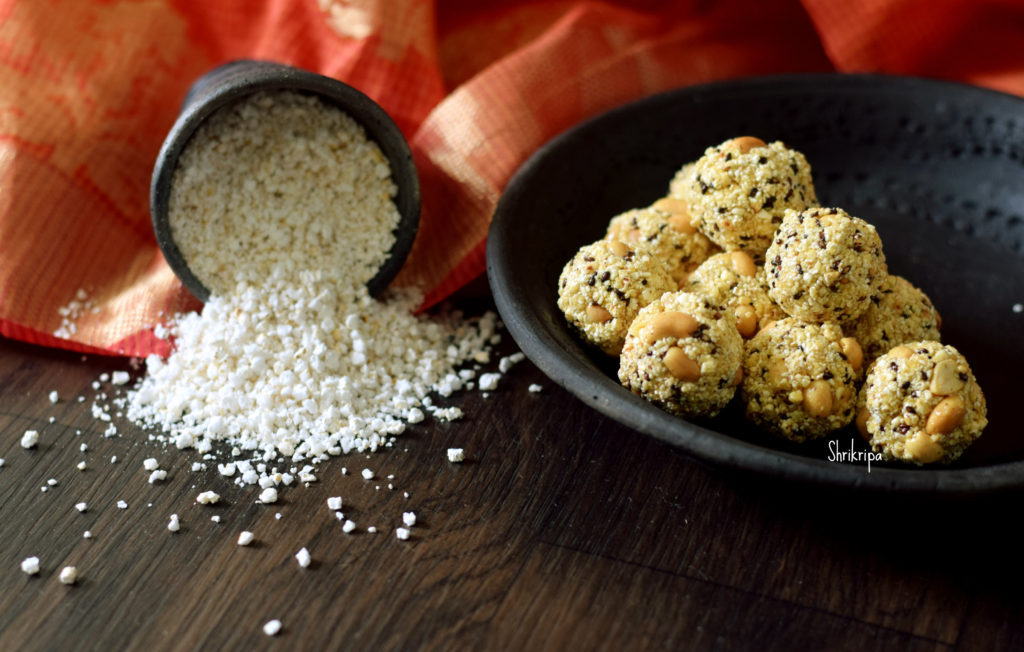
Aralu laddu / Puffed Paddy snow ball:

Aralu, Hodalu or Puffed paddy is made by roasting paddy itself. Usually we see puffed rice in the market. Puffed paddy is very rare to find nowadays. It has a very important role in any divine occasions like marriage, Ganapathi havan, Nag Panchami or chauthi festivals in our region.

Normally we don’t eat rice preparations during vrath (fasting) and Aralu fits the bill. Aralu or puffed paddy is prepared by roasting the paddy in an iron tawa. Usually in villages, they do it in an open air. Normally, in open air, wood fire setting will be laid, iron tawa is heated uniformly by putting little sand into it. When sand becomes hot, fist full of dried paddy would be dropped and tossed regularly until paddy puffs and bursts into white popped rice. It is not cooked or done by using water and it is done by roasting. That is the reason it is considered as Pure /auspicious thing and used in prasadam or any divine purposes.

We can make this and use as a regular energy ball as well. It has all the goodness that our body needs. It fits the bill as #eatlocal #healthy #natural #ironrich #fibrerich #refinedfree #holistic #glutenfree #healthysnack #kidfriendly as well.

We normally get puffed paddy in two forms. Either whole or powdered.

Here in this laddu, I have used powdered form. If you have whole paddy, nothing to worry. Make powder by using mixer jar and use it.

I have used chikki jaggery which is also known as Antu bella. One can use normal jaggery as well.
Ingredients:

Powdered puffed paddy – 1 ½ cup

Jaggery – ½ cup (I have used chikki jaggery)

Black Sesame – 2 tea spoons

Broken peanuts – 3 to 4 table spoons

Ghee – 2 table spoons

Water – 2 table spoons

Cardamom powder – ½ to 1 tea spoon

Method:

-Clean puffed paddy powder, by removing any leftover paddy husks and keep it ready.

-Dry roast peanuts, remove outer skin and make it into halves or use roasted and halved peanuts itself.

-Dry roast sesame seeds as well.

-Dilute jaggery in water by boiling. When jaggery melts, sieve and collect. In this way, we can discard the impurities from the jaggery.

-Take one thick bottomed kadai, add jaggery solution, 1 table spoon of ghee and boil until it reaches one thread consistency.

-If you are confused with this stage, take one small tumbler, filled with water. Drop the jaggery mixture and see. If jaggery becomes hard when it drops, and you can make a ball when you press and rotate it by placing in between your thumb and forefinger.

-Mix in puffed paddy powder, roasted sesame, peanut halves, cardamom powder, remaining one table spoon of ghee and mix everything.

-Switch off the gas.

– Apply little ghee on your palm and start making roundels. Sometimes, In-between If it cools down completely, it doesn’t bind, and you can keep the vessel on fire, re heat a little and proceed and finish off the mixture by making roundels.

 

Sabudana Rice Rotti:

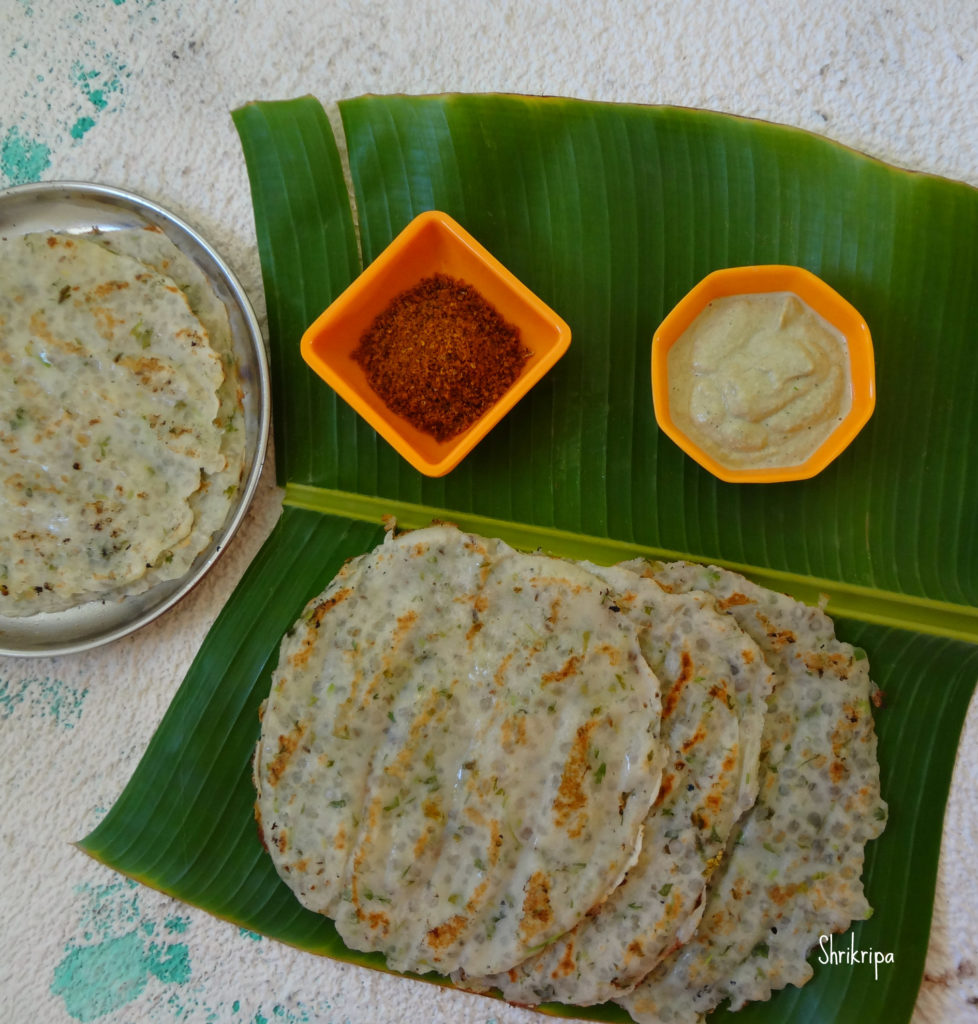
Akki rotti is an integral part of Karnataka cuisine. When we mix Soaked Sago/ Sabudana/ topiaco pearls in this dough, we get super soft mouthwatering fragrant flat bread. It is regular in our house hold and it usually stays fresh and soft for long hours and fulfills the need as a tiffin box option as well. I usually serve this sago rotti with peanut chutney and it is the most liked combination in our household.

pic main

Ingredients:

Sabudana – 1 cup

Curd or buttermilk – 1 cup

Rice flour – 1 to 1 ½ cups

Green chilli -1 (chopped)

Coriander leaves – 2 table spoons (chopped)

Cumin – 1 tea spoon

Salt

Method:

Wash Sabudana with water, drain and soak with curd.

Keep it overnight or for 5 to 6 hours.
The next morning, add required amount of rice flour, chopped chilli, coriander, salt, cumin and mix nicely to make pliable dough.
If dough is very stiff, add little water and adjust the consistency.

Ribbet collage 1

Keep it aside for 5 to 10 minutes to absorb all the seasoning as well as to soak.

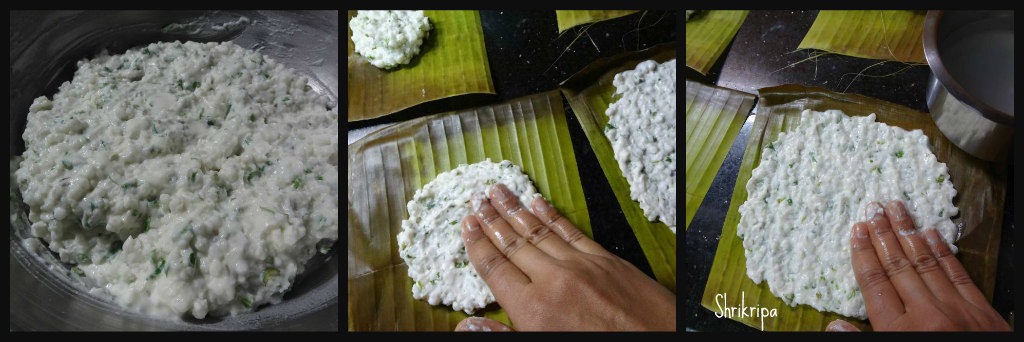
When you want to make rotti, take one piece of banana leaf or butter paper.

Take a little rotti dough in your moist hand, and start patting in a circular motion by dipping your hand in water in-between.

Sprinkle one teaspoon of oil over this patted rotti and keep it ready.

Ribbet collage 2

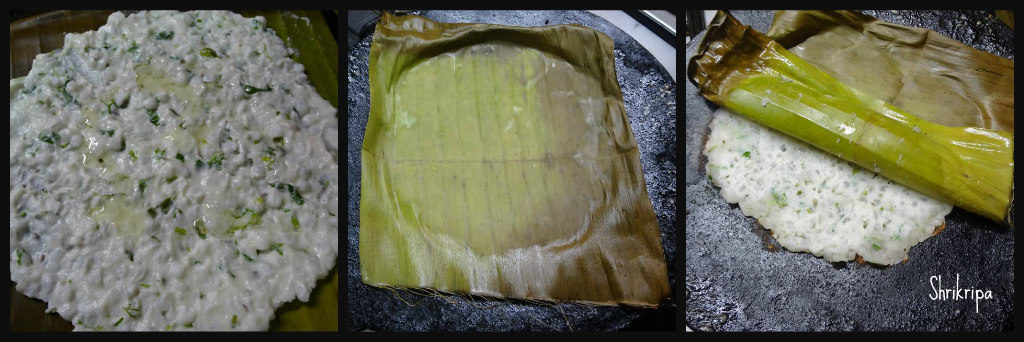
Heat iron griddle and cook oil sprinkled rotti by putting upside down on it.

After 2 to 3 minutes, peel off banana leaf or butter paper.

Sprinkle little oil over it and flip.

Cook and serve hot with chutney.

Note:

– I usually prepare the dough, the previous night and keep the dough under refrigeration.

-In that case, I soak sago in the morning and prepare dough in the evening.

-Keep one bowl of water in a reachable distance to dip your hand in-between.

-While patting the rotti, dip your hand in a bowl of water which you have kept aside.

– wetting your hand will help to avoid the dough sticking to your fingers while patting.


Vegetarian Thai Noodles: Gluten free and Vegan

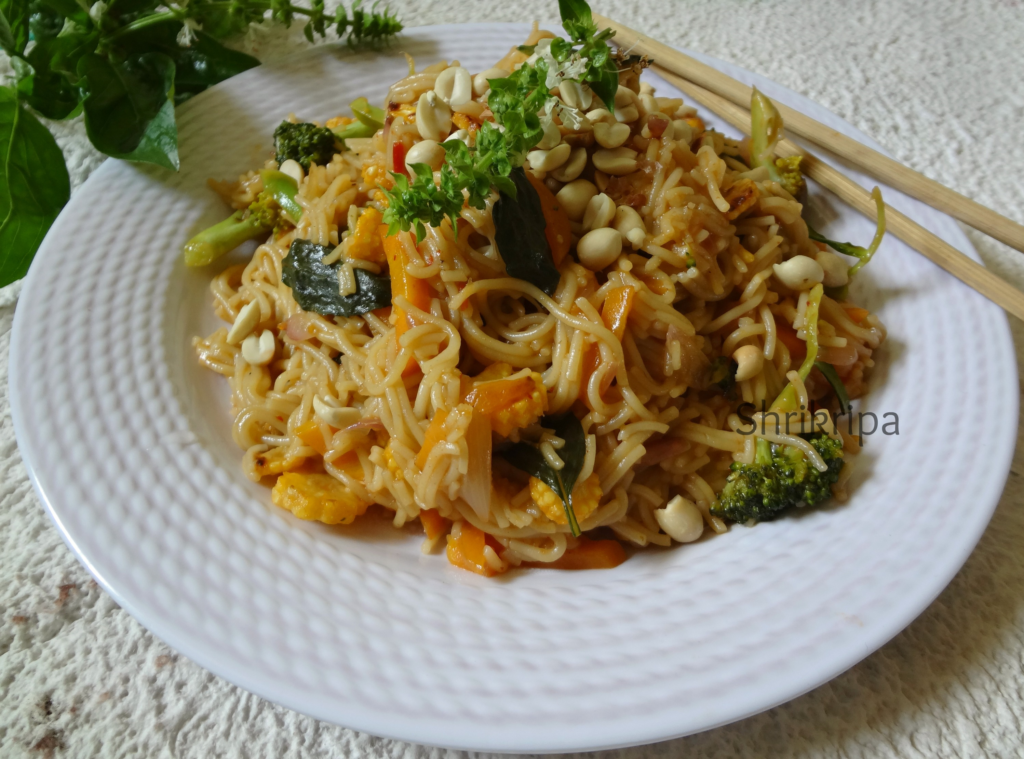
This time when I had visited my sister, who stays in America, I got an opportunity to experiment with some new ingredients, veggies etc and I bought a couple of new items back home as well. This gluten free, Brown rice & millet ramen noodle is one of them.

When we were shopping, my eyes went to this noodle pack. I love to work with new ingredients and wanted to pick it up. After trying a couple of recipes, my daughter told me, how it should be. She asked me to prepare this as a little wet, soup kind. She said, regular kind of preparations tastes bland and it needs some flavoured soup to enhance the taste of this kind of sticky noodles and she was right. Ramen is a Japanese dish, consisting of a clear broth containing thin white noodles and sometimes vegetables, meat etc.

Finally, I came up with this, and got a green signal from my super-efficient critic!!! She said, hmmm yummy, go ahead and post: D

pic 10

Ingredients:

Noodles – 3 cakes

Shallots – 10

Baby corn -4

Carrot-1

Broccoli- couple of small florets

Ginger garlic paste – ½ tsp

Tomato sauce – 1tbl sp

Thai sweet chilli sauce – 1tbl sp

Sriracha sauce -1 tbl sp

Soy sauce -1 tbl sp

Cooked broth – 1 small cup

Salt

Sesame oil – 2 tbl sp

Basil leaves – 5 to 6

Roasted peanut halves – 1 table spoon

Method:

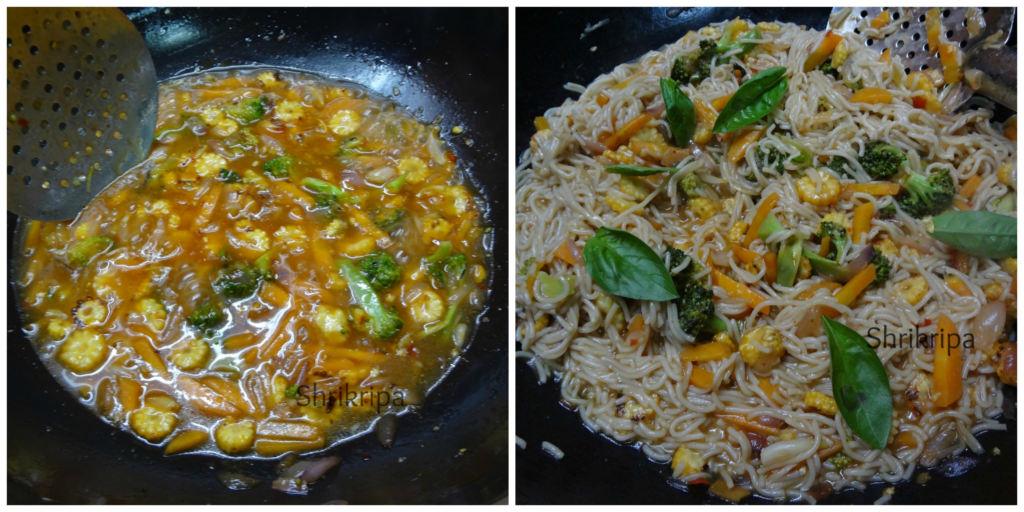
-Boil water with one spoon of salt and oil. Put noodle, cook until al dente (it should cook and texture should be firm)

collage 1

-Drain the water, rinse the noodle in cold tap water.

-Collect one small cup of drained water and keep aside for next use.

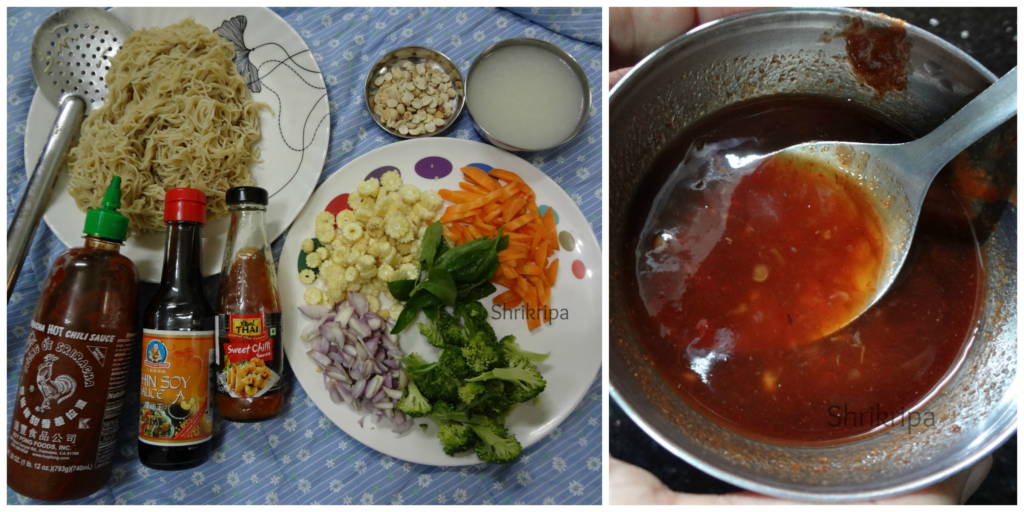
– Chop vegetables according to your taste.

collage 2

– wash basil and roast peanuts, remove skin and make halves and keep aside.

– Mix all the sauces in one small bowl and keep it ready

-Take one wide kadai, add sesame oil. When it is hot, add chopped shallots and fry for a while.

-Next, drop in all the veggies and fry for a while.

collage 3

-Add ginger garlic paste, fry until veggies are fried.

-Add all the sauce mixture and fry vigorously to avoid this to burn.

-Add reserved cooked and drained water of noodles. Check for the salt. If needed add and adjust.

collage 4

-When it starts boiling, add noodles and mix.

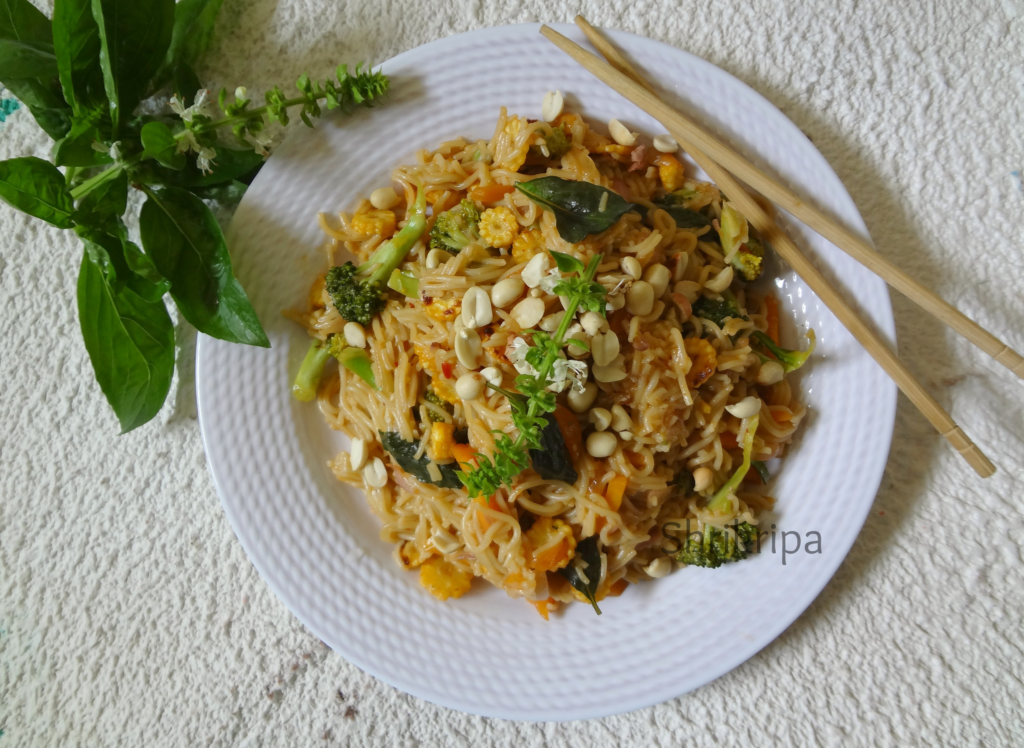
-Garnish with torn basil leaves and sprinkle roasted peanuts and serve.

pic 11

Note:

-You can use any noodles instead of gluten free noodle.

Millet Choco chip cookie:

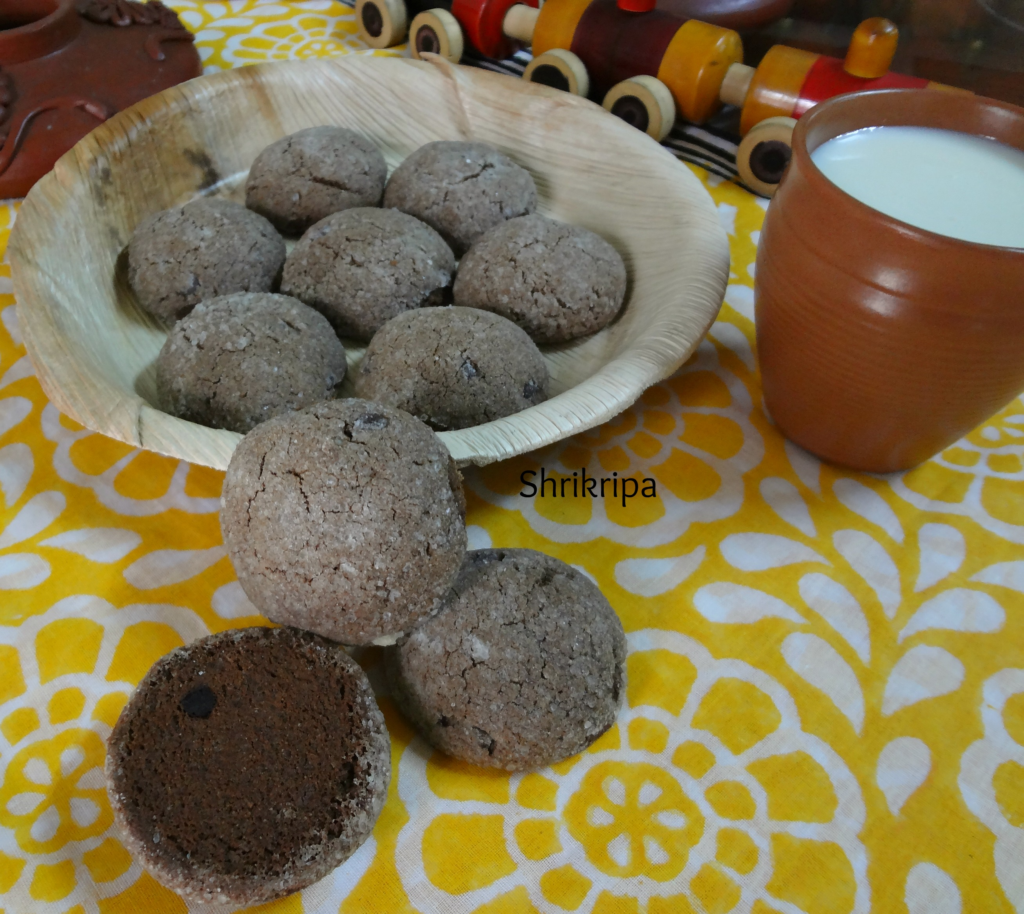
Millets are a very good alternative to normal All-purpose flour or whole wheat flour in gluten free baking. You can’t even recognize the core ingredient. It is gluten free as well as high in nutrition too.

When I was trying out some recipes for 2017 Millet calendar, I dished out a couple of recipes, which has turned out super tasty, and at the same time, healthy too.

At first, I tried Chocolate based cookie and it tasted good and here is the recipe-.

pic 1

Ingredients:

 Mixed millet flour -1 cup

Ragi flour – ¾ cup

Cocoa powder – 2 tbl sp.

Salt – ¼ tsp

Baking powder – ¾ tsp

Baking soda – ¾ tsp

Egg -1

Sugar – ¾ cup

Butter – 100 gms

Curd – 2 tbl sp

Vanilla essence – 1 tsp

Choco-chip – 2 tbl sp

Powdered sugar – to roll the dough.

Method:

-Put all the dry ingredients- flours, cocoa powder, salt, baking powder and soda, Choco chip in one bowl, mix nicely and keep aside.

– Take another bowl and put butter and sugar, beat until sugar dissolves and butter becomes smooth.

-Add in egg and beat, add vanilla essence, curd and beat until batter is smooth.

– Now add dry ingredient flour mixture and make cookie dough by mixing like Chapati dough.

– Take one round spoon and make uniformly sized ball, dip in a sugar powder and arrange in a lined baking tray.

– Bake this in a pre- heated oven at 170º C for 12 to 14 minutes or until base becomes light brown.

-When it is done, remove and cool. Store this in an air tight container.

pic 2

Note: This measurement yields around 28 cookies of this size.

Plantain stem and Moringa Rasam:

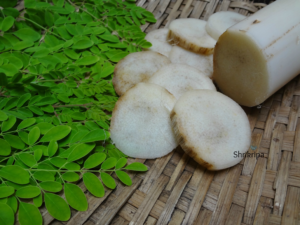
Where to start about the benefits of these two super foods? From my childhood, we used to relish banana stem and its flower in various dishes. Every part of banana plant is useful, be it its leaves, flower, stem, its outer fibre or fruit. No wastage of any part. Usually after the harvest of Banana fruit bunch, we should remove that plant and should allow its baby plant to grow and fruit. Usually after the harvest, banana plant is chopped off, outer fibre is peeled off and it is dried under the sun and used as a thread in tying Jasmine flowers. Inner core or pith is divided into 3 parts. Top most part, which is very slender and less fibrous will be used in raw salads. Middle portion is little more fibrous and used in cooking and making Dosa’s. Bottom part, which is more fibrous, mature and hard to chew will be used in juices, soups or Rasam’s.

Plantain stem is one of the best, natural high fibre vegetable. It also maintains fluid balance in our body and acts as a coolant, especially in Summer season.

Moringa or Drumstick leaves are considered as a “Power food” for its nutritionally rich nature.

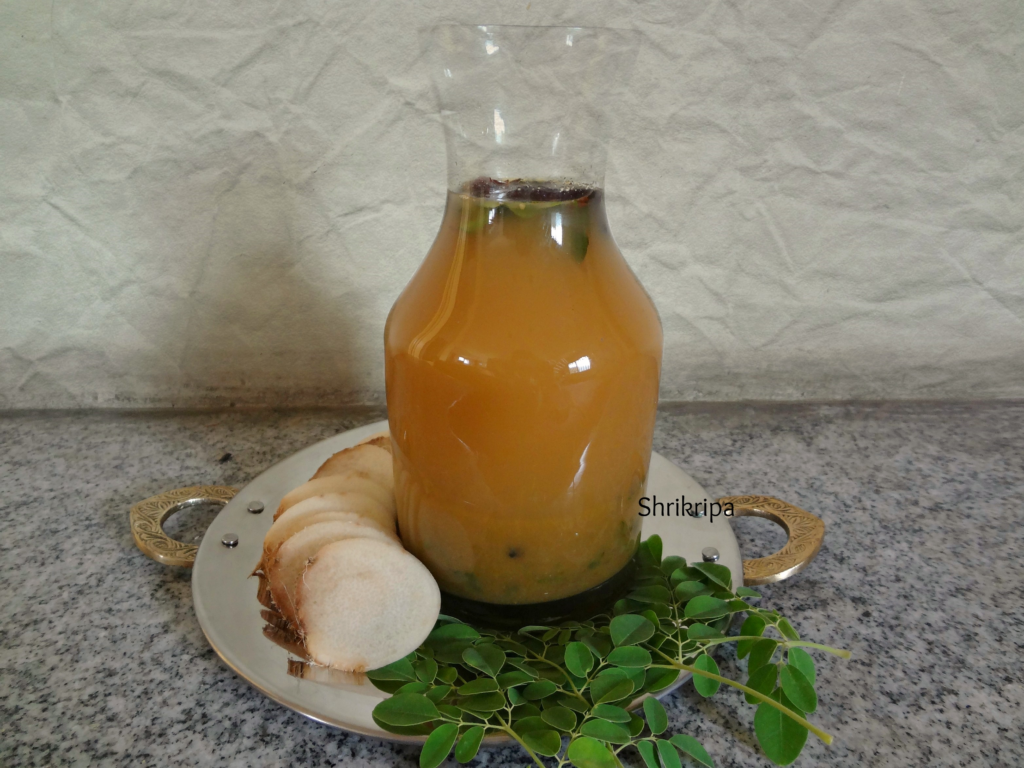
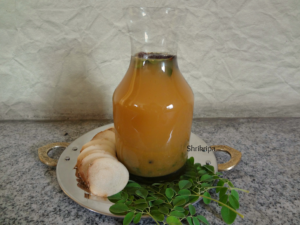
Here I have combined these two ingredients and made Rasam and trust me it is very tasty and can be used as an appetizer shot as well.

pic4

Ingredients:

Plantain stem – 6- 8 inches long

Drumstick leaves – 1 cup

Tomatoes – 2

Tamarind – ½ tsp

Garlic – 8 cloves

Cumin – 1 tsp

Green chillies – 2 to 3

Salt

Jaggery – 1tsp

Coriander leaves – 1 table sp.

Seasoning:

Coconut oil – 2 tsp

Mustard – 1 tsp

Cumin – ½ tsp

Hing – one pinch

Red chilli-1

Curry leaves – 1 spring

Method:

  Slice plantain stem into discs, remove thread like fibre while slicing.

  Chop the roundels into thin slices.

pic 1   pic 2

  Wash drumstick leaves, here you can use as it is, with its sticks intact. No need to remove intact stalks of these tiny leaves.

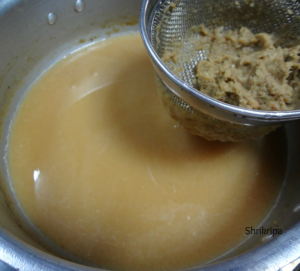
  Cook plantain stem pieces, drumstick leaves, chopped tomatoes, green chilli, tamarind in a pressure cooker for one whistle. Cool this mixture, grind and sieve. Discard the fibrous part.

pic 3  pic4

  Dry grind garlic and cumin. Add this to collected solution, add salt, jaggery and boil for a while.

  Garnish with coriander leaves and do the seasoning.

  Heat coconut oil, add mustard, when it starts to splutter, add broken red chilli, cumin and curry leaves.

  Serve this as an appetizer shot before food or as a Rasam with hot rice.


Badam Halwa / Almond Halwa :

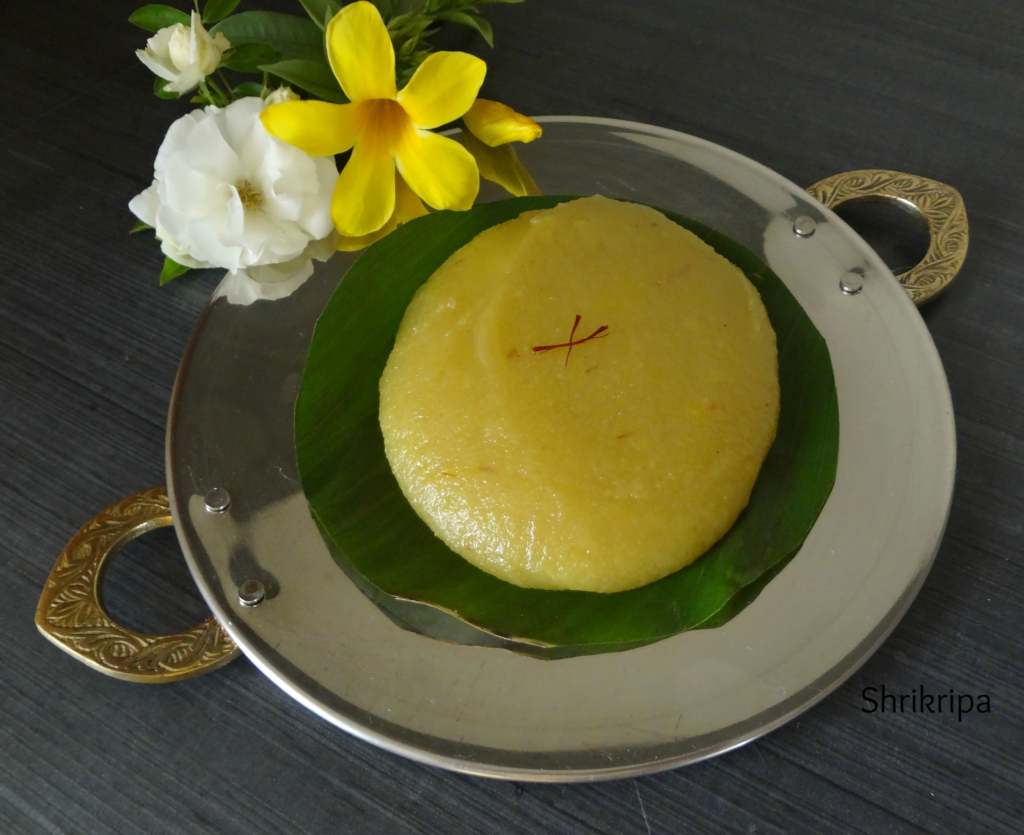
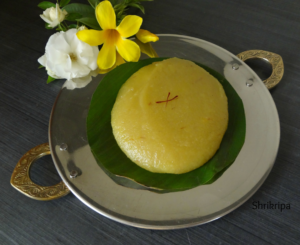
Badam halwa, the name itself brings back so many fond memories of my two kiddos’ as well as of my late father in law. My memories go back to my delivery time. When my father in law heard about my twin daughter’s arrival, he celebrated his joy by preparing and distributing this sweet to our near and dear ones. While growing up, even my kids used to enjoy this sweet and used to refer to this as “Yellow sweet”. After so many years last weekend I prepared this to celebrate my hubby’s birthday and enjoyed every bit of the preparation by cherishing all these fond memories. 

pic 1

I Normally follow this age-old method-

Ingredients:

Almonds – 500 grams

Sugar – 750 grams

Milk – ½ to ¾ litre

Ghee –  1 to 1 ½ cup

Saffron – 1 tsp

Cardamom powder – ½ teaspoon

Method:

  Soak almond overnight.

pic 2   pic 3

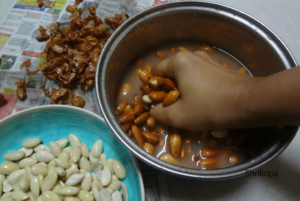
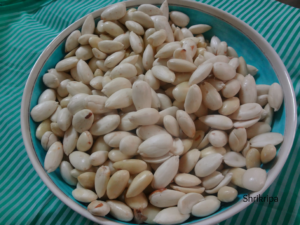
   The next morning, peel the skin. Usually three fourth of the content will shed their skin, if you mash those swelled almonds inside the water, by using your palm.

    After removing the outer skin, put these in a mixer grinder jar, make paste by adding sufficient milk.

pic 4    pic 5

   Soak saffron in half cup of hot milk and keep aside.

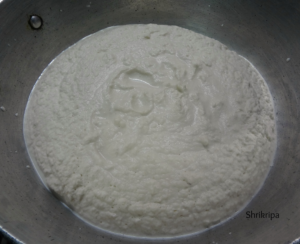
   After grinding paste will look like idly batter with grainy texture.

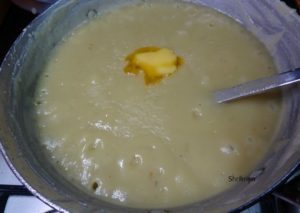
    Put this paste into thick bottomed vessel and heat.

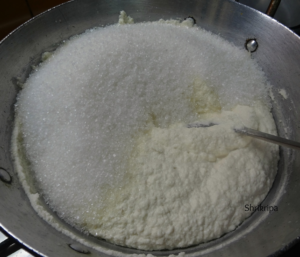
    Add sugar and boil for a while.

pic 6  pic 7

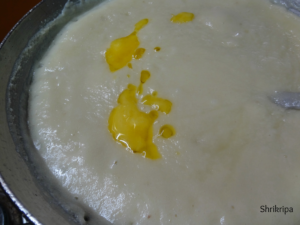
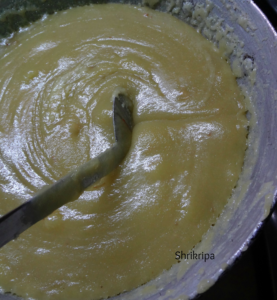
  When it starts bubbling, add ghee little by little at regular intervals until mixture becomes glossy.

   At this point, you can add saffron soaked milk and cardamom powder and proceed.

    When mixture starts to leave from the sides of the vessel and edges become dry and bubbly, switch off the fire and keep aside to cool.

pic 8   pic 1

   When it reaches room temperature, store this in a stainless steel or glass container.

Sautéed Asparagus:

Asparagus is thin, pencil like green shoot. It is high in fibre and one of the most nutritious, food. Which is low in fat and calorie too.

Snap them at a natural breaking point and peel the outer tough fibre from the hard part and one can use this in any dish by slicing or as it is.

Asparagus is very delicious when it is sautéed or baked. It can be served as a “crunchy” side dish or salad.

Here in India, we don’t get plump variety and this time when I went to USA, in my sister’s house I tried this and it is much tastier than what we get it in Bangalore.

pic 9

Ingredients:

Asparagus – 1 bundle

Olive oil – 1 table spoon

Red chilli flakes – 1 tsp

Garlic salt – to taste.

Method:

pic 2

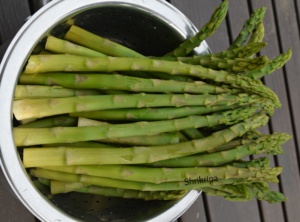
  • Wash Asparagus, snap them by hand at a natural breaking point.
  • If you want to use bottom woody part, remove outer fibre by peeling, either chop them or use inner core as it is in this salad or any other dish.

pic 4   pic 5

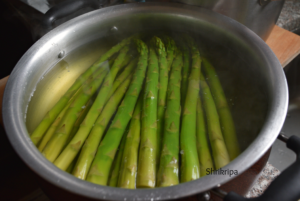
  • Bring a large pot of water to a boil, add asparagus, cook until it blanches. It hardly takes 2 to 3 minutes.
  • Drain and proceed to sauté.
  • Take one tawa, put oil and heat.

pic 6   pic 7

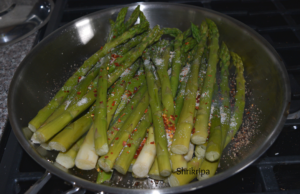
  • Drop Asparagus, sprinkle garlic salt and red chilli flakes and toss until you see a charred look.
  • Serve hot.


Buddha’s delight:

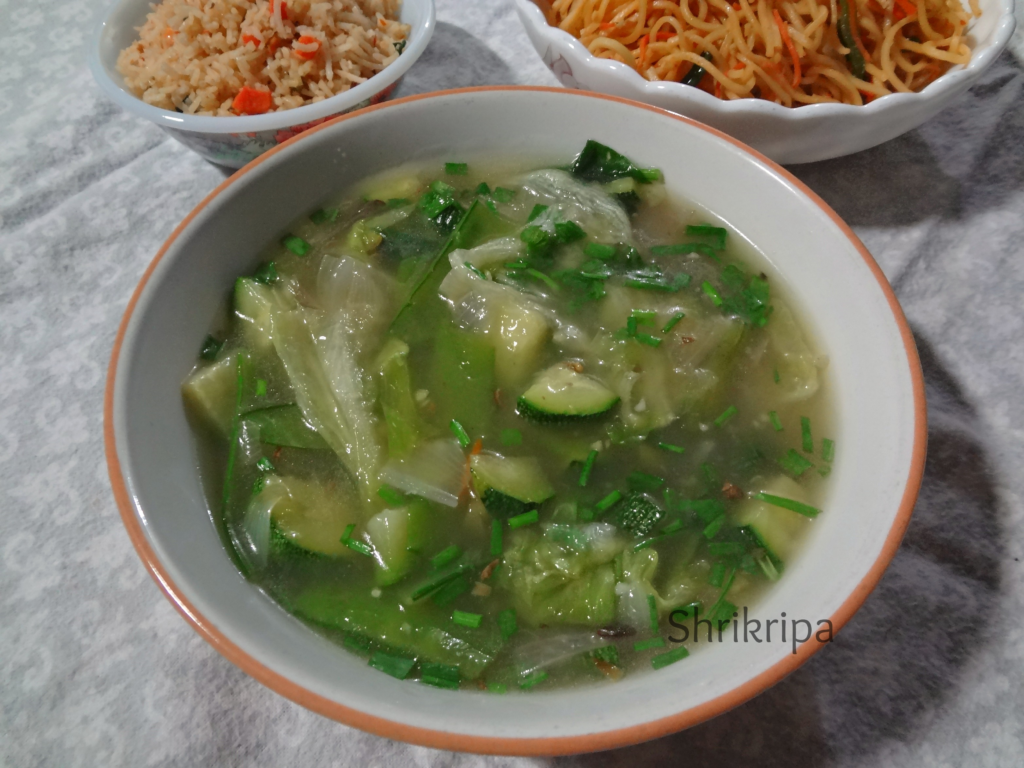
It is a vegetarian dish well known in Chinese and Buddhist Cuisine.We love Buddha’s delight at our favourite restaurant Chung wah. Their version has lemon grass flavour in the gravy, and we especially like this flavour. I wanted to try their version of veggie Buddha’s delight at home from so long. Finally I did try it this week for our dinner.

So I thought of making lemongrass infused water for preparing it and proceeded. I used the available veggies in my pantry. You can use them according to your choice. You can add couple of tofu pieces as well.

pic-2

How I prepared:

Vegetables – 1 bowl (took Zucchini, lettuce, onion, carrot, mushroom, capsicum,snap peas)

Chilli vinegar – 1 tsp

Red chilli flakes – ½ tsp

Garlic – 5 cloves

Ginger – ½ “

Green chilli -1

Salt

Spring onion – 2 tbl sp

Corn flour – 1 to 2 tbl sp

Lemon grass – 4 sticks

Water – 2 cups

Method:

-Boil water with lemon grass bits until water becomes little yellowish and lemongrass is cooked.

-Sieve this water and discard lemon grass. This is our lemon grass water which is used for gravy. Keep it aside.

– Chop spring onion, ginger and garlic. Slit green chilli.

– Chop mushroom, carrot.

-Chop capsicum, onion, zucchini into I inch chunks.

– Tear lettuce by using hand and keep aside.

-Take one tawa, put either butter /olive oil .When it is hot, add ginger, garlic and green chilli and fry for a while.

– Add onion, fry for 2 minutes. Next you can add capsicum, carrot zucchini and mushroom. Fry for 2 to 3 minutes and sprinkle little salt and red chilli flakes.

– Next you can add corn flour and fry in this mixture for 1 minute and add lemon grass water.

-when it starts boiling add vinegar. When it becomes little thick and shiny add torn lettuce and garnish with chopped spring onion.

pic-3

-Enjoy this either with fried rice, noodles or simple steamed rice. It is very filling, nutritionally very rich and taste wise – Pure bliss!!!!

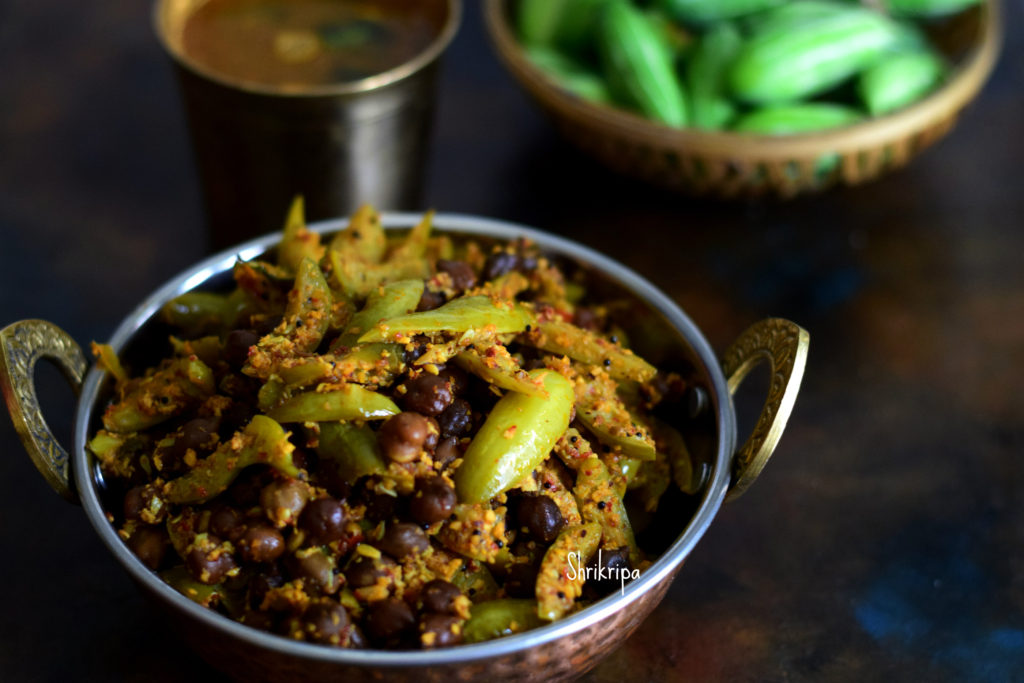
Manoli Kadle Ajadina /Thondekai Kadle palya /Ivy gourd and chick pea Dry curry:

This is one of our family favourite curries, which is loved by all. We make two types of curries by using ivy gourd and chickpea.

One is with onion and garlic, other one without it.

This name is derived from Tulu language, which is a local language of Mangalore. Manoli is ivy gourd or Tindora, Kadle is black chick pea and Ajadina is dry curry.

This particular masala is used in Bunt community of Mangalore and it is an integral part of their festive cooking.

How I make this-

Ingredient:

Ivy gourd – ¼ to ½ kg

Black Chick pea – 1 cup

Salt

Jaggery – ½ tsp (optional)

For Masala:

Fresh grated coconut- 1 cup

Coriander seeds – 1 tsp

Cumin – ½ tsp

Urad dal – 1 tsp

Methi/ fenugreek seed – ½ tsp

Dry red chillies- 3 to 4

For Seasoning:

Coconut oil – 1 to 2 tbl sp

Mustard – 1 tsp

Curry leaves – 1 spring

Method:

-Soak black chick peas in water overnight. Next day discard soaked water and add fresh water, salt and cook this in a cooker for 3 to 4 whistles.

-Wash ivy gourd, cut this lengthwise into 4 pieces. Cook this by putting very little water and salt and jaggery.  keep aside.

-When pressure releases from the cooker, open the lid, drain the water and keep chick pea aside. Don’t discard the drained water. You can make really yummy Rasam or soup out of this.

Next is the masala preparation-

-Heat little oil, fry methi seeds until it is light brown, add remaining ingredients, coriander, cumin, urad dal,  red chillies, and fry nicely.

-Take one mixer jar, put roasted masala, make  a powder, and add coconut into it and whip couple of times to get dry coarse powder.  

Now we can proceed to make palya-

-Take one kadai, put coconut oil, when it is hot, splutter mustard seeds, add curry leaves.

-Now add ground masala and fry for a while.

-Now add cooked chickpea and ivy gourd mix well, check for the salt and adjust.

-Cook this until it becomes like a mass and veggies are coated well with the masala.

-Serve this as a side dish with hot rice.

NOTE:

-Usage of coconut oil will give authentic taste.

-Don’t discard drained water from cooked chick pea. It is very nutritious and you can prepare really tasty Rasam, and it is here.


Pea pod salad:

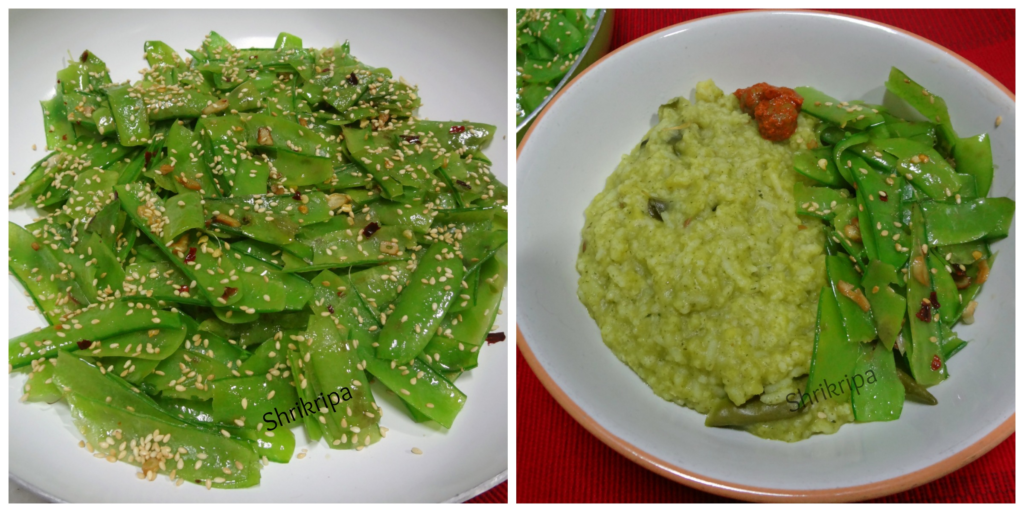
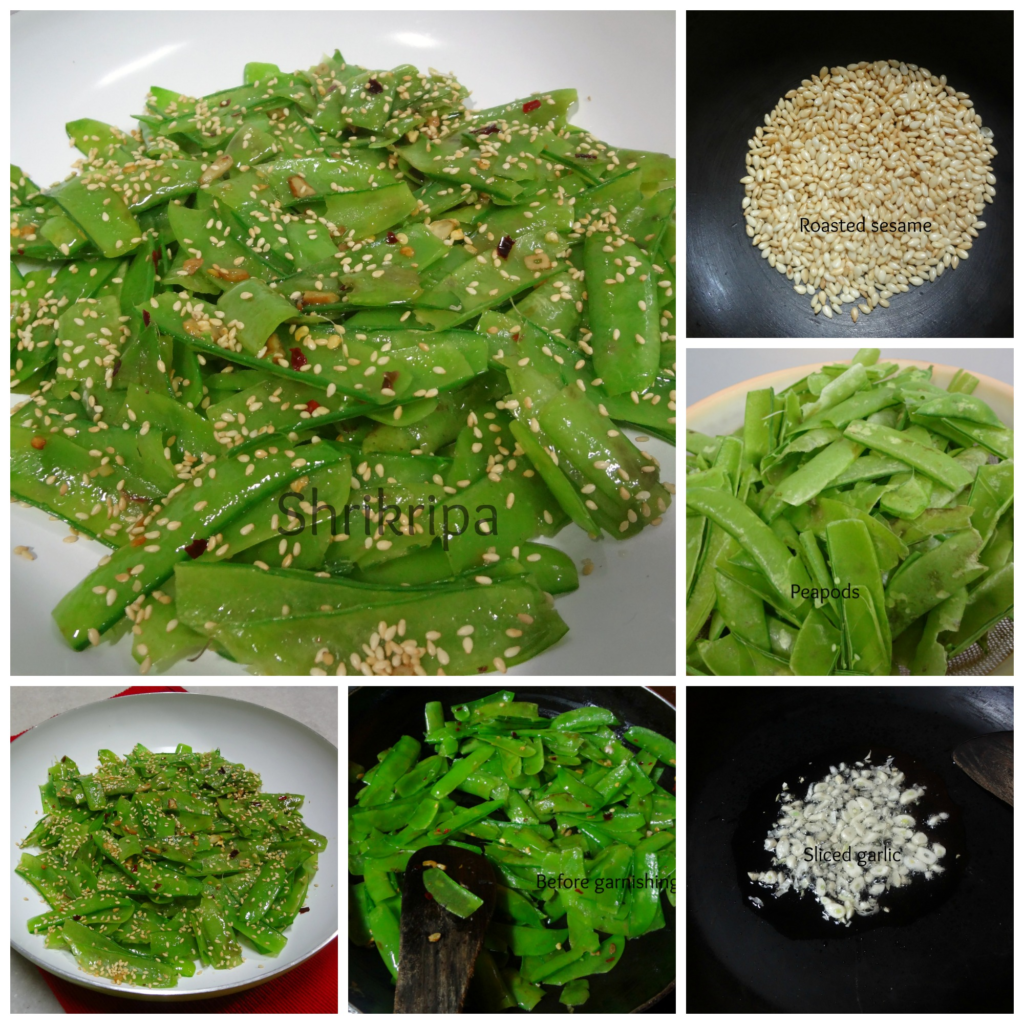
After peapod pakoda, I wanted to try some more with peapod. Peapods are so rich in flavour as well as taste. So, I tried a salad and it turned out so tasty and healthy. Here’s the recipe.

collage-1

Ingredients:

Peapods –as required

Olive oil – 1 to 2 teaspoon

Garlic – 7 -8 flakes

Salt

Red chilli flakes – ½ – 1 teaspoon

White sesame – 1 teaspoon

Method:

  • Separate fresh and green peels (pods) while opening, to collect green peas.
  • After this, peel off the inner membrane (which will not cook and it is fibrous too)
  • How to remove inner membrane: If you want to see a pictorial guide, click here
  • You basically have to take one of the ends, fold in and pinch inwards, slide your thumb beneath and remove the glossy membrane and separate. If membrane breaks in-between, try from the other side.
  • Discard inner membrane and use outer green cover to make salad.
  • Wash these peels and drain, keep aside.
  • Slice garlic and keep aside.
  • Dry roast sesame and keep aside.

collage

  • Take one tawa, add oil .When oil becomes hot, add garlic slices and fry until it is brown.
  • Add in washed and drained peapods, fry for a while. Sprinkle salt and red chilli flakes.
  • Garnish with toasted sesame seeds and serve.
  • I served this with Spinach Khichdi. Click here to see the recipe.