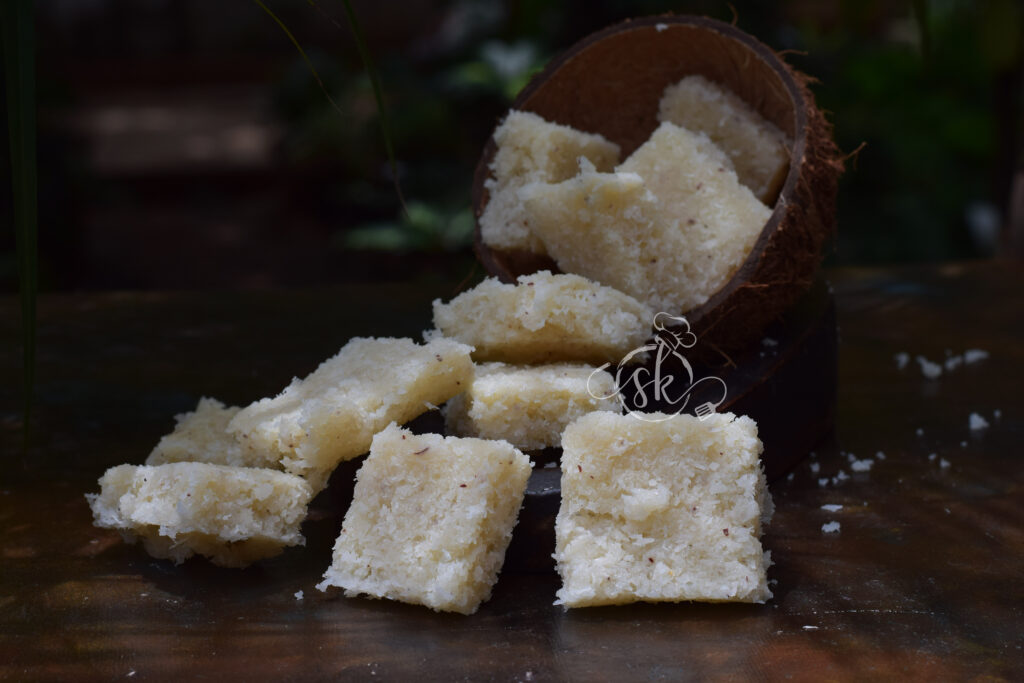
Coconut burfi, a sweet much requested by my daughter, is a delightful and traditional Indian sweet that has been enjoyed for generations. Known for its rich, creamy texture and aromatic flavour, this dessert celebrates simplicity and taste. Made from freshly grated coconut, sugar, and a hint of cardamom, it’s a treat that perfectly balances sweetness with the nutty richness of coconut. Often prepared during festivals, special occasions, or as a thoughtful homemade gift, coconut burfi brings a touch of elegance to any celebration. This recipe will guide you through the steps to create this delectable confection in your kitchen, ensuring each bite is a culinary joy. The essential sweet, which I forgot to add to my blog, will take place today.
Ingredients:
Fresh Coconut gratings – 2 cups (Tightly packed and only white part)
Sugar – 1 cup
Water – ½ to ¾ cup
Cardamom powder – 1 tsp (powdered)
Ghee – 2 tsp (optional)
Milk – 1 tsp
Method:
-Put all the grated coconut in a mixie jar and pulse a little to get a powdery texture.
-Put sugar and water (sugar should immerse) and boil. Add 1 tsp of milk when the sugar dissolves completely and wait to accumulate the impurities at the top centre.
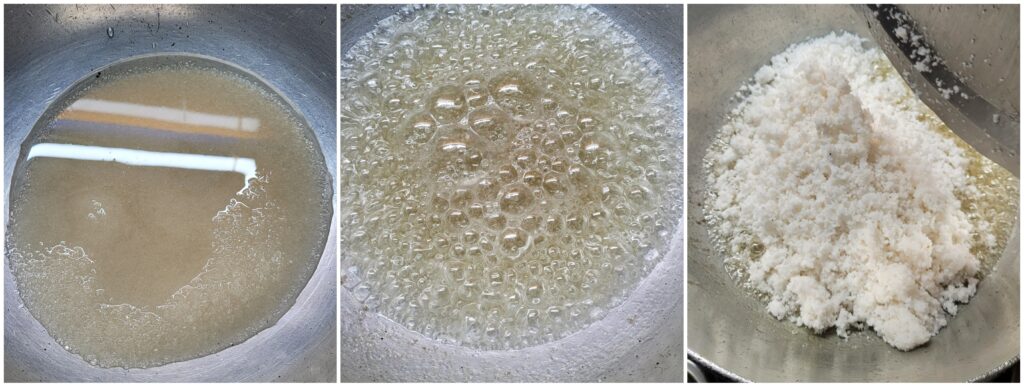
-Remove all the impurities until you see white bubbles.
-When the sugar starts to bubble, you will see that the sugar has reached a one-thread thick consistency.
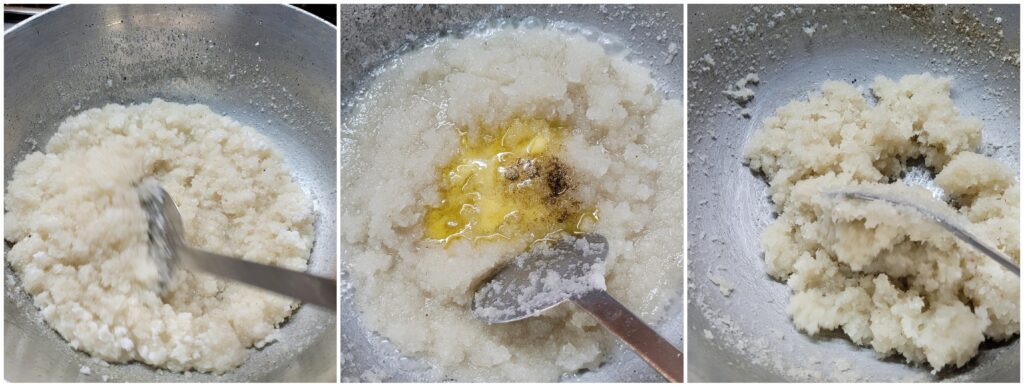
-Add pulsed coconut and start mixing for a while. Add ghee and powdered cardamom and continue cooking until the mixture becomes bubbly and white and becomes like a mass.
-Pour the mixture into the applied thali. Put some ghee on the back side of the spoon and pat it nicely till it turns smooth.
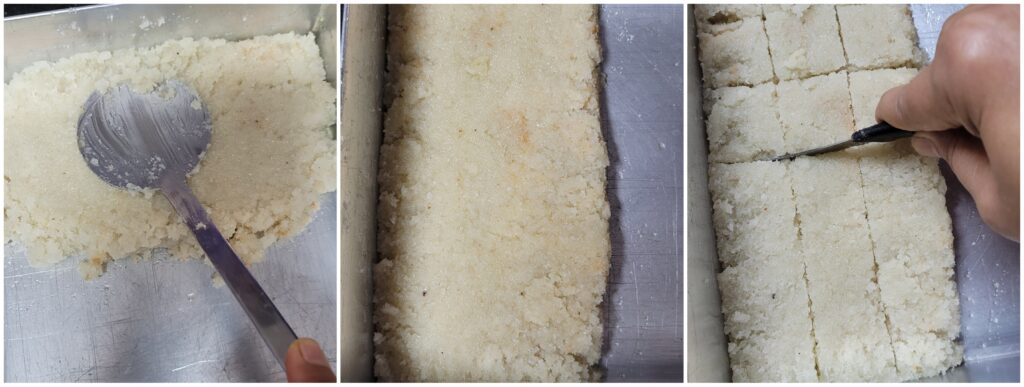
Leave some time, mark it with the knife and store it in an air-tight container after it turns firm.