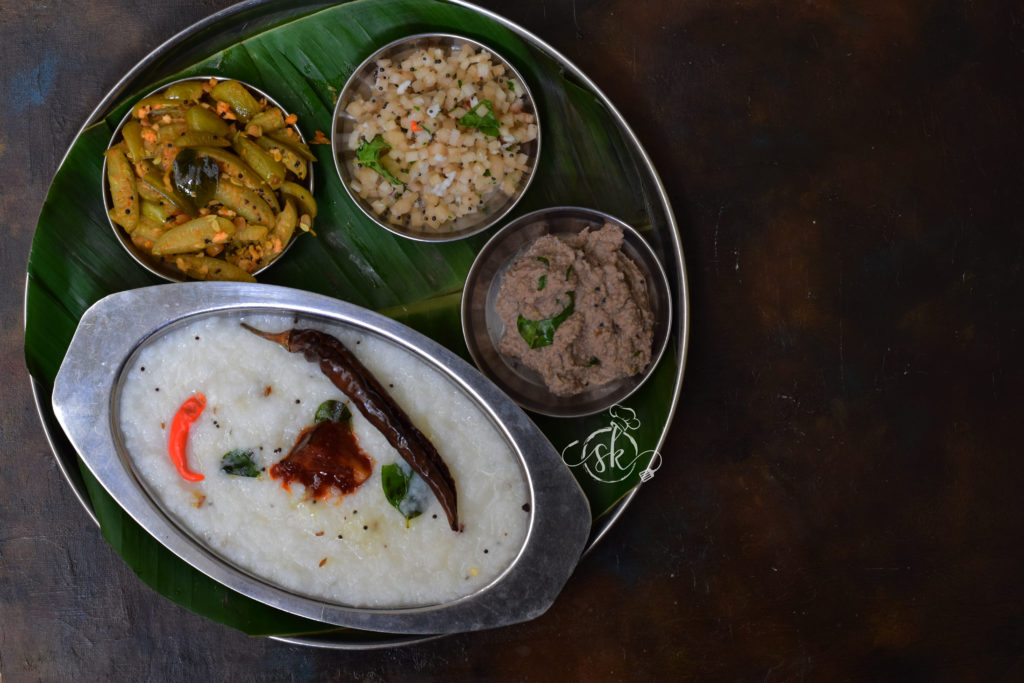
It is my go-to recipe for a lazy, Simple, soulful meal on weekends or rainy/winter evenings. This recipe of Kayi Ganji is not our traditional recipe. My way of making a one-pot meal is by mixing my mom’s Theli saru, nothing but rice starch Rasam and rice.
Amma used to make fantastic ginger flavoured Rasam by using drained rice starch of cooked rice. We sisters used to enjoy Hot white rice with Amma’s theli saaru and pickle a lot. Hence, I introduced those two aspects in a single one-pot meal, and the recipe is here.
Here, one can use freshly extracted coconut milk as well as instant coconut milk powder. Freshly extracted milk does taste out of this world, and for sure, there is no comparison in taste. When you are sick and have no mood to cook, it is a soothing and relaxing one-pot meal option.
The procedure is simple-
Ingredients:
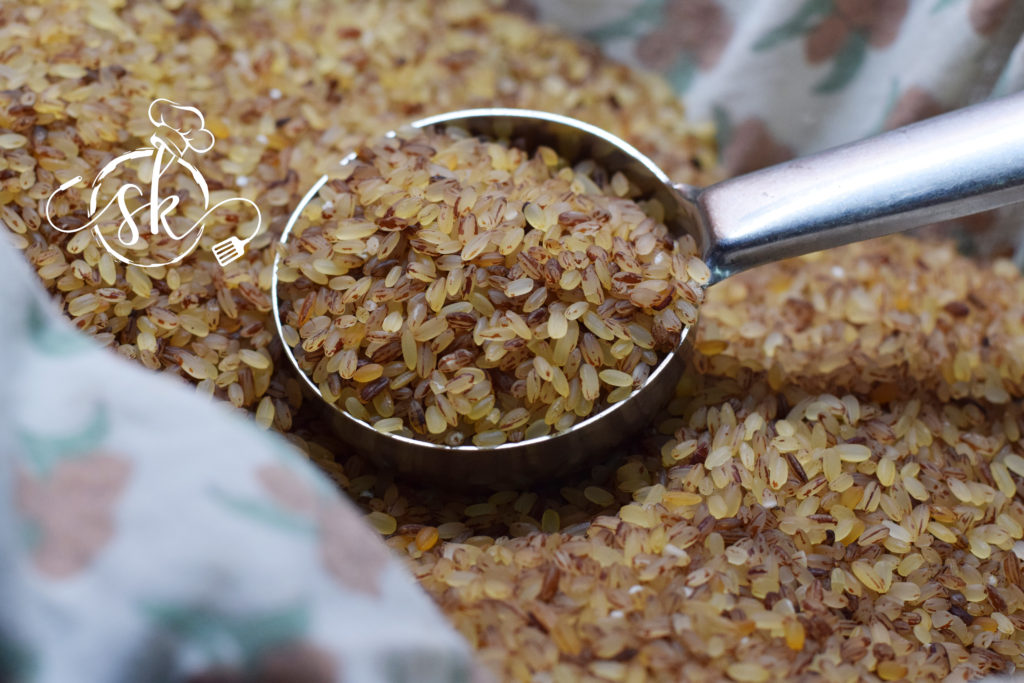
Rice – 1 cup
Water – 4 cups
Salt
Green chillies – 1 or 2
Ginger – ½ inch (julienne)
Coconut milk or powder – according to the taste
Seasoning: Ghee/coconut oil, mustard, cumin and curry leaves.
Method:
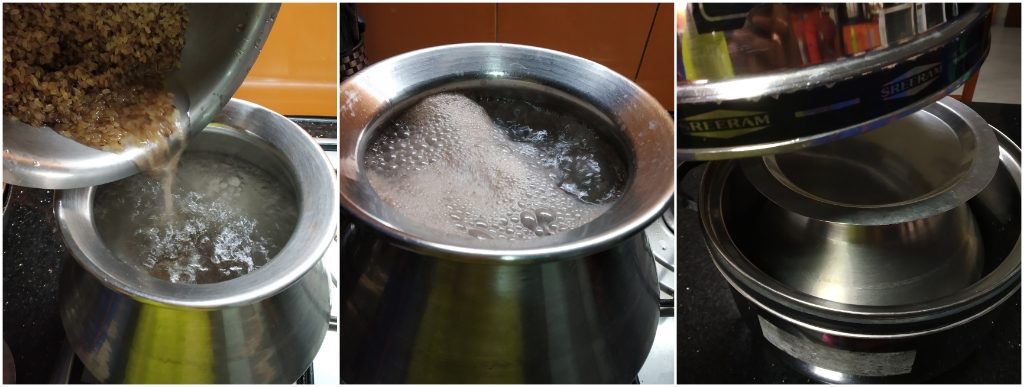
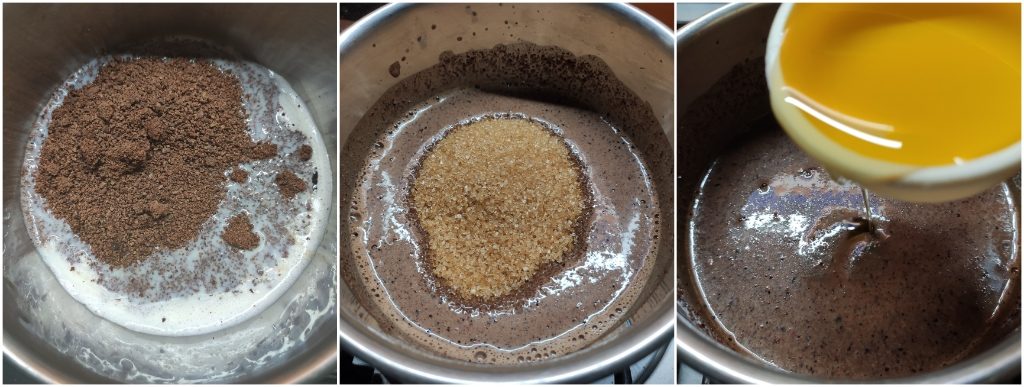
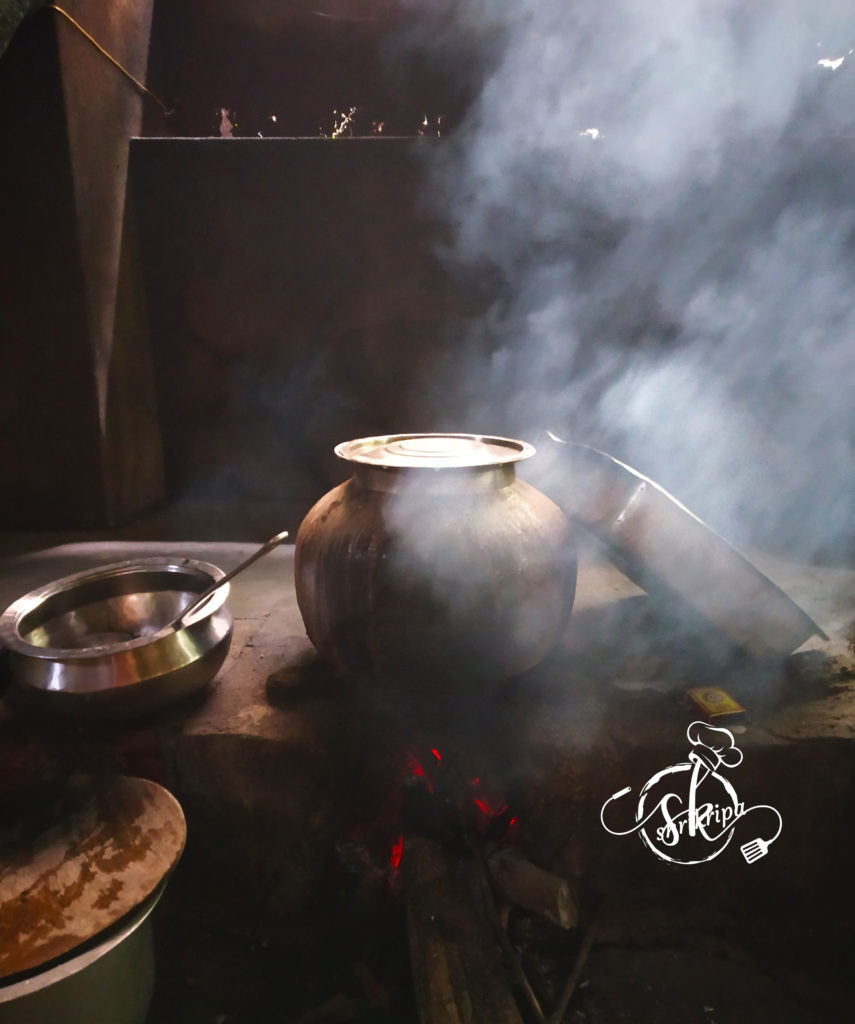
-Wash rice, boil water in an open vessel or a cooker. Add rice, slit green chilli, ginger, salt and cook.
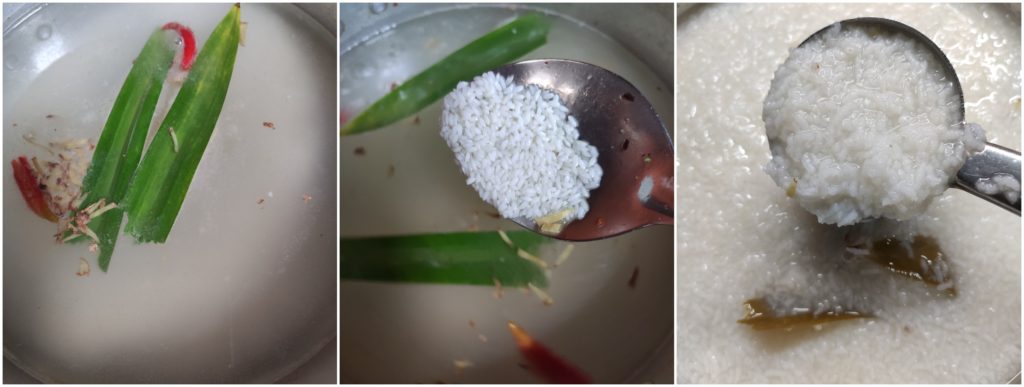
-Here, the rice should become mushy. If it is the cooker, switch it off after 3rd whistle.
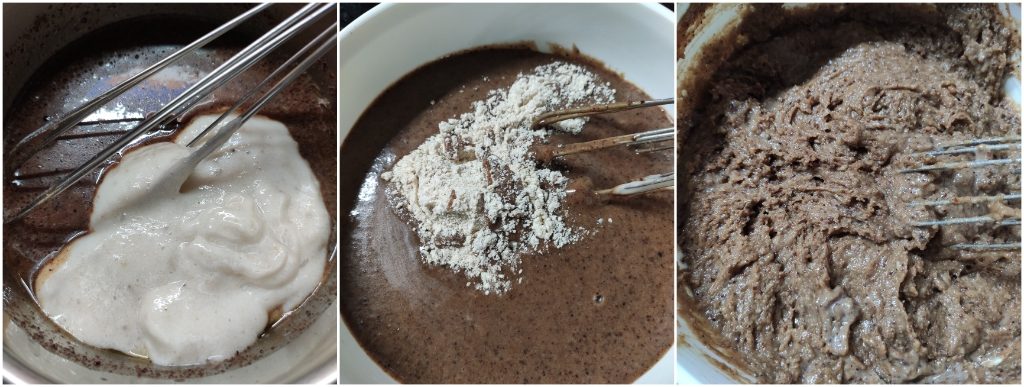
-Open the lid, add coconut milk, adjust the consistency by adding more water.
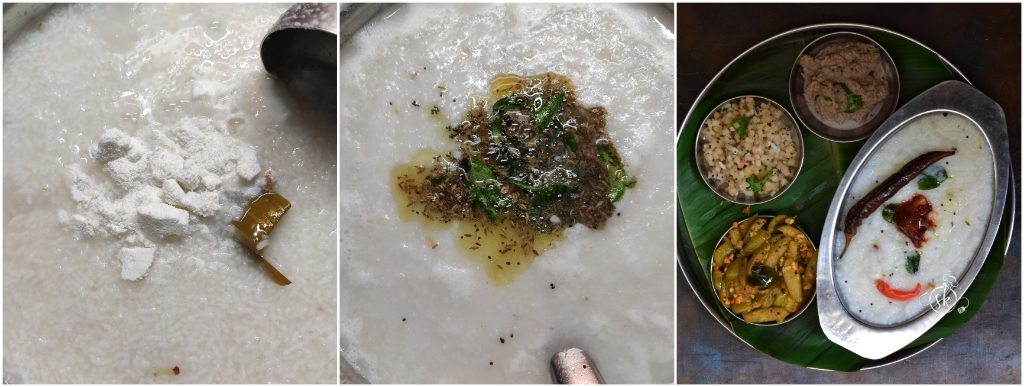
-Boil for 2 minutes and switch off.
-Do seasoning by heating ghee or oil, splutter mustard, cumin, and curry leaves. Pour it over the rice and mix everything and serve. You can enjoy it with any side dish or plain pickle.
-You can garnish with chopped coriander as well as lemon juice (completely optional)
Note: I have added one pandan leaf to enhance the flavour. It is entirely optional.


 Pic Courtesy: By Google