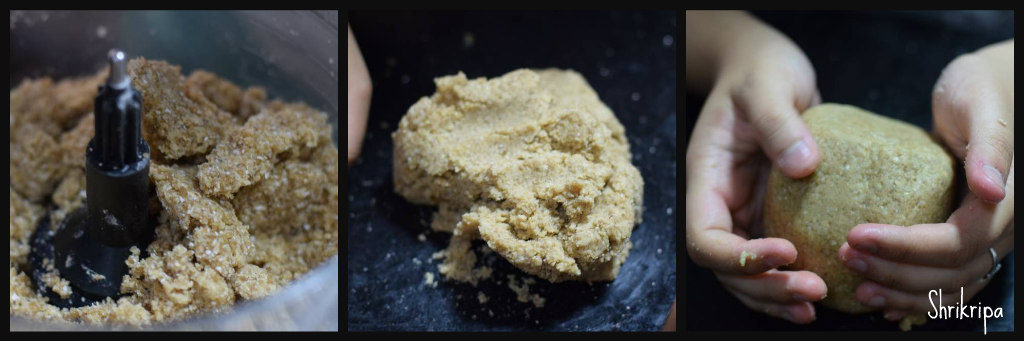
The recipe came to light to finish off the stock of Horlicks powder. When you are against wasting food/groceries, this is what happens. I was thinking of Horlicks mysorepak, and after seeing both of my daughter’s faces, I turned around and worked out on baking the tea cake instead of one more greasy stuff.
The trial was a big hit and was baked twice after that by demand. After a long gap, I am sharing this “hit” recipe with my readers.

The recipe is –
Ingredients:
Whole wheat flour – 1 cup
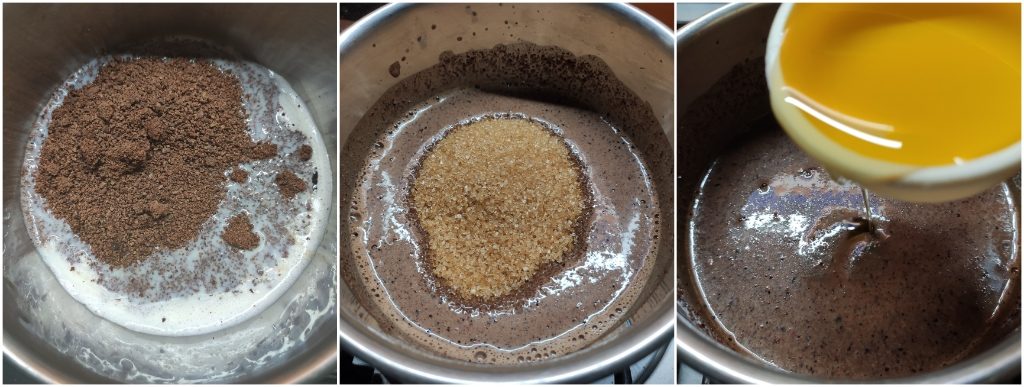
Horlicks powder – 1 cup
Baking soda – ½ tsp
Baking powder – ½ tsp
Walnut – ¼ cup (chunks)
Choco chips – ¼ cup
Butterscotch chips -little (optional)
Salt – ½ tsp
Sugar – ½ cup
Curd – 1 cup
Ghee – 4 Tbl sps
Milk – as needed (to adjust the consistency of the batter)
Method:
-Grease the cake tin, line it with the butter paper, and keep it ready.
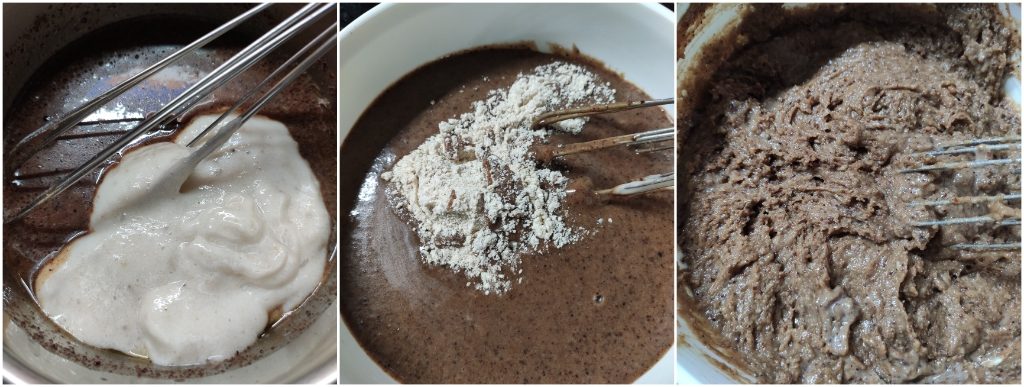
-Take one bowl, add flour, Horlicks, baking soda, and baking powder, and mix thoroughly using a wire whisk or sieve everything together a couple of times. Add Choco chips, butterscotch chips and walnut chunks and mix thoroughly with dry flour.
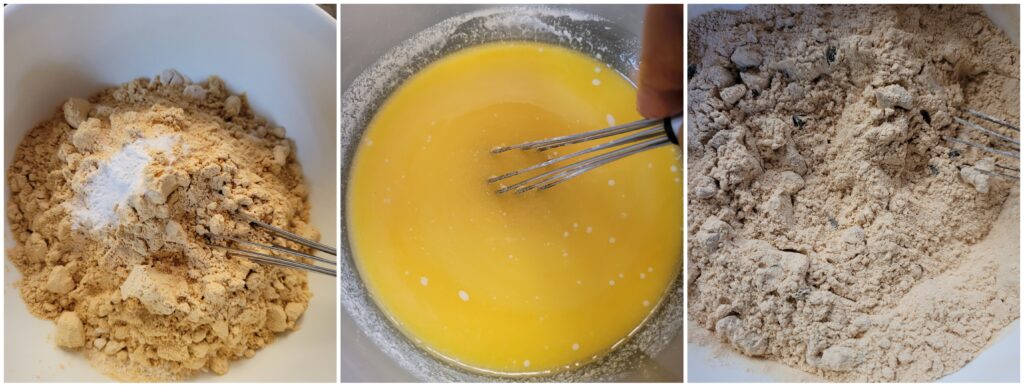
-In another bowl, pour curd, ghee, sugar, and salt. Beat nicely until sugar dissolves.
-Pour the wet content over the dry ingredient and fold in the flour. If the batter looks stiff, add extra milk to adjust the consistency of the batter and adjust accordingly.
-Don’t over-mix the batter; use the spatula to fold the batter.
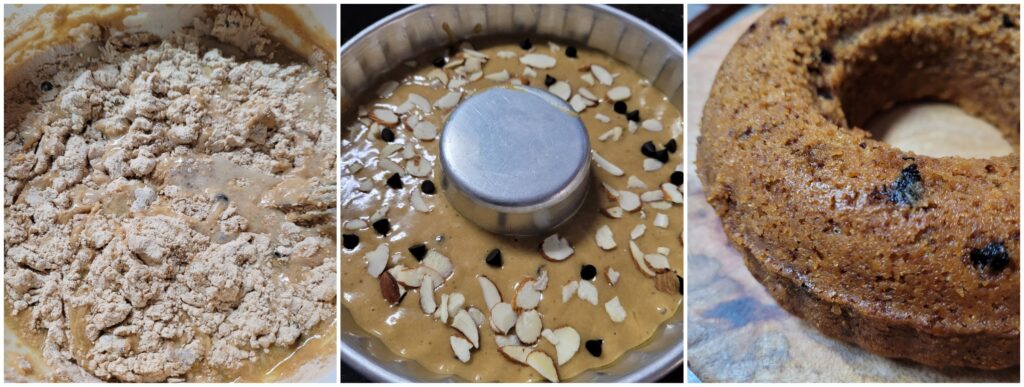
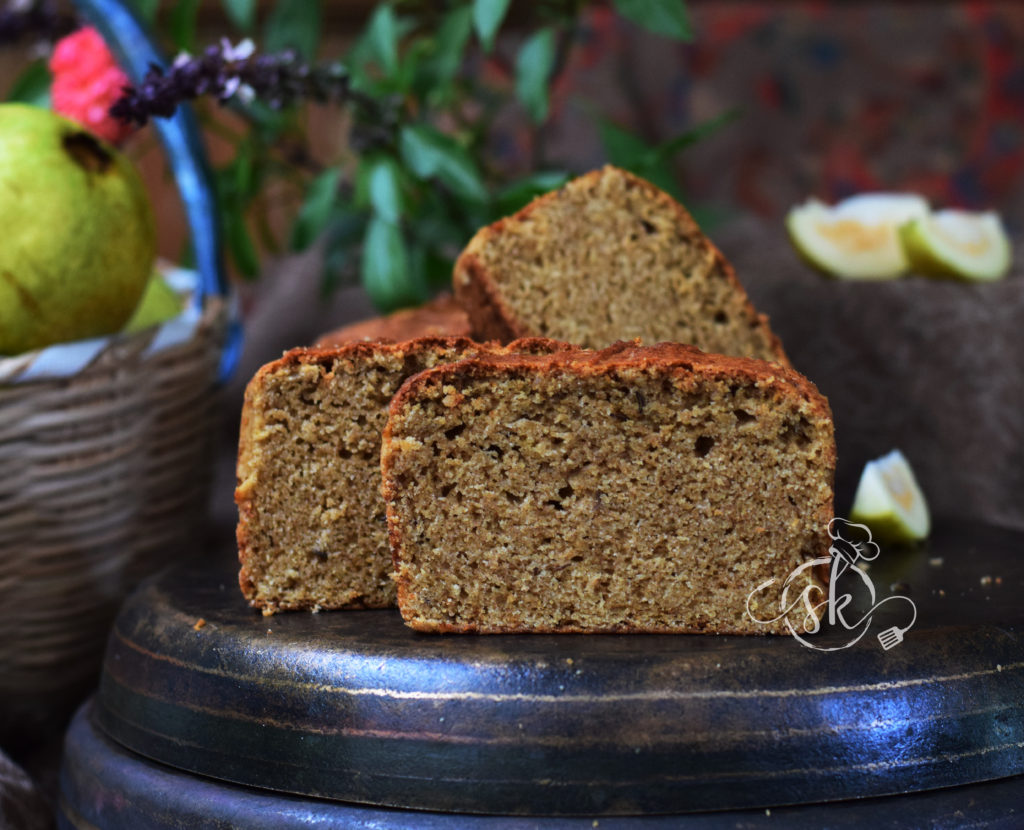
-Pour the ready batter into the cake tin, and bake in a preheated oven for 40 to 50 minutes until done at 180®C.
Bake in a preheated oven at 180 degrees for about 30-35 minutes or till done.