Bajil/ Avalakki is a default name for seasoned paper-thin poha, with added chopped onion or plain. It is a speciality of our native, Mangalore.
When Bajil/poha is paired and served with Whole moong curry, it is known as Padenji – Bajil. It is a nutritious, protein-rich combo breakfast option that fills our tummies. It is two straightforward dishes combined to make a pair. If you prepare without onion, an appropriate breakfast option for any day is feast / Vrat.
Even though many people would have tasted Avalakki oggarane in any of our temples, this combo is almost extinct in today’s world. Hence, I wanted to share it with you all.

First, we would prepare Padenji/moong curry:
Ingredients:
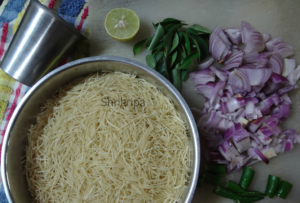
Whole green moong – 1 cup
Onion – 1 (optional) (chopped)
Green chillies – 2 to 3(chopped)
Curry leaves – 2 springs
Coconut – 1 small cup
Salt
For seasoning: Coconut oil, mustard, hing, curry leaves.
Method:
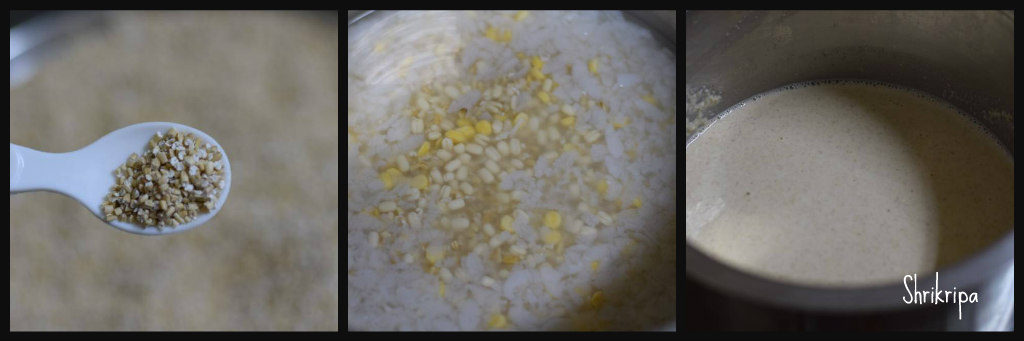
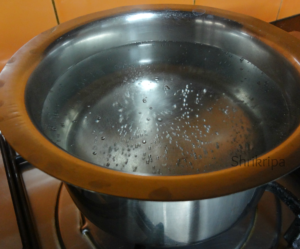
-Soak green gram overnight. The next day, wash properly, put sufficient water in the pot, and cook in an open vessel.
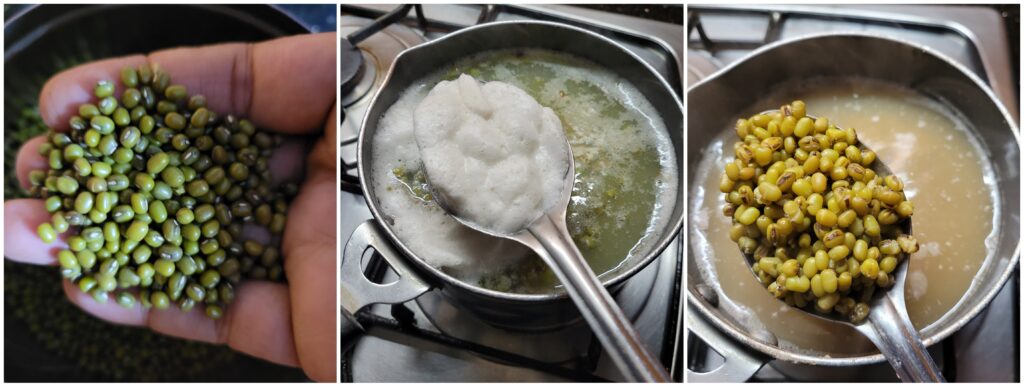
-When it starts boiling, all the scum comes to the top and remove that by using a spatula. It indeed increases the taste of the final dish.
-Switch off the gas and prepare the seasoning when the moong is cooked well (it should be soft but hold the shape).
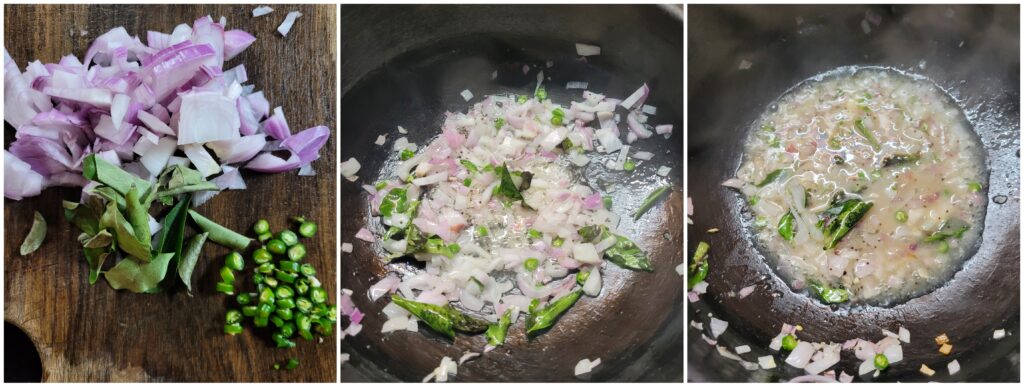
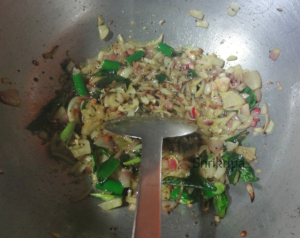
-Take one kadai, heat coconut oil and splutter mustard, add hing, curry leaves, green chillies, and onion, and fry until the onion is translucent.
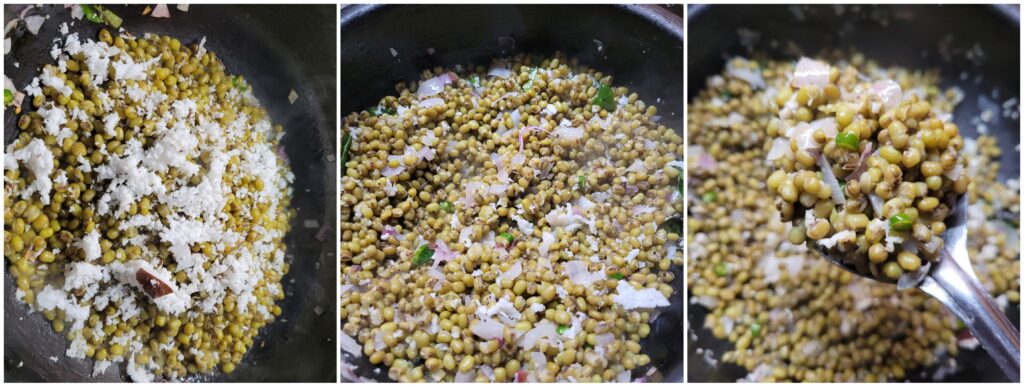
-Add the required amount of salt, cooked moong, and whatever water remains. Garnish with fresh coconut and cook until salt absorbs and the remaining water evaporates.
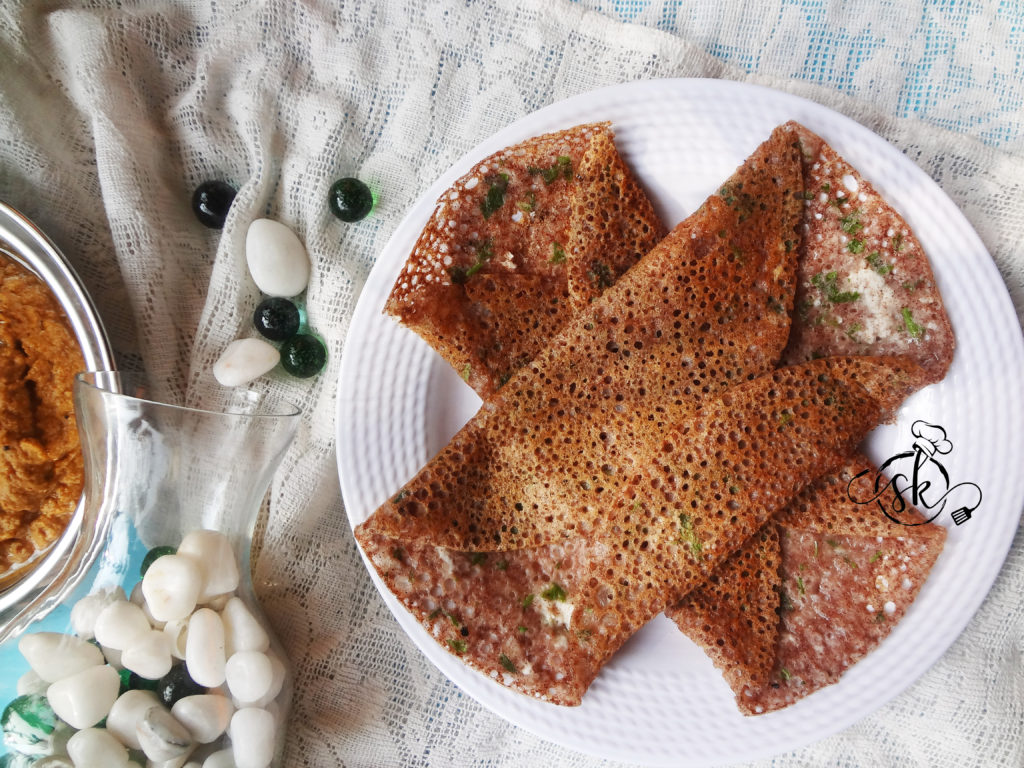
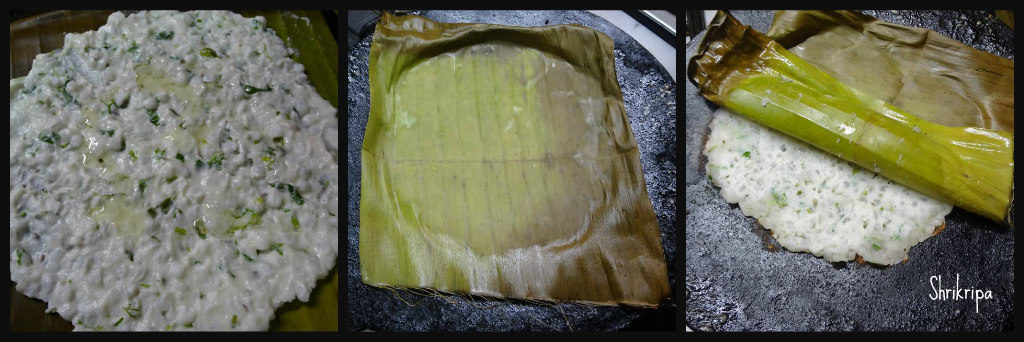
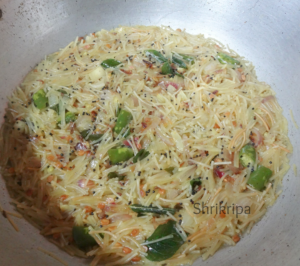
Now we would how to prepare Seasoned Poha/ Avalakki Oggarane:
If you want a pictorial guide, please click the highlighted section above.
Ingredients:
Freshly grated coconut – 1 cup
onion – chopped (optional)
Salt
Rasam powder OR Roasted coriander, cumin, red chilli, little hing.
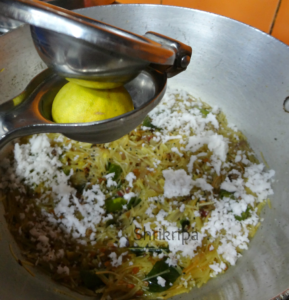
Little tamarind
Jaggery – ½ tsp to 2 tsp (acc to your preference)
Paper thin poha – as needed.
For seasoning:
Mustard – 1 tsp
Urad dal – ½ tsp
Red chilli -1
Curry leaves – 1 spring
Method:
-At first, dry grind coconut, Rasam powder or roasted masala, jaggery, tamarind, and salt.
-Add seasoning to this mixture and mix it nicely by hand.
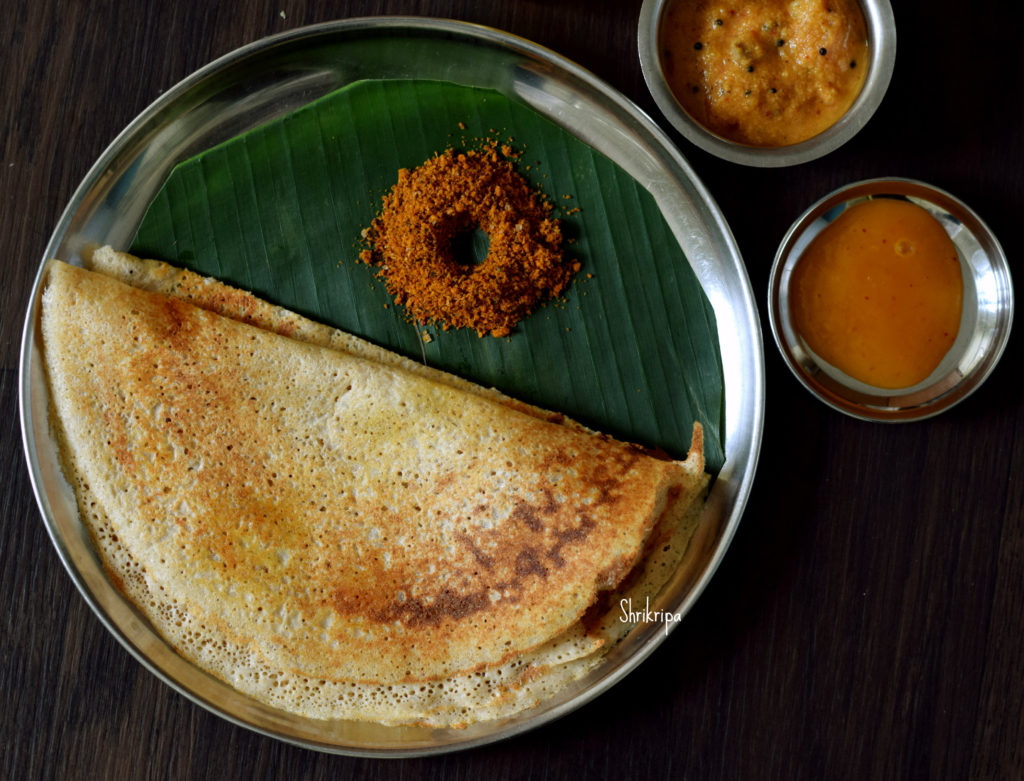
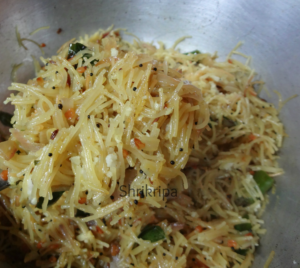
-Add the required amount of poha, mix nicely with your hand, and serve with Chana and Sweet potato curry.
-Relish the Age-old filling breakfast with your near and dear ones.