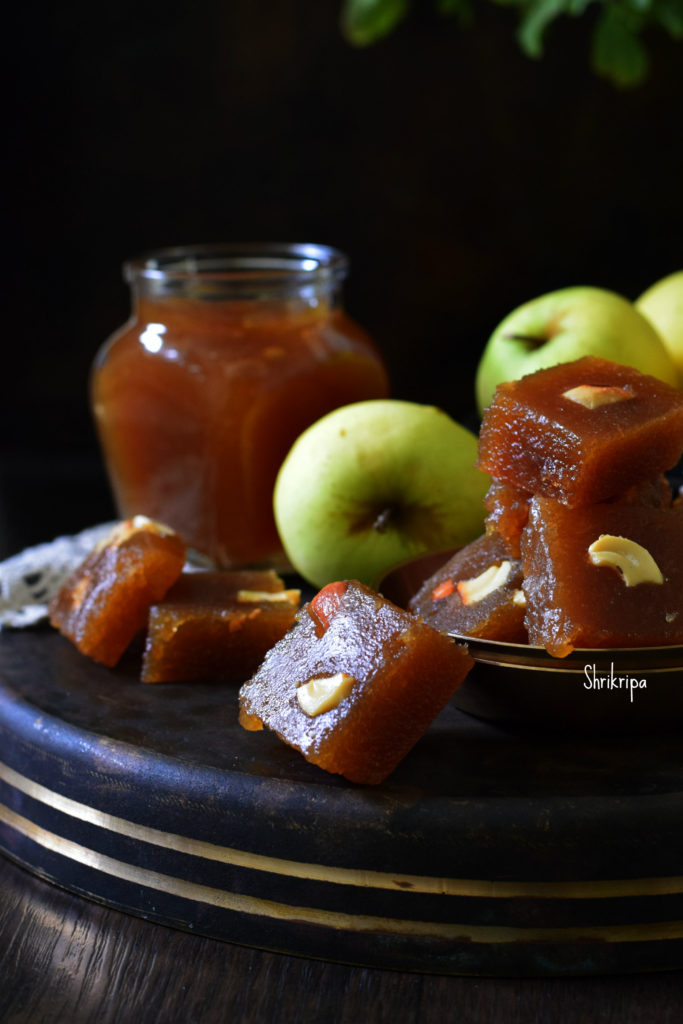
Yesterday, while preparing Apple jam, my Research oriented husband came in and asked me what I was doing, I said – Apple jam , planning to finish the stock which we bought couple of weeks back
He said, “why not halwa?” I was like 🙄🤔
Then, I changed my mind and took my share of jam when it was done. Proceeded to make Halwa with the remaining quantity, by adding little ghee in-between at a regular interval.
Surprisingly, it turned out super delicious and here I am presenting my end result which was experimental.
Here I have used fruit as a whole /with skin. Normally Apple turns out sour when you cook /boil . To avoid the sour taste, normally I bake it until it is done, then grind into a puree, sieved, and proceed to make jam then halwa with the added mild cinnamon flavour. One can add cardamom as well. Sugar can be replaced with an organic jaggery as well. Even though I have not tried with the jaggery, my friend Aruna has tried with the jaggery and result was just amazing, which was deep brown in colour.

Ingredients:
Golden yellow Apple – 1 kg (Any variety would do)
Sugar – ¾ kg
Ghee – ½ to ¾ cup
Cinnamon or Cardamom – 1 or 2 pinches
Method:
-Wash Apples, dice ,remove seed part and arrange in a baking dish. For Initial preparation, please refer here.
-Bake this in a 170°C pre-heated oven for 15 minutes at first.
-Remove, flip those apple pieces, and continue further 15 minutes.
-After 30 minutes, check the doneness. If it is soft, well cooked ,remove it.
-If it is not done, bake for further 5 or 10 minutes.
-When it is cool, add a little water and churn in a juicer by adding 1 or 2 cups of water.
-Sieve ,discard the roughage ( fibre as well as outer skin remains)
-Put this pulp in a thick bottomed kadai, add sugar, cook until it turns into little thick and turns into mass.

-Add ghee 2 tablespoons at a time in-between while stirring. If you feel that the Apple puree needs a little more ghee, add up to ¾ cup, some varieties of Apple need very less ghee and some need more.
-Now we will see, how we decide the quantity of ghee. While stirring if you feel that the mixture is a little dry and the bottom part becomes a little brown, keep adding it. If the ghee starts oozing at the sides, it is an indication to stop the addition of ghee.

-Now we will see how you know the doneness. It is quite simple, keep on stirring until mixture leaves the sides of the kadai and ghee oozes out from the mixture. You can add cashew pieces at this stage or spread those pieces in a greased plate like me.
-After you are done with this, it is almost ready to shift to the plate. Before shifting I prefer to check, by taking one small peanut sized portion of the mixture and rolling it in-between my thumb and forefinger to make a small ball like structure. If it holds a ball like structure and does not stick to your finger, it is ready.
-Now remove from the flame, shift to a greased plate, and pat this mixture evenly by using a flat, greased (apply some ghee) back of the spoon.

-Keep this aside for two or three hours to cool. Then cut this into the desired shape and store it in an airtight container.
-You can store this Halwa for a really long time (up to a month or two).
