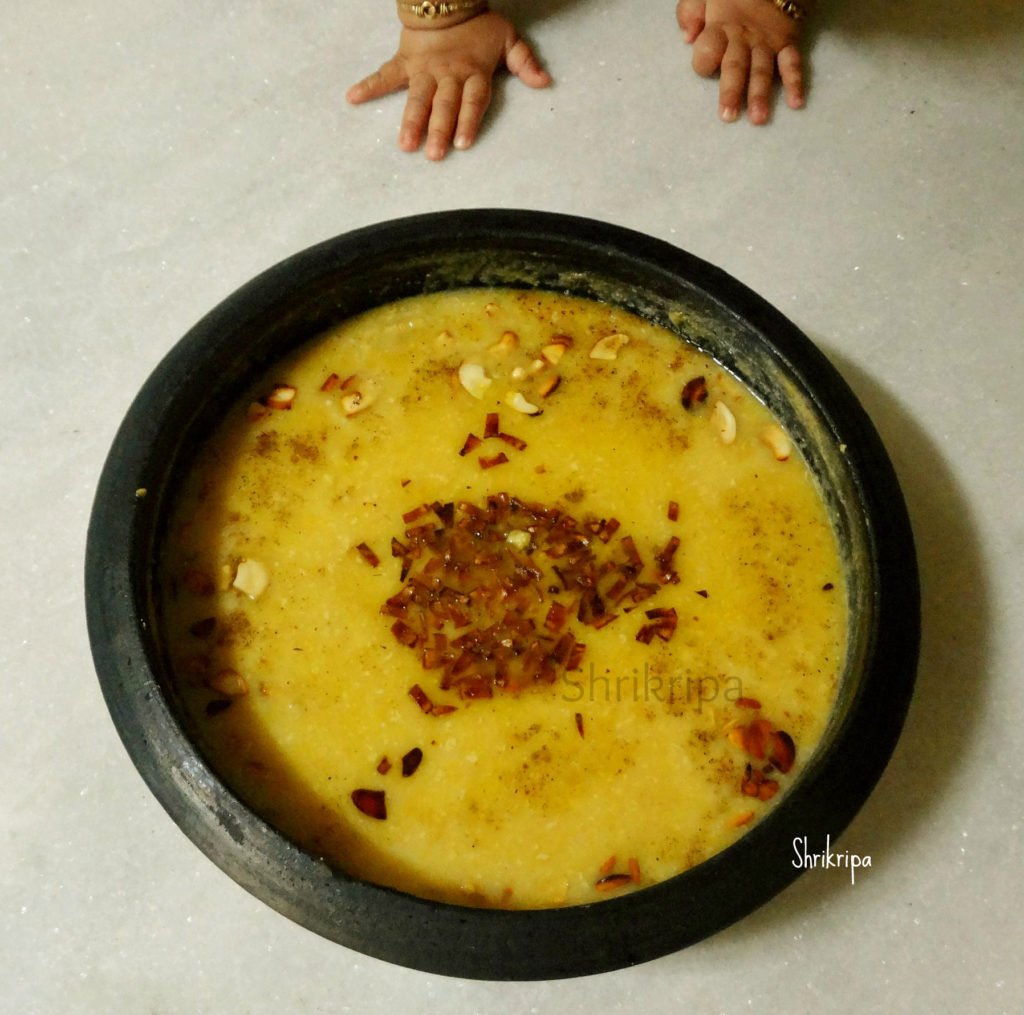
Banana Halwa:

Banana or Plantain Halwa was an integral part of my childhood. Usually this Halwa is made by using Kerala big banana which is called as” Nendra variety” but in our home, we used to have lots of overripe bananas from our family farm. To finish off all those overripe small bananas (Kadali variety of Mangalore), amma used to make Halwa or Banana Preserve/ Berati all the time. It was a very regular sweet at our house hold. Today I will share this recipe to all our readers-      

Ingredients:

Over ripe banana – 22

Sugar – 1 bowl

Ghee – ½ to ¾ cup

Cashew nuts – 2 tbl sp.

Method:

-Put all the peeled bananas to mixer grinder and make a smooth paste. Measure this by using any bowl of your choice.

-If this paste is 3 cups in quantity take one cup of sugar in that same measurement cup. So, your ratio of banana paste and sugar will be 3:1.

-Fry cashew bits in a teaspoon of ghee and keep aside. Grease one plate with ghee and keep it ready.

-Take one thick bottomed kadai, put this paste and keep gas flame in a very low flame and cook for a while.

-When it changes its colour to milky white and then to a pale colour and when you smell the banana flavour in the air, add sugar and mix this in at a regular interval.

-Add ghee 2 table spoons at a time in-between while stirring. If you feel that the banana paste needs a little more ghee, add up to ¾ cup, some varieties of bananas need very less ghee and some need more.

-Now we will see, how we decide the quantity of ghee. While stirring if you feel that the mixture is a little dry and the bottom part becomes a little brown, keep adding it.

-If the ghee starts oozing at the sides, it is an indication to stop the addition of ghee.

-Now we will see how you know the doneness. It is very simple, keep on stirring until mixture leaves the sides of the kadai and ghee oozes out from the mixture.

-You can add cashew pieces at this stage or spread those pieces in a greased plate like me. After you are done with this, it is almost ready to shift to the plate.

-Before shifting I prefer to check, by taking one small peanut sized portion of the mixture and rolling it in-between your thumb and forefinger to make a small ball like structure. If it holds a ball like structure and does not stick to your finger, it is ready.

-Now remove from the flame, shift to a greased plate and pat this mixture evenly by using a flat, greased (apply some ghee) back of the spoon.

-Keep this aside for two or three hours to cool. Then cut this into the desired shape and store it in an airtight container.

-You can store this Halwa for a really long time (up to a month or two).

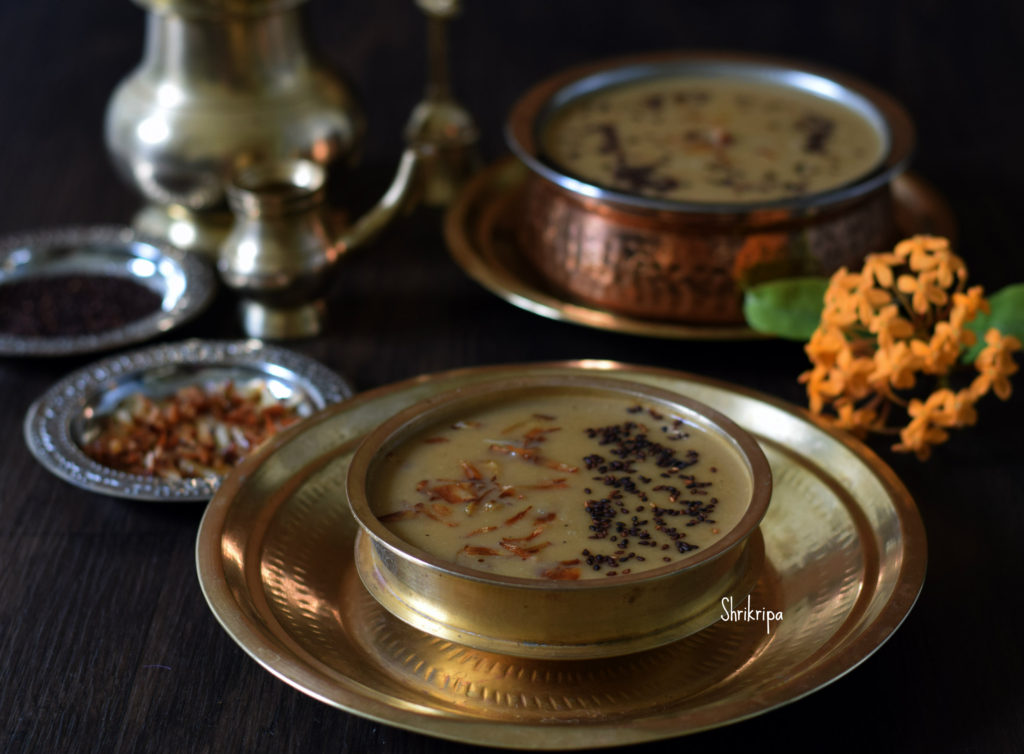


Halasina Hannu Berati Payasa / Preserved jack fruit payasam:

First, I want to wish a very very happy “Krishna Janmashtami” to all my readers. On the eve of this festival I made our traditional payasam and enjoyed with my family.

Berati” is nothing but preserved jackfruit pulp, which is cooked until it forms into thick mass and usually made during Jack fruit season and stored for future use.

How to preserve jackfruit / Berati is already shared in my blog and it is here .

In Coastal region we love jack in many forms. Berati Payasa is one of them.

Now we will see traditionally how it is made:

Ingredients:

Berati / jackfruit preserve – 1 bowl

Coconut – 1 (To extract milk)

-OR-

Thin coconut milk – 2cups

Thick coconut milk – ½ cup

Jaggery – to taste

Salt – ½ tsp

Cardamom powder – ½ tsp

For Seasoning:

Ghee – 1 tbl sp

Thin Coconut slices – 2 tbl sp

Cashew pieces – 2 tbl sp

OR

Toasted black sesame – 1 table spoon

Fresh coconut slices – 1 to 2 table spoons

Method:

  • Take out Berati from your freezer and keep aside for some time to attain room temperature.
  • Slice coconut by using small knife, chop these sliced pieces into small bits.

  • Toast black sesame and keep aside.
  • Take little ghee and fry coconut bits and keep aside.

  • If you want to, you can add ghee roasted cashew bits as well.
  • Grate coconut (coconut should be fresh), put one cup of water and grind this in a mixer jar and extract milk by sieving this ground mixture.
  • This is thick coconut milk and you should keep this separately. We use this at the end stage of Payasa making.
  • Do this procedure a couple of times to get a thin extract and lastly discard coconut fibre.
  • If you are using readymade coconut milk, please skip this step.
  • Now take one thick bottomed vessel, put Berati, thin coconut milk and dissolve Berati and keep this on a gas stove to boil.

  • Usually while making Berati, we put little jaggery, so add required amount of jaggery and boil until raw smell of the jaggery vanishes.
  • Lastly add thick extract of coconut milk and give one boil. Don’t boil it much. Add Cardamom powder and mix.    

  • Remove from fire and add fried coconut pieces, toasted black sesame or cashew brittles to prepared Payasa.
  • Serve with lunch thali or as a dessert.

NOTE:

  • Traditionally only toasted sesame and coconut bits are added.

Rice kheer:

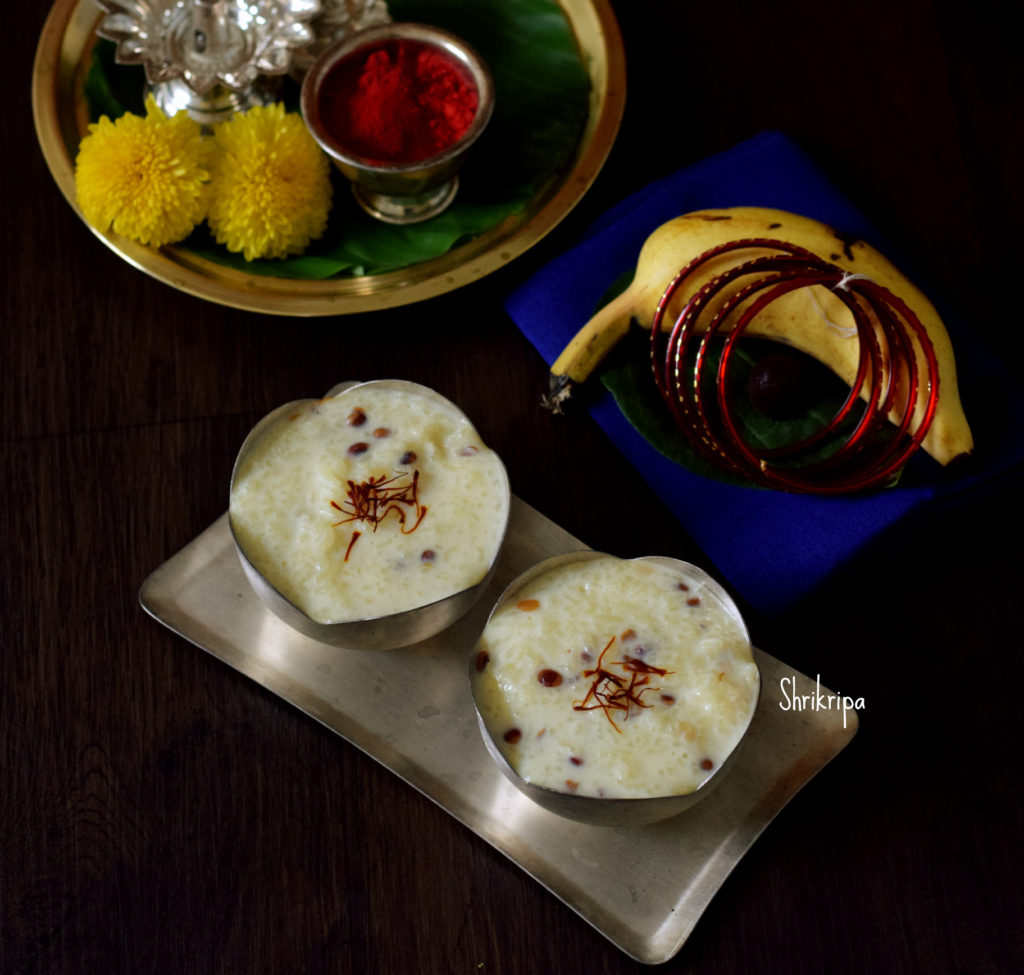
As a south Indian, moreover in Mangalore, we normally make Akki Payasa aka rice kheer as a prasadam for some poojas, either by adding jaggery or sugar by adding coconut milk or normal milk and it usually in thin consistency. If it is thick, it is known as pindi payasam and I have already posted the recipe earlier. I learnt this recipe from my close friend Surekha, who hails from Allahabad, all thanks to her for such a wonderful tasty kheer recipe. It is one of my daughter’s favourite as well. 

In this recipe, washed rice is cooked in milk, until done and in this process, milk condenses and yields creamy texture and kheer holds melt in the mouth texture as well. Speciality of this kheer is, addition of nutty flavoured Chironji or Charoli. It tastes a little like almonds and are tiny roundels in shape and good substitute to almonds as well. Which contains good fat, vitamins, minerals and dietary fibres in a considerate amount.  This is an ideal recipe for any kind of festival, potluck party.

Now we will see the procedure –

Jeera samba rice / small grain rice – 1 cup (you can use any fragrant rice)

Chironji – 100 grams

Milk – 1 to ½ litre (boiled)

Saffron – 10 strands

Sugar – 1 to 1 ½ cup (according to your sweet level)

Method:

-Wash rice, soak rice for 10 minutes.

-Soak saffron in 2 table spoons of hot milk and keep it aside.

– Take one thick kadai, add little ghee and fry Chironji until light brown.

-Add milk to this vessel and heat this. When it starts boiling, add soaked and drained rice.

-Cook in a very low flame, until rice is done and soft.

-If additional milk is needed, please add the extra amount. Each rice is different, so, please take care while adding milk.

-Now add sugar and saffron with soaked milk into it and boil. When kheer is ready, you will see the top glossy layer and it is the time to switch off the gas.

-Serve this kheer hot or cold, however you like to have it.


Mysorepak /Mysorepaka:

There are a lot of sweets which have originated from south Indian kitchens, even then Mysore Pak has a very special place in people’s hearts. Some like it very soft, ghee dripping melt in the mouth kind and some like little harder, porous and little grainy in texture.

Usually in the Mysore – Bangalore side, you will find softer version and In Mangalore we usually get latter one, with grainy texture.

I have received a couple of requests to update my version of Mysorepak recipe, which I prepare almost from past 25 years and it is our family and extended family member’s favourite sweet. My little niece who relishes it, and thinks it is the ultimate sweet, ends up having couple of pieces at one go. I usually wait to see her priceless expression while relishing her share of Mysorepak. This recipe yields firm, porous and grainy in texture with darkish inner and light colour on both the outer sides. Last week I prepared this sweet on my husband’s birthday and now sharing the recipe with you all.

Recipe goes like this-

Ingredients:

Besan /Bengal gram flour – 2 cups

Ghee – 3 cups

Sugar – 3 ¾ cups

Water – 1 cup

Cardamom powder – 1 to 2 tea spoons

Method:

-Take one baking tray or any deep wide vessel, apply ghee and keep aside.

-Take one vessel, pour ghee and keep it on the flame. When it becomes hot (before boiling), switch off the gas, add Besan to hot ghee, stir well and keep aside.

-Mixture should be uniform and without any lumps. I prefer to use wire whisk to do this.

-Next comes the main part.

-Take one thick bottomed kadai, add sugar, pour water and keep it on the flame, boil until it is frothy and reaches single thread consistency.

-During boiling, fire should be kept at low and you should stir in-between.

-When the consistency of the sugar is ready, add ghee mixed Besan and start stirring.

-Fire should be kept at low flame and you should continue stirring without removing your hand.

-After 10 to 15 minutes you will see the changes and mixture will become bubbly and shiny.

-Now it is the time to add cardamom powder and be vigilant. It would be ready in any moment from now.

-When it is done, mixture will leave the sides, base and sides of the vessel will become light brown or sometimes we see the ghee separating and oozing out from the bubbles. (these are the indications to remove)

-Now pour this mixture to a greased vessel, don’t touch or press after pouring, leave as it is.

-Cool it for about 5 min and mark the lines by using a sharp knife.

-Once it is completely cooled (it takes anywhere between 2 to 3 hours)

-Invert the plate on another plate or by keeping butter paper. It needs some knocking at the base because air bubbles would restrict the easy exit.

-Remove gently, break all the pieces and store it in an air tight container.

Your Mysorepak is ready to serve!

Note:

-Besan should be as fresh as possible. (do check the manufacturing date)

-When ghee is hot, you will hear couple of “tup” “tup” sound. That is the time you should mix in the Besan.

-Ghee shouldn’t boil.

-When sugar reaches single thread consistency, solution will start bubbling and rise upwards.

-Take a deep pan or baking tin or deep flat vessel to get long pieces and two tone colours.