Initial days of cooking are very challenging. We face lots of hardships at the kitchen. Generally in south Indian cooking, the quantity of water used, is crucial and the end result is depends on that. So, if we know the requirement of water for cooking that particular ingredient, half the battle is won.
Usually I get a query in my message box regarding some doubts or the other from my near and dear ones. In one such query’s person had asked me, why she can’t cook perfect vermicelli Upma? Further she said, her preparation becomes little soggy each time she makes vermicelli upma. That day, while answering her query, I thought of making one separate category for learners in my future blog and today here I am, writing my first post, dedicated to cooking learners.
Here, I will guide you to make simple Vermicelli Upma –

Ingredients:
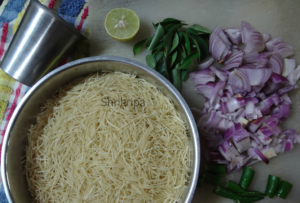
Vermicelli – 2 cups
Onion – 2 medium
Green chillies -2
Salt
Grated coconut – 1 table sp
Lemon – 1/2
For seasoning –
Mustard – 1 teaspoon
Urad dal – 1teaspoon
Curry leaves – 1 spring
Cumin- ½ teaspoon
Red chilli -1
Oil /ghee – 2 table spoon.
Method:
-First, Chop the onions, chillies and measure vermicelli and keep aside.
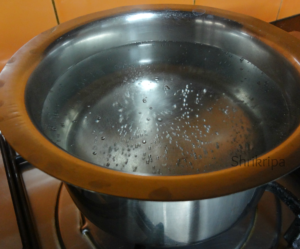
- Keep one small bowl of water for boiling.
- In another burner, keep thick bottomed kadai; do seasoning by heating ghee or oil, or mix of both. When it is hot, add mustard. When the mustard splutters add urad dal. After it becomes light brown add red chilli, cumin, curry leaves.
- After this add chopped onion, green chillies and fry for a while.
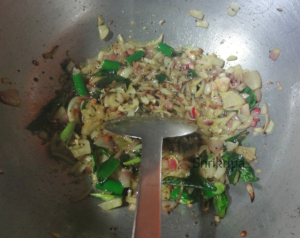
- If you wish to add turmeric, you can add it now.
- Add little salt and fry onion until it is light brown.
- Add vermicelli and fry for a while.
- How to check if oil is sufficient or not: while mixing vermicelli, if oil coats vermicelli and becomes wet and shiny, oil content is perfect for this upma. If you feel vermicelli is dry and it is not holding together, add little more oil or ghee.

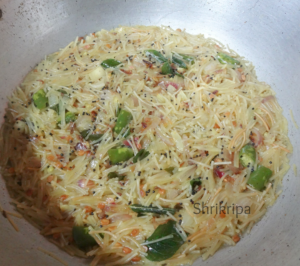
- Next- how much roasting or frying is needed? After frying it for a couple of minutes on a low flame, you will see the colour change and each strand will becomes whitish and crispy. It is now time to add boiling water.(refer to this above picture)

- How much quantity of water? Please refer to the picture. While pouring, Water should be just above the vermicelli. Mix the mixture and check for the salt. If salt is needed add and cover the kadai with a lid and cook it in a low flame.
- After a couple of minutes, open the lid, if water is evaporated and top part of the layer appears cooked, that is it. If you find, it is yet to cook, sprinkle little water and keep it covered for couple of minutes.
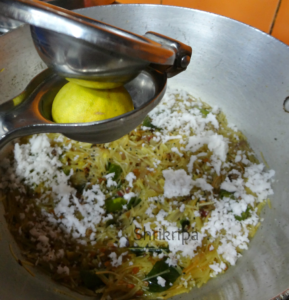
- If you like to garnish with coconut, add coconut and add lemon juice and mix.
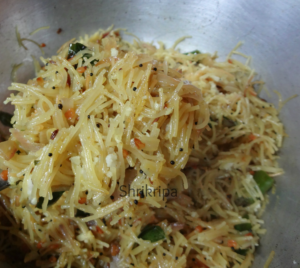
Serve this upma with a cup of coffee or tea.