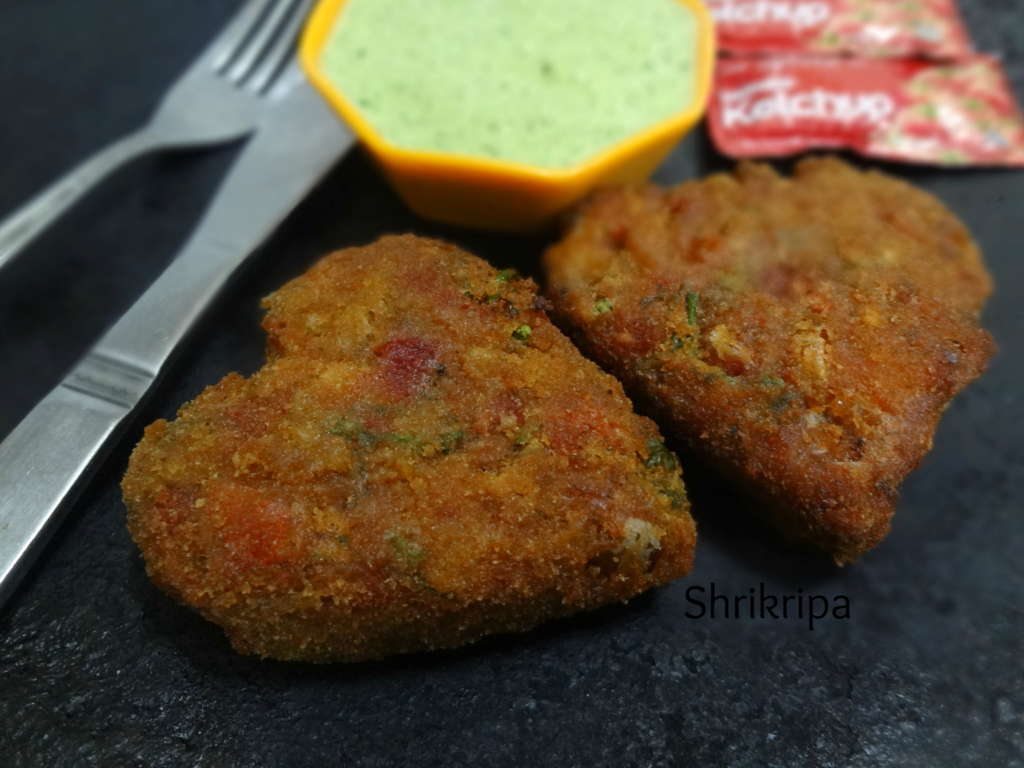
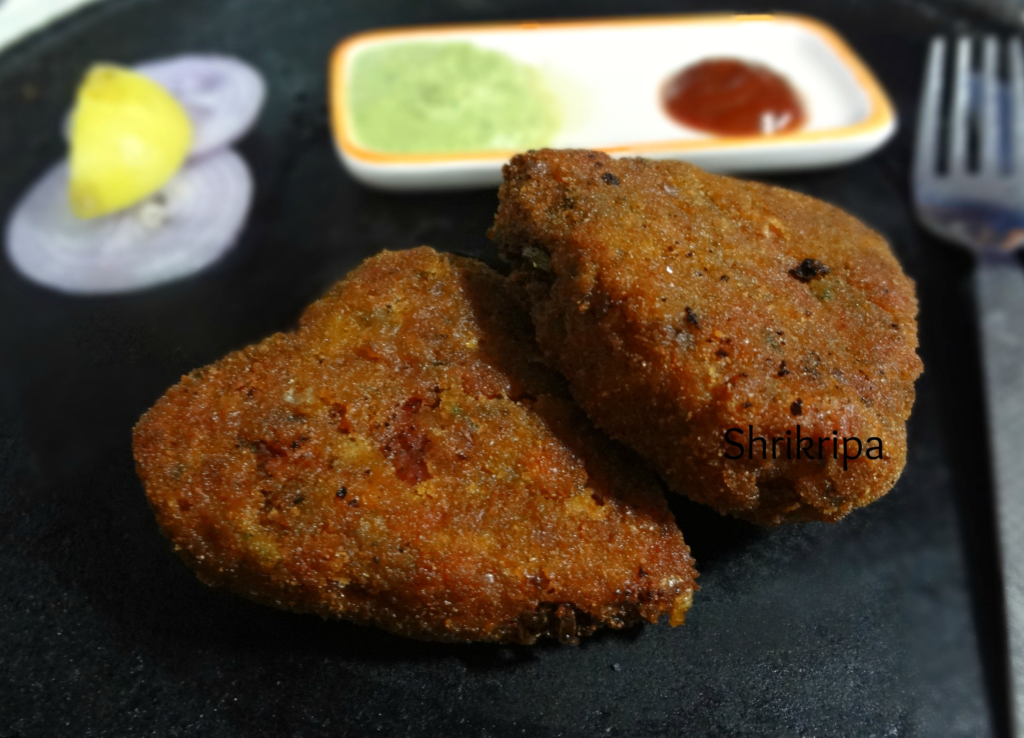
Exam time and kids were craving for Mangalore style cutlets, like the ones you get in Pabba’s ice cream parlour in Mangalore. My daughter asked me to prepare that same chutney as well. Finally tried my hand in this combo and succeeded. Everyone at home liked and asked me to blog about this yummy snack from Mangalore.
Ingredients:
Potato – 3
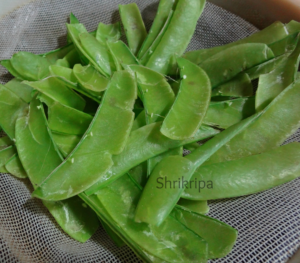
Beans – 10
Carrot -1
Beetroot – 1 small
Green peas – ½ cup
Onion – 1 big
Green chillies -5 to 6
Curry leaves – 2 springs
Garlic – 5 to 6
Salt
Garam masala – 2 to 3 tsp (according to taste)
Bread slices – 2 to 3 (whole wheat is fine)
Coriander leaves – 2 table spoon (chopped)
Seasoning: Oil – 2 table Spoon, Mustard – 1 tsp, urad dal – ½ tsp, chana dal -1/2 tsp.
Slurry :– All purpose flour – 1 table spoon and little water
Bread crumbs- to coat
Oil –for deep fry the cutlet
Method:
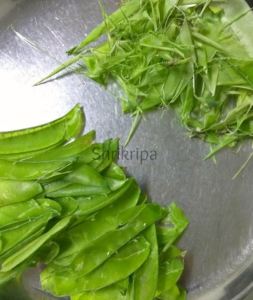
- Wash all the veggies, chop beans, carrot and beetroot into bits.
- Make potato into 4 pieces and cook all these in pressure cooker with sufficient water by adding frozen green peas as well.
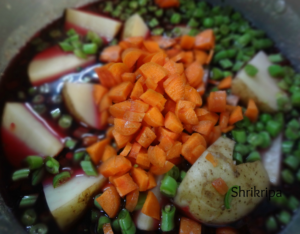
- Cook this for one whistle and switch off the gas.
- When pressure relieves, open the lid, drain the water and keep the veggies aside.
- When it becomes cool peel the potato skin and mash.
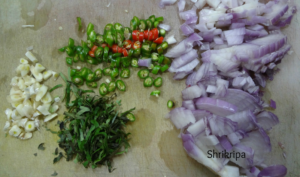
- Chop onions, garlic, chillies and curry leaves.
- Take one kadai; add seasoning ingredients one by one from oil, when it is hot add mustard, then urad and chana dal.
- When dal becomes red, add chopped curry leaves, garlic, chillies and onions and fry until onion becomes little brown.
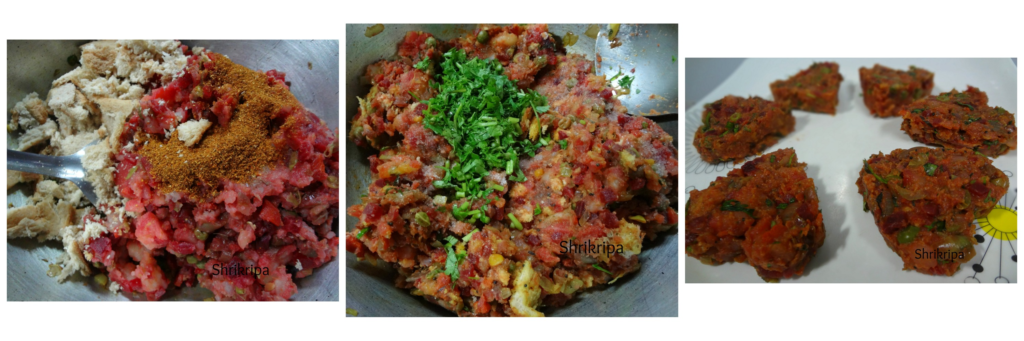
- Now add cooked veggie, mashed potato, Garam masala, salt, powdered bread slices and mix nicely until it becomes like a mass.
- Add chopped coriander leaves and mix nicely. Check for salt and adjust.
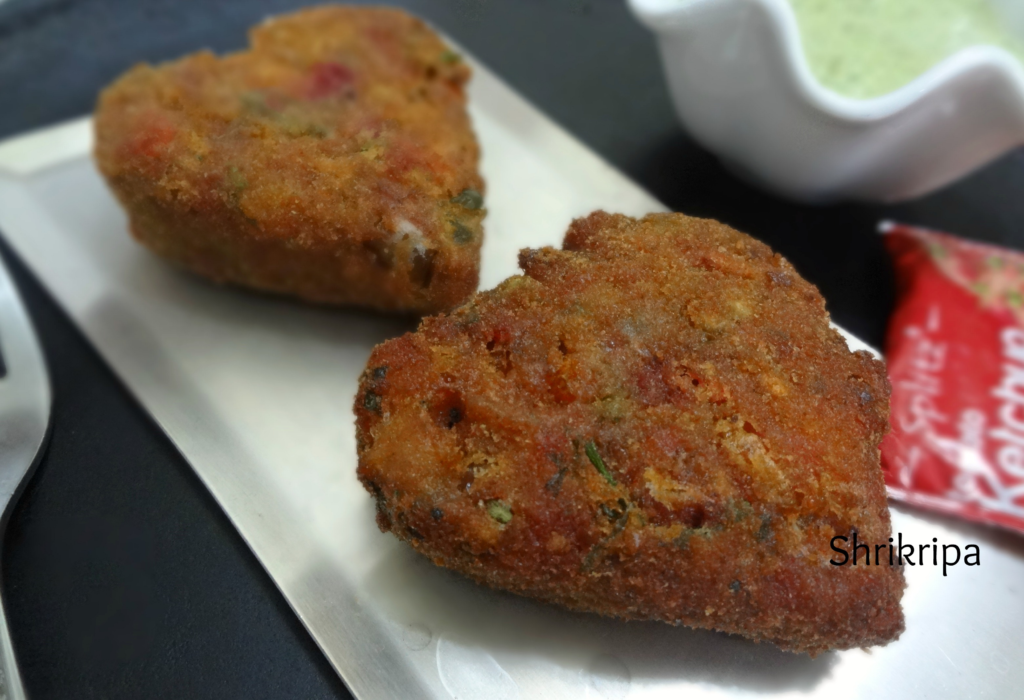
- Now take one cookie cutter, fill the mix to give a shape or make round patty and arrange them in a plate and refrigerate for one hour OR you can keep this in a freezer for 10 minutes while preparing other patties and can proceed.(It will help the patty to firm up a bit)
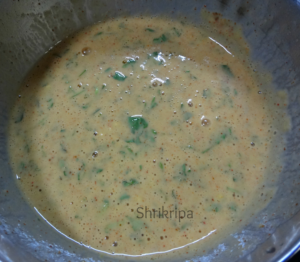
- Make maida (all-purpose flour) slurry to dip these patties. It should be little thinner than Dosa batter.
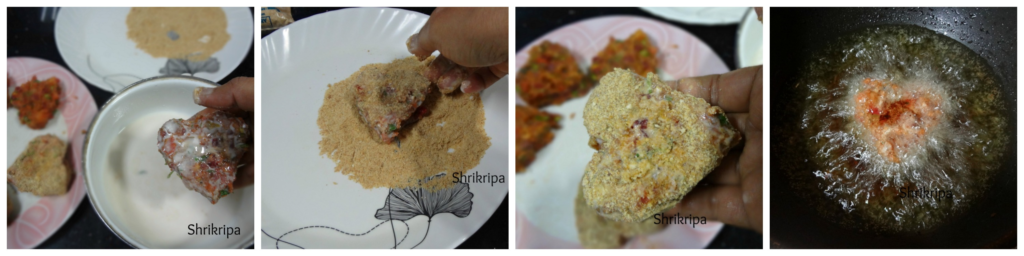
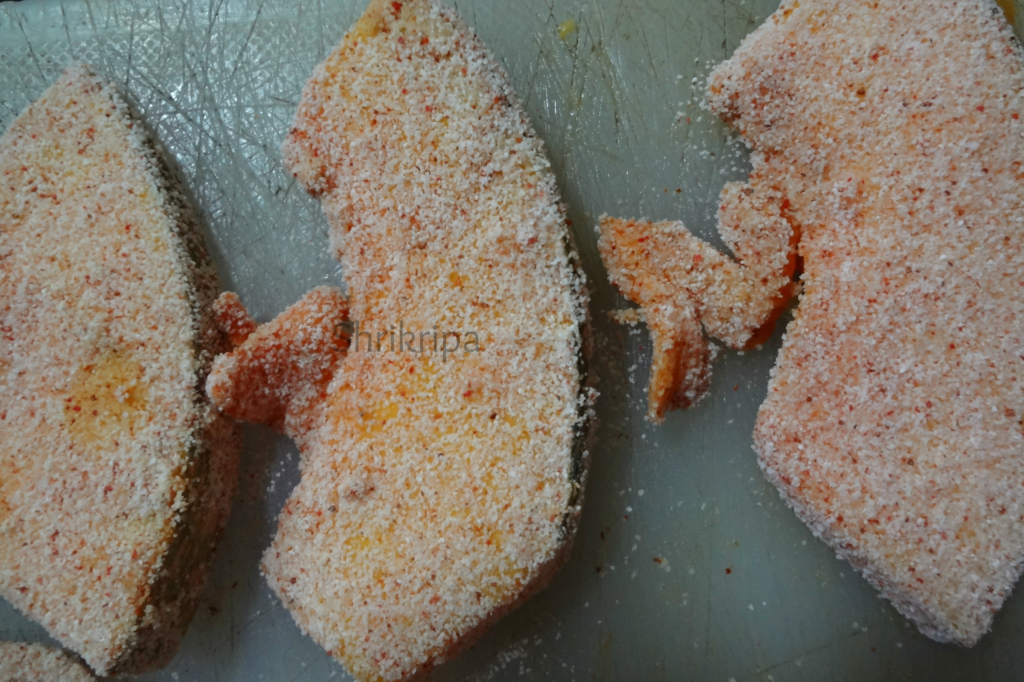
- Remove patties from the fridge and dip one by one in the slurry and roll this in a bread crumbs and this is now ready to deep fry.
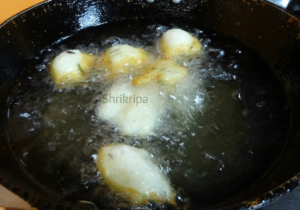
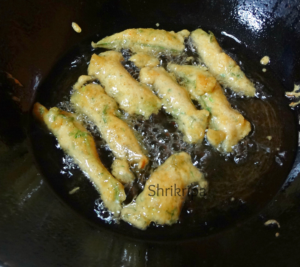
- Heat oil in a kadai, when it is hot, drop these patties one by one and fry until it is brown. Remove from the oil, drain the excess oil and serve this with a mint – coconut chutney and tomato sauce.
- Will post the chutney recipe in my next post 🙂
Note:
-You can use whole wheat bread as well.
-You can use the drained water in making curries, Rasam’s or soups.
– If you are using dried peas, please soak it and cook separately in cooker.
– I use Nayak’s brand Garam masala to give authentic taste and is available at all Mangalore stores in Bangalore.
 -Fry in a medium heat and when it is done, remove these into a tissue laid serving plate.