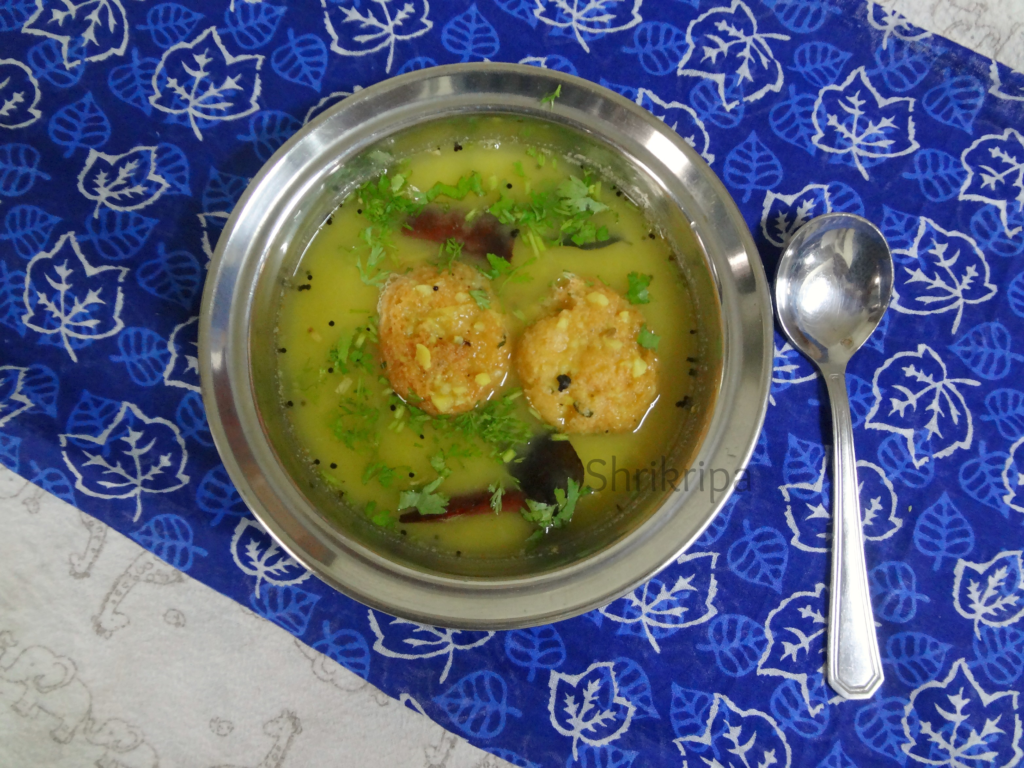
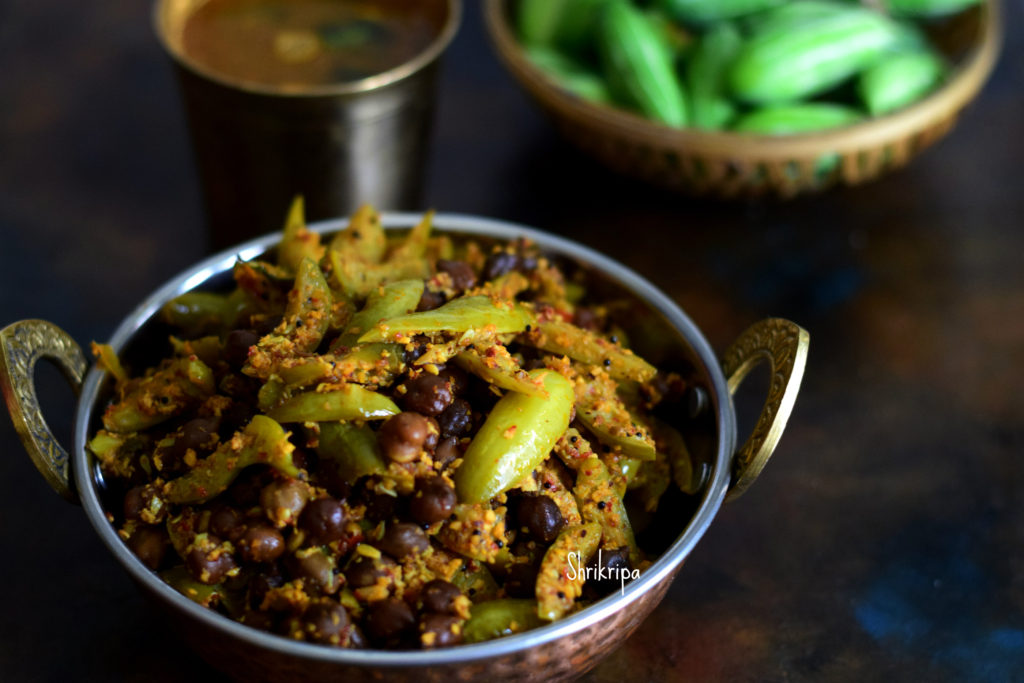
It is nothing but Yard long beans and whole green gram with cumin flavoured coconut gravy.
This is an age old combination and a traditional recipe from Mangalore. Jeerige Bendi is very mild, flavourful and not spicy. It can be enjoyed with hot rice, Whole wheat Roti’s, Dosa or Rice rotti.

Ingredients:
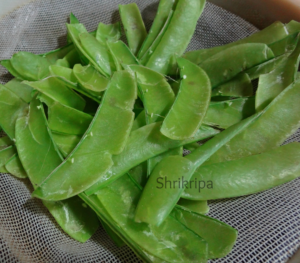
Yard long beans / Alasande – 250 grams
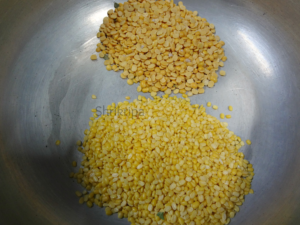
Green gram – 1 cup
Coconut – 1 bowl
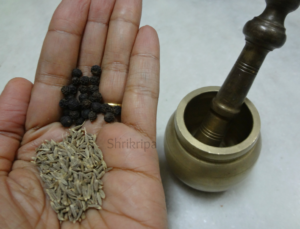
Cumin – 1 teaspoon
Dried Red chilli – 2
Salt
Jaggery – ½ teaspoon
Red chilli powder – ½ teaspoon
Tamarind – peanut size.
Seasoning: Coconut oil – 1tsp, mustard – 1 teaspoon, Red chilli -1, curry leaves – 1 spring.
Method:
- Wash green gram and soak it overnight.
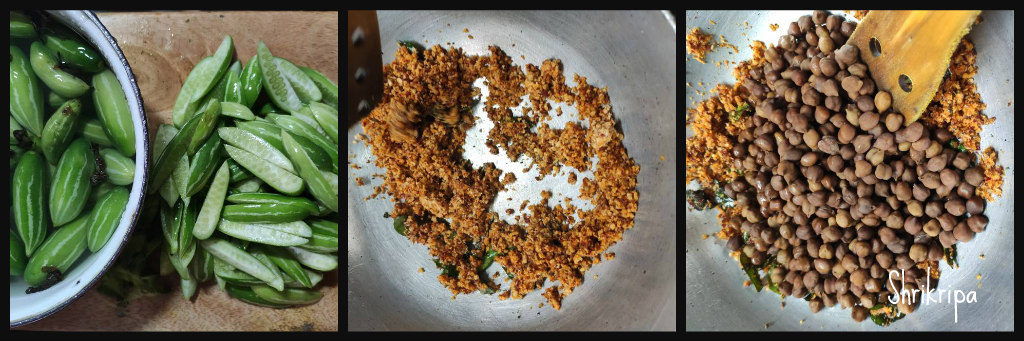
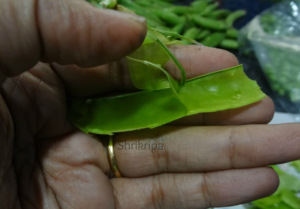
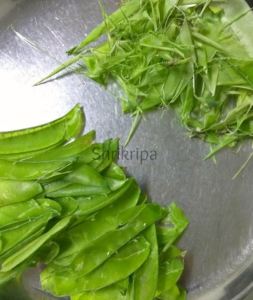
- Next day, wash yard long beans and make one inch pieces.
- Cook Soaked green gram with sufficient water, salt, jaggery and red chilli powder.
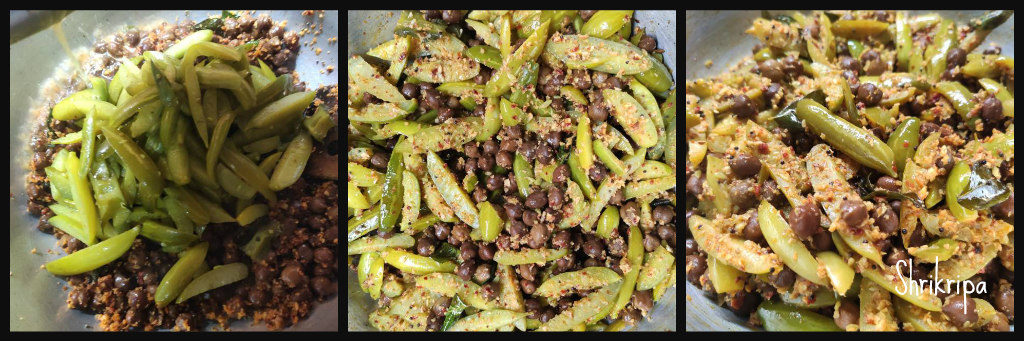
- When it is half done, add chopped yard long beans and cook.

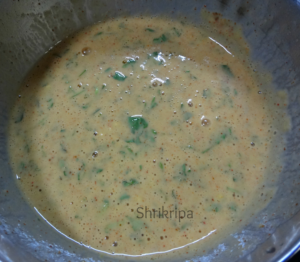
- Meanwhile, grind coconut, red chillies, cumin and tamarind into a smooth paste and add this paste to cooked vegetable and boil.
- Check for the salt and add seasoning.
- For seasoning, heat oil, add mustard, red chilli. When mustard starts spluttering, add curry leaves and pour this into boiled curry.

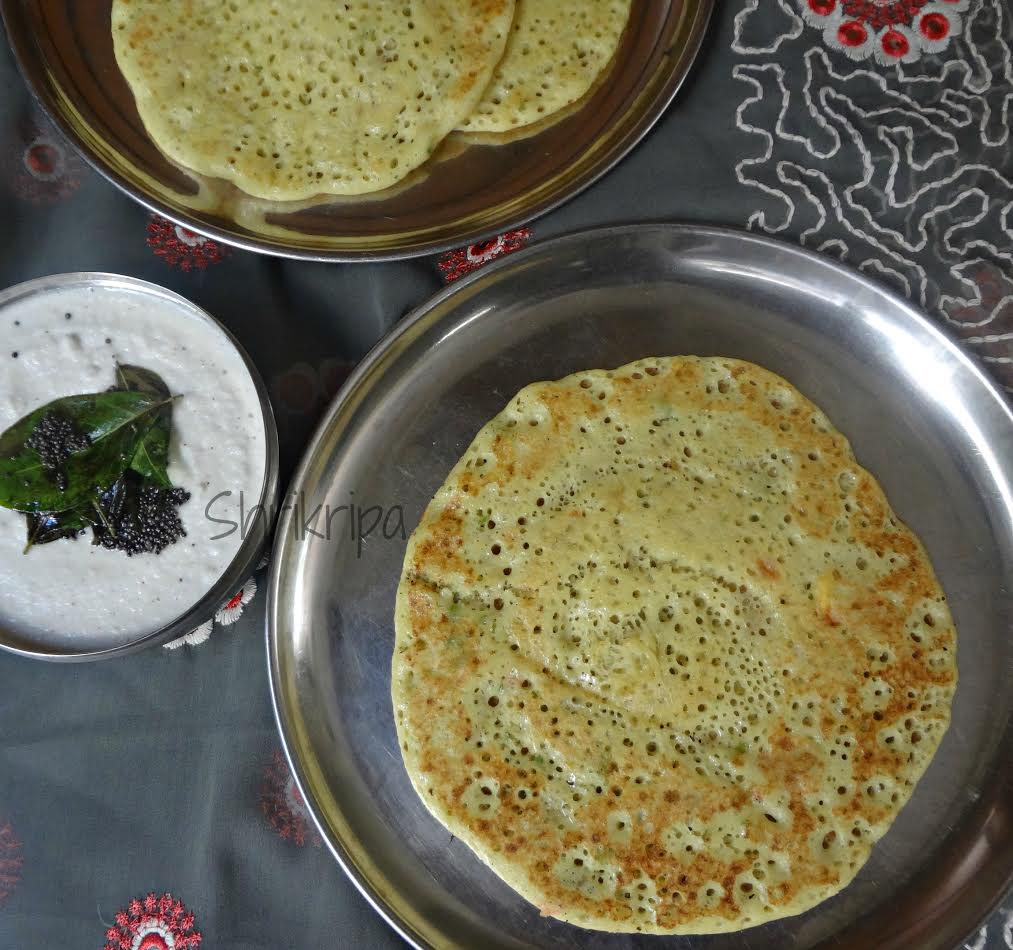
- It can be enjoyed with hot rice, Whole wheat Roti’s, Dosa or Rice rotti.


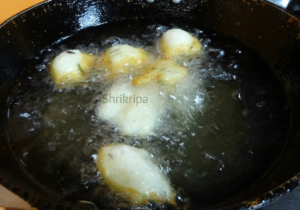
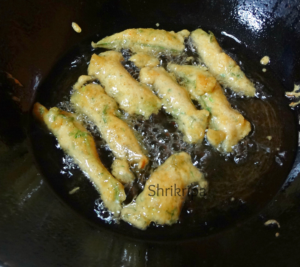 -Fry in a medium heat and when it is done, remove these into a tissue laid serving plate.