This time when we went to Sirsi, we stayed at Hotel Madhuvana. When I looked at their menu, I was very curious to taste this special omelette, and ordered the same .When I tasted it, it was this amazing blend of flavours, and not at all like the usual tomato omelette which I prepare. Everybody liked the taste. It was little sweet, tangy at the same time filled with flavour. Immediately, my curious mind, started to check the ingredients. I had asked my hubby to note it down, one by one while I was checking the ingredients .After coming back, I took that list and tried to imitate the same and succeeded. Here I am, sharing this super tasty Dosa recipe.
Ingredients:
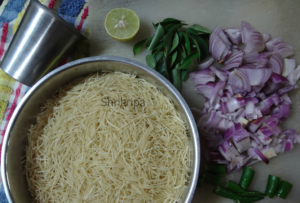
- Dosa rice- 3 cups
- Fenugreek/methi seed -2 tsp.
- Beaten rice/poha- 1 ½ cup
- Coconut – 2 fists full (grated)
- Jaggery -2 table sp.
- Salt –to taste
- Turmeric – ½ tsp.
- Eno fruit salt or cooking soda – 1tsp (optional)
- Cumin- 1tsp.
- Grated ginger – 1 tsp.
- Firm tomatoes – 2
- Coriander leaves – 2tblsp.
Method:
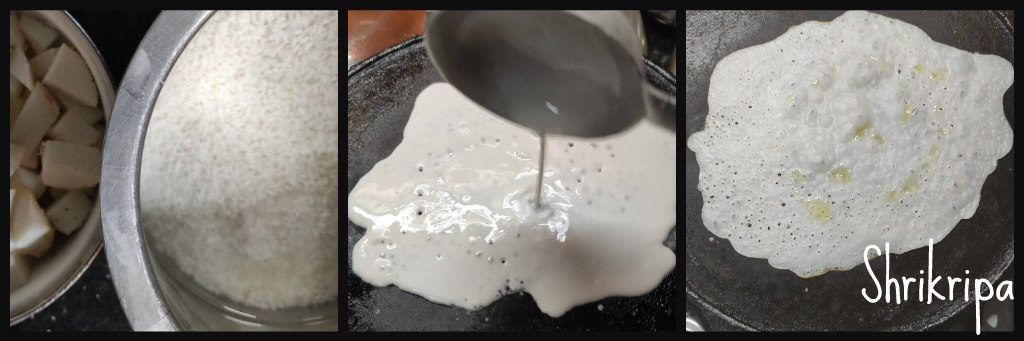
-Wash and soak Dosa rice, beaten rice and methi for 2 to 3 hours.
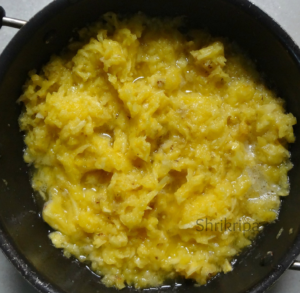
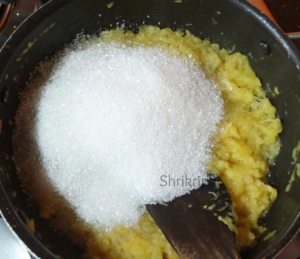
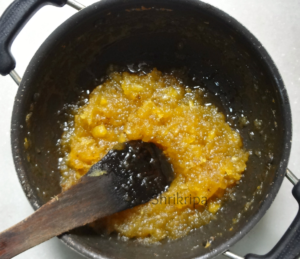
-Grind this into a smooth paste by adding turmeric, salt, jaggery, coconut to an idly batter consistency (little thicker than normal Dosa).
-Pour this batter into one big vessel, add jeera and keep it aside for fermentation.
-If you are living in the cold climate, next day morning add 1 tsp. Eno fruit salt, mix nicely and keep it aside for 10 min.
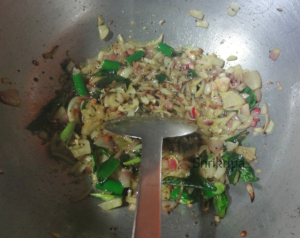
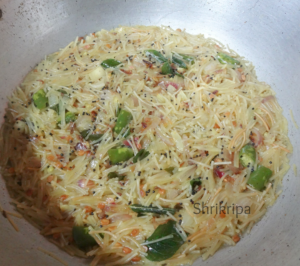
-Now chop Tomatoes, coriander leaves and grated ginger.
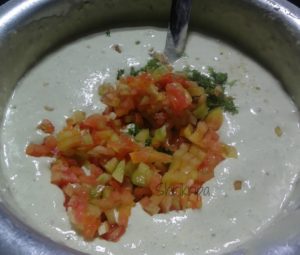
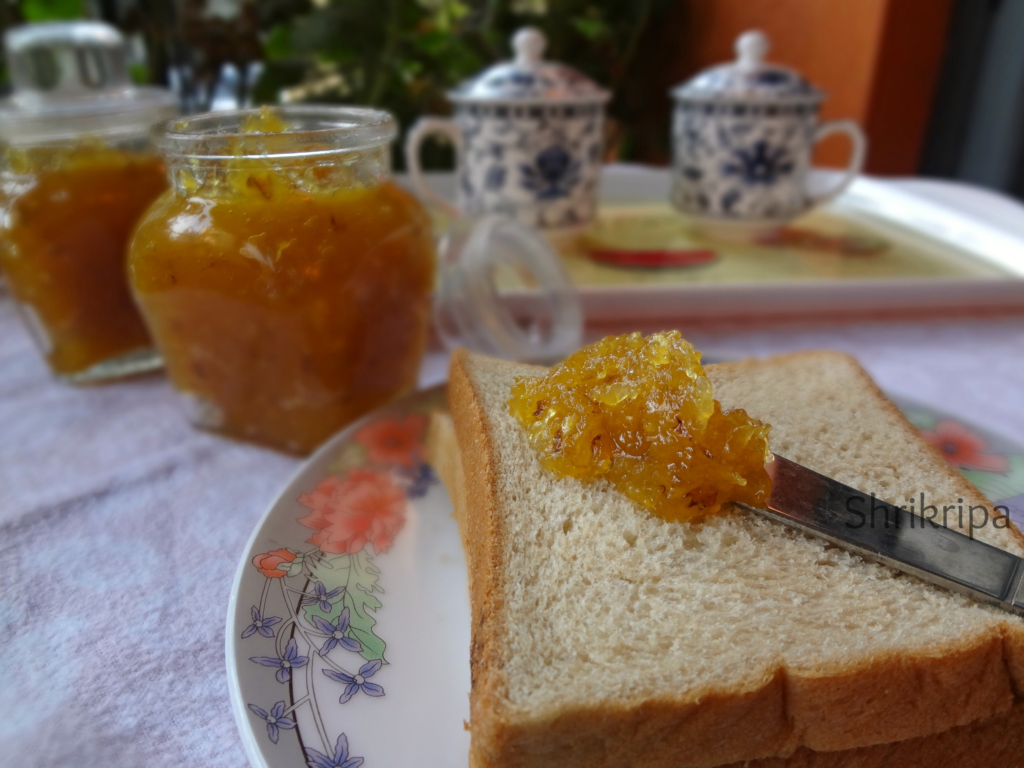
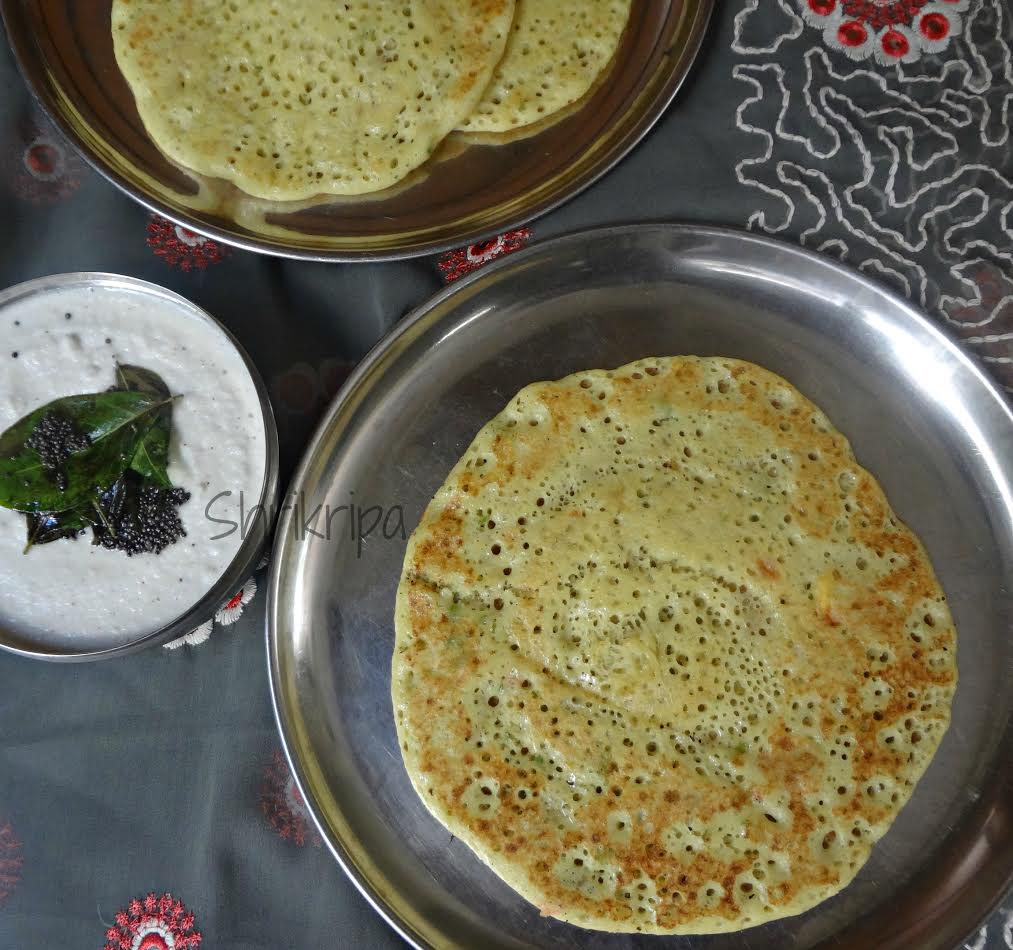
-Mix this into Dosa batter and start making Dosa by pouring one serving spoon of the batter on a hot iron or non-stick tawa, don’t spread much. You will see thousands of holes on the upper surface. Smear with butter or clarified butter. When it is cooked, flip and cook on another side too. Serve this spongy tomato omelette with coconut chutney. Here I have served this with coconut-ginger chutney.