Homemade Lemon curd

Fruit curd is a dessert spread and topping usually made with citrus fruit, such as lemon, lime, orange or tangerine. Other flavor variations include passion fruit, mango, and berries such as raspberries, cranberries or blackberries. Wikipedia

Every year a cousin of mine, gifts me with these home-grown cuties and I love these kinds of lemon’s flavor especially in baking.

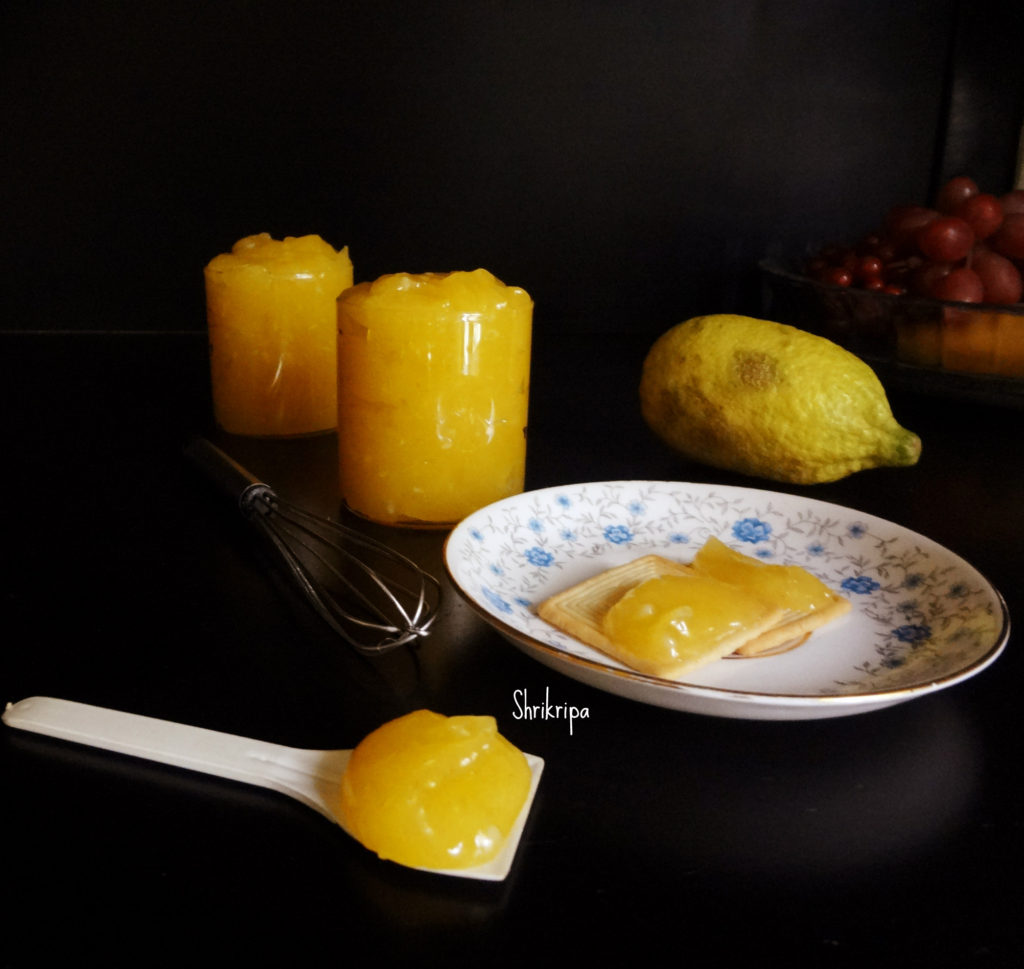
Today I will post how to make “Homemade Lemon curd”. Homemade lemon curd is quick and easy and so much more mouthwatering than the shop-bought variety. Made by cooking (by using double boiler method) a mixture of fresh lemon juice, grated outer skin/rind, sugar, butter, and eggs, lemon curd is enjoyed on buttered toast, and is a delicious filling for breads, tarts, cakes and cookies. In the coming posts, I will explain the usage of curds one by one.

Equipment needed: Wire whisk (egg beater) and nice, sharp grater with tiny holes, so that it will help to remove only the lemon’s outermost layer (coloured layer) inner white layer will be bitter, 2 vessels.

DSC05033_Fotor

Ingredients:

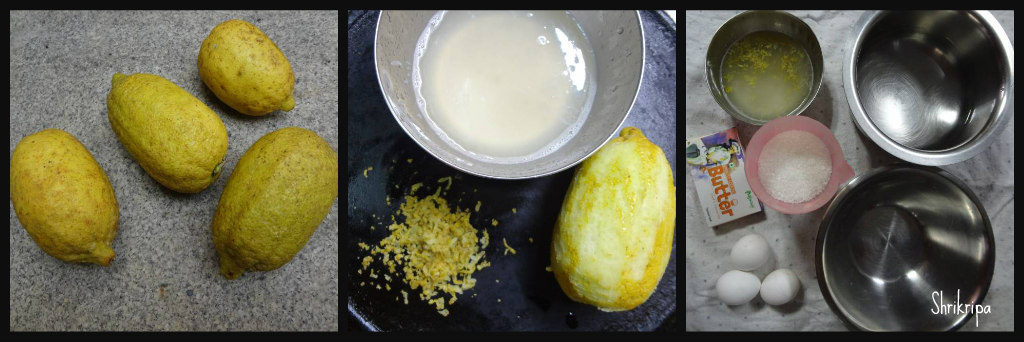
Had 4 big lemons and took all those.

zest of 1 lemon and juice of 4 lemons
200g sugar
100g butter (cut into chunks)
3 eggs

-Collect lemon zest, lemon juice and assemble everything.

Ribbet collage 1

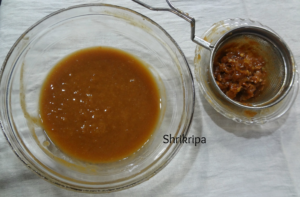
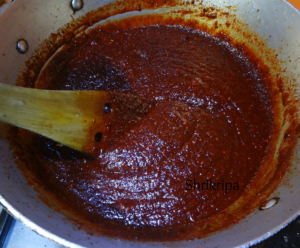
-Put lemon zest, juice, sugar and the butter, into a basin kind of a vessel (Step 2) over a pot of boiling water, make sure that the bottom of the basin doesn’t touch the boiling water (step 1).

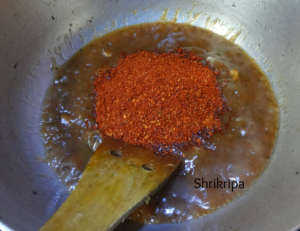
-Stir with a whisk until the butter melts (step 3)

Ribbet collage 2

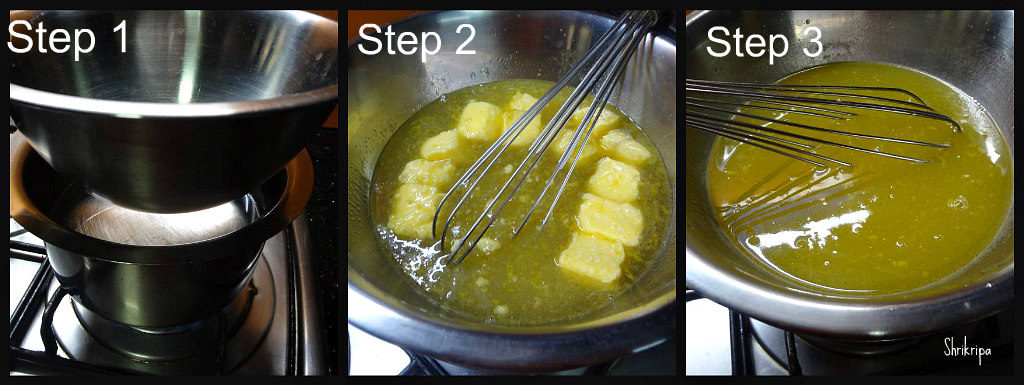
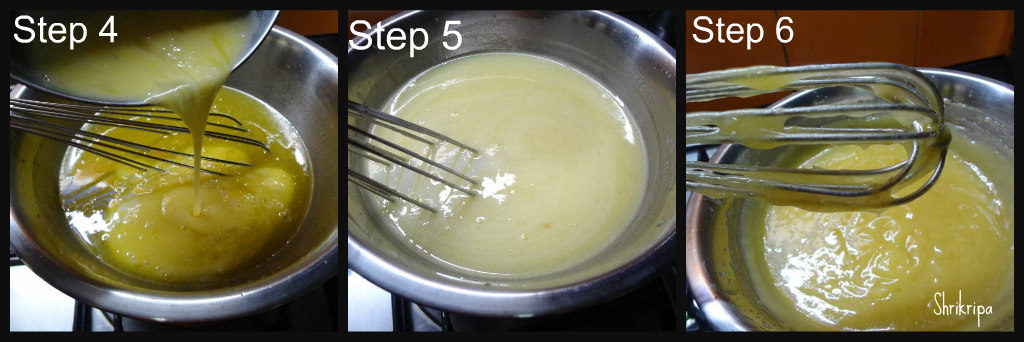
-Mix in eggs (beat lightly before adding by using fork), after adding eggs, whisk in between, until it is thick, it should be heavy (should stick to the whisk) (step 4 to 6)

Ribbet collage 3

-It took me around half an hour to complete the process.

-Remove from the heat and stir occasionally till it cools…transfer the content to clean glass jar and store it in a refrigerator.


Avalakkki/Poha Chiwda:

Chiwda or Chivda is an integral part of Diwali festival. It is nothing but savoury rice flakes or Poha. This is not the usual deep fried one. It is a melt in the mouth kind, is very low in calories and is a light snack. My mom used to make this with Nylon Poha or super thin Poha.

Chiwda main

This is how my mom used to make it-

Ingredients:

Nylon Poha /Paper thin poha – 500 Grams

Tamarind powder or Amchur powder – 2 tsp.

Salt – to taste

Sugar powder – to sprinkle.

Seasoning:

Oil – 4 tbl sp

Peanuts – 4 tbl sp

Mustard- 2 tbl sp

Cumin- 1 tbl sp

Hing – 1 tsp

Curry leaves – 7 -8 springs

White sesame seeds – 2 tbl sps

Turmeric powder – 2 tsp

Green chillies – 3 -4 Chopped

Dry Coconut bits –  3 tbl sp

Coriander leaves – 3 tbl sp

Method:

-In the morning keep beaten rice /Poha under the sun by spreading on a thin clean cloth.

chiwda 1

-If you want you can cover this Poha by using another thin cloth to avoid dust accumulation while drying.

-Keep this for two to three hours or until it becomes crunchy.

– When it is ready, remove from outside and keeps everything ready for seasoning.

chiwda 2

– Chop green chillies, curry leaves, coriander leaves.

– Slice coconut and make bite size pieces.

-Make sugar powder and keep aside.

-Now take one big kadai, put oil. When it is hot add peanuts.

chiwda 3

-When it is half done, add mustard. After it splutters go on adding Cumin, hing, curry leaves and green chillies one by one.

-When curry leaves become crisp add coconut bits and fry a little.

-Lastly add chopped coriander leaves and fry nicely until coconut bits becomes brown.

-Now add all the powders- turmeric, salt, tamarind and sugar.

-Switch off the gas, add sun dried Poha and mix thoroughly until it holds all the masalas.

chiwda 4

– Don’t put lot of pressure while mixing, if you do so, crunchy Poha will break and will not hold the shape.

-After mixing, cool and store this in an airtight container. This stays good for one month or more.

Enjoy this with evening tea.

NOTE: If you don’t have access to sunlight, you can roast this in kadai after doing seasoning. Keep it for some time in a low fire and make Poha crispy or use microwave for roasting before seasoning.

Peanut chutney:

Peanut or Ground nut is considered as a power house of nutrients and known as the poor man’s cashew. In our family everyone loves peanuts as a munching snack and not in a curry. As a Mangalorean, our taste buds were accustomed to coconut based curries from childhood days and we never prepared peanut based curries until my hubby introduced me to this super delicious recipe of his friend’s family. Thanks to our friend Seetha who obliged to pass on this recipe of her mother in law. This is an Andhra household’s day to day chutney recipe. We love this Spicy, tangy and creamy chutney or dip with anything and everything. It is a deadly combination with Sago and Rice Rotti too.

pic main

Ingredients:

Peanuts – ¾ cup (roasted)

Oil – 1 tea spoon

Onion – 1 (chopped)

Green chillies – 3 to4 (chopped)

Coriander leaves – 4 strings (chopped)

Garlic – 1 whole bulb

Salt

Tamarind – peanut size.

Method:

I take roasted peanuts with skin intact. If you want to remove the skin, you can do that and use.

Ribbet collage

Now take one tawa, put oil. When it is hot, add chopped onion, garlic, green chillies and fry till it becomes translucent. (Onion Should be transparent and glossy)

 Switch off the gas and mix in chopped coriander leaves, roasted peanuts and tamarind.

Cool this mixture and grind this mixture by adding salt and required amount of water.

 I normally don’t add any seasoning to this chutney. If you want you can add or serve as it is.

  It goes very well with any south Indian Breakfast dishes.

Akki Happala/Rice Papad:

This is a very light and tasty papad, which is relatively very easy and there is no need to keep it under the sun to dry as it dries under the fan or partial sun at balcony or wherever.

Previously I used to struggle to make this by keeping my tiny 3 steel plates in idly steamer to cook but this year, when I visited Chennai; I bought one papad stand, which is known there as an Elai Vadam Stand and its plates are known as Elai Vada plates. This is my most treasured asset and I wanted to own it from so long. If you don’t have this stand and still want to make this, you can use your thatte idly stand or simply you can keep any small plates or banana leaves and still you can make.

akki happala 1

I usually use Dosa Rice for this and for seasoning; I add chopped green chillies, cumin and salt. You can add any seasoning of your choice.

Ingredient:

Dosa rice – 2 cups

Salt

Cumin – 2 tsp

Green chillies – 4 to 6

Method:

-Soak Dosa rice in the afternoon.

-Around night, grind this into smooth batter by adding salt and little water. Batter should be like Dosa batter. Add Cumin and Keep aside for overnight fermentation.

pic 1          pic 2

-The next morning, when you are ready to prepare papad, dry grind green chillies in small mixer jar and add this to ready fermented batter.

-Adjust the consistency by adding extra water. Batter should be a little thinner than regular Dosa batter.

-Check for salt and adjust that as well.

-Now keep idly steamer on gas stove with little water at the bottom.

-Apply little oil to steel Elai vada plates. In this stand 6 plates will be there. I recommend you to buy extra set of 6 plates with this stand, so that process will finish off in a jiffy.

pic 3    pic 4

– Now pour a little batter on each plate and spread the batter. Place them in the stand and steam cook this only for 2 minutes.

pic 5     pic 6

-At this time, take out the other set of Elai vada plates and apply some oil and spread the batter.

-There is no need to apply oil every time, only once at the beginning is more than enough.

-Now remove adai stand from the steamer, remove those leaves from the stand and replace with the new set and keep it inside the steamer for 2 minutes.

pic 7    pic 8

-Now remove all those cooked papad’s from the leaves by using other leaf’s edge and slightly lift that and peel off.

-Transfer these peeled papad’s over clean cloth and sun-dry wherever you want. If you have access to sun light, dry under the sun (very partial sunlight is required). If you don’t have access to sunlight, you can dry it indoors, but it will take an extra day  or two.

pic 9    pic 10

-Dry for 3 days and store it in a tight container.

akki happala main

Fry this whenever you want and Enjoy as it is or with Rice- Rasam/dhal.


Tamarind Pickle:

pic 1

Tamarind has a very important place in the Indian kitchen and it has loads of health benefits as well as it is a treasure of anti-oxidants and dietary fibres.

Indians love its tangy and sweetish taste and enjoy this in chutney, relish, digestive candies, pickles and more.

tamarind 1            tamarind 2

From childhood, I used to enjoy tamarind pickle and never knew about the recipe. Thanks to my brother-in-law who sourced the recipe and made it possible for me to enjoy this relish after so many years.

This is a family recipe of one of our friends from Mangalore and speciality of the local Jain community form coastal region.

Ingredients:

Tamarind- 100 grams

Dried red chillies – 200 grams (Byadagi variety)

Jaggery – 250 grams

Salt – 8 to 10 teaspoons

Water – 3 to 4 cups

Fenugreek /methi seeds – 1 tea spoon

Cumin – 2 tea spoon

Gingelly oil – 1 to 2 table spoon.

Mustard – 1 tea spoon

Garlic – 5 to 6 cloves (crushed)

Curry leaves – 1 spring

Method:

  • Soak tamarind and grated jaggery in water for some time.
  • When it becomes soft, nicely squeeze out and sieve the liquid.

pic 9           pic 10

  • Discard all the roughage and fibres.
  • Dry roast methi and cumin.
  • Roast red chillies by putting very little oil.
  • Powder all the roasted items by using dry mixer jar.
  • Now keep one thick bottomed vessel on the gas stove, put oil and do seasoning.
  • When oil is hot, splutter mustard seeds, then add crushed garlic and curry leaves.

pic 11                pic 12

  • Pour tamarind and jaggery concentrate, salt, ground masala powder and boil.
  • After boiling it for some time, upper layer of the mixture will look glossy and it is the sign for its doneness.
  • Switch off the gas, cool this mixture completely and store it in dry glass bottles and keep outside for two days to set and afterwards keep it in the fridge.

pic 6

  • It will stay up to one year if you store it in the fridge.