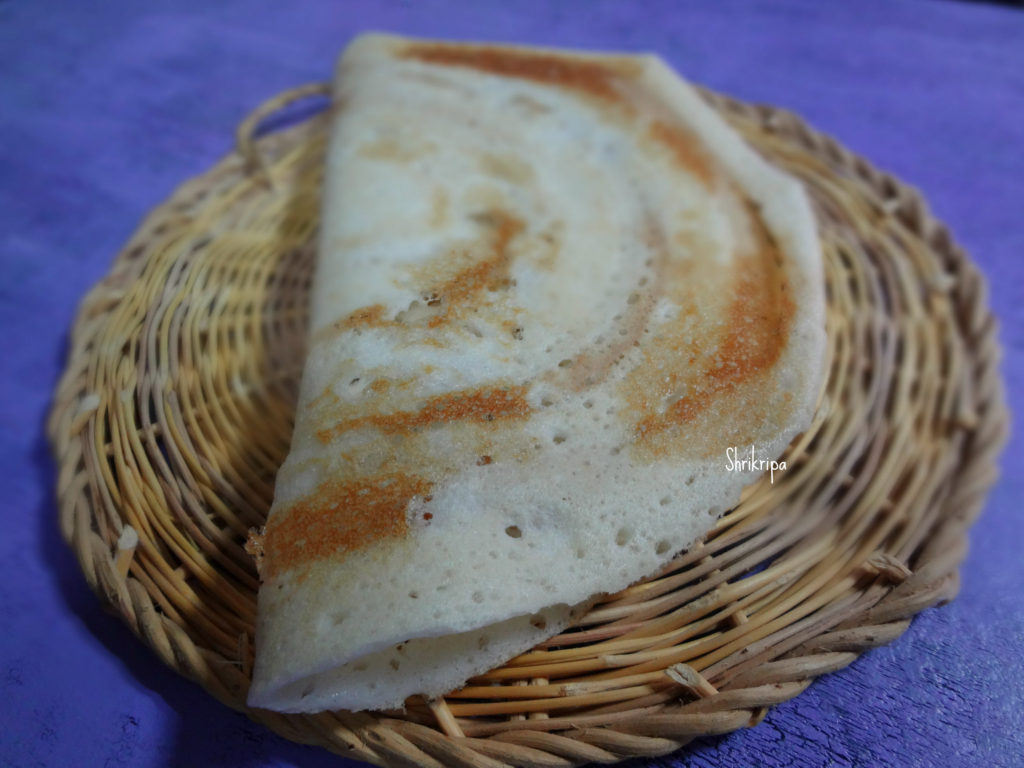
How to cook Par Boiled Red Rice/ Matta Rice:

Often, I get a query regarding the cooking method of our traditional parboiled Rice, red Rice, matta rice. So, I thought of including the procedure in my blog to share the link whenever required.

Before discussing the method, we would see how we used to prepare Rice in our traditional kitchen-

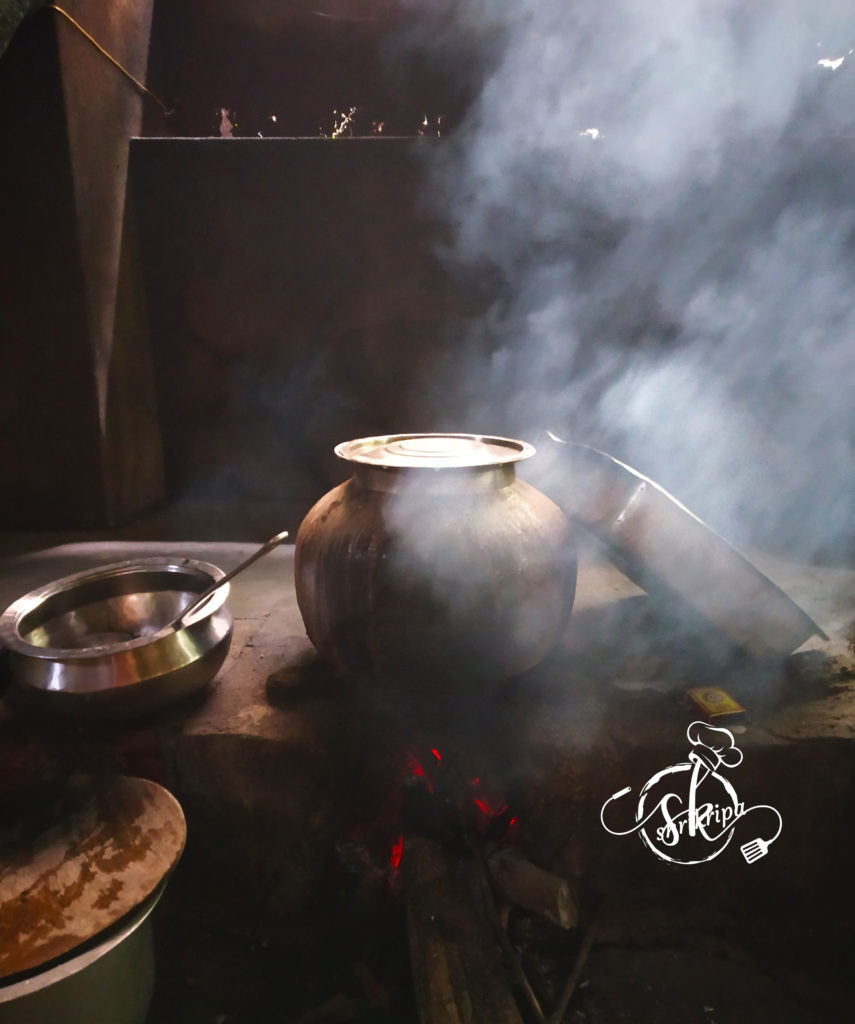
We have come a long way in the cooking method as well. Earlier, people used to cook Rice in a huge open pot by using a wood fire. You can see in this picture, which I clicked in our ancestral home; they follow this method, even now.

Then, gradually cooking medium has changed from firewood to a kerosene stove or hot plate. Hence, the system changed, and a huge wooden box insulated with a layer of thermocol was the trend to keep/cook Rice.

Pic Courtesy: By Google

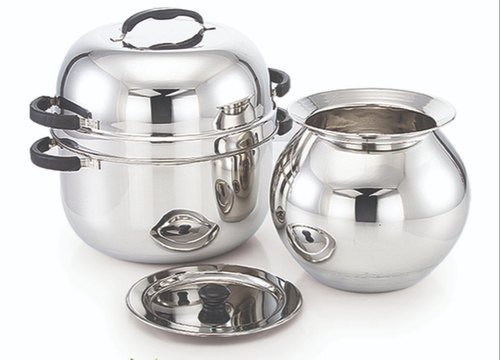
In the modern era, the scenario has changed; with the micro family system, our huge box has turned into a small stainless steel insulated pot, marketed in the name of “China pot”. It consists of an insulated outer container and a cooking vessel.

Let us see The procedure of Cooking: (Open Vessel Method) 

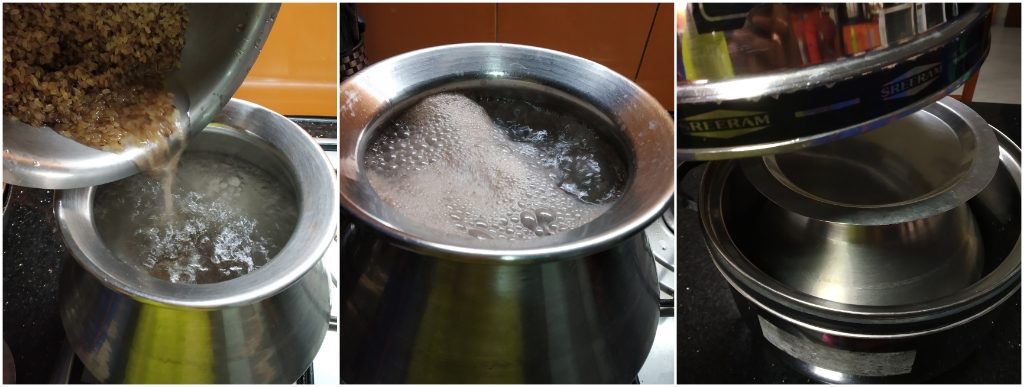
-Procedure is simple, Boil water in a vessel; when it starts bubbling, add washed Rice, boil further for 5 to 10 minutes, remove, and keep it in a china pot.

-After one hour or so, check the doneness. You can refer to the picture. If you prefer soft Rice like us, boil one more time and keep it inside the china pot once again.

Within an hour, it would be soft and well cooked. Strain water and use it like regular Rice with curry or have it as a Ganji by including gruel.

To experience the real taste of parboiled Rice and curry,  you need to separate starch from the Rice.


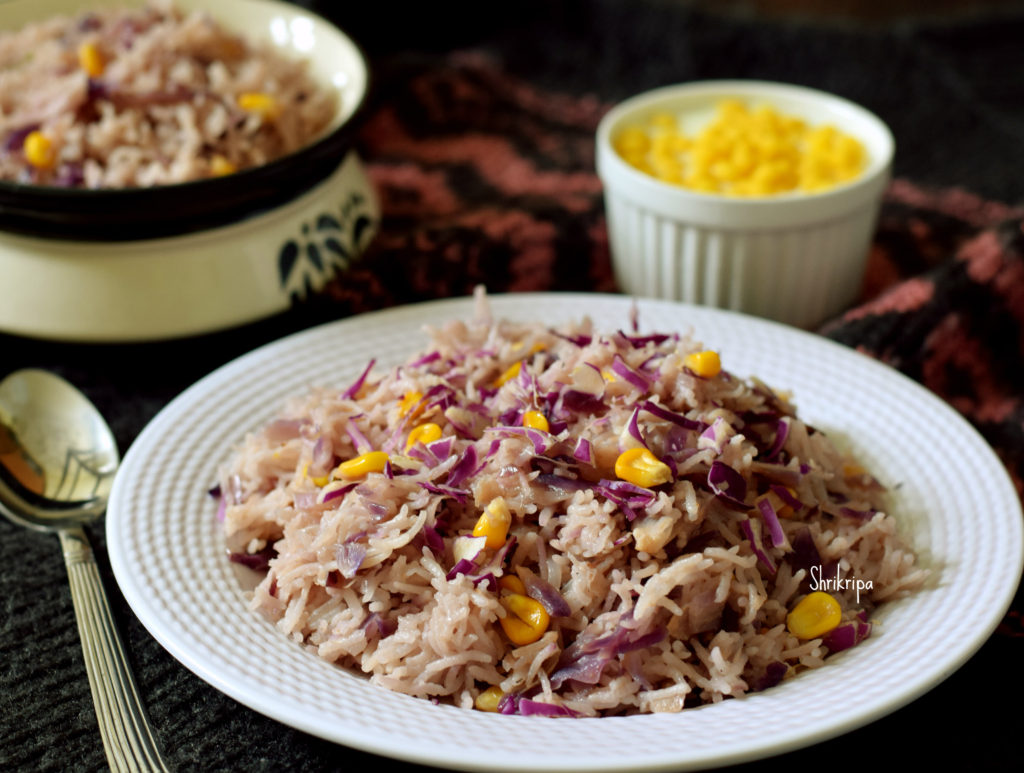
Red cabbage and Sweet corn Pulav: One pot meal

I have promised to post my trial on rice dish by adding red cabbage and sweet corn in my earlier post. Here I am with the detailed account on this beautiful pink hued rice.

Red cabbage is smaller and dense in structure, when we compare it to the green one. Leaf is thicker as well. Because of this, it doesn’t loose its texture, even after cooking. So, pressure cooking does not ruin its shape or texture in this trial of one pot meal.

When we want to cook Purple or red cabbage, we make sure to add some souring agent to it. It can be anything like lemon, vinegar or yogurt. Here I have added curd while cooking. If souring agent is not there, red cabbage will surely turn pale blue and loose its crunchiness.

Now we will see how I have worked in this recipe –

Ingredients:

Basmati Rice – 3 cups

Shredded cabbage – 1 ½ cup

Sweet corn – 1 cup

Oil – 3 table spoons

Cinnamon – 1 “

Cumin – 1 tea spoon

Bay leaf – 1

Star anise – 1

Clove – 2

Cardamom – 1

Green chillies – 3(slit)

Onion – 2 (sliced)

Ginger garlic paste – 1 ½ table spoon

Curd – ½ cup

Salt

Method:

-Wash rice, drain and keep aside.

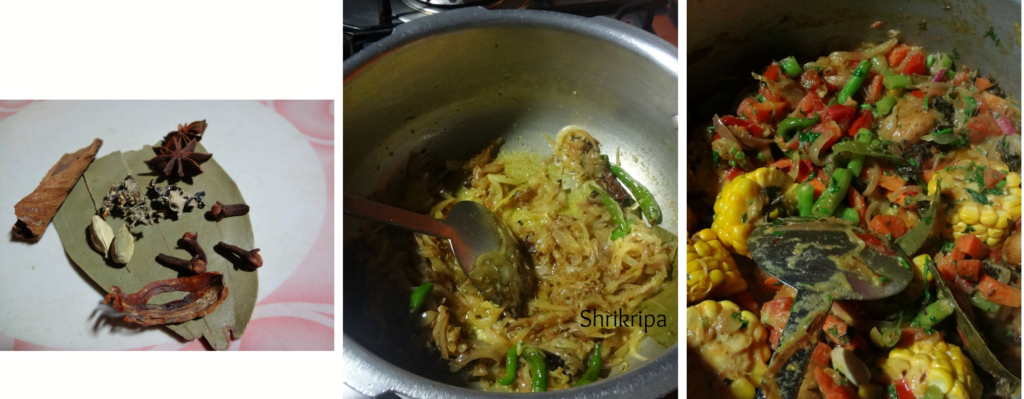
-Take one cooker, add oil, cinnamon, cumin, bay leaf, star anise, cloves and cardamom.

-After frying for a couple of minutes, add green chillies and onion and fry.

-When onion turns light brown, add ginger garlic paste and continue frying.

-Next add shredded cabbage and corn and mix once.

-Immediately add curds, salt, drained rice  and coat evenly.

-Add 6 cups of water, when it starts to boil, close the lid and cook until one whistle and keep it in a simmer for 2 minutes and switch off.

-When pressure releases, open the lid and mix gently and serve with any raita. I have served this rice with slightly sweet Boondi raita.


Fresh Pigeon pea and Methi Pulav:

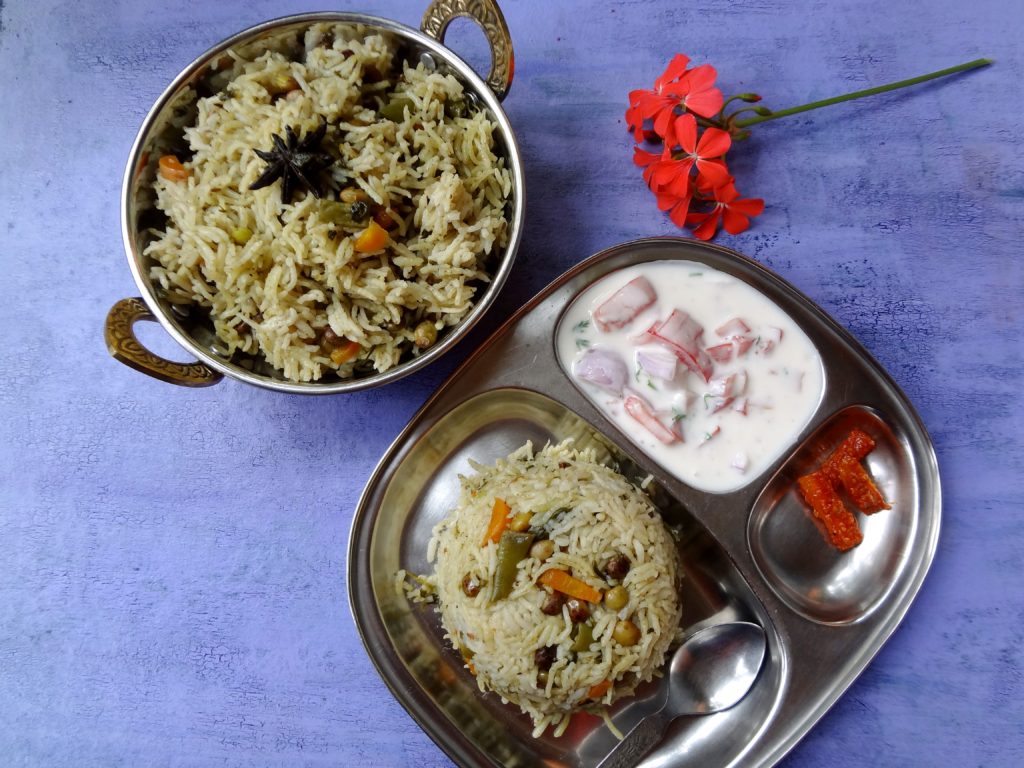
Winter is that time of the year, where you can relish all the fresh produce from the bean family. One such bean is Thogari kayi/Fresh Tuvar/Pigeon peas. These are beautiful green pearls with maroon spots all over them and we can make so many varieties of dishes from them. This rice dish is a very easy, one pot meal which has the goodness of Tuvar dal, methi leaves with coconut flavour which will enhance the flavour of the dish to another level.

DSC05585_Fotor

Recipe goes like this-

Ingredients:

Rice – 3 cups

Onion – 2

Fresh Pigeon peas – 1 cup

Fresh methi leaves – 1 small bundle

Veggies of your choice – 1 cup (French beans, carrot)

Ghee /oil – 2 to 3 table spoons

Bay leaves -2

Cumin – 1 tea spoon

Mace – 1

Marathi moggu – 2

To grind: Little coriander leaves, Cinnamon one stick,3 to 4 green chillies and 1-inch ginger.

Coconut milk – 1 cup

Lemon –  ½

Salt

Method:

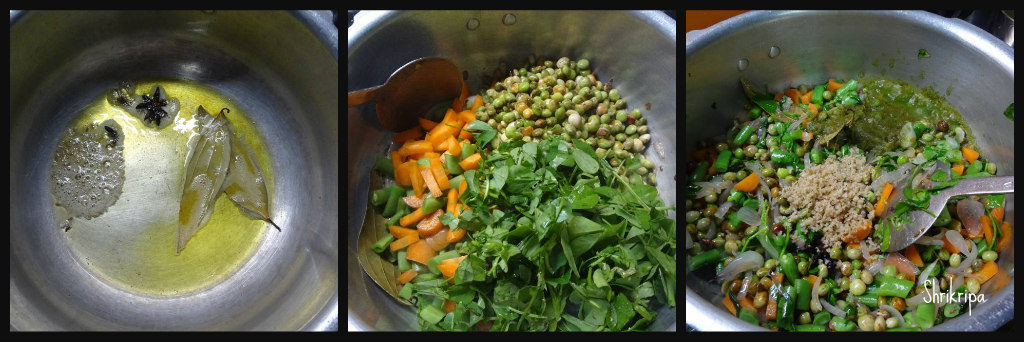
-At first take a fresh Tuvar bean pod, remove outer thick green skin and separate the green bean with the beautiful red spots. Collect all the shelled beans.

Ribbet collage 1

-Wash rice and soak for 10 minutes, drain and keep aside.

-Chop onions, methi leaves and vegetables of your choice.

-Grind a paste of coriander leaves, cinnamon, green chillies and ginger by adding little water and keep.

-Take one cooker, add oil and ghee or only ghee. Drop whole masalas like bay leaves, cumin and mace.

Ribbet collage 2

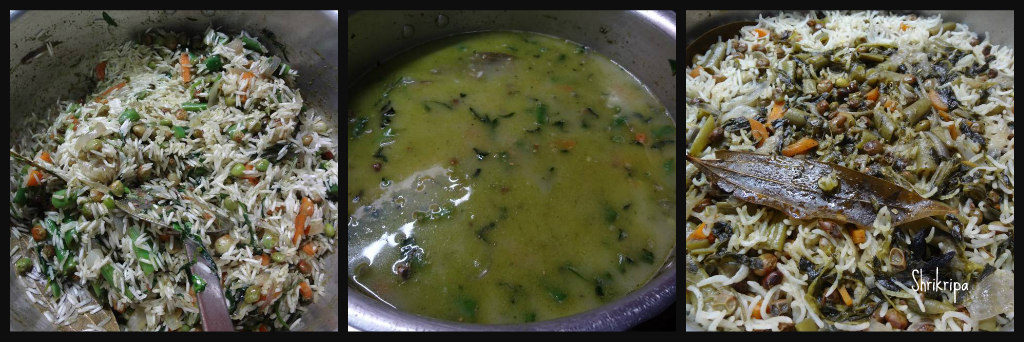
-Fry onions until brown and add methi leaves, fresh tuvar, chopped veggies and fry until it wilts.

-Add salt, ground masala and fry for 2 minutes and add drained rice and fry for a minute.

Ribbet collage 3

-Add coconut milk and 5 cups of water, juice of half lemon, boil, close the lid and cook until one whistle and 2 minutes into simmer.

DSC05591_Fotor

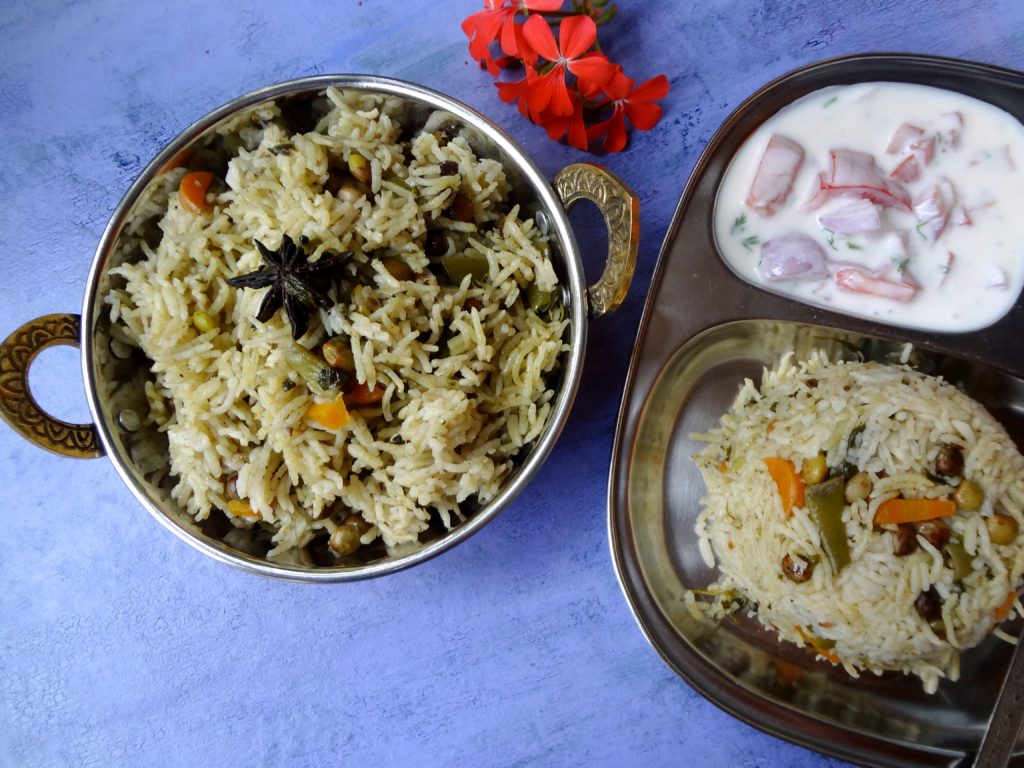
-Serve with any kind of raita.


Tamilnadu Style Idli and Dosa Batter:

It is a Two in one bonanza—Yes!!!!

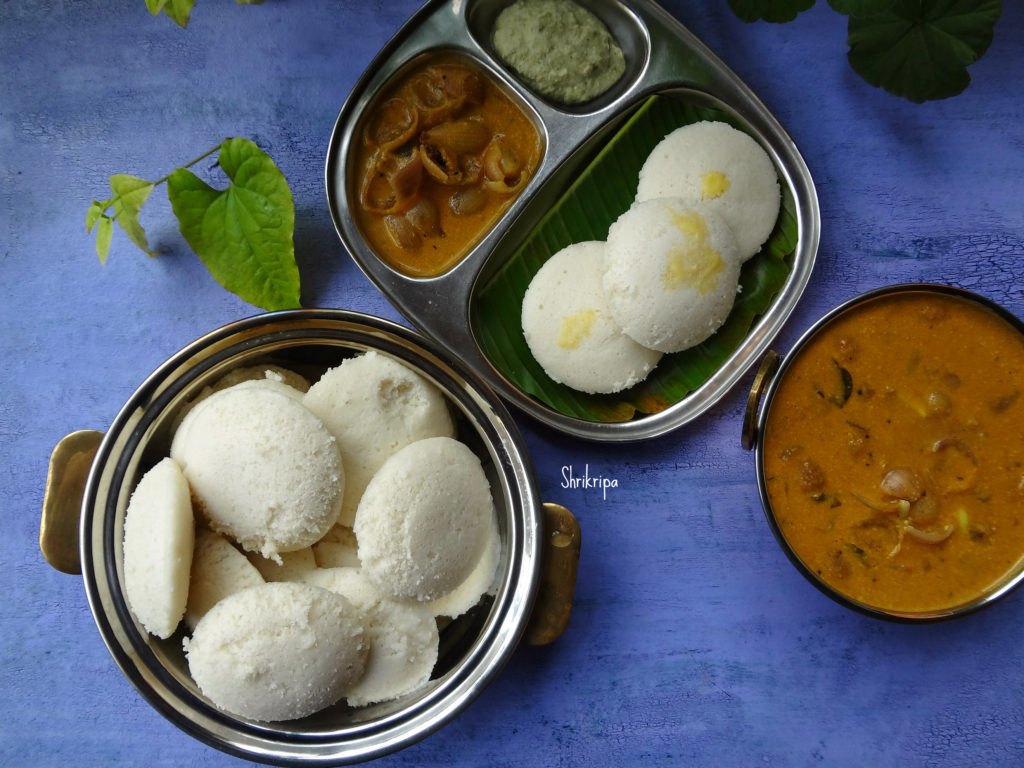
I always wondered how to get a pillowy soft kind of idli which is a speciality of Tamilnadu. In our coastal side, idli turns out soft but has a little grainy texture, not spongy which we get in all Tamilian eating joints. During one such discussion in our Foodie group, we asked to provide Tamilian style idli recipe with our ever energetic, multitalented uncle Senguttuvan. I really was not expecting this kind of response after one week. He and his wife literally took all the trouble and wrote step by step procedures with pictures, some tricks and notes. Added to that, there were a couple of video’s too. I was really overwhelmed and wanted to give its due credit by publishing this recipe in my blog after preparing it myself at home and we all loved it.
pic main

I tried his Idli recipe and paired it with another hit recipe of his Onion Garlic Kolumbu. It was a pair made in heaven kind of breakfast. I will post the Kolumbu recipe next and once again all thanks to Senguttuvan Subburathina and his wife Jayanthi Senguttuvan for this amazing recipe. Now, over to his words as it is and my pictures-

Here we go!
Ribbet collage 1

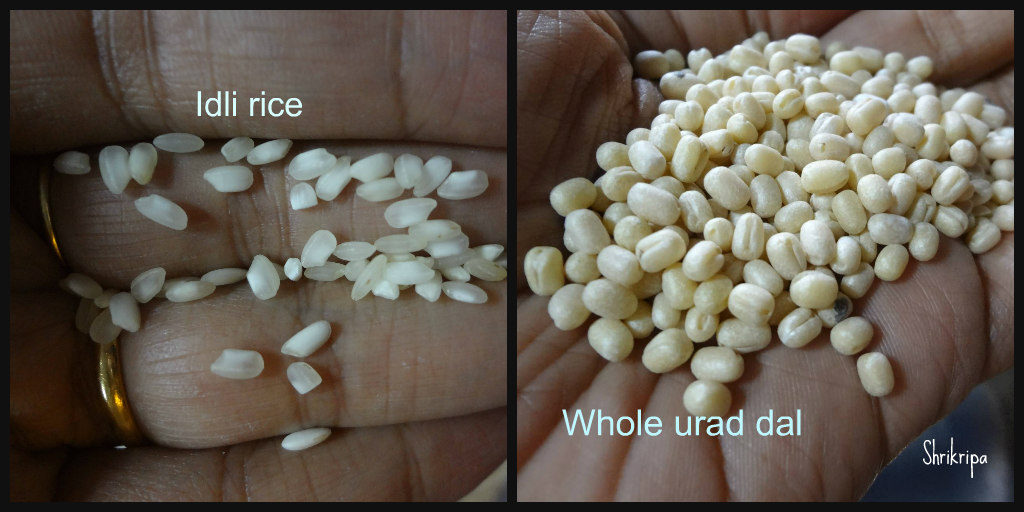
The selection of Rice is important. Boiled Rice (Idly rice) with patches of white will help in better softness of Idly.

We use whole white Urad Dal. Not broken one. (why? This also help soft Idly they say. I am not sure)

Fenugreek (Methi /Menthya Seeds)

Salt to taste.

Water as required.

Only the above ingredients go into making of this Idly / Dosa batter.

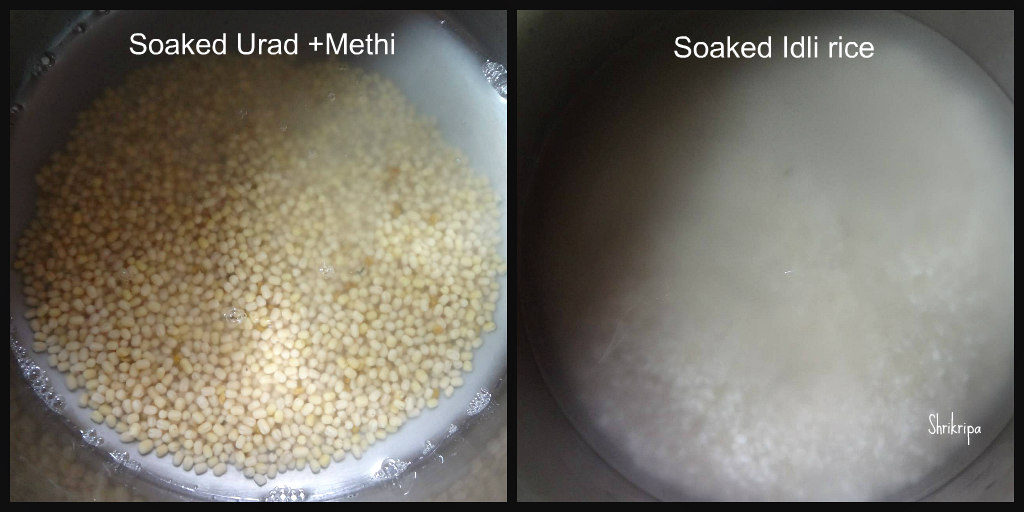
Wash the Rice 2-3 times with water and soak in clear water for 2hrs.
Simultaneously, wash Urad Dal and Menthya seeds and soak in water.
Ribbet collage 2

THE RATIO IS – RICE 4:1 URAD DAL. One TeaSpoon of Menthya.

Use of wet grinder is recommended. Heat generated during use of Mixie / blender spoils the Batter making. Though ice water usage will minimize the effect in mixie.

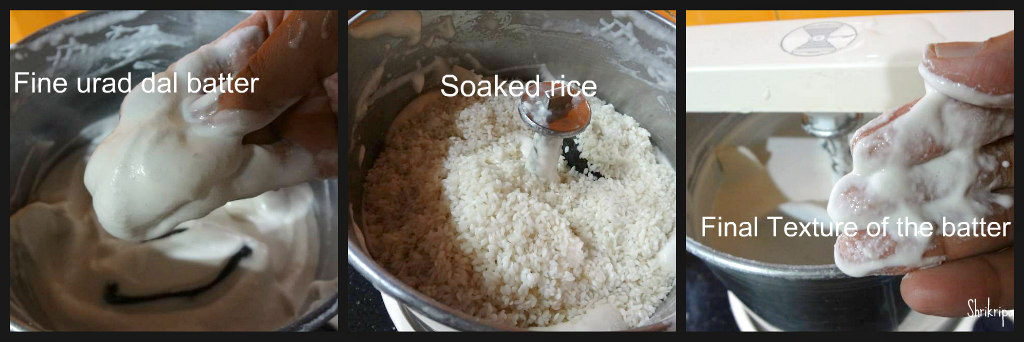
First, Grind the Urad Dal first, using the same water in which it was soaked. Grind for 25 mins adding water little by little so that a soft thick fluffy batter consistency is reached.
Ribbet collage 3

Transfer to a vessel and start grinding the Rice adding water little by little as you grind. About half an hour of grinding will give a little coarseness in batter. This thick batter is to be added to the Urad/ Fenugreek mixed batter.

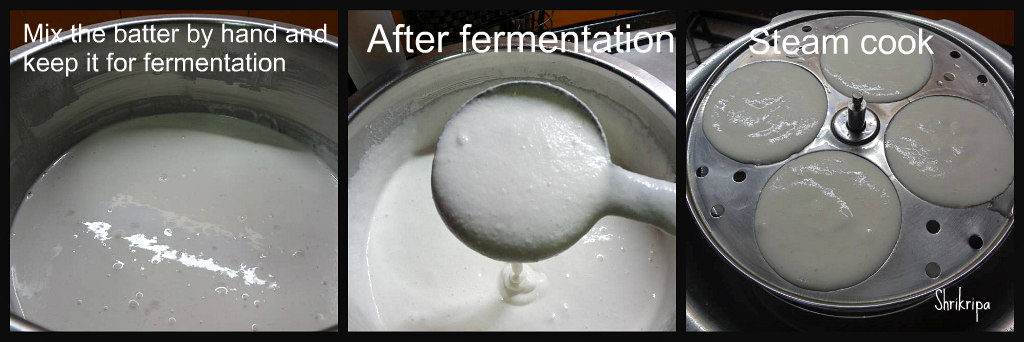
Add required ROCKSALT (to taste) and mix well with hands. This is important. The good bacteria in hands help fermentation of batter. Take care to choose a vessel that will allow 25% raise in the height of batter after fermentation.
Ribbet collage 4

Normally, the batter is prepared by noon around 2pm. By night, around 8-9 pm, the batter is well fermented, for Chennai weather. In cold climate, it is recommended to switch the light on in OTG and keep it in, so that the warm light helps in faster fermentation.

At 9pm, when you find the batter well fermented, mix it well with ladle and close and keep refrigerated.

As and when required, take the small quantity of batter in a separate vessel and use that portion leaving the main portion of batter under constant refrigeration, so that it does not get further fermented.

The batter is ready for Idly / Dosa preparation the next day morning. Mix well and use for fresh fluffy Idly.

Use a drop of oil in each pit of Idly plate and spread oil so that Idly comes out smooth. We cook Idly in pressure cooker without placing the weight. It just takes 7 minutes to get fluffy Idlies cooked.

After removing the Idly plates from cooker allow a minute or two to cool down and remove the Idly for easy removal.

Ribbet collage 5

For Dosa preparation:

dosa main
Remove small quantity of this batter to another vessel and add little water mix well and use. A thick Dosa or thin roast Dosa can be prepared with same batter.

Trust the above details help.

Note from Me:

-In Bangalore weather it takes more time to ferment. It took me almost 16 hours.

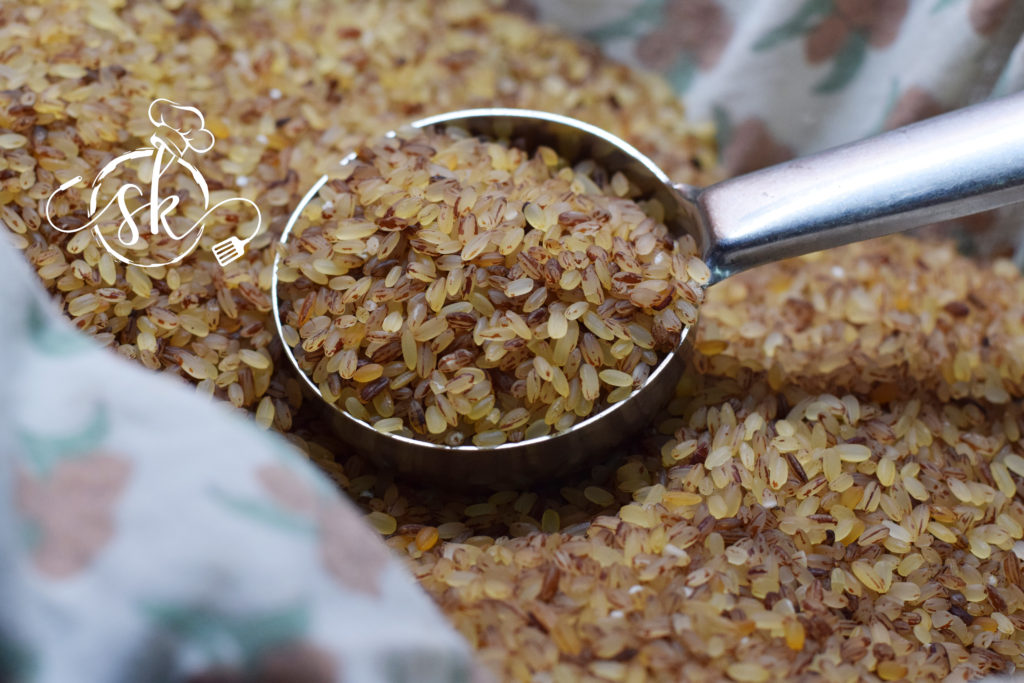
-I personally feel very lazy to remove urad dal after grinding. So, I add soaked rice and continue grinding as it is. It also works just fine.
Ash gourd Sweet Dosa:

Ash gourd or winter melon or white pumpkin has so many health benefits and it is literally the most ignored veggie of all. In our native we prepare so many varieties of dishes from this white coloured veggie. This Dosa is prepared by using the inner core of the vegetable by removing its seeds. You can make it sweet or plain, that is your choice. I like the sweeter version. It is very soft and melts in your mouth. Today we will see how it’s made.
ribbet 3_Fotor

Ingredients:

Dosa rice – 3 cups

Poha – 1cup

Fenugreek seeds – 1 tsp

Ash gourd inner soft part – 1 cup (you can use white part as well)

Coconut gratings – ½ cup

Turmeric powder – ½ tsp

Salt and jaggery- to taste

If you want sweeter versions add jaggery or else you can omit.

Eno fruit salt – ½ tsp

Method:

-Wash Ash gourd, peel outer skin and remove inner core with seeded part. (Core part can be used to make Dosa batter)

Ribbet collage 1

-Remove seeds and take white part and keep it ready.

-Wash, soak rice, fenugreek seeds with sufficient water by putting beaten rice as well.

Ribbet collage 2

-After 3 to 4 hours of soaking, grind this by putting Ash gourd, jaggery, salt, turmeric, coconut into smooth batter. Check for sweetness or salt.

– Keep this batter for fermentation. In Bangalore weather, I usually grind any batter around afternoon, so that the next morning it will be perfect.

-The next morning add Eno fruit salt, mix nicely and keep aside for 10 minutes.

– Then you can start making Dosa on heated iron griddle. Take one serving spoon of batter and pour, don’t spread. Keep gas flame in simmer, spread little ghee, close the lid and cook. Don’t flip the Dosa. Only one side cooking is needed for this. Here I have used half serving spoon of batter for each small roundel. Personally, I like to serve this as small cute roundels.

-This Dosa tastes good with honey or onion and coconut chutney with red chillies.

Genasale/Steamed rice cake with coconut jaggery filling:

Genasale is coconut and jaggery filled steamed kadubu or steamed rice cake, usually folded and steam cooked in banana leaves. Banana leaf gives beautiful aroma and a good taste to this Genasale. Genasale is prepared using few basic ingredients but the end result is mouth watering, everyone’s favourite dish. 

In my ancestral home, Navaratri/Dasara is celebrated by worshiping Goddess Durga. This Genasale is the main offering to the Goddess during night puja. I still vividly remember waiting for this Genasale prasadam to be served, while having a scrumptious traditional dinner. Now let us learn how to prepare this Genasale or kayi kadubu (kayi = coconut).

pic main

Ingredients:

Dosa rice /white rice – 2 cups

Grated coconut – 1 cup

Grated Jaggery –  ½ cup (to taste).

Ghee/ Clarified butter – 4 tsp.

Salt to taste

Banana leaves

Method:

-Wash Dosa rice and soak it for 2 to 3 hours.

 Grind soaked rice in to a fine paste with minimal water and salt.

Batter should be a little thick but of spreadable consistency.

Add 2 tea spoon of ghee and mix nicely, keep aside.

Now prepare filling by mixing coconut, jaggery, and little ghee and mix everything nicely. keep it aside.

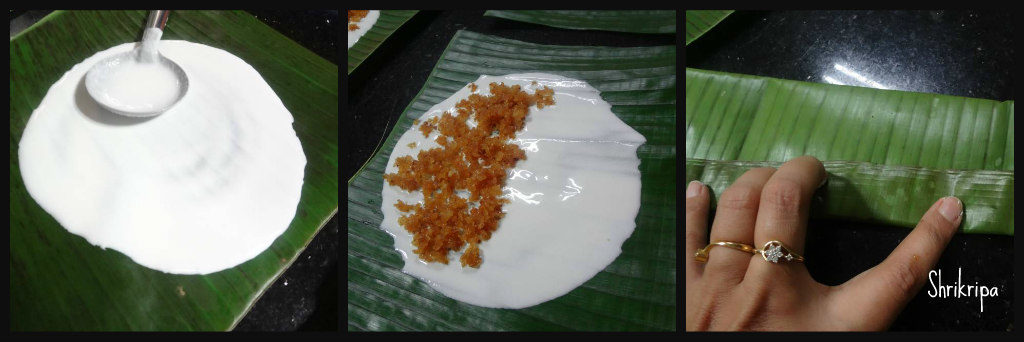
Now take banana leaf, hold this on a gas flame (for wilting), then clean it with a wet cloth.

-Now take one spoon of rice batter, apply on banana leaf like a thin Dosa. 

Ribbet collage 1

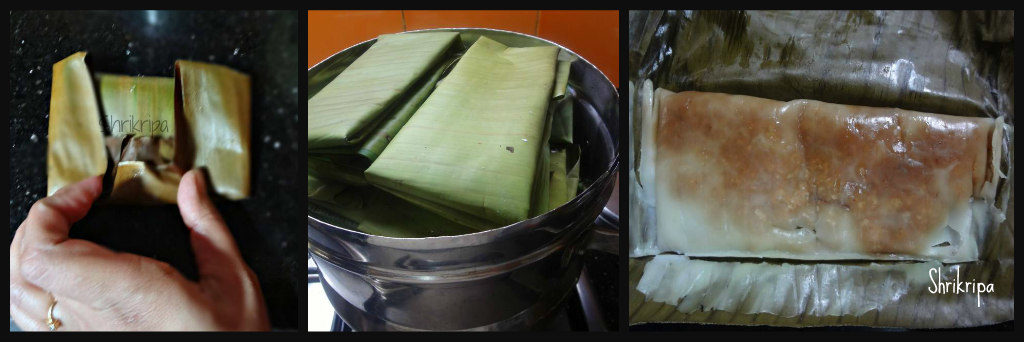
  Take one spoon of jaggery mixture and Spread it over the thin Dosa and fold the banana leaf like a pocket. 

  Steam cook for 30 min.

Ribbet collage 2

Serve this Genasale with dollop of Ghee and Enjoy.

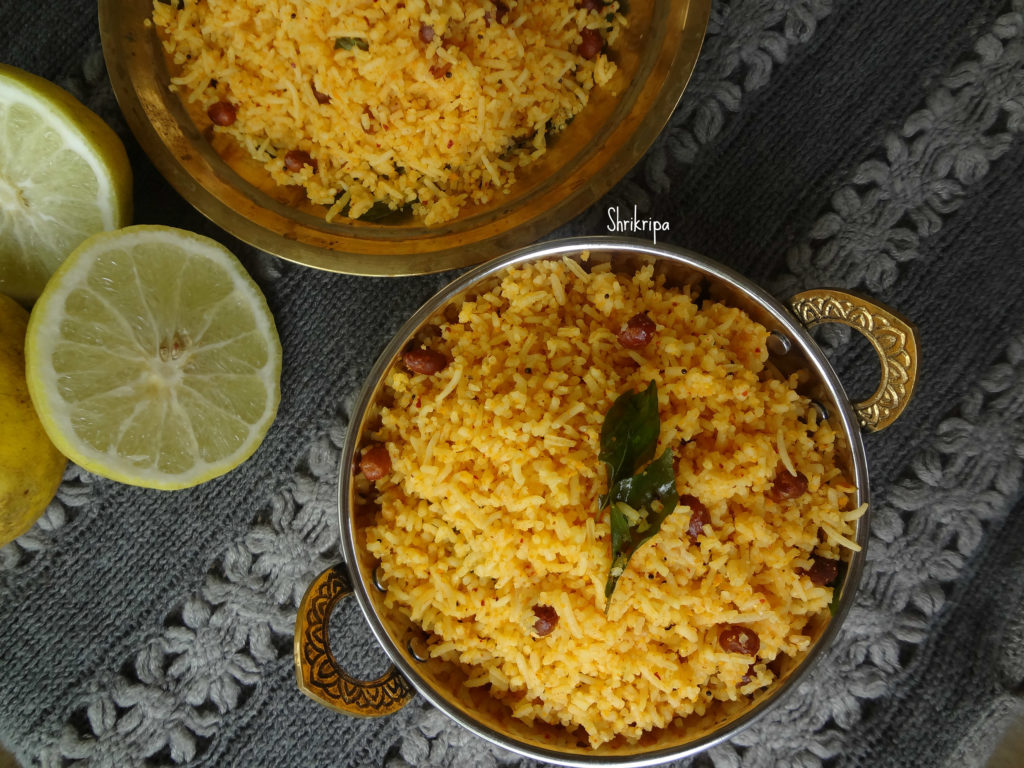
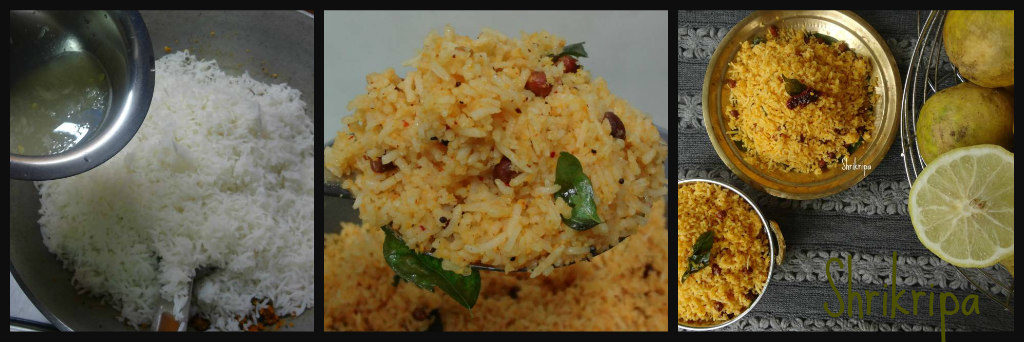
Citrus medica / Dudle huli Chithranna:

Dudle huli is a big lemon and is known as Citrus medica. Citrus medica is much bigger than normal lemon with thick outer rind and less sour and sweeter than normal lemon, excellent for thin Rasam, juice, pickles or Chithranna. This Chithranna is fragrant, rich in vitamin C and very tasty. We normally serve this in any festivals or weddings. It is a no onion no garlic recipe and we use mustard, dry red chilli and coconut for flavour. This is our traditional and much-loved recipe for Chithranna.

chithranna main

Ingredients:

Rice – 3 cups

Citrus medica – 1 (big citrus fruit)

Dried red chillies – 2 to 3

Mustard – 1 tsp

Coconut – ½ cup

Jaggery – 1 to 2 tsp

Salt

Oil – 1 tsp

Seasoning:

Coconut Oil – 3 tbl sp (any refined oil is ok)

Mustard – 1 tsp

Urad dal – 1 tsp

Cumin – 1 tsp

Hing – ¼ tsp

Curry leaves – 2 springs

Ground nuts – ¼ cup

Method:

-For cooking rice:

Boil water in a big vessel by putting 1 tsp of salt and oil. Add washed rice and cook for 7 to 8 minutes or until it is soft and firm and cooks. Drain cooked water and spread this rice in a colander.

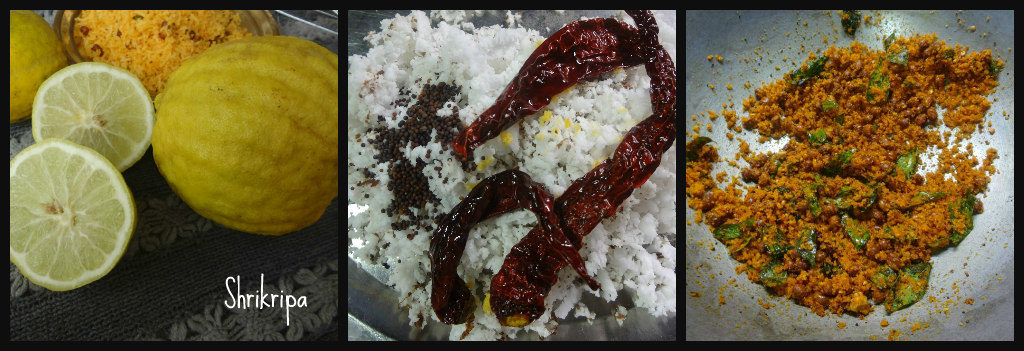
– Grind masala by putting coconut, roasted red chillies, mustard, jaggery and dry run without adding any water.

-Seasoning:

-Take one thick bottomed kadai, add oil and heat. When it is hot, add mustard.

collage 1

-When it starts splutter, add urad dal and ground nut and fry until it becomes little dark. Next add cumin, hing and curry leaves.

-Now add ground masala and fry for 2 minutes. Add drained rice, juice of citrus medica and salt.

collage 2

-Mix well and switch off the gas. Check for the seasoning and adjust according to your taste.

– This is very ideal vitamin C rich option for tiffin box as well.


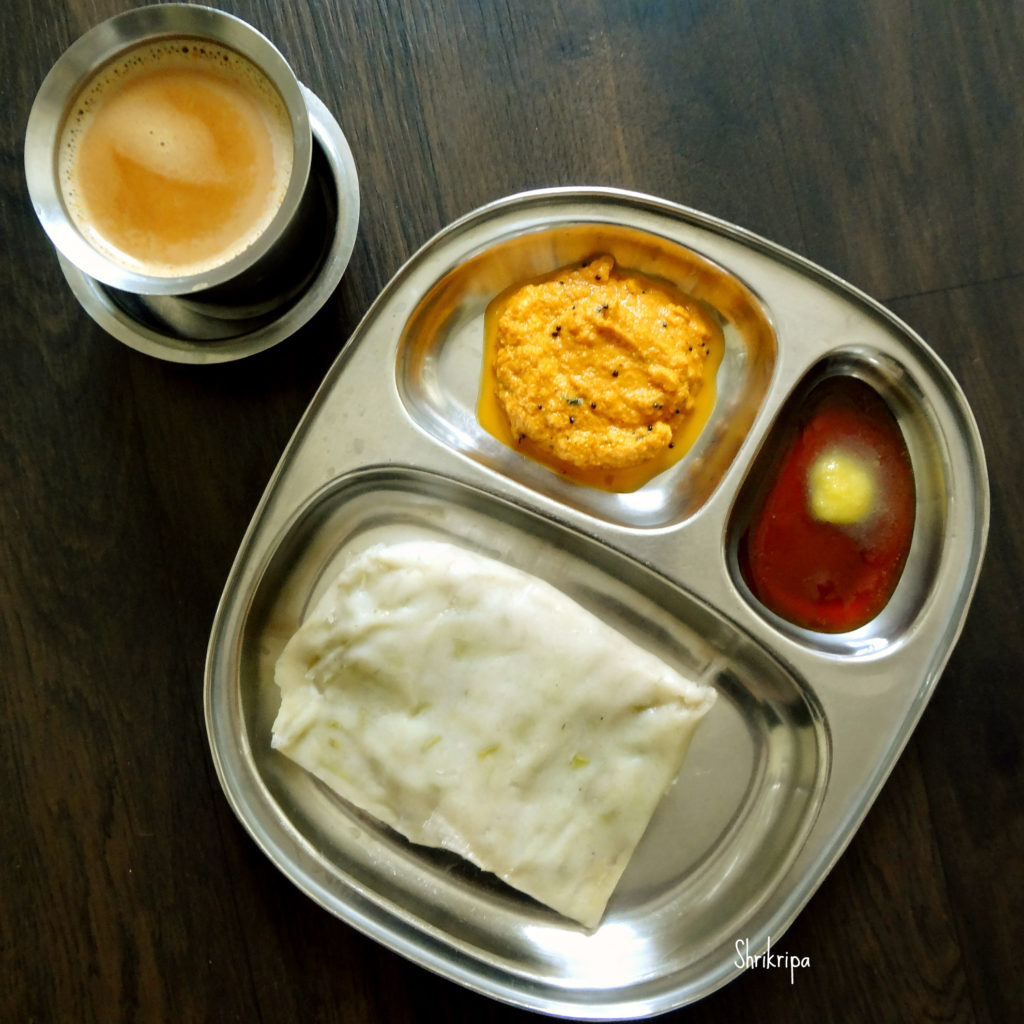
Sorekayi Kottige / Bottle gourd steam dumpling:

Sorekayi is nothing but humble bottle gourd, which we usually neglect to use in our daily diet, which incidentally has numerous health benefits. In our native, bottle gourd is mainly used to treat stomach illness or jaundice. It is believed that, it has the power (anti-inflammatory properties) to heal our Liver and intestine during the illness. Bottle gourd has close to 90% water content and is great on the stomach and light on digestion. Apart from this, bottle gourd juice is very good for weight watchers, diabetics and for a healthy heart too. We have so many traditional preparations of bottle gourd and all are very low in calories and tasty too.

DSC06039_Fotor

Ingredients:

Dosa rice – 2 cups

Bottle gourd – 1 or 2 (according to size)

Salt

Banana leaves or turmeric leaves – to wrap

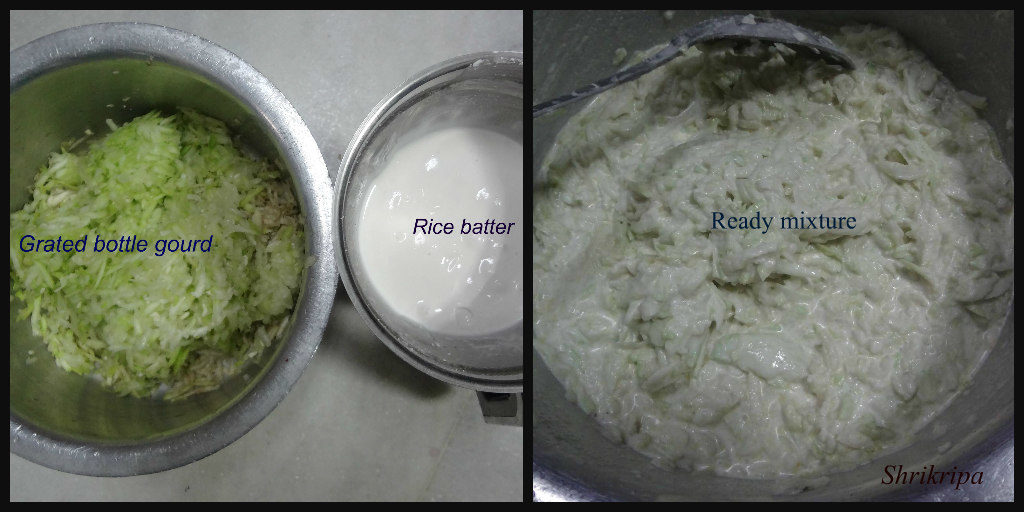
collage 1

Method:

-Wash Dosa rice and soak it for 3 hours.

-Grate bottle gourd by using big hole of a grater or chop it into very small chunks.

-Grind soaked rice into a fine paste with minimal amount of water and salt.

-Mix chopped or grated veggie and rice batter.

-If you are using turmeric leaves, wipe it and use as it is.

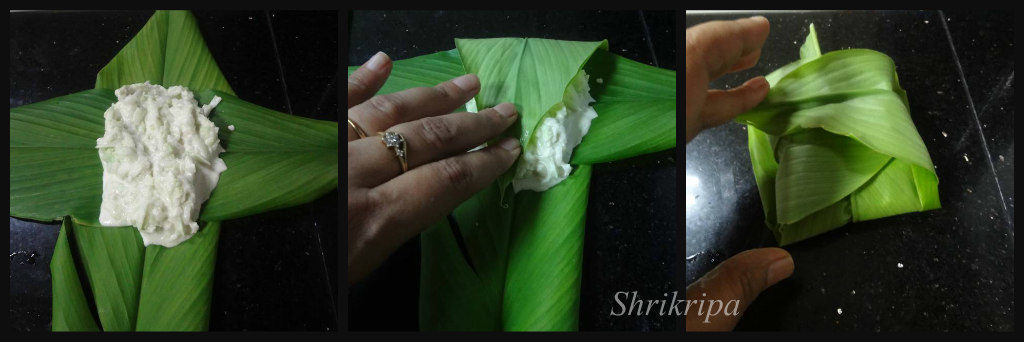
-If you are using banana leaves, take banana leaf, hold it over a gas flame (for wilting) then clean it with a wet cloth.

– If you are using turmeric leaves, use 2 leaves, place it in a “Plus” position, now pour one serving spoon of batter and fold the leaves like a packet.

collage 2

-If you are using banana leaf, pour batter, fold side wise, then close the ends.

collage 3

-Steam cook these ready packets in a water filled idly steamer for 30 minutes to 40 minutes in a medium heat.

collage 4

– Serve this kottige with jaggery syrup with ghee / Honey, coconut chutney or sambar.


Kashmiri Pulav:

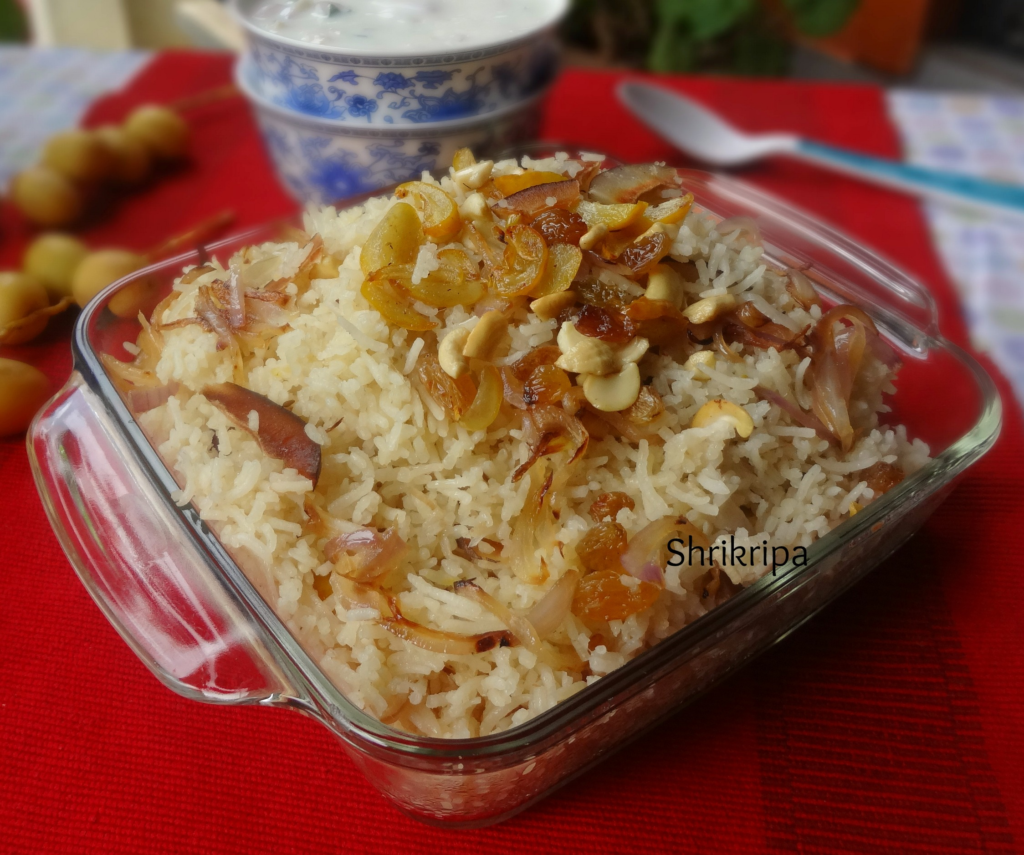
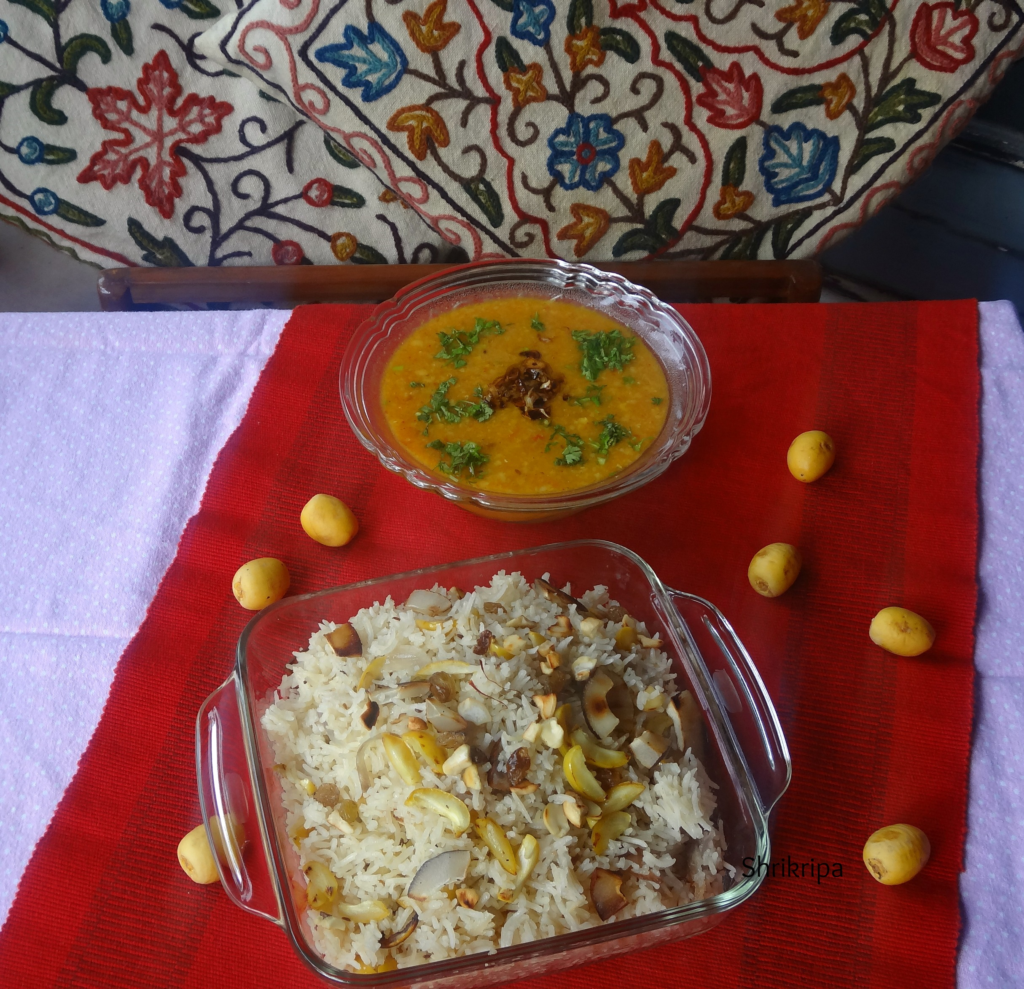
The Kashmiri Pulav what we see in restaurants have so many fresh fruits and dry fruits and are sweetish in taste as well. But in 2011, when we went to Kashmir, the care taker of our boat house made this wonderful Pulav which he served with tadka dal. That Pulav neither had fresh fruits nor so many dry fruits and it was not that sweet. It had raw yellow fresh dates, coconut chunks, cashew and raisins. My family liked this very much and wanted to note down the recipe to try it out. When I asked for the same.

pic 4

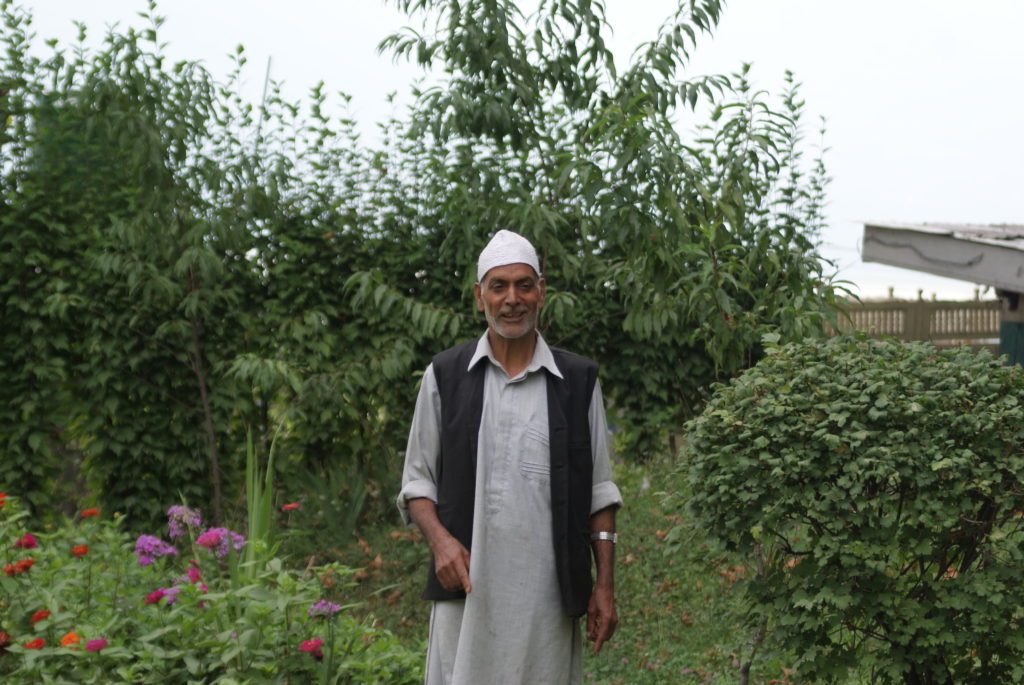
Our care taker Mahdha kaka was very happy to share his recipe and I want to dedicate this blogpost of mine to this humble man. 

SONY DSC

here we go for detailed account – 

Ingredients:

Basmati rice – 3 cups

Ghee – 150 Gms

Onion – 2 (sliced)

Ginger garlic paste – 1 tbl sp

Shahi jeera- 1 tsp

Bay leaf – 1

Salt

Saffron – 7 -8 strings

Hot milk – ¼ cup

Yellow dates, Raisins, cashew and dry coconut bits – as you wish.

 Method:

    At first wash rice, soak for 10 min and drain the water and keep aside.

   Soak saffron in hot milk and keep aside. Slice dates, coconut etc.

   Now take one thick bottomed pan, put little ghee, fry cashew, raisin, coconut slices and dates one by one and keep aside.

   Now fry half of the onion in to dark brown and keep aside.

   Pour remaining ghee, put Shahi jeera, bay leaf then remaining sliced onion and fry for a while.

– When it becomes brown add ginger garlic paste and fry until raw smell vanishes.

   Add drained rice, fry for a while.

   Now add 6 cups of water, salt and cook this rice by closing the lid and keeping it in a simmer.

  When rice is almost done, add soaked saffron with milk, fried onion, dates, raisins and cashew.

   Mix everything and keep it in a fire for little more time until all the water evaporates or until rice is done.

pic 7

         Enjoy this Kashmiri Pulav with Tadka dal.

Vegetable Nagercoil Biryani:

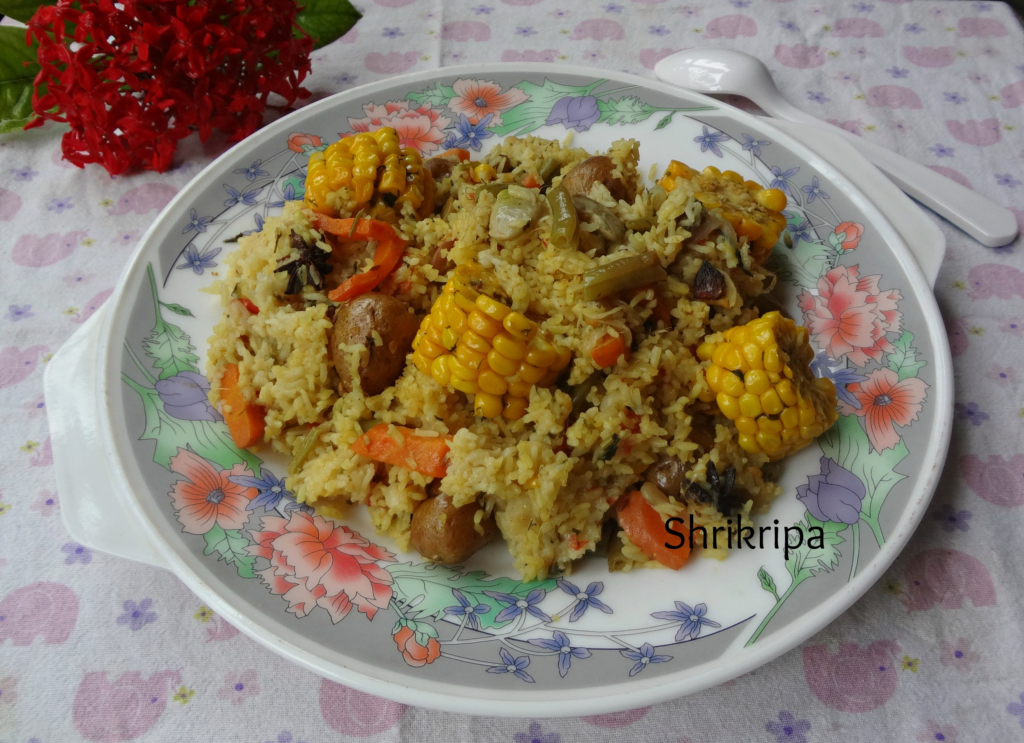
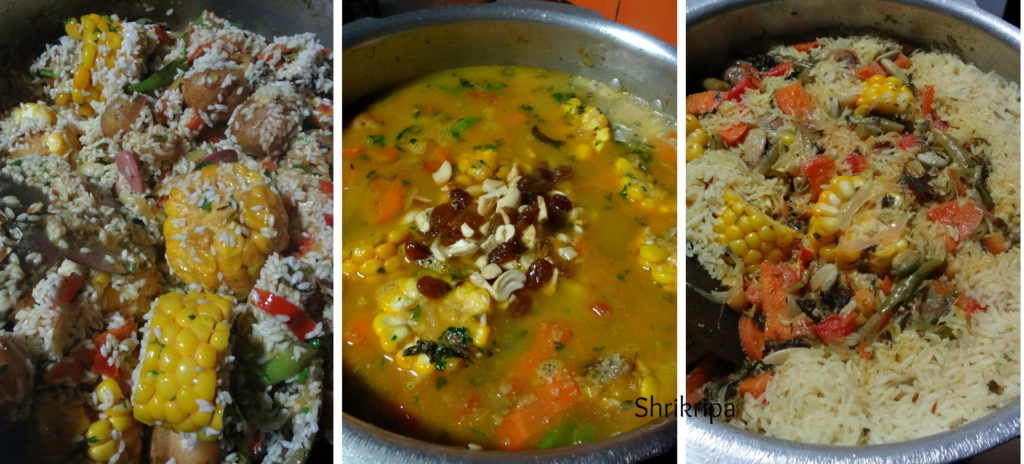
When I saw this Nagercoil biryani on this website, I couldn’t wait more and tried it with a vegetarian option. Instead of mutton, I tried with double beans, baby potatoes and sweet corn. Kids liked it and I’m happy to share it with you all.

It is little different than our usual biryanis. Usage of small grain rice is a highlight of this biryani.

pic 3

Ingredient:

Jeera or small grain rice – 3 cups

Vegetables – ½ kg

Oil – 3 table spoon

Ghee – 3 table spoon

Onion – 3 (chopped)

Ginger garlic paste – 1 table spoon

Green chillies – 4

Tomato – 2

Turmeric – ½ teaspoon

Red chilli powder – ½ teaspoon

Coriander powder – 1 teaspoon

Coriander leaves – handful

Mint leaves –handful

Curd- ½ cup

Cashew – 10

Raisins – 10

Salt

Whole masala: Cinnamon -1 stick, clove -4, Cardamom-2, Bay leaf – ½, star anise -2, stone flower -2, Cumin – 1 tsp, Mace – 2 petals .

Method:

  • Wash and soak rice for half an hour. After half an hour drain the water and keep aside.
  • Chop vegetables, here I have taken sweet corn cob, baby potatoes, carrot, beans and double beans.
  • Heat oil and 2 table spoon of ghee in a cooker. Add whole masalas.

pic 1

  • Add Chopped onions and green chillies, fry until it becomes light brown.
  • Add ginger garlic paste and fry for a while.
  • Add chopped tomatoes, chopped veggies, sufficient salt and fry until tomatoes becomes mushy and veggies are coated with masala.
  • Add turmeric, red chilli powder and coriander powder and fry for a while.
  • Add chopped coriander, mint and curd.
  • Add drained rice and mix everything together and add sufficient water (here I took 5 ½ cups of water)

pic 2

  • Fry cashews and raisins in a table spoon of ghee and add it to cooker vessel.
  • Check for salt and close the lid and cook until one whistle, keep it in a simmer for 3 to 4 minutes and switch off the gas.
  • When pressure relieves, open the lid and mix everything together and serve this tasty biryani with onion raita.

pic 4

NOTE:

  • I usually take 1 ½ cups of water for 1 cup of Jeera/small grain rice.
  • Additional 1 cup of water for veggies to cook.