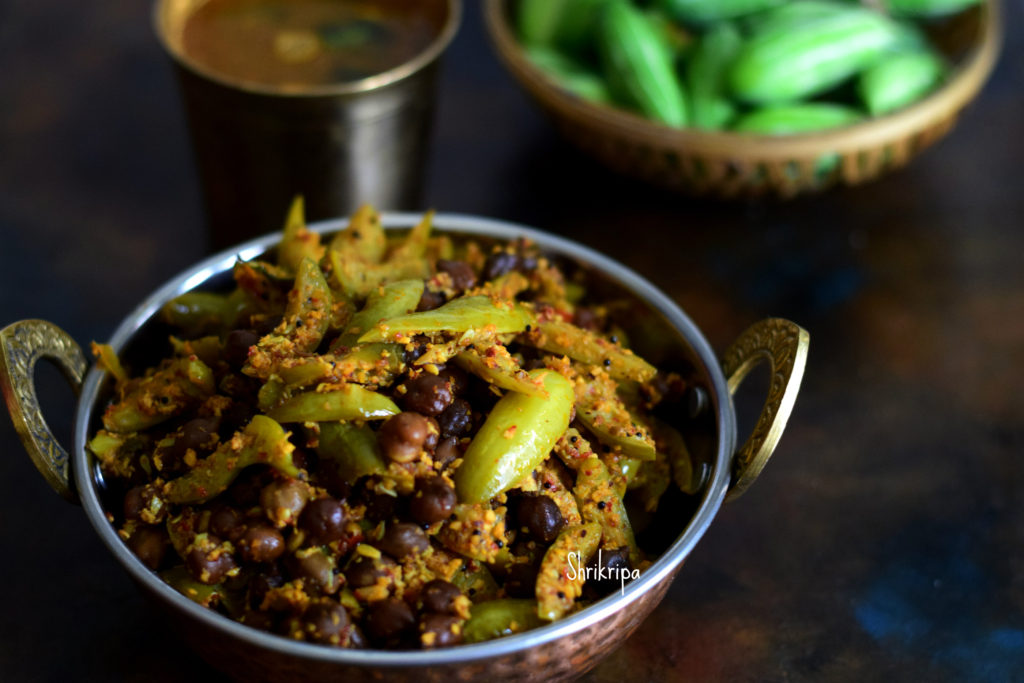
Dudle huli Uppinakai/ Citrus medica Pickle:

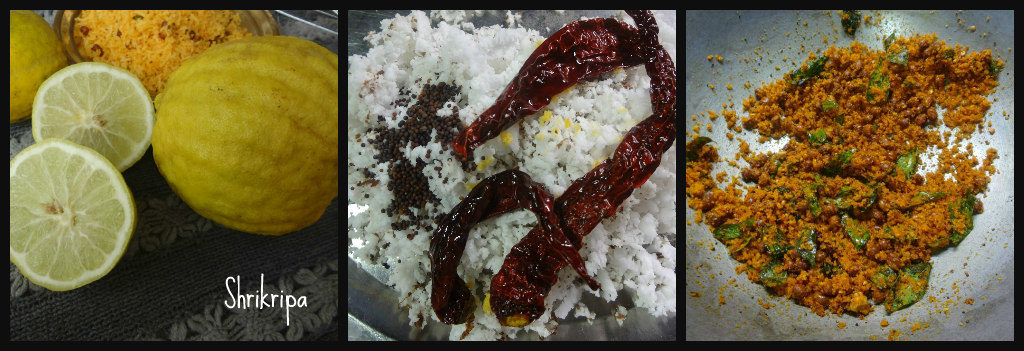
Dudle huli is a big lemon and is known as Citrus medica. Citrus medica is much bigger than normal lemon with thick outer rind and less sour and sweeter than normal lemon, excellent for thin Rasam, juice, pickles or Chithranna. Last week I have already posted Chithranna recipe by using this lemon. When I got hold of so many huge lemons, I did try to make this much-loved pickle of Dudle huli. Due to its thick skin, it tastes divine with curd rice and this pickle can be relished within one week after its preparation. I never tried its pickle due to unavailability, hence asked my sister in law who is an expert in preparing this pickle. All thanks to her for this wonderful recipe.
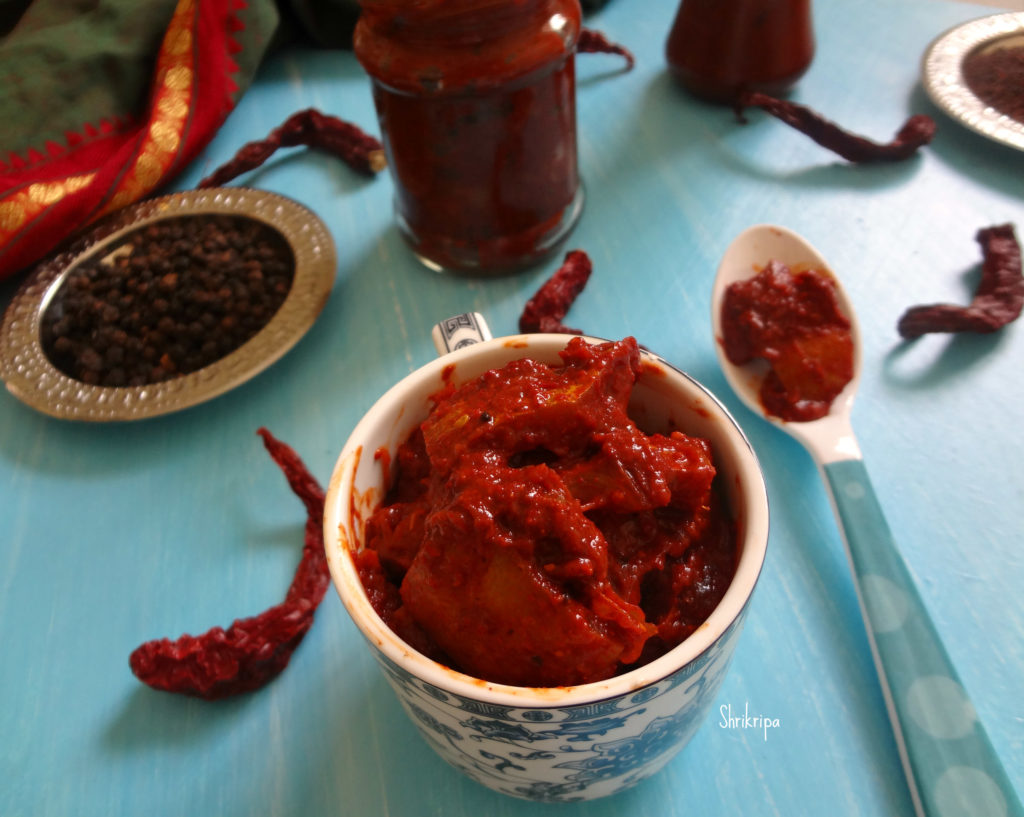
pickle main 1

Ingredients:

Big lemon / Dudle huli – 3 to 4

Salt

Dried red chillies – 100 grams

Black pepper – 1tea spoon

Fenugreek seeds – ½ tea spoon

Cumin – 1 tea spoon

Mustard – 3 tea spoons

White Sesame seeds – 1 tea spoon

Turmeric powder – 1 tea spoon

Seasoning:

Sesame oil – 1 table spoon

Mustard – 1 tea spoon

Hing – ¼ tea spoon

Curry leaves – 2 springs

Method:

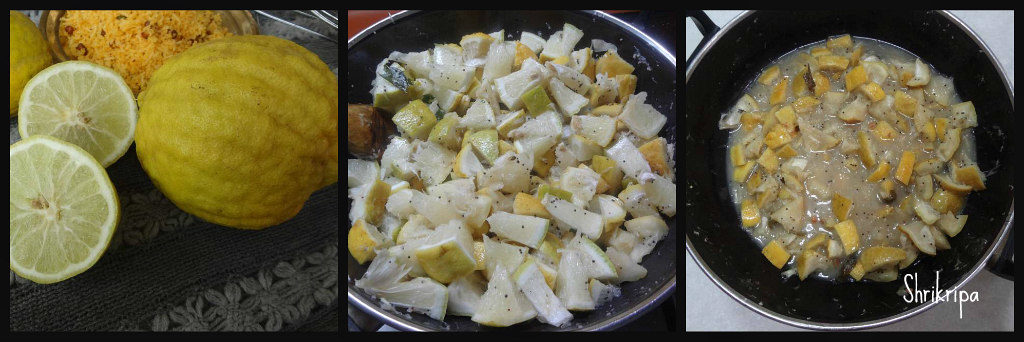
-Chop lemon into bite size pieces, after washing and wiping it dry.

-Take one tawa, do seasoning part, by heating sesame or any vegetable oil, splutter mustard seeds, add hing and curry leaves, fry until curry leaves wilts.
Ribbet collage 1

-Next add chopped lemon and toss for a while and add 1 cup of salt and mix until water oozes out.

– Switch off the gas and leave this mixture to cool down to room temperature.

– In the meantime, prepare pickle masala.

-Take one thick bottomed kadai, dry roast fenugreek until it reaches dark, not burnt.

-Next proceed with sesame, mustard, cumin, black pepper one by one separately.

-Now take 1 teaspoon of oil and fry red chillies until crisp. Lastly add turmeric and fry after switching off the gas.

Ribbet collage 2

-Cool this fried and roasted items and make powder by using dry mixer jar.

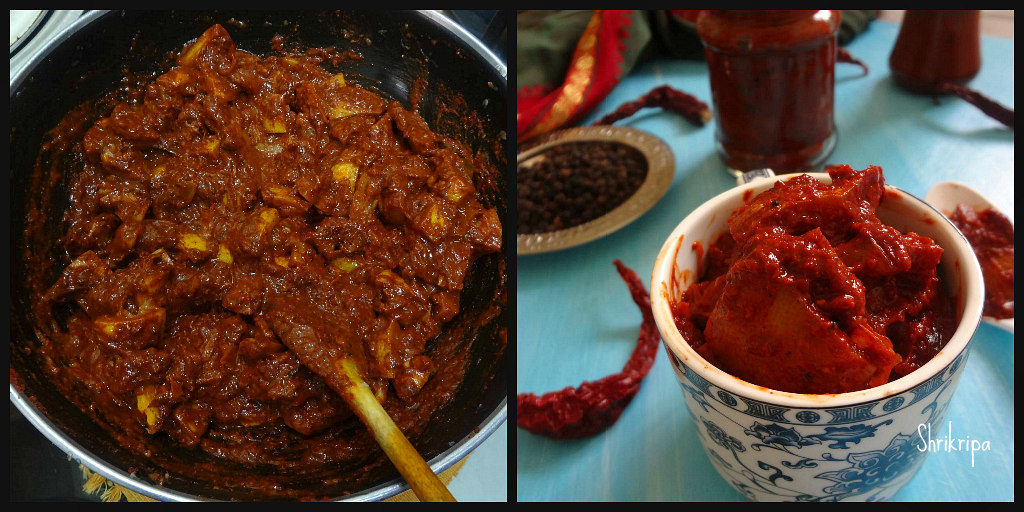
– Spread this powder on a plain paper, cool and mix with seasoned and cooled lemon mixture.
Ribbet collage 3

-Mix everything nicely, check for a salt, if needed add more. store it in a dry glass jar.

-Once in two days, mix this pickle by using dry spoon until it sets.
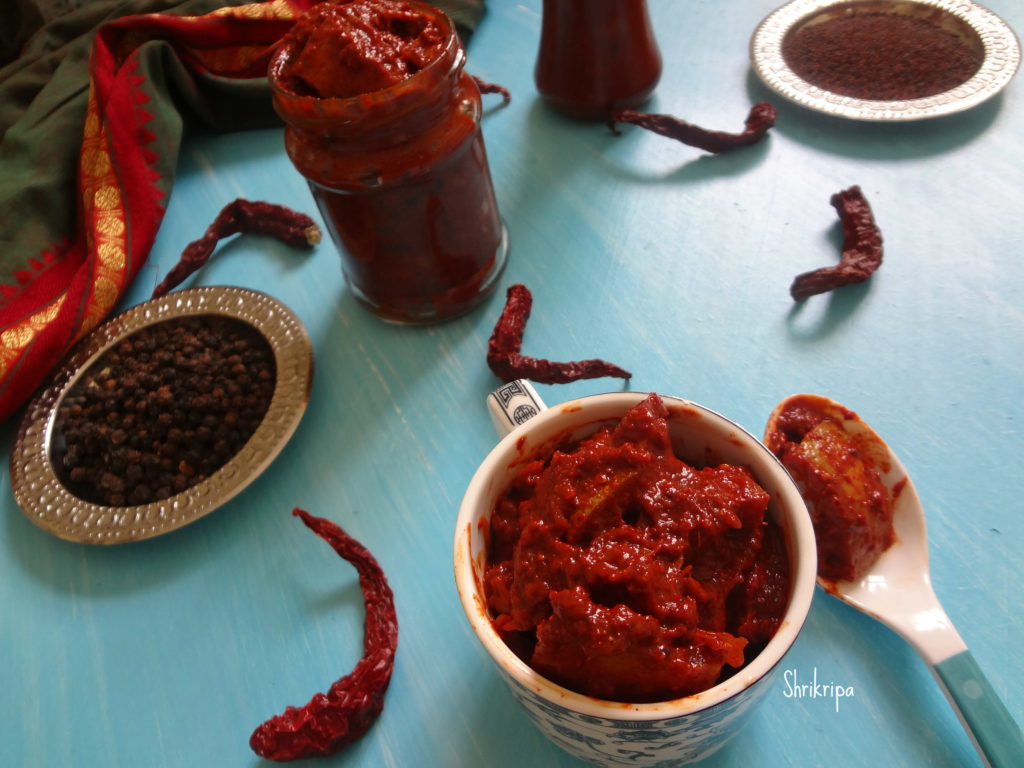
pickle main

-After one week, you can start enjoying this fresh pickle and store this in a fridge for longer shelf life.

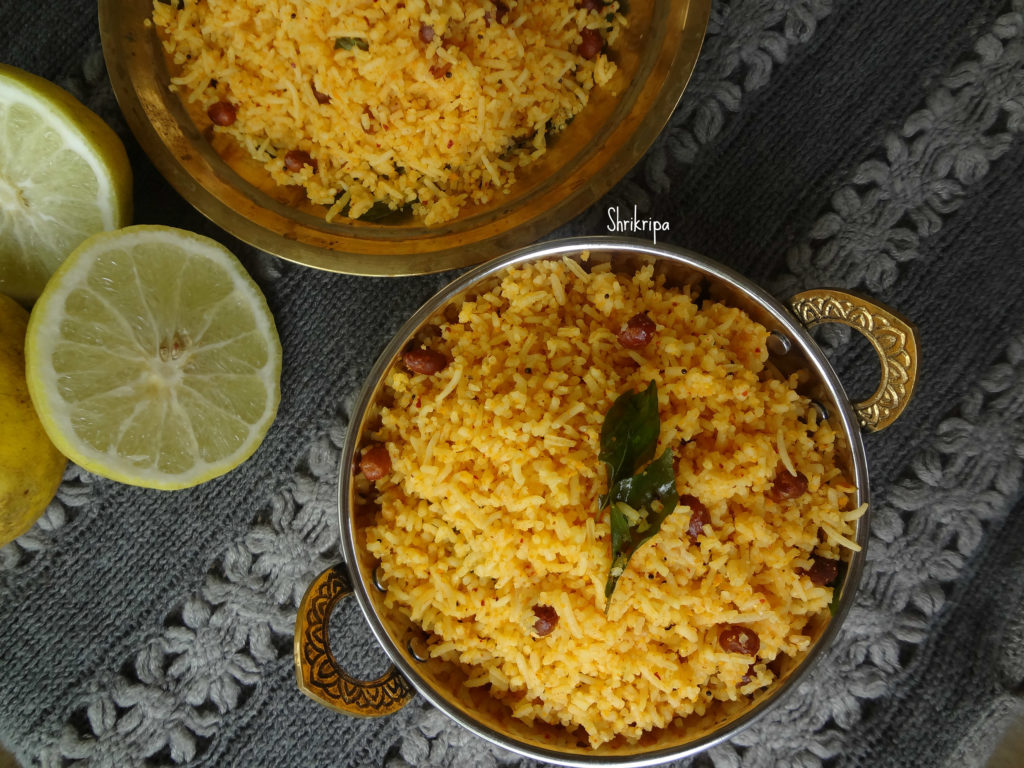


Citrus medica / Dudle huli Chithranna:

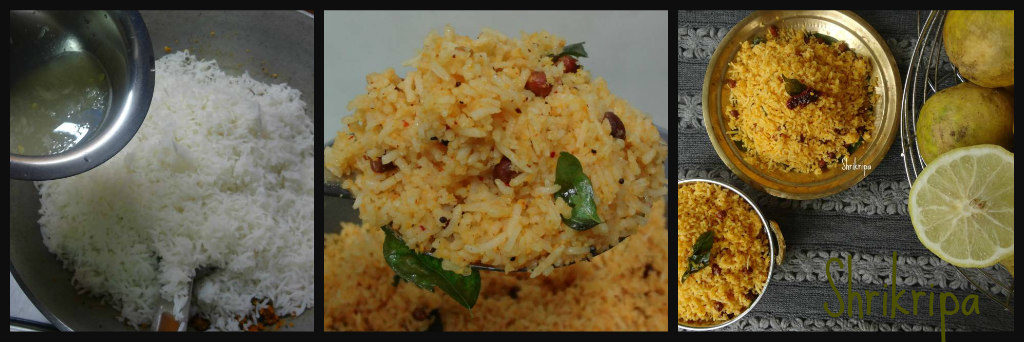
Dudle huli is a big lemon and is known as Citrus medica. Citrus medica is much bigger than normal lemon with thick outer rind and less sour and sweeter than normal lemon, excellent for thin Rasam, juice, pickles or Chithranna. This Chithranna is fragrant, rich in vitamin C and very tasty. We normally serve this in any festivals or weddings. It is a no onion no garlic recipe and we use mustard, dry red chilli and coconut for flavour. This is our traditional and much-loved recipe for Chithranna.

chithranna main

Ingredients:

Rice – 3 cups

Citrus medica – 1 (big citrus fruit)

Dried red chillies – 2 to 3

Mustard – 1 tsp

Coconut – ½ cup

Jaggery – 1 to 2 tsp

Salt

Oil – 1 tsp

Seasoning:

Coconut Oil – 3 tbl sp (any refined oil is ok)

Mustard – 1 tsp

Urad dal – 1 tsp

Cumin – 1 tsp

Hing – ¼ tsp

Curry leaves – 2 springs

Ground nuts – ¼ cup

Method:

-For cooking rice:

Boil water in a big vessel by putting 1 tsp of salt and oil. Add washed rice and cook for 7 to 8 minutes or until it is soft and firm and cooks. Drain cooked water and spread this rice in a colander.

– Grind masala by putting coconut, roasted red chillies, mustard, jaggery and dry run without adding any water.

-Seasoning:

-Take one thick bottomed kadai, add oil and heat. When it is hot, add mustard.

collage 1

-When it starts splutter, add urad dal and ground nut and fry until it becomes little dark. Next add cumin, hing and curry leaves.

-Now add ground masala and fry for 2 minutes. Add drained rice, juice of citrus medica and salt.

collage 2

-Mix well and switch off the gas. Check for the seasoning and adjust according to your taste.

– This is very ideal vitamin C rich option for tiffin box as well.


Aviyal/Avial OR Avilu:

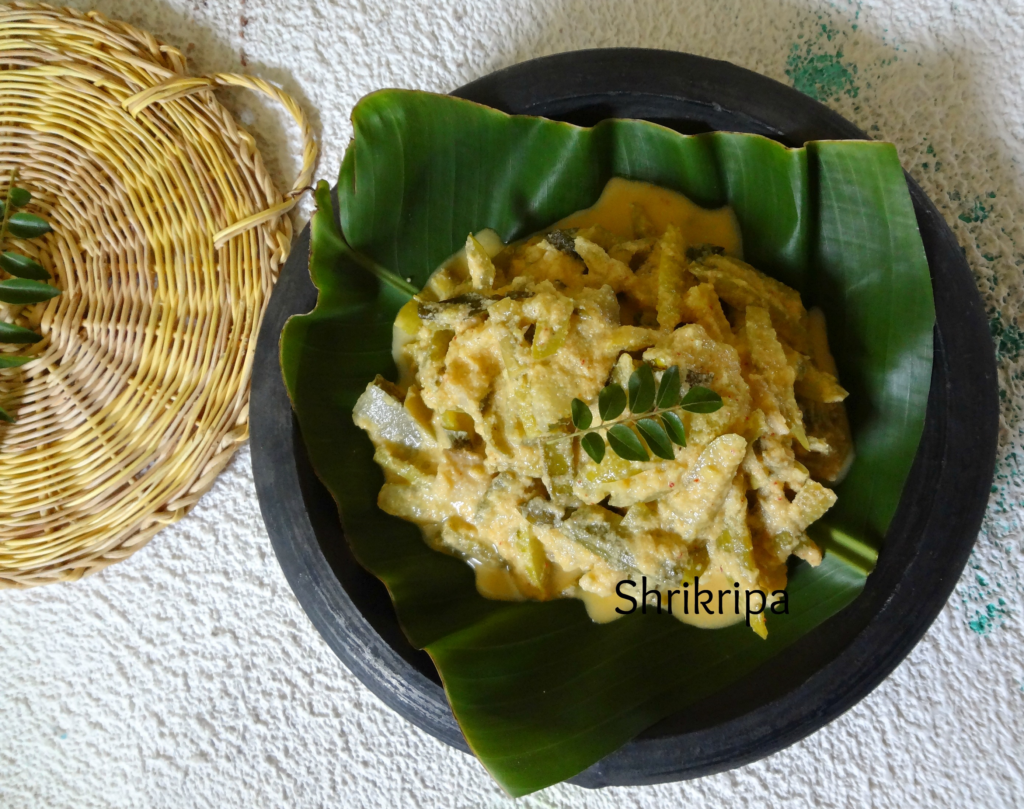
Aviyal is a mixed vegetable dish cooked in coconut gravy by adding some curd/yoghurt, Raw coconut oil and lots of curry leaves. It is an integral part of any festival cooking and It is believed that Bhima, one of the Pandava’s, invented this dish, during their exile period. Avial is a must dish during Onam Sadhya in Kerala. Aviyal is one of the favorite dishes of my family. I learnt this recipe from my mom-in-law. This is how we do this recipe in our family.   

pic mainIngredients:

Ivy gourd – 250gms.

Brinjal – 1

Snake gourd -1

Raw banana -1

Yam -250 grams.

Ridge gourd-1

Yard long beans -250 grams.

Bitter gourd -1

Coloured cucumber – 1

Raw mango-1 or Hog plum -4

Fresh grated Coconut – From one coconut.

Butter milk – 1 cup

Coconut oil – 6 tsp.

Jeera/cumin -1 tsp.

Dry red chilli – 2

Green chilli -4 to 5

Red chilli powder – 1tsp.

Turmeric Powder – 1tsp.

Curry Leaves- 5 springs.

Salt 

Procedure:

1. Cut all the above-mentioned vegetables in a matchstick manner (slightly big pieces).     collage 1     

2. Take all the vegetables and slit green chilies in a heavy bottomed vessel. To this add little red chilli powder, turmeric powder, salt and little water and cook till the veggies are done.                           

3. In the meantime, prepare coconut paste by adding grated coconut, jeera, dry red chilli in a mixer jar. Add little water, grind and keep it aside.

4.When veggies are cooked add this coconut paste along with butter milk. Mix nicely.

5.To this mixture add lot of curry leaves and pour raw coconut oil. Press everything using back of the ladle, close tightly using a plate and continue cooking till it boils nicely.                            

6.Once it starts boiling, switch-off the gas and delicious avial is ready to serve.

7. You can enjoy this Avial with rice, roti or Neer Dosa.                  

 NOTE: -Try to add all the mentioned vegetables as much as possible.

            – Usage of coconut oil will give the authentic taste.


Banana Berati / Plantain Preserve:

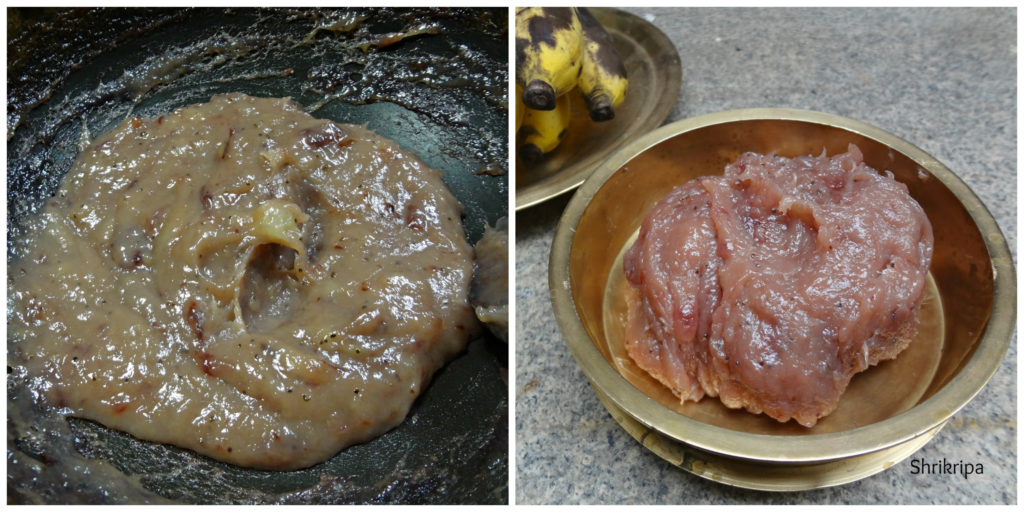
Whenever you have large stock of over ripe bananas, this is one such procedure one can follow and finish off all the stock and preserve this for future use. This preserve stays good almost a year or more in the freezer. It is a very handy when you want to make banana payasam/kheer or HalwaHere I have used yellow small variety of banana from Mangalore and we call this as Kadali.

pic main

Ingredients:

Over ripe banana – 22

Sugar – 1 bowl 

Method:

 Put all the peeled bananas to mixer grinder and make a smooth paste.

  Measure this by using any bowl of your choice. If this paste is 3 cups in quantity take one cup of sugar in that same measurement cup.

  So, your ratio of banana paste and sugar will be 3:1.

Take one thick bottomed kadai, put this paste and keep gas flame in a very low flame and cook for a while.

collage 1

       When it changes its colour to milky white, then to a pale colour and when you smell the banana flavour in the air, add sugar and mix this in a regular interval.

   After some time, it will turn into a pinkish or reddish colour and it will start to leave the sides of the kadai. Now it is the time to remove it from the fire.

collage 2

   Keep as it is and when it reaches room temperature; store it in an airtight container or a zip lock.

   You can do this in a microwave as well. Only thing, you should remove the glass bowl at regular intervals and give a stir and proceed as given above.


Kadle Bele –Gerubeeja Payasa / Chana dal and Cashew Kheer:

Happy Yugadi! Yugadi is celebrated as the beginning of a new year in India (but through different names). In Bangalore, we start this festival by eating neem and jaggery. Neem denotes the bitterness we face in life, and the jaggery represents all the sweet things of life. By eating the neem and jaggery together, it is a symbol of promising ourselves to face the bitterness and sweetness of life with confidence.           

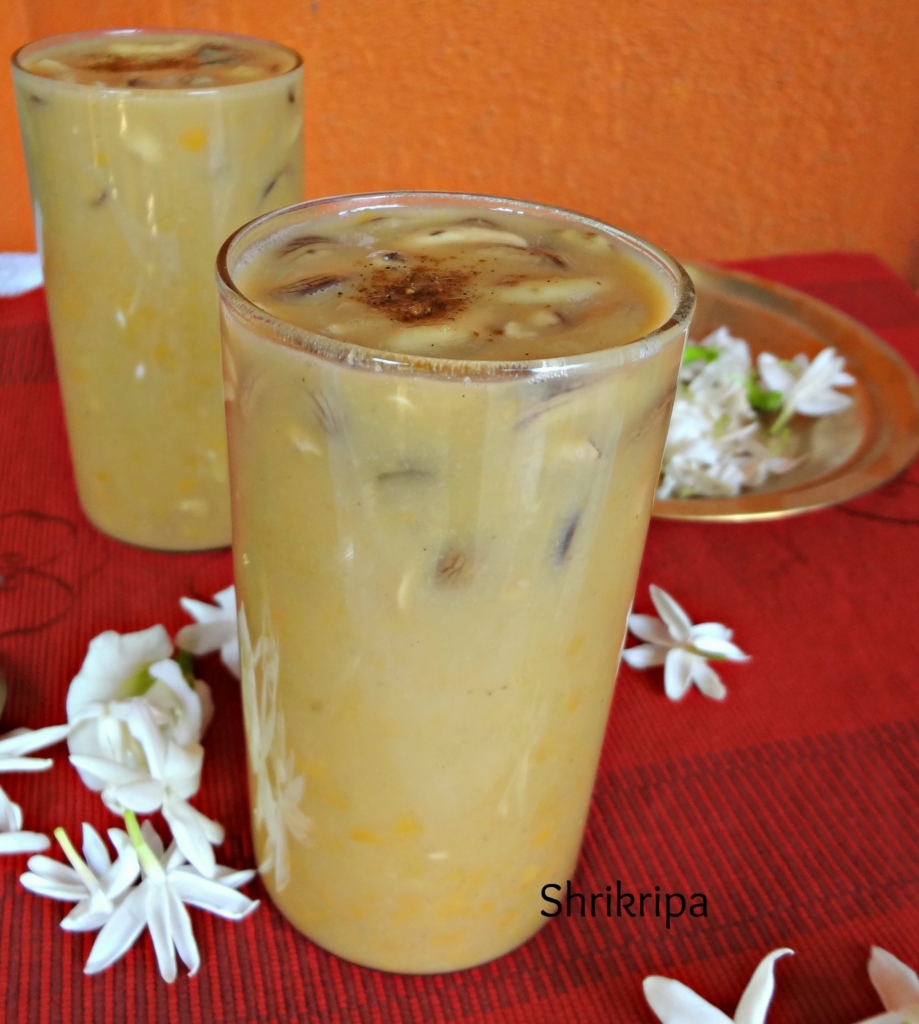
In Mangalore, we celebrate this festival by savouring a kadle Bele (Bengal gram or chanadal) and gerubeeja (raw cashew) Payasa. It is a delicious dessert which is made more delightful because of the cashew nuts which are present in every spoonful.

pic main

We will see the procedure –

Ingredients:

Chana dal/Split Bengal gram – 1 cup

Whole raw Cashew – 1 cup

Coconut milk – 1 tetra pack

Jaggery – 1 ½ block (used Organic jaggery blocks)

Cardamom powder – ½ tsp.

Salt – ½ tsp.

Method:

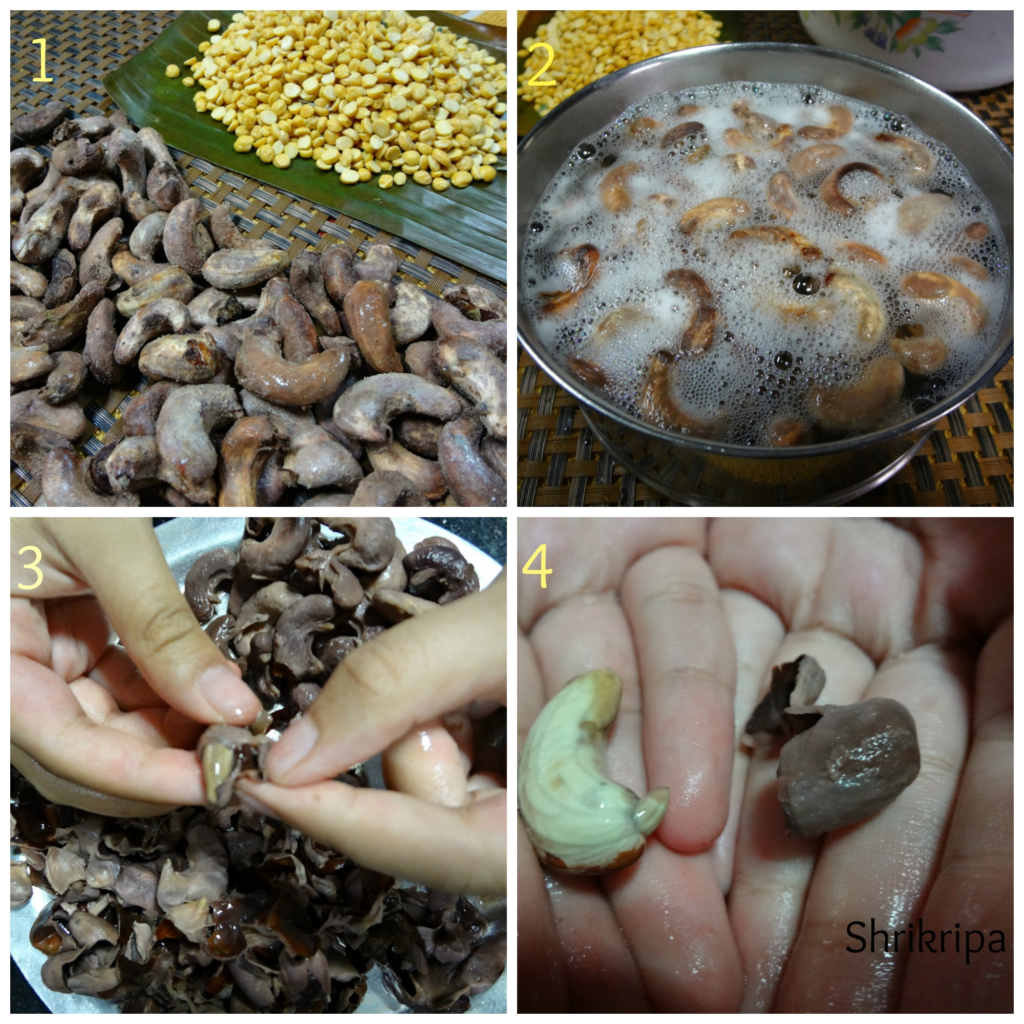
-At first we have to remove outer cover of the young cashew. Take one bowl, put all those young and raw cashew kernels into it, pour boiling water and keep it aside for 10 to 15 minutes by closing the lid.

-When outer cover of the kernels swells, remove the outer cover and keep aside.

collage 1

-Wash chana dal and cook this in a cooker by putting sufficient water for two whistles.

-Cook dal till it is perfectly cooked. Dal should be well cooked and easily crushed. Doneness is very important, after adding jaggery, dal becomes little stiff and firm.

pic 2

– When its pressure relieves add cashew kernels and cook. After one whistle, switch off the gas and cool this.

-Now add salt and jaggery and boil till you get a nice aroma and till the raw smell of jaggery disappears.

pic 3

 – When it is done, add one tetra pack of coconut milk and give one boil. That is it. Garnish with powdered cardamom and enjoy.              

           pic 12              pic main

        Note: –

          If you don’t have access to raw cashew kernels, you can use regular cashew and you can cook this with Chana dal for 3 whistles and proceed by adding jaggery.

           If you are using fresh coconut for extracting milk, take grated coconut (from one coconut), add one cup of water and grind, and extract milk. (This is a thick extract and should be added at the end)

          Once again add little water and grind, to take out thin milk and you can add this while boiling jaggery.

          If you are using regular jaggery, at first self-boil this with little water, make a liquid and sieve this before adding to the kheer, to remove impurities.


Akki Happala/Rice Papad:

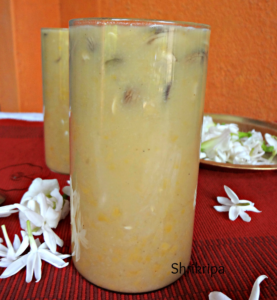
This is a very light and tasty papad, which is relatively very easy and there is no need to keep it under the sun to dry as it dries under the fan or partial sun at balcony or wherever.

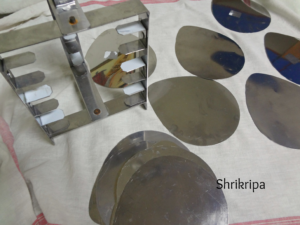
Previously I used to struggle to make this by keeping my tiny 3 steel plates in idly steamer to cook but this year, when I visited Chennai; I bought one papad stand, which is known there as an Elai Vadam Stand and its plates are known as Elai Vada plates. This is my most treasured asset and I wanted to own it from so long. If you don’t have this stand and still want to make this, you can use your thatte idly stand or simply you can keep any small plates or banana leaves and still you can make.

akki happala 1

I usually use Dosa Rice for this and for seasoning; I add chopped green chillies, cumin and salt. You can add any seasoning of your choice.

Ingredient:

Dosa rice – 2 cups

Salt

Cumin – 2 tsp

Green chillies – 4 to 6

Method:

-Soak Dosa rice in the afternoon.

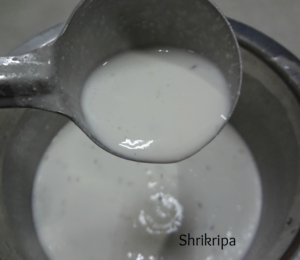
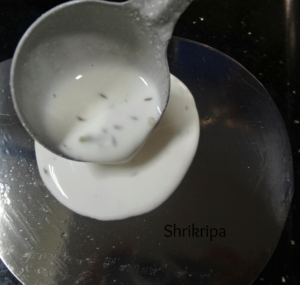
-Around night, grind this into smooth batter by adding salt and little water. Batter should be like Dosa batter. Add Cumin and Keep aside for overnight fermentation.

pic 1          pic 2

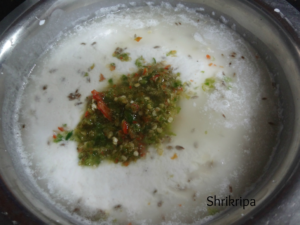
-The next morning, when you are ready to prepare papad, dry grind green chillies in small mixer jar and add this to ready fermented batter.

-Adjust the consistency by adding extra water. Batter should be a little thinner than regular Dosa batter.

-Check for salt and adjust that as well.

-Now keep idly steamer on gas stove with little water at the bottom.

-Apply little oil to steel Elai vada plates. In this stand 6 plates will be there. I recommend you to buy extra set of 6 plates with this stand, so that process will finish off in a jiffy.

pic 3    pic 4

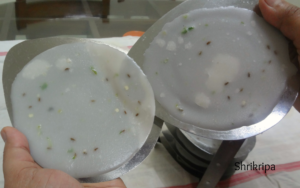
– Now pour a little batter on each plate and spread the batter. Place them in the stand and steam cook this only for 2 minutes.

pic 5     pic 6

-At this time, take out the other set of Elai vada plates and apply some oil and spread the batter.

-There is no need to apply oil every time, only once at the beginning is more than enough.

-Now remove adai stand from the steamer, remove those leaves from the stand and replace with the new set and keep it inside the steamer for 2 minutes.

pic 7    pic 8

-Now remove all those cooked papad’s from the leaves by using other leaf’s edge and slightly lift that and peel off.

-Transfer these peeled papad’s over clean cloth and sun-dry wherever you want. If you have access to sun light, dry under the sun (very partial sunlight is required). If you don’t have access to sunlight, you can dry it indoors, but it will take an extra day  or two.

pic 9    pic 10

-Dry for 3 days and store it in a tight container.

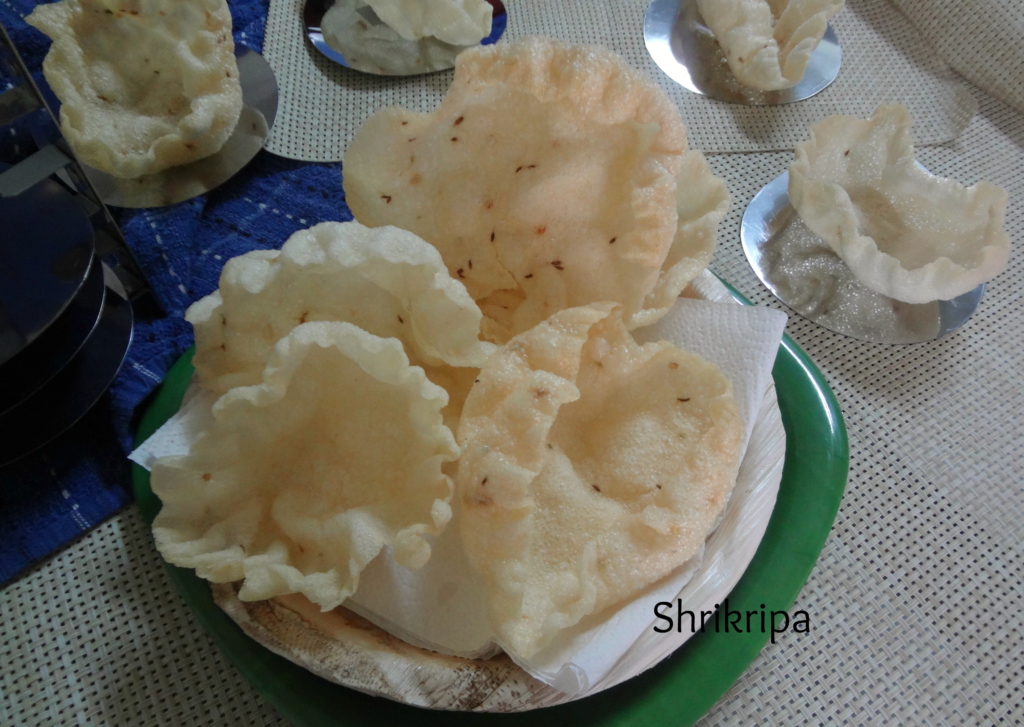
akki happala main

Fry this whenever you want and Enjoy as it is or with Rice- Rasam/dhal.


Ridge gourd Tambli:

Here is a low calorie option with ridge gourd, which is healthy, refreshing as well as soothing in this summer season. This particular Tambli is prepared by grinding tossed ridge gourd with fresh grated coconut and mixing in buttermilk and it doesn’t need boiling. You can savour this like an appetiser or mixing with piping hot rice .It has healing properties and is very good for the digestive system. Recently I tasted this curry at my sister in laws place and just loved this.

ridge gourd tambli

How to prepare this:

Ingredients:

Ridge gourd – 6” with skin

Cumin – ½ tsp

Black pepper – 5

Bird eye chilli – 2

Ghee – 1 tsp

Coconut – ½ cup

Salt

Butter milk – ½ cup

Seasoning: ghee – ½ Tsp, cumin – ½ tsp, curry leaves – 1 spring.

Method:

-Chop ridge gourd with skin intact.

-take 1 tsp of ghee in a small kadai. When it is hot, add jeera, pepper and bird eye chilli. If you don’t have bird eye chillies, instead you can use half green chilli and roast. Then add chopped ridge gourd and fry until it wilts.

– Now take out all these fried items and cool.

pic 1

-Grind this into smooth paste by adding coconut, salt and little water.

-remove this into a vessel, add buttermilk, and adjust the consistency by adding little water if needed.

-Consistency should be like normal milk.

– Add seasoning by heating ghee, cumin and curry leaves.

– Enjoy this with hot rice.

Til Chikki /Indian Sesame Brittle:

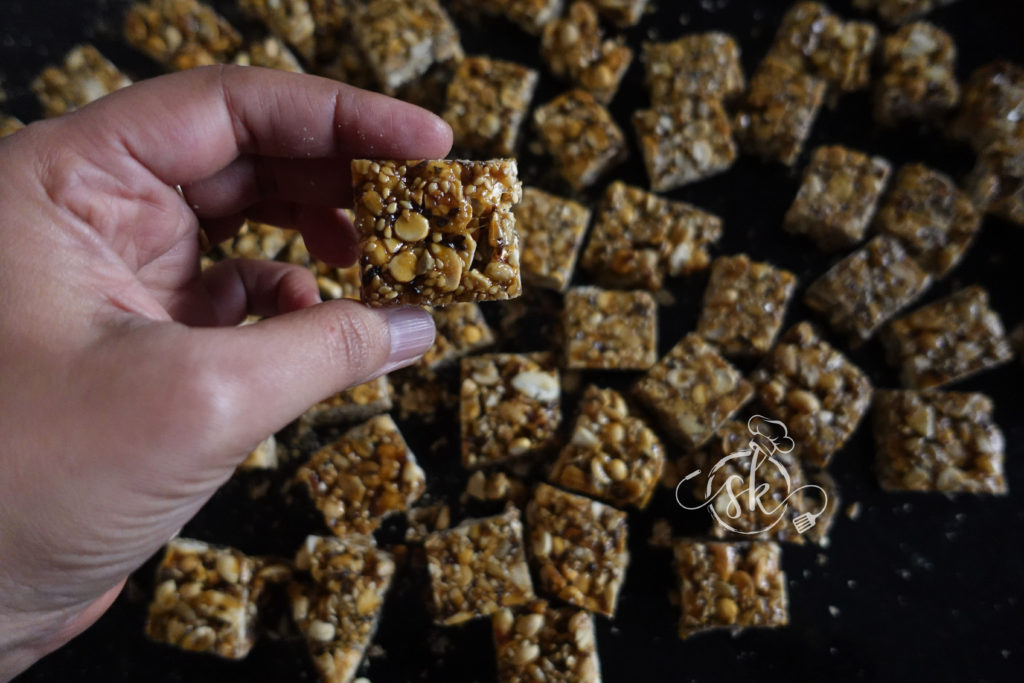
Makara Sankranti and Sesame/Til seed are very much associated with each other. Every year my kids look forward to having their favourite Chikki on this auspicious day. This time I wanted to make a different type by enhancing its nutritional value by adding other ingredients too. Finally came up with this recipe. 

chikki main

Here I have taken one big water tumbler as a measuring cup.

Ingredients:

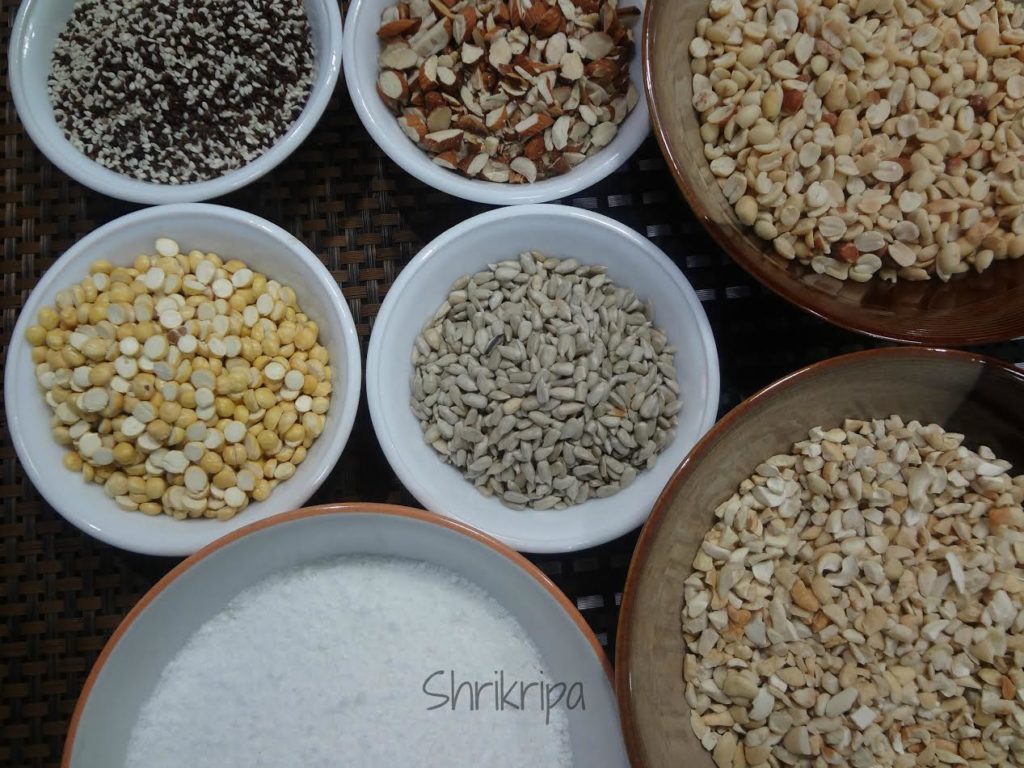
Peanut: 1 cup

Sesame seed – ½ cup (white and black mix)

Sunflower seed -1/2 cup (de-skinned one)

Roasted gram – ½ cup

Almond – ½ cup (slice or chunks)

Cashew bits – ½ cup

Desiccated coconut – ½ cup

Sugar – 2 ¼ to 2 ½  cups  ( if light sweet, add 2 1/4 cup otherwise, add more) 

Ghee/clarified butter – 2 tablespoons

Cardamom powder – 1/2 tsp 

Method:

-Dry roast peanuts, remove the outer skin and make halves.

-Now dry roast sesame seeds, Sunflower seeds, Roasted gram, almond chunks, and Cashew bits one by one and keep aside. For roasting, you can use a stovetop method or microwave.

pic 1

-When it’s a little cool, add desiccated coconut, cardamom powder and mix nicely. Keep it aside.

-Take one rolling pin and apply little ghee and keep aside.

-Now we have to make the caramel by adding sugar and ghee in a thick bottomed vessel/tawa. Keep this on a stovetop, heat it until it attains liquid form and becomes light brown in colour. This is caramel. (Please refer to the below picture for stages to attain light brown colour)

pic 2pic 3

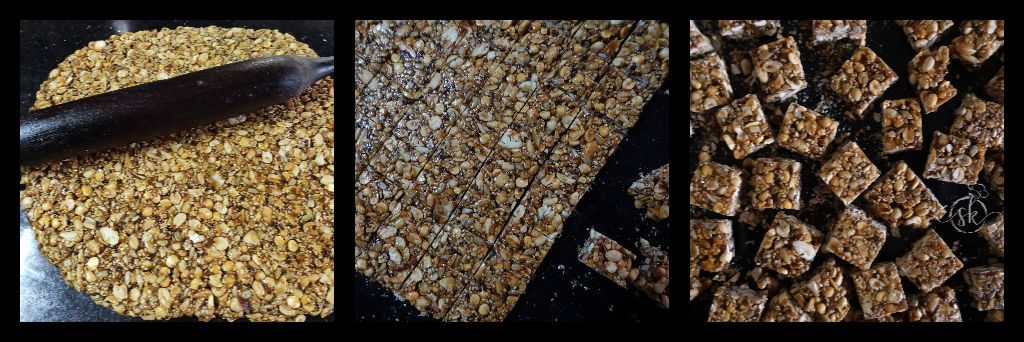
-Without wasting any time, mix in the nuts and spread this on a wooden plank or on a clean kitchen platform. Use ghee applied chapati rolling pin (belan) and spread this mixture nicely till it is uniformly flat.

-Leave this for 5 minutes. Take one knife and mark, cut it into the desired shape. After it cools down completely you can store this in an airtight container.

Chikki Preparation by Using Jaggery: (Ratio should be 1 part of dry fruits: ½ part of jaggery)

Follow all the steps precisely like Sugar added chikki. You can omit or add any ingredients according to your wish.

Instead of Sugar, take grated jaggery, loosely fill the cup and measure, by using the cup in which you are taking the ingredients.

-First, take the jaggery, put water, ghee. Heat the solution and strain. If any sediment or tiny particles, it would go away, and the final result would be perfect.

-Then start boiling, until it reaches the frothy, thick. At this stage, pour one drop of the liquid in a small cup of water and check. It should come together, like a crystal and you should be able to break it easily.

-If it is not yet ready, it will come(extend) like a chewy thread. You will not be able to break it.

-If it is ready, pour all the roasted dry fruit, mixed and kept into the solution. Switch off the gas. Give a stir, spread, and follow all the steps like a sugared one, which I have dealt earlier.

-Enjoy all the goodness without a pang of guilt.

NOTE: -I would suggest the usage of Sugar for the first-timers. It is foolproof and easy.

-After a couple of trials with Sugar, you would be knowing about the stages and gradually shift to jaggery.

-Here, I have taken round, organic ball jaggery, made into chunks by using the stone pestle.


Masala Whole Wheat Laddu/ Pinni Ke Ladoo:

Happy New Year wishes to all my Readers!!!!

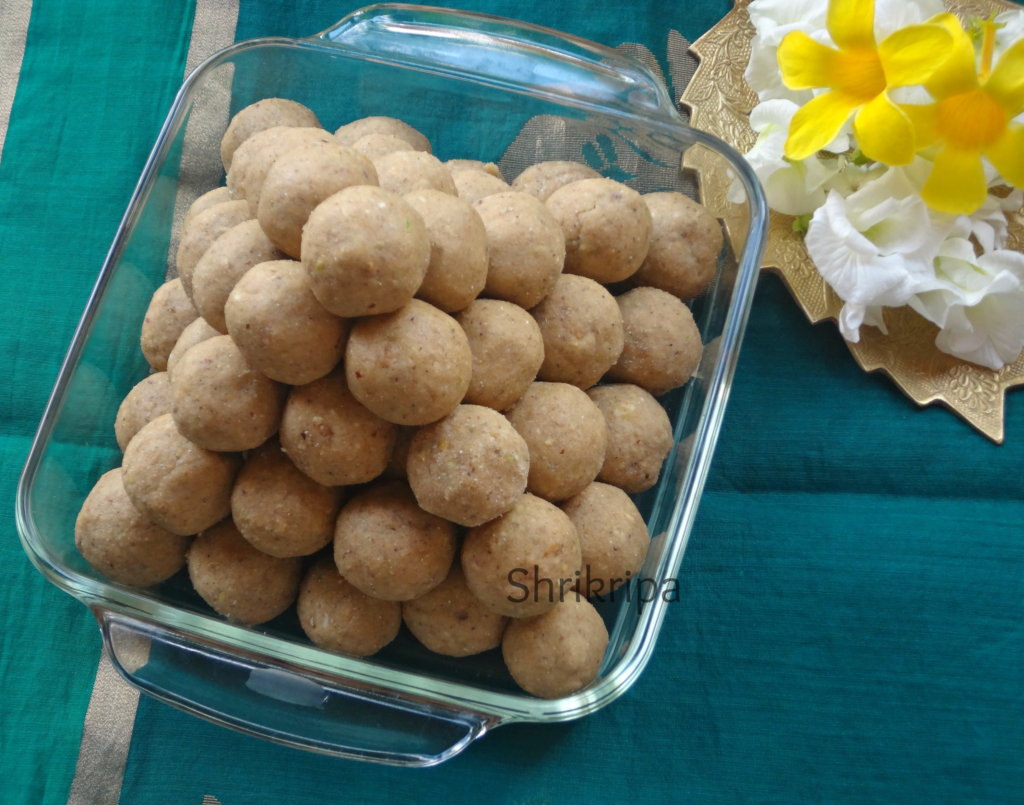
Masala whole wheat laddu’s are pure bliss!!!! I had some apprehension before tasting this mainly because, I couldn’t imagine the taste of laddu’s with fennel, pepper etc.! These beauties are originally from Punjab and known as Pinni ke ladoo. This recipe is from my friend and according to her; each family has their own style of preparation of Pinni and is a must for winter months. I have prepared according to our taste and availability of the ingredients in my pantry.

main-1

Ingredients:

Note: Here I have used steel tumbler or regular steel glass to measure ingredients.

Whole wheat flour – 3 cups

Ghee – 1 ¼ to 1 ½ cups

Almond- ½ cup

Pista – ½ cup

Desiccated coconut – ½ cup

Flax seed powder – 1tblsp

Sugar – 1 ½ cup (powdered)

Jaggery – ¼ cup (powdered)

For masala: Fennel – 1 tsp, black pepper – 1 tsp, cardamom – 1 tsp, ginger powder – ¼ tsp.

Salt – ¼ tsp

Edible gum – 30 – 50 gms.

Method:

-Dry roast almond and Pista, cool, powder it and keep aside.

-Dry roast desiccated coconut for 2 minutes, to increase its fragrance.

picture-1-Powder masala ingredients in a small mixer jar. No need to roast this.
-Put 1 tsp of ghee, fry edible gum in a hot ghee until it puffs and becomes transparent. Cool it and powder in a mixer jar.

picture-2

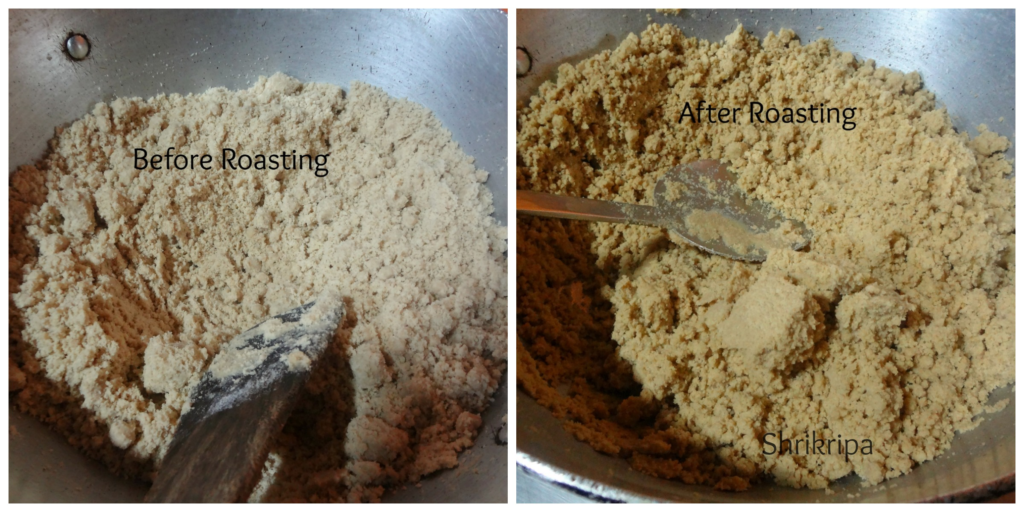
-Take one thick bottomed kadai, add one cup of ghee and roast whole wheat four in a very low fire, until it becomes light brown and sandy in texture.

picture-3

-Switch off the gas. Add in edible gum, sugar powder, jaggery powder, masala powder, salt, coconut, dry fruits powder,flax seed powder etc.

picture-4

-Mix everything together, try to make roundels. If you are able to bind it together, well you can proceed to make laddu’s.

-If it breaks while binding, add little by little hot ghee and mix, and then make the roundels.

main-2

-Cool completely before storing it in an air tight container.

Manoli Kadle Ajadina /Thondekai Kadle palya /Ivy gourd and chick pea Dry curry:

This is one of our family favourite curries, which is loved by all. We make two types of curries by using ivy gourd and chickpea.

One is with onion and garlic, other one without it.

This name is derived from Tulu language, which is a local language of Mangalore. Manoli is ivy gourd or Tindora, Kadle is black chick pea and Ajadina is dry curry.

This particular masala is used in Bunt community of Mangalore and it is an integral part of their festive cooking.

How I make this-

Ingredient:

Ivy gourd – ¼ to ½ kg

Black Chick pea – 1 cup

Salt

Jaggery – ½ tsp (optional)

For Masala:

Fresh grated coconut- 1 cup

Coriander seeds – 1 tsp

Cumin – ½ tsp

Urad dal – 1 tsp

Methi/ fenugreek seed – ½ tsp

Dry red chillies- 3 to 4

For Seasoning:

Coconut oil – 1 to 2 tbl sp

Mustard – 1 tsp

Curry leaves – 1 spring

Method:

-Soak black chick peas in water overnight. Next day discard soaked water and add fresh water, salt and cook this in a cooker for 3 to 4 whistles.

-Wash ivy gourd, cut this lengthwise into 4 pieces. Cook this by putting very little water and salt and jaggery.  keep aside.

-When pressure releases from the cooker, open the lid, drain the water and keep chick pea aside. Don’t discard the drained water. You can make really yummy Rasam or soup out of this.

Next is the masala preparation-

-Heat little oil, fry methi seeds until it is light brown, add remaining ingredients, coriander, cumin, urad dal,  red chillies, and fry nicely.

-Take one mixer jar, put roasted masala, make  a powder, and add coconut into it and whip couple of times to get dry coarse powder.  

Now we can proceed to make palya-

-Take one kadai, put coconut oil, when it is hot, splutter mustard seeds, add curry leaves.

-Now add ground masala and fry for a while.

-Now add cooked chickpea and ivy gourd mix well, check for the salt and adjust.

-Cook this until it becomes like a mass and veggies are coated well with the masala.

-Serve this as a side dish with hot rice.

NOTE:

-Usage of coconut oil will give authentic taste.

-Don’t discard drained water from cooked chick pea. It is very nutritious and you can prepare really tasty Rasam, and it is here.