Once again testing period for me. Yes!! I was keeping and not at all interested to cook these dull Soba noodles. My sister gave me this pack of soba noodles “to experiment” when I visited her this summer. Last week, she had asked about Soba and told me, she is waiting for the foolproof recipe. I had no option but to cook. I was hesitant at the beginning, by thinking about my ever-choosy daughter’s palate.
On the eve of Independence Day, I was thinking about something special for our menu. So, I thought of cooking this special noodle for the first time and made my own mixture by using Honey as a base.
Honey did help to uplift the taste of soba noodles, which is otherwise very bland in taste.
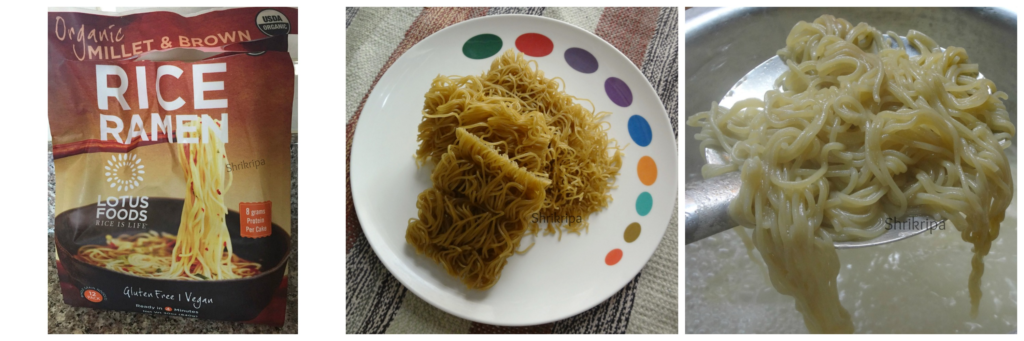
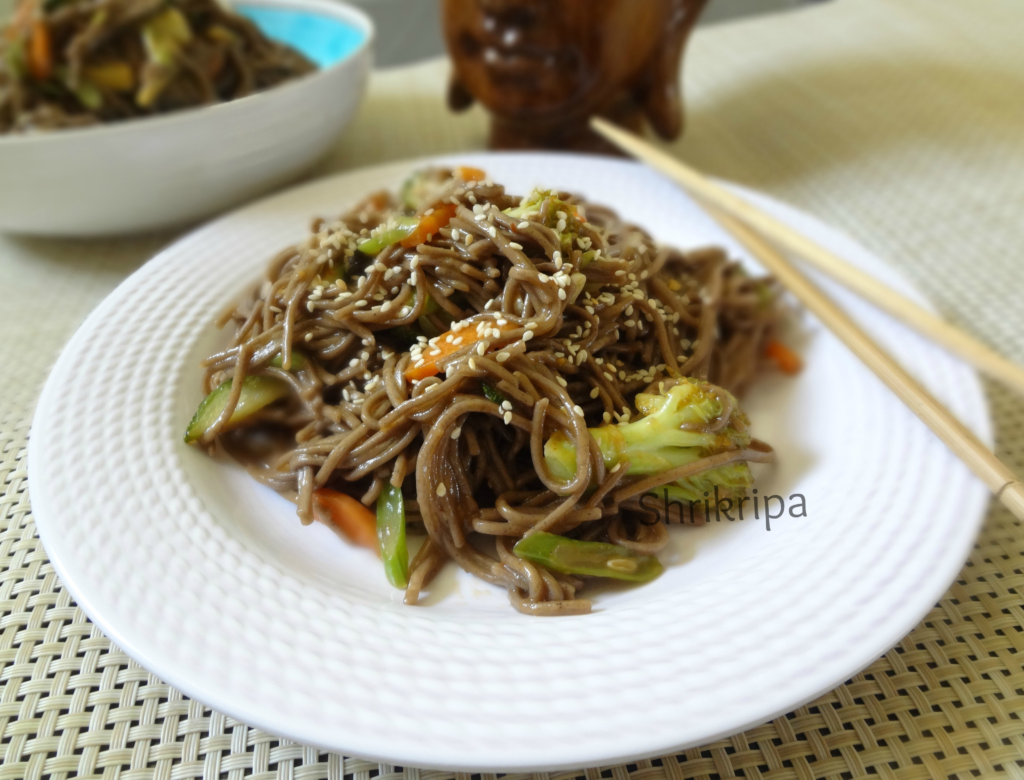
First, we will see, what are Soba noodles. Soba noodles are Japanese noodles that are made from buckwheat flour. Buckwheat flour is greyish in colour so the noodles have that dull grey colour and it is gluten-free as well. Due to this, noodle is very brittle in nature.
As 100% buckwheat, gluten-free noodle tends to break, people do add some wheat flour when preparing their noodles. What I had was 100 % with buckwheat flour and needed extra caution while boiling and cooling.
Ingredients:
Soba noodles – 3 serving bundles
Vegetables – 1 bowl of your choice
white sesame seeds – 1 tablespoon
Corn flour – 1 tablespoon
Water – 3 tablespoons
Salt
Oil – 2 tablespoons
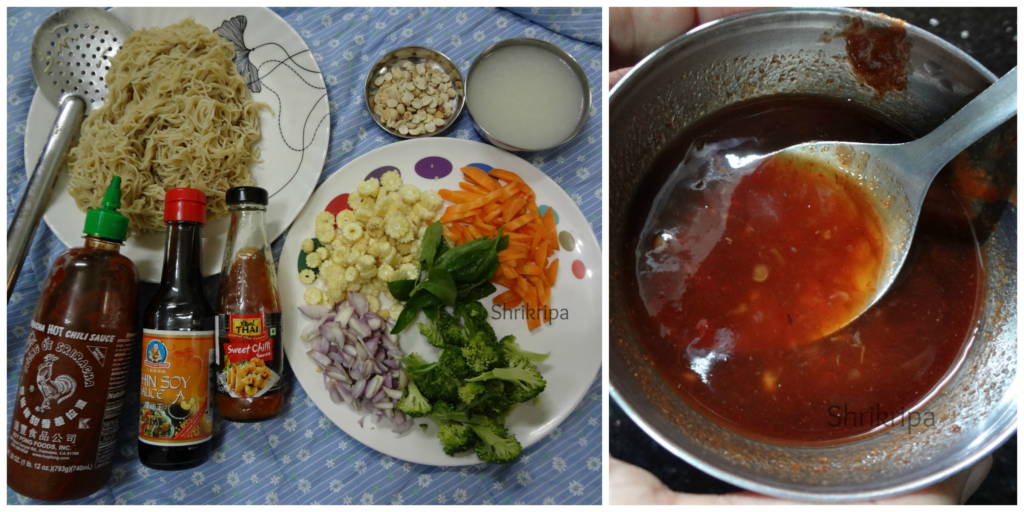
Sauce Mixture:
Sriracha sauce – 2 tablespoons
Rice/ plain vinegar – 2 tablespoons
Light soy sauce – 2 tablespoons
Honey – 5 to 6 tablespoons
Garlic – 1 ½ tablespoons (sliced)
Ginger – 2 teaspoons (grated)
Red chilli flakes – ½ teaspoon
Method:
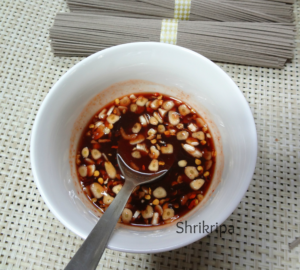
– Make sauce mixture by Combining Sriracha, vinegar, soy sauce, honey, red chilli flakes, garlic and ginger in one bowl and keep aside to release its flavour.
– Mix cornflour and water and keep aside.
– Dry roast sesame seeds and reserve this for garnishing.
– Boil water with one spoon of salt and oil. Put noodle, cook until al dente (it should cook and texture should be firm)
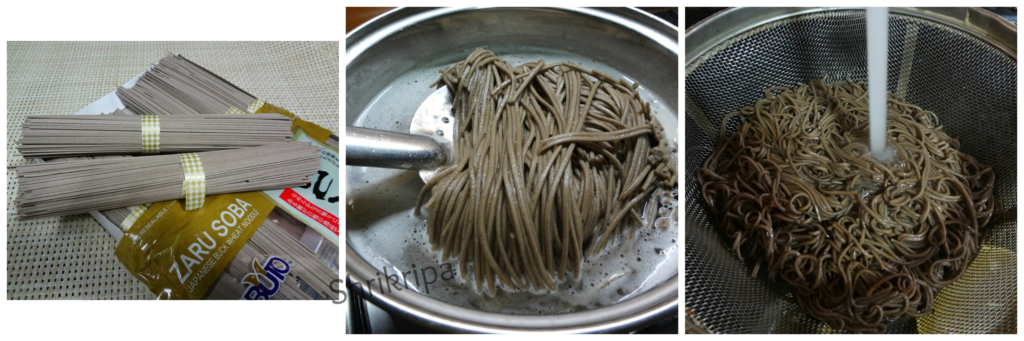
– Drain the water, rinse the noodle in cold tap water.
– Collect one small cup of the drained water and keep it aside for next use.
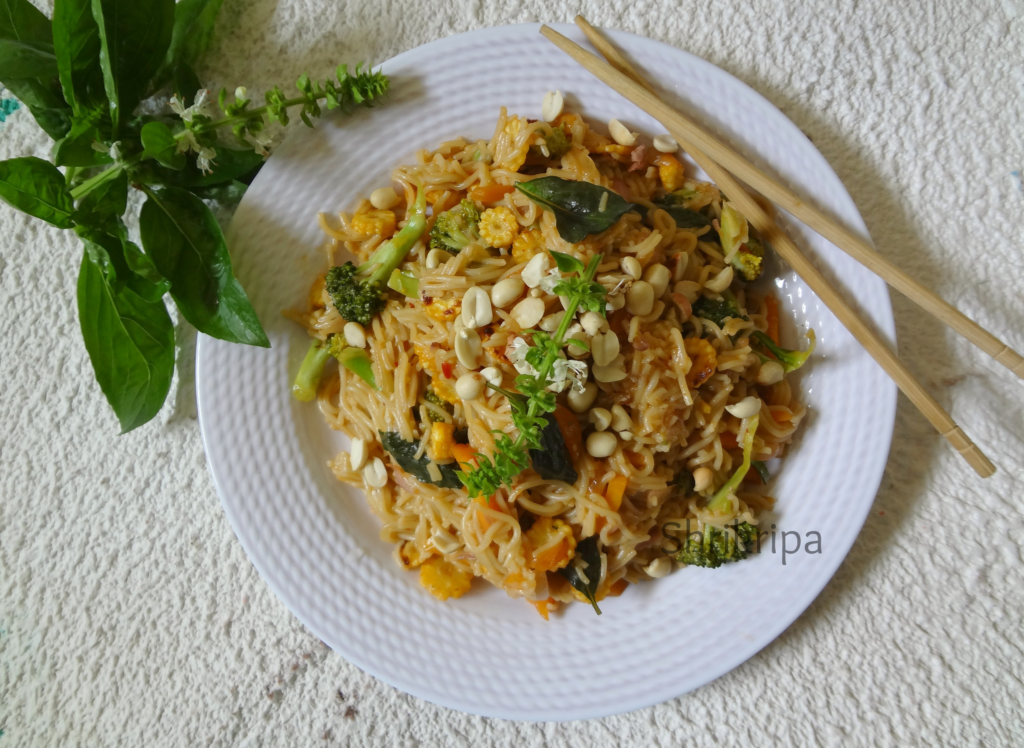
– Chop vegetables according to your taste. Here I have used broccoli, beans, carrot, baby corn and zucchini.
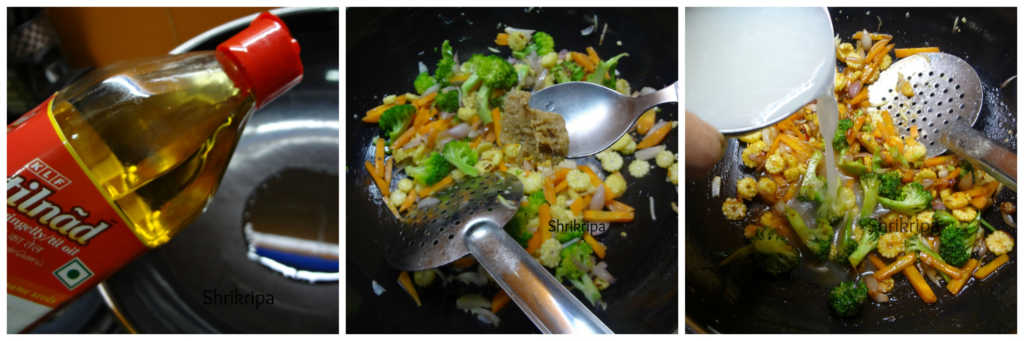
– Take one wide Kadai, add oil. When it is hot, add chopped veggies and a little salt and fry for a while.
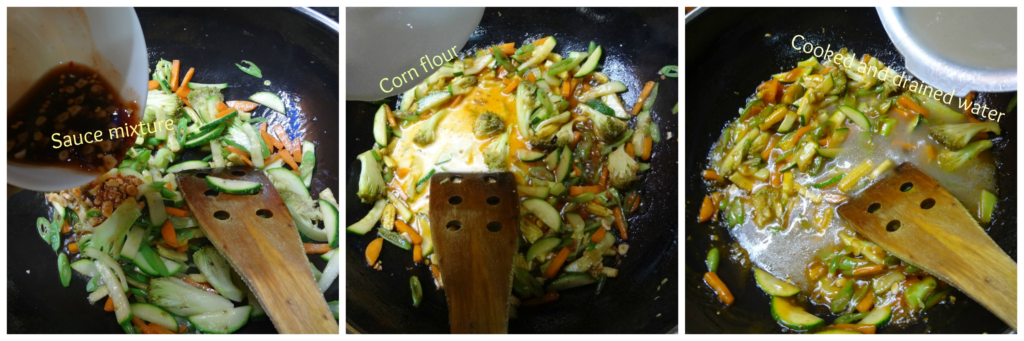
– Add all the sauce mixture, cornflour mixed water and fry vigorously to avoid this to burn.
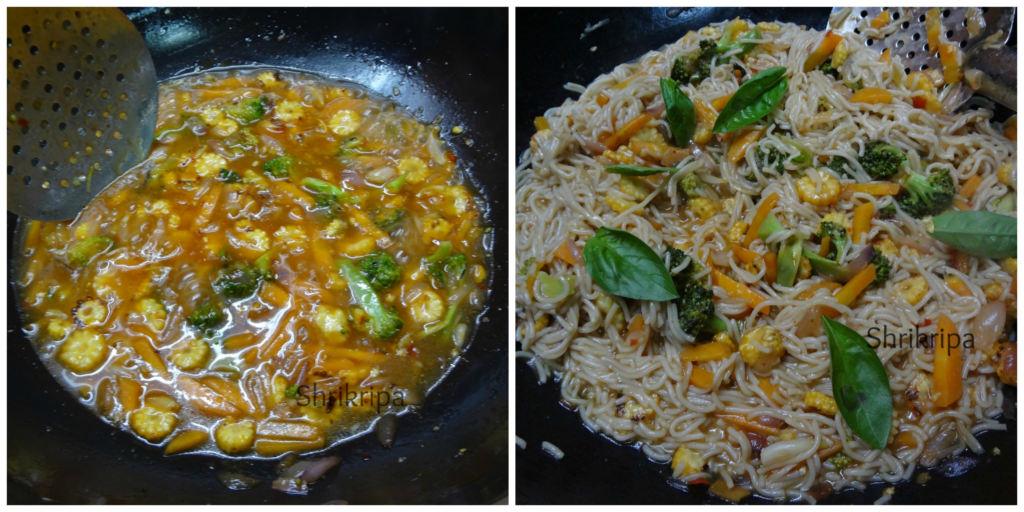
– If the mixture becomes very thick, add a little reserved cooked and drained water of noodles. Check for the salt. If needed add and adjust.
– When it starts boiling, add noodles and mix.
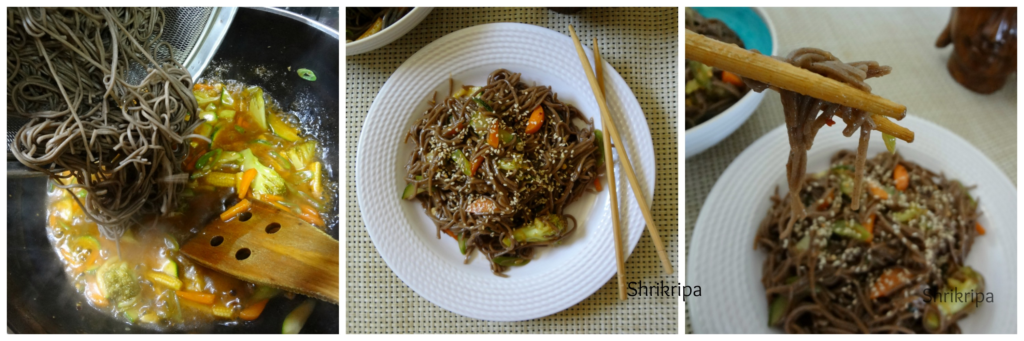
– Garnish with dry roasted sesame seeds and serve.