When I was a little girl, my mom used to work, and I used to spend the summer vacation at my grandparents’ house. I used to enjoy at the farm house by having an unlimited supply of Mangoes, tender coconut, pineapples etc.
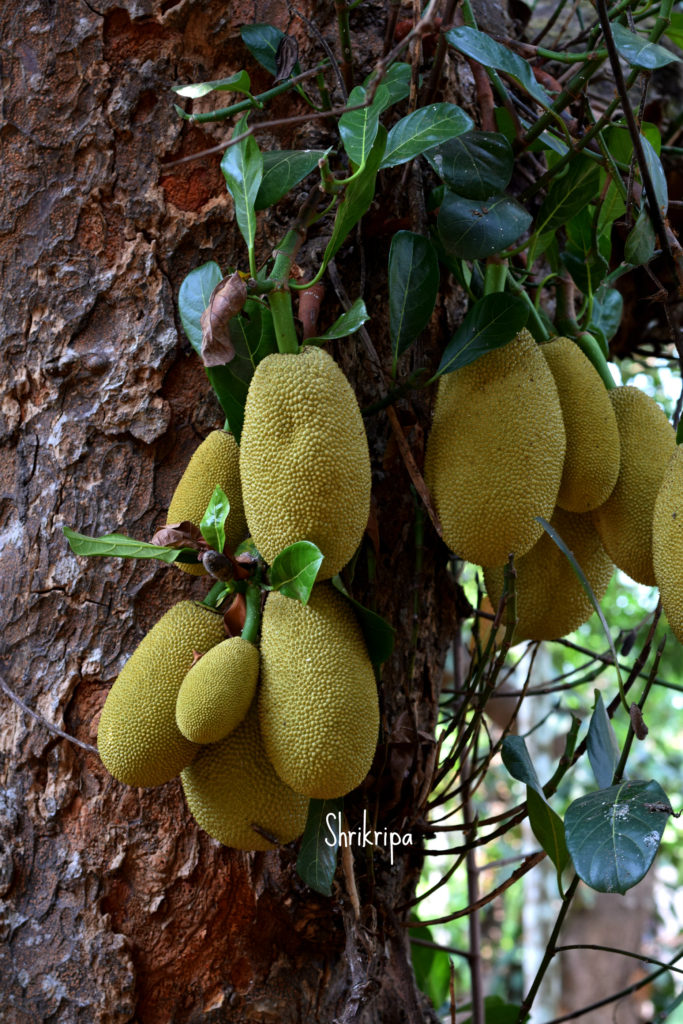
There used to be abundant supply of fallen young coconuts, also called ‘bannangayi’ which have much harder flesh than what we get in the normal tender coconut carts over.
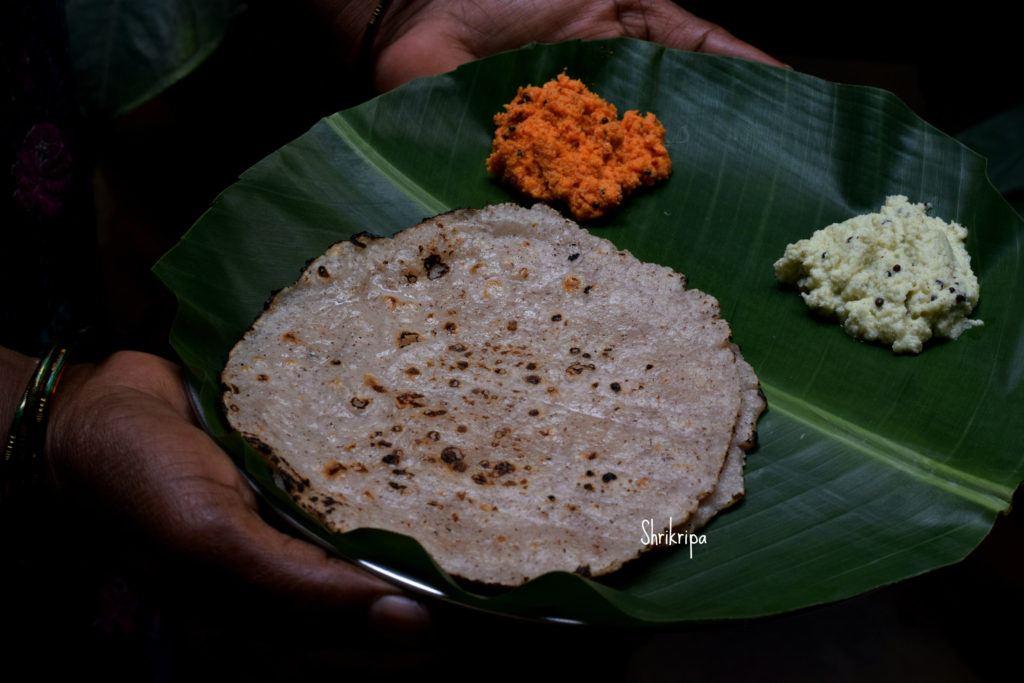
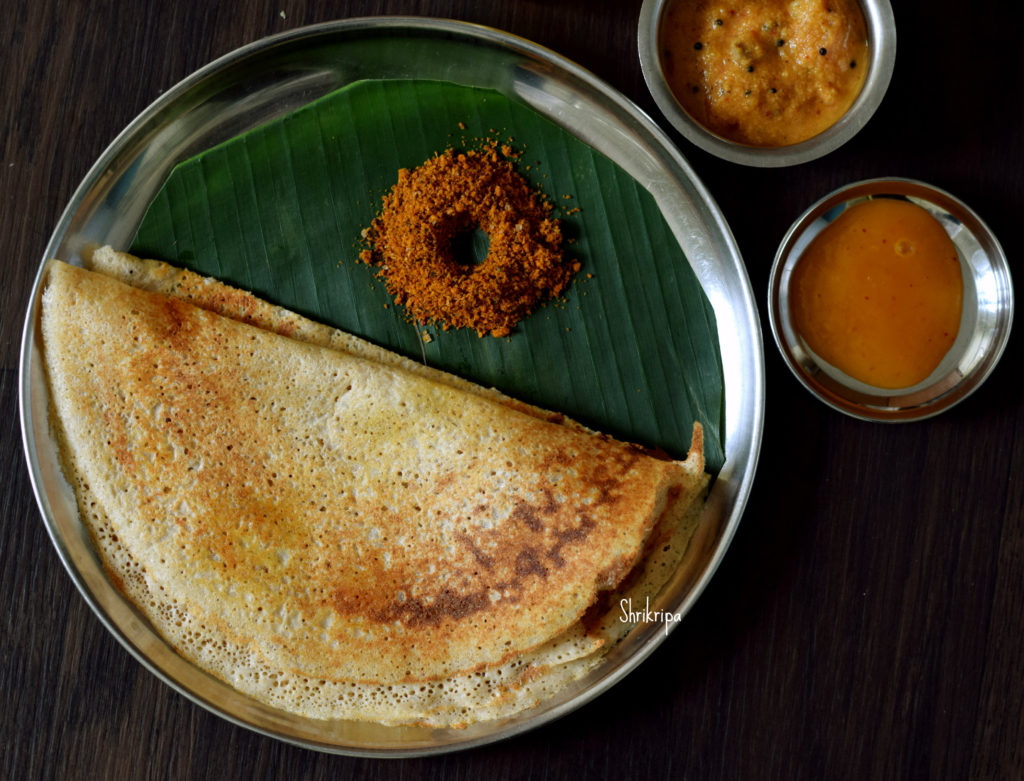
My aunt used to make a very tasty Dosa out of this and we used to relish this along with chutney and Jaggery syrup topped with homemade ghee.
Yesterday, when we had tender coconuts here in Bangalore, inner pulp was very thick and couldn’t eat. So, I thought about Dosa and prepared this after ages. It was such a nostalgic moment for me. Let us see how to make this tasty Dosa.
Ingredients:
Tender coconut – 1
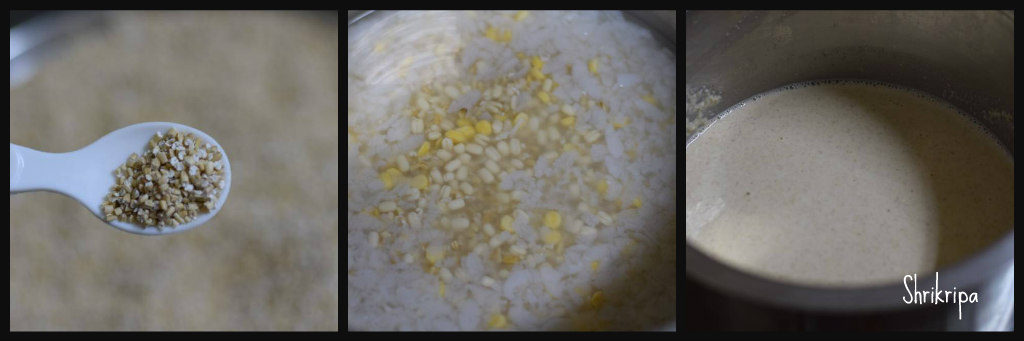
Dosa rice – 2 cups
Salt
Method:
-wash and soak Dosa rice for 3 to 4 hours.
-Grate or chop tender /young coconut and keep aside.

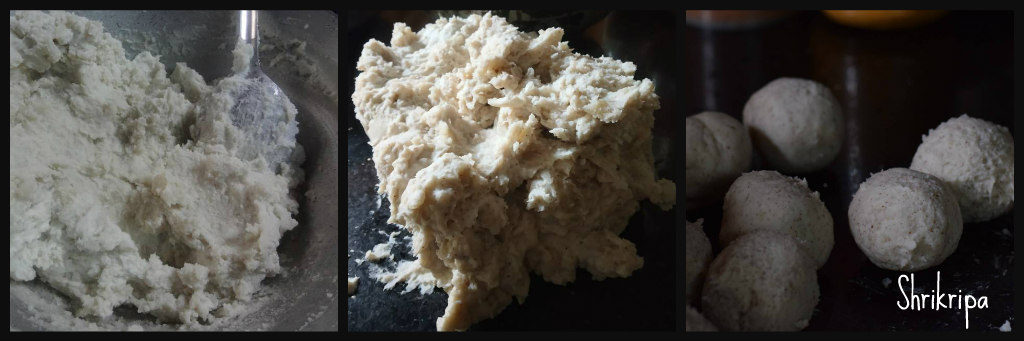
-Grind soaked rice with grated young coconut by adding little water and salt and make smooth paste. This batter must be like our regular Dosa batter and there is no need of fermentation.
-You can make use of this batter straight away. Usually we prepare this batter in the morning itself.
-If you want to prepare this batter in the evening, to make the Dosa in the morning, you can store the batter in the refrigerator.
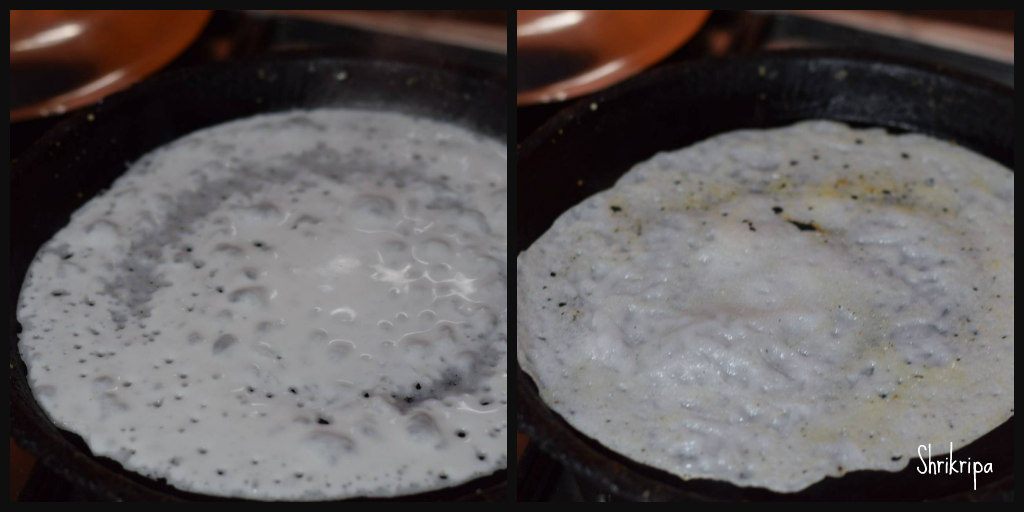
-To prepare Dosa, heat iron Dosa tawa. When it is hot, don’t apply any oil. You can pour one serving spoon of batter and make Dosa like our regular Dosa. Pour ½ tsp of ghee and Close the lid.
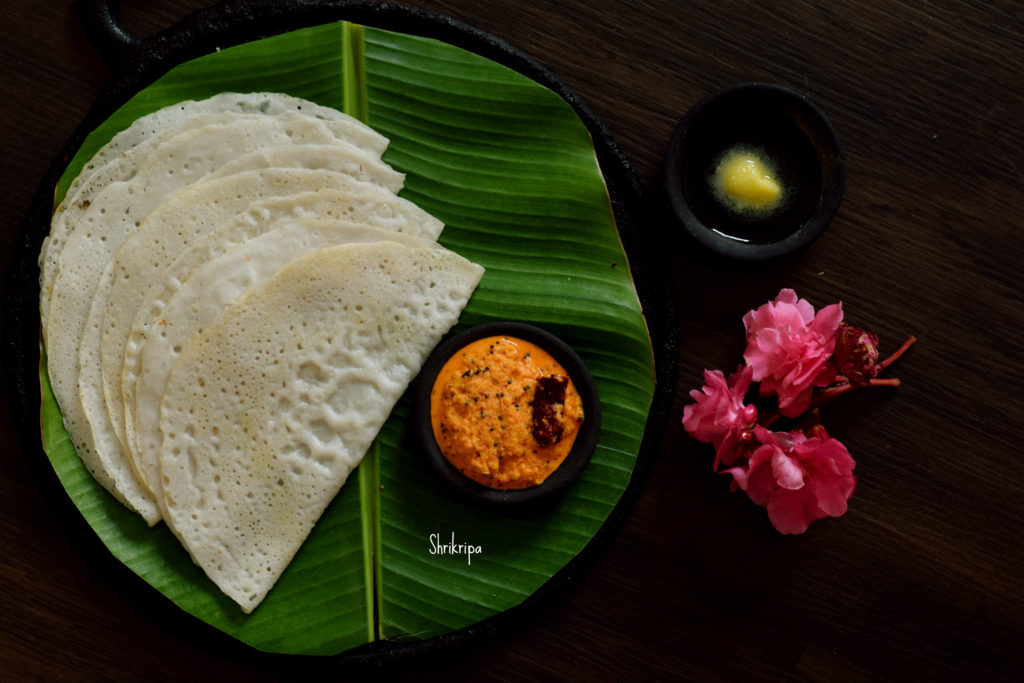
When it shows little brownish spots here and there, flip the side, cook upper side and serve with Coconut and onion chutney , jaggery syrup which is topped with ghee or honey.
 Pic credit: My daughter