We call Coconut tree as a Kalpavriksha. In my opinion Banana plant also should come under this category, because almost every part of the banana plant is used in some way or the other.
The leaves, flowers, fruits, stem, stem fibre etc. Nothing is wasted over here, and it is very useful in many ways.
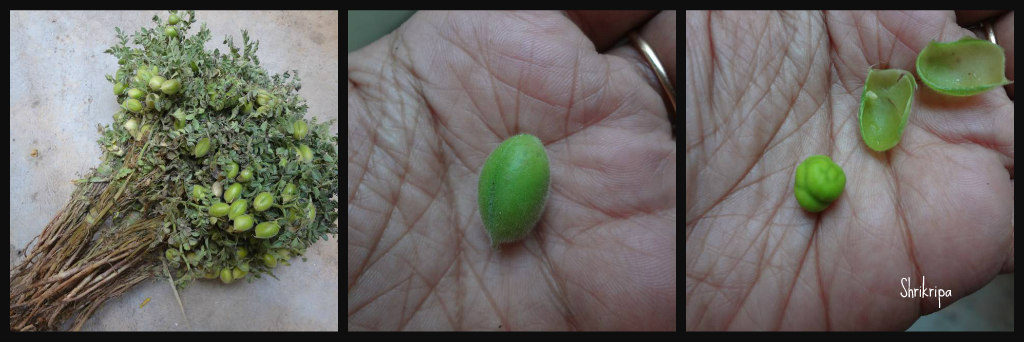
The male banana flower is purple coloured, dome shaped, and can be seen hanging at the bottom of every fruit bunch. In banana plant, female flowers appear first and appear as a hand like structure in clusters. These female flowers will develop as the real fruit, which we normally eat, and male flowers will remain intact in layers of purplish outer bracts.
After fruit matures, we harvest the fruit and use the male flower that we see at the end of the fruit bunch in cooking. It is loaded with fibre, anti-oxidants, iron, potassium, calcium, vitamins and all other minerals. Flower is used mainly to treat constipation and anaemia in villages of our native in and around Mangalore.
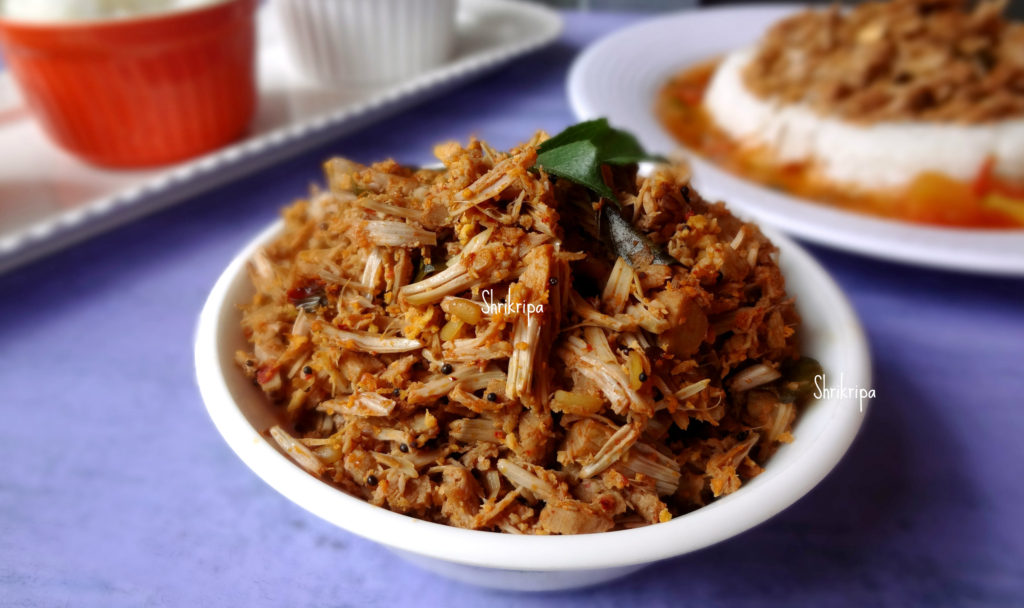
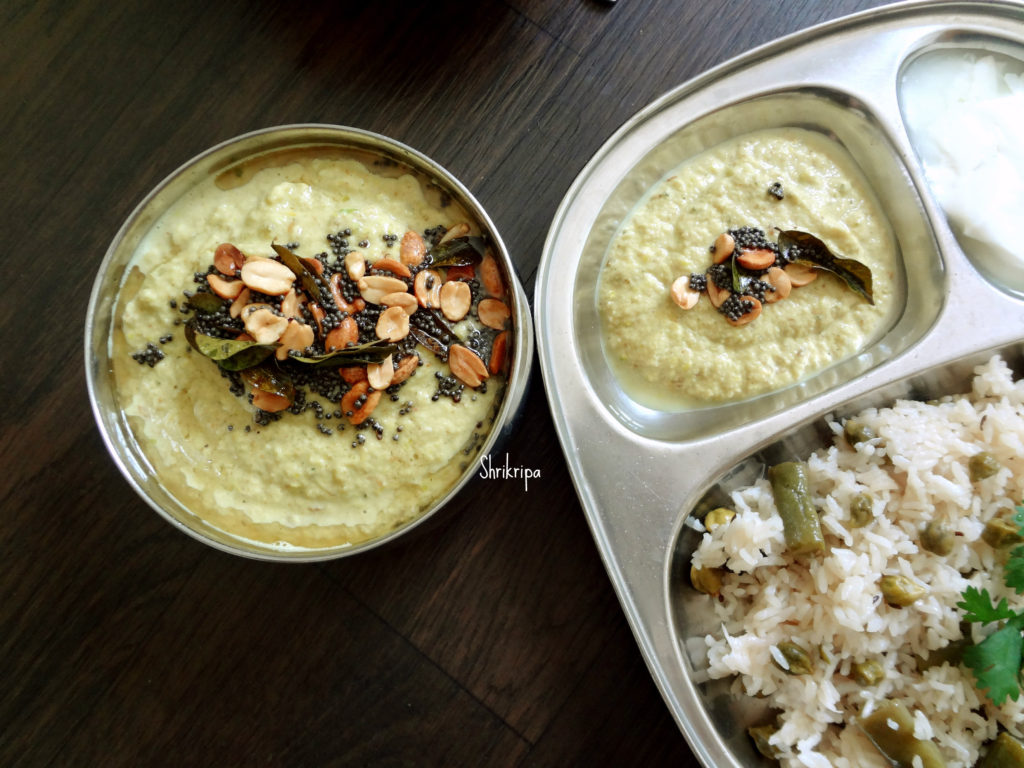
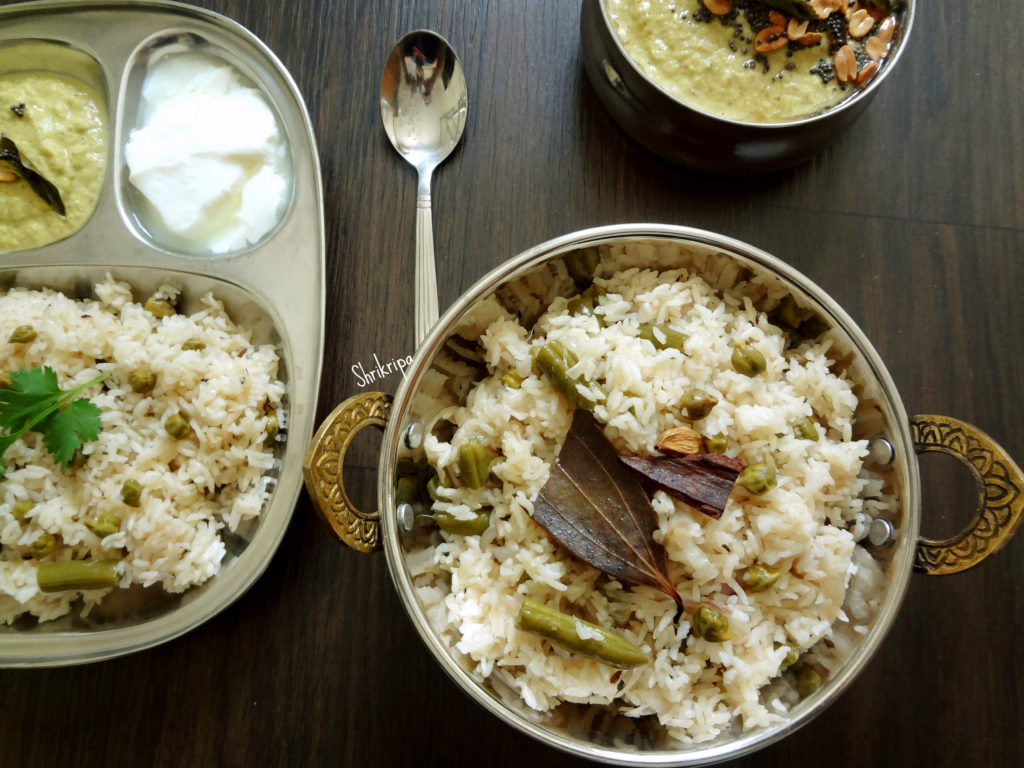
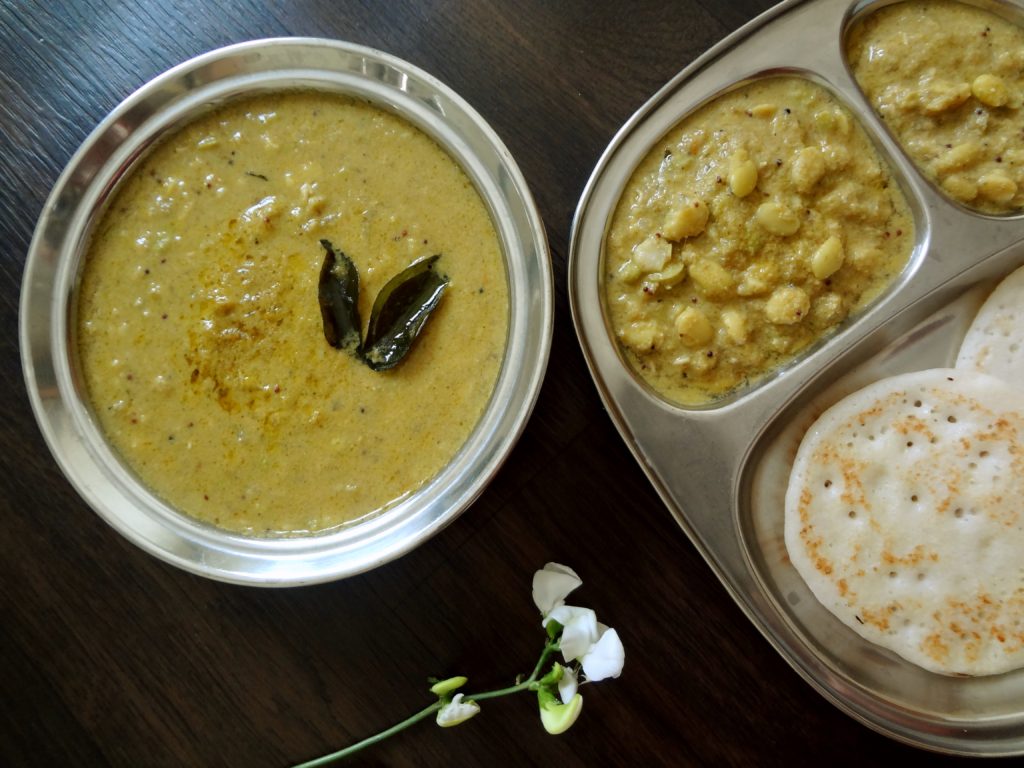
This Chutney recipe is handed down to me by my amma (mother), and I used to relish this from my childhood. It is a perfect combination with hot rice, topped with fresh home-made ghee. We can feed this to small toddlers as well.

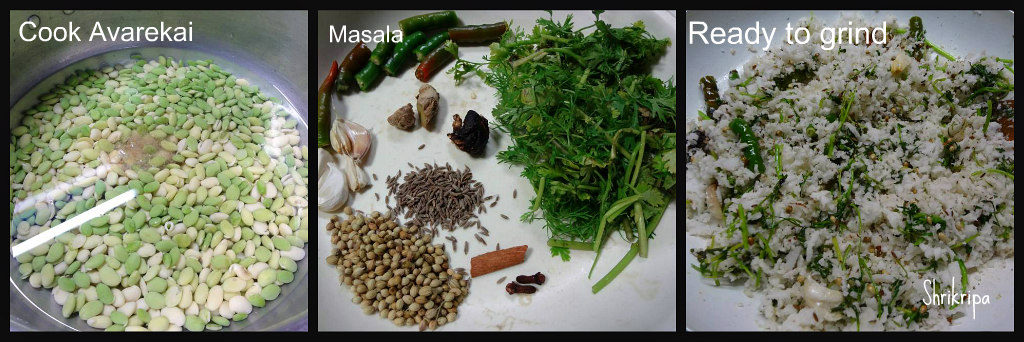
Ingredients:
Banana flower – 1
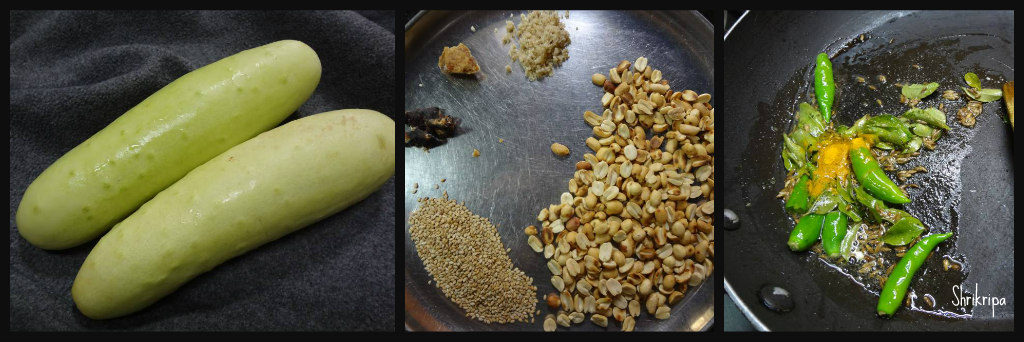
Cumin – 1 tea spoon
Pepper – 1 tea spoon
Tamarind – ½ tea spoon
Salt
Water – 1 bowl
Curd – 1 serving spoon
Grated coconut – 1 cup
For Seasoning:
Ghee – 1 table spoon
Cumin – ½ teaspoon
Curry leaves – 1 spring
Method:
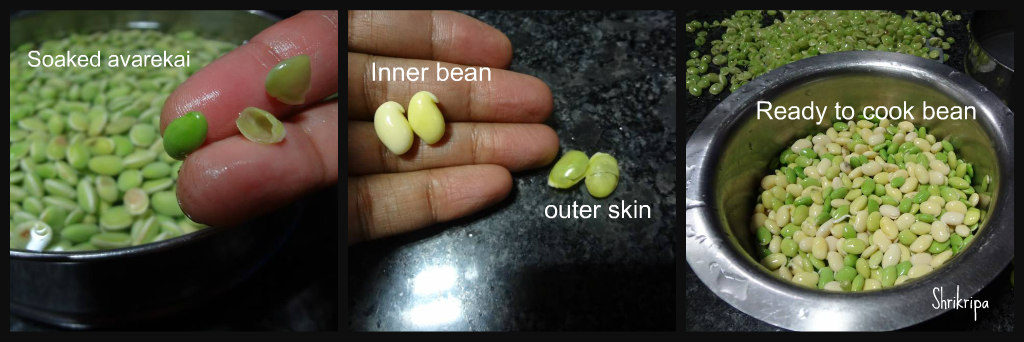
-Wash banana flower from outside and remove outer purple bract (remove 2 layers) and discard.

-Now take one bowl of water with 1 serving spoon of curd and mix and keep it ready. (This water will avoid decolouration of the chopping’s)
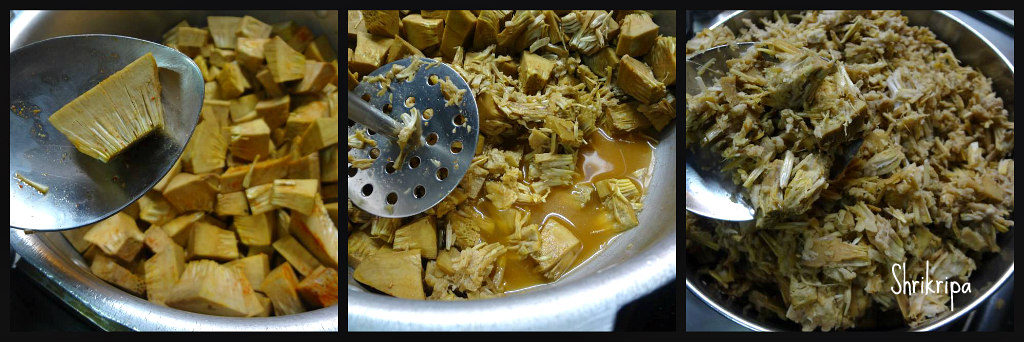
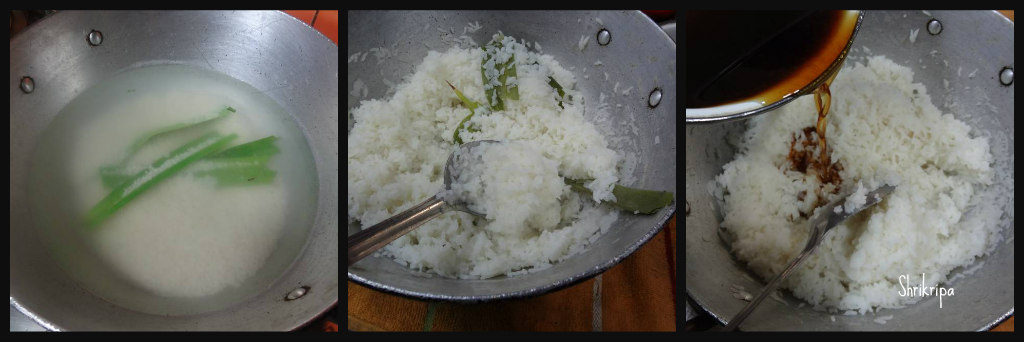
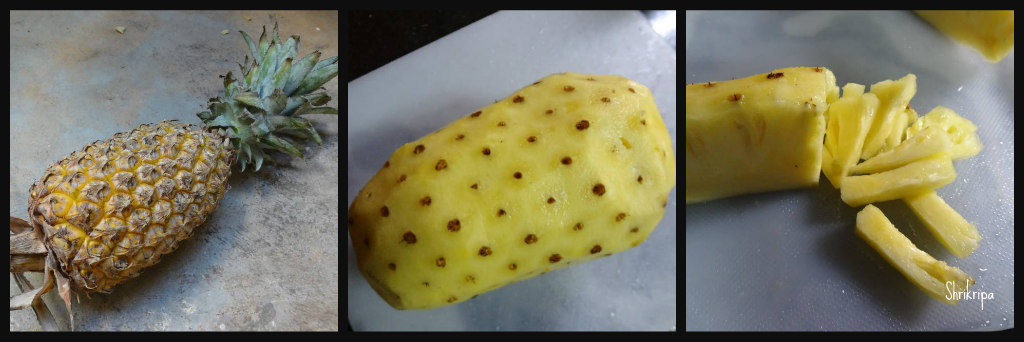
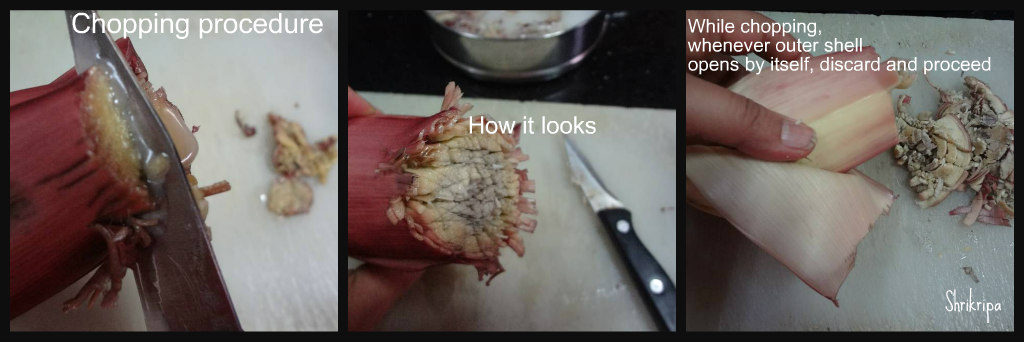
-Start chopping banana flower from the tip (refer picture)
-Keep on adding chopped part to curd water.
-While chopping, whenever outer shell opens by itself, discard that and proceed chopping.
– After chopping is done, drain the curd water and collect the banana flower chopping’s.
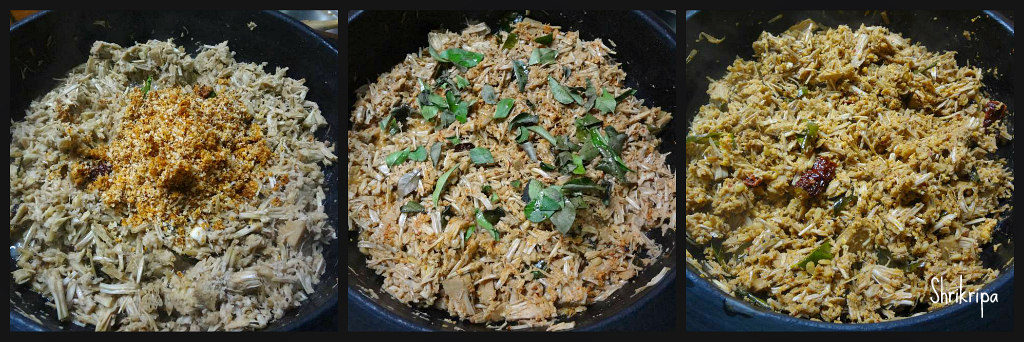
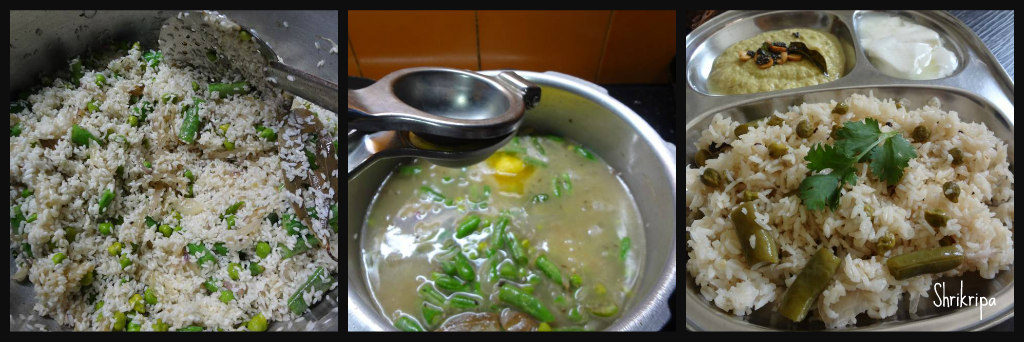
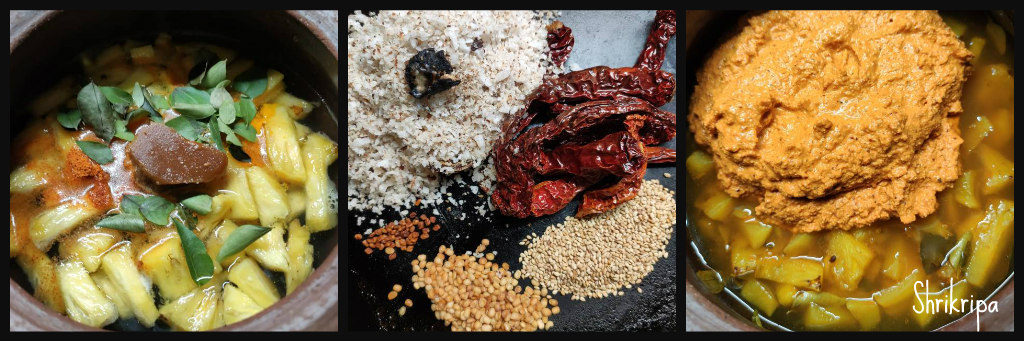
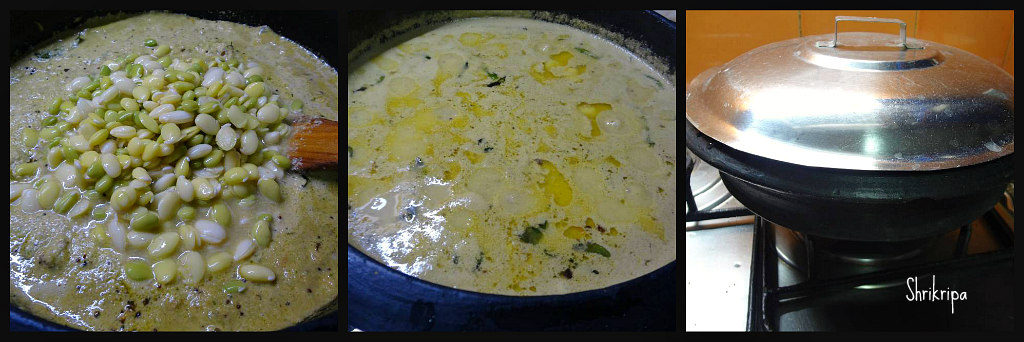
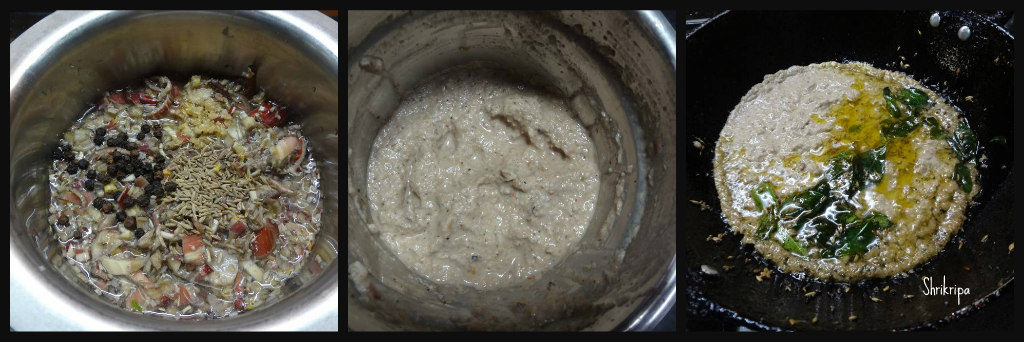
-Take one vessel, add chopping’s, salt, pepper, cumin, tamarind, 1 cup water and cook.
-When it is done, remove from the fire and cool.
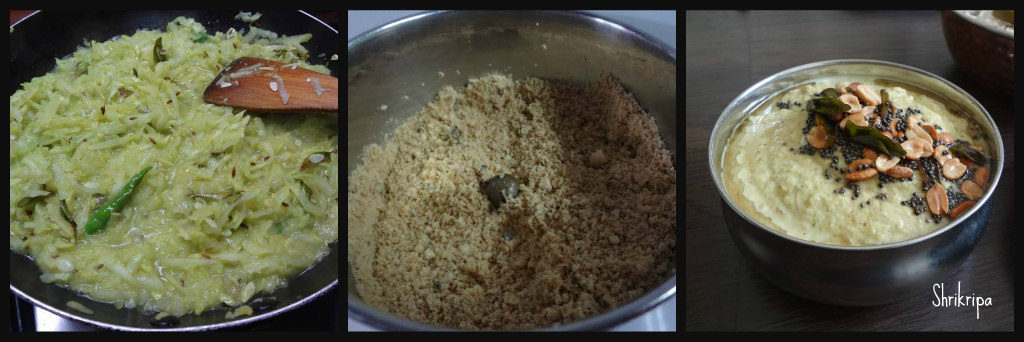
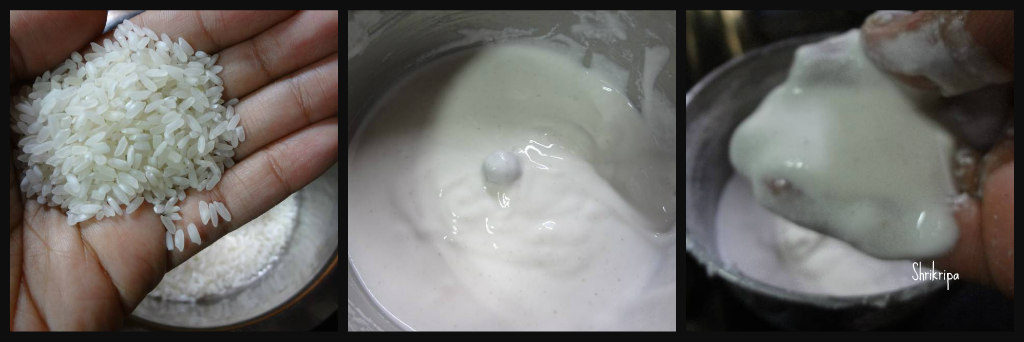
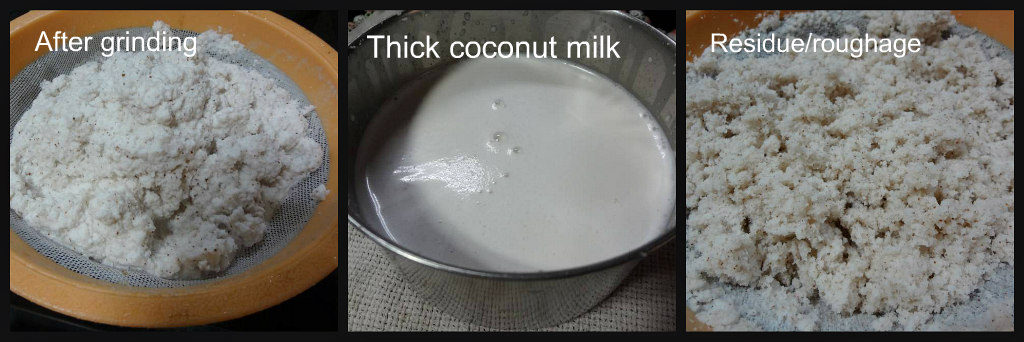
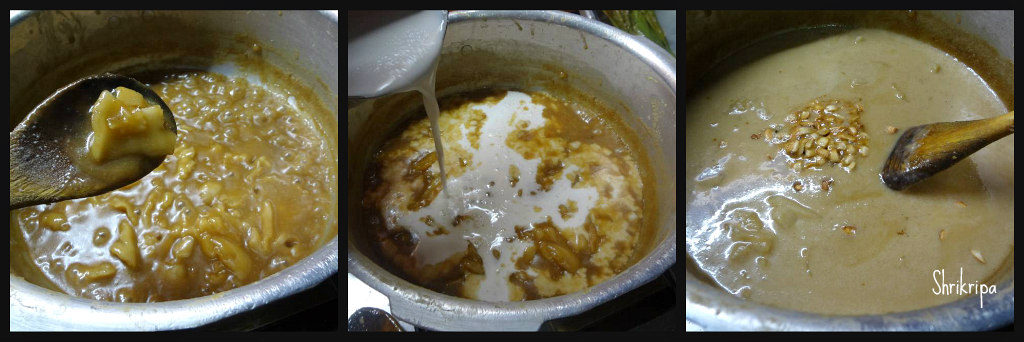
-Add coconut, required amount of water and grind the content.
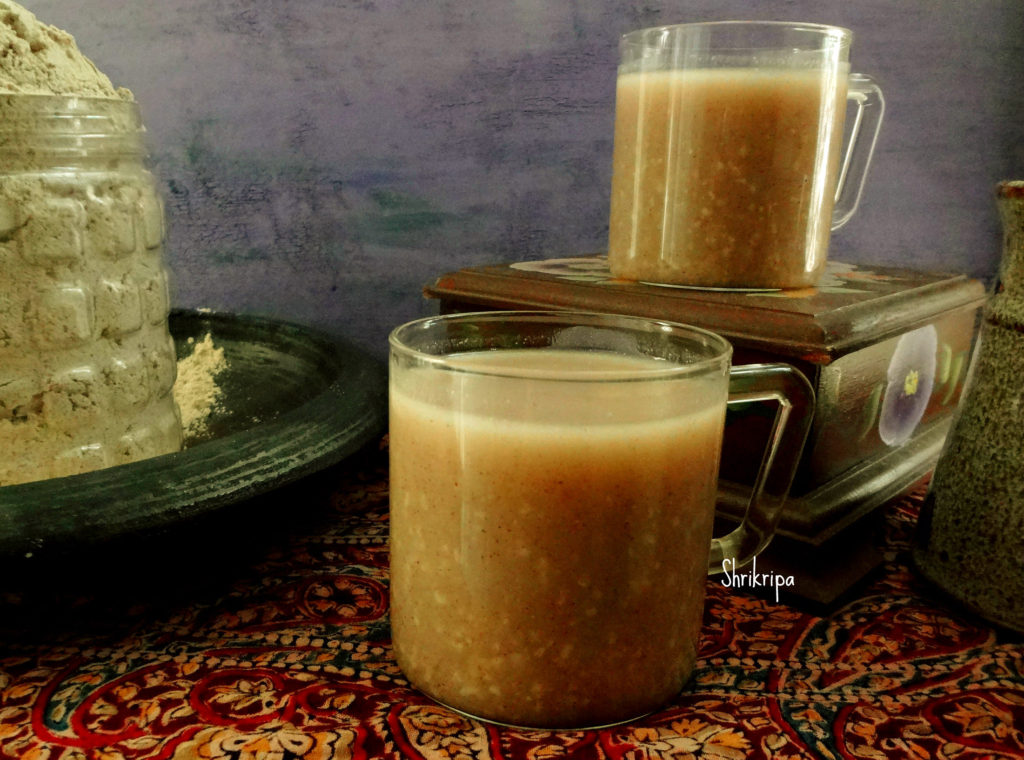
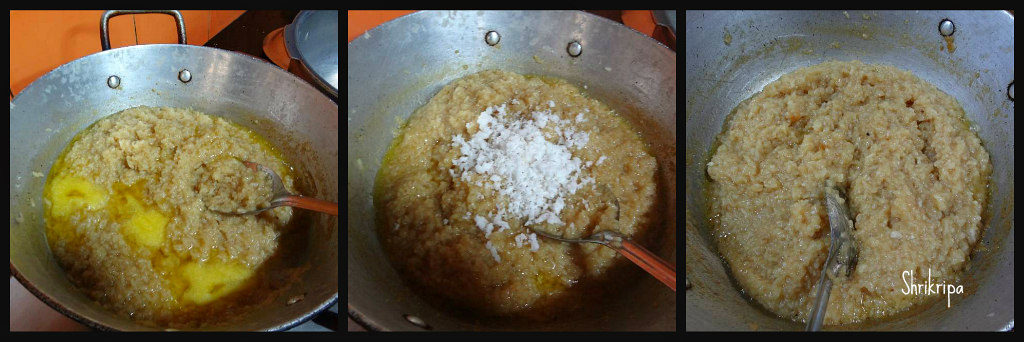
-Now take one tawa, add ghee, cumin, curry leaves and pour the ground mixture and boil.
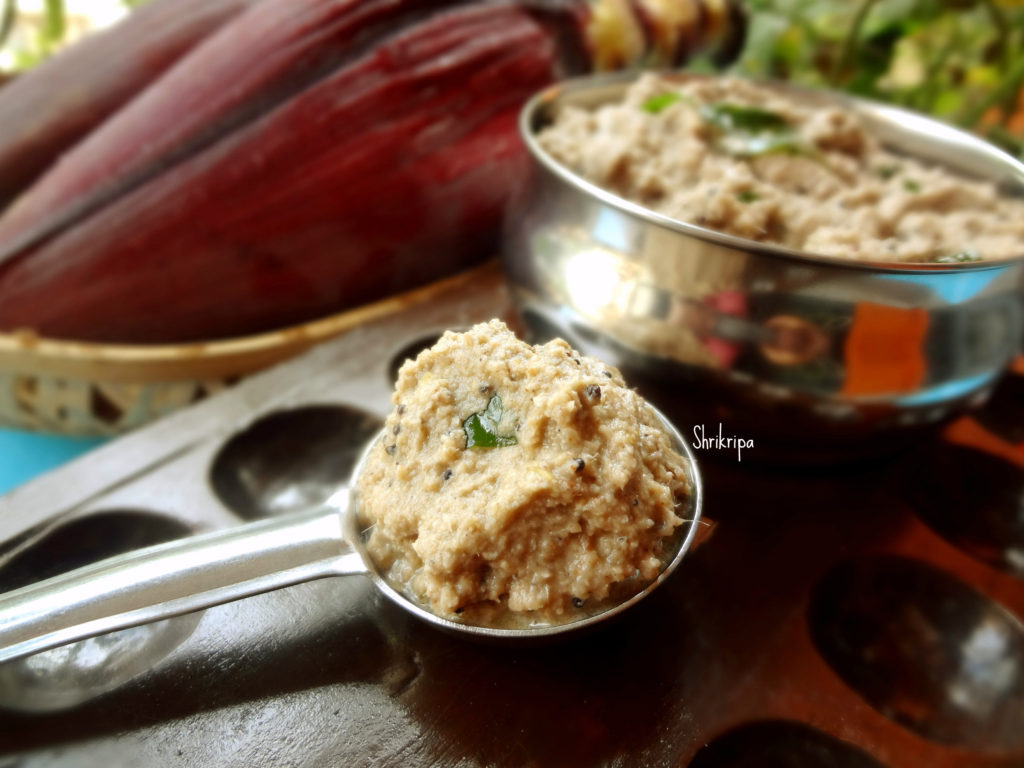
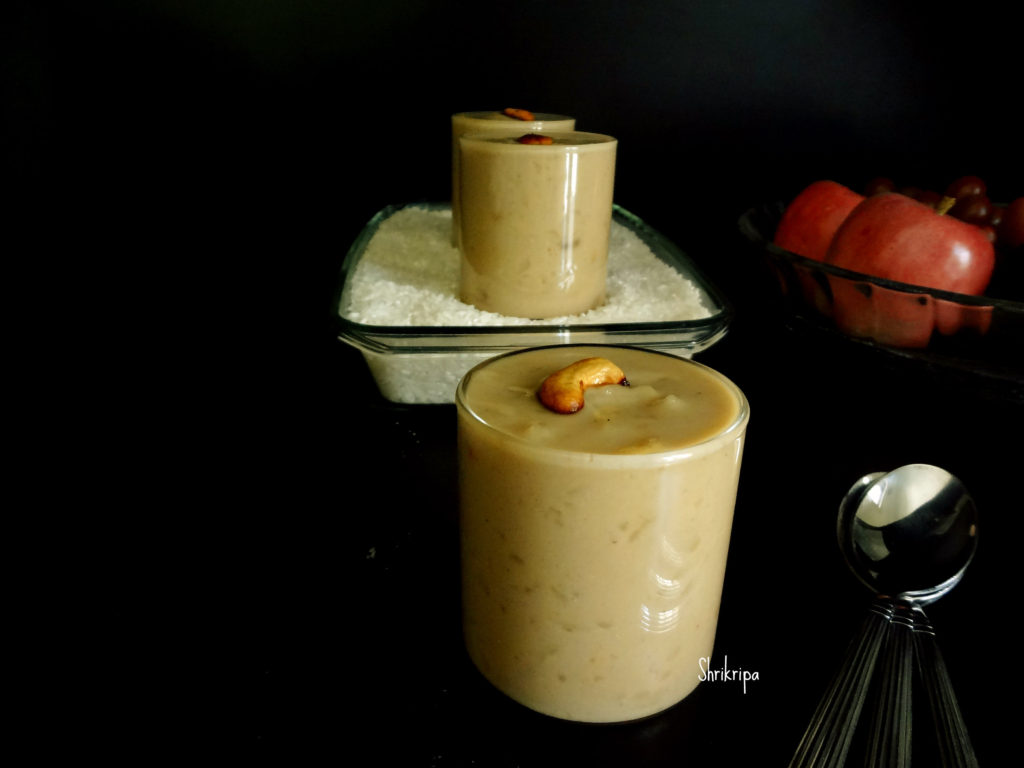
-This chutney will stay good for a couple of days under refrigeration and can be served either with hot rotis or with rice.