Ash gourd or winter melon or white pumpkin has so many health benefits and it is literally the most ignored veggie of all. In our native we prepare so many varieties of dishes from this white coloured veggie. This Dosa is prepared by using the inner core of the vegetable by removing its seeds. You can make it sweet or plain, that is your choice. I like the sweeter version. It is very soft and melts in your mouth. Today we will see how it’s made.

Ingredients:
Dosa rice – 3 cups
Poha – 1cup
Fenugreek seeds – 1 tsp
Ash gourd inner soft part – 1 cup (you can use white part as well)
Coconut gratings – ½ cup
Turmeric powder – ½ tsp
Salt and jaggery- to taste
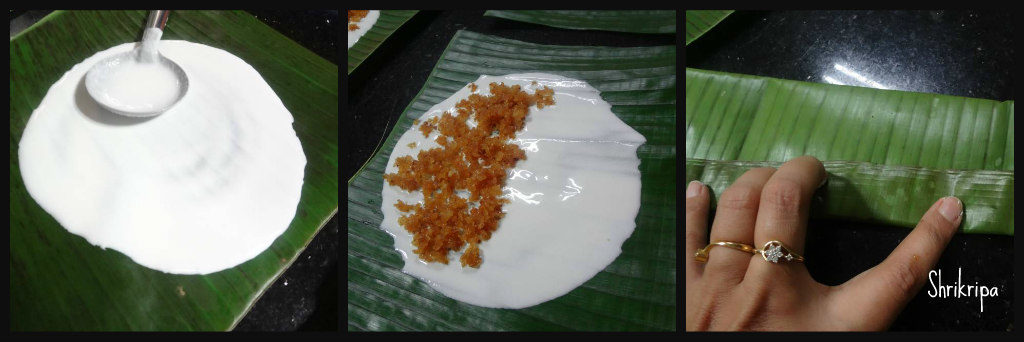
If you want sweeter versions add jaggery or else you can omit.
Eno fruit salt – ½ tsp
Method:
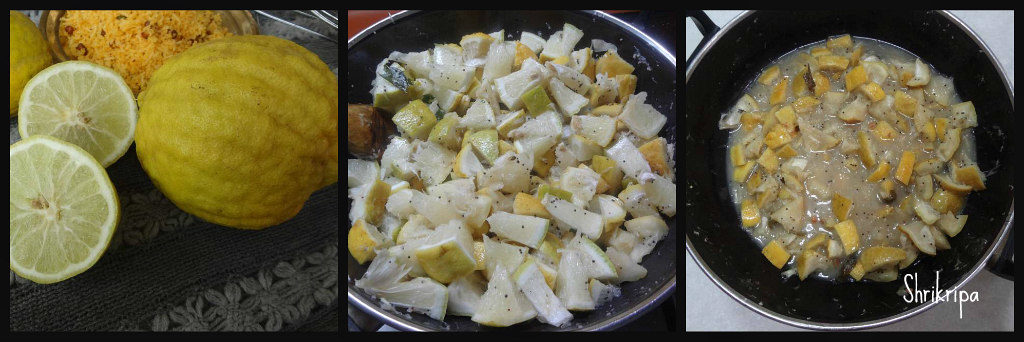
-Wash Ash gourd, peel outer skin and remove inner core with seeded part. (Core part can be used to make Dosa batter)

-Remove seeds and take white part and keep it ready.
-Wash, soak rice, fenugreek seeds with sufficient water by putting beaten rice as well.

-After 3 to 4 hours of soaking, grind this by putting Ash gourd, jaggery, salt, turmeric, coconut into smooth batter. Check for sweetness or salt.
– Keep this batter for fermentation. In Bangalore weather, I usually grind any batter around afternoon, so that the next morning it will be perfect.
-The next morning add Eno fruit salt, mix nicely and keep aside for 10 minutes.
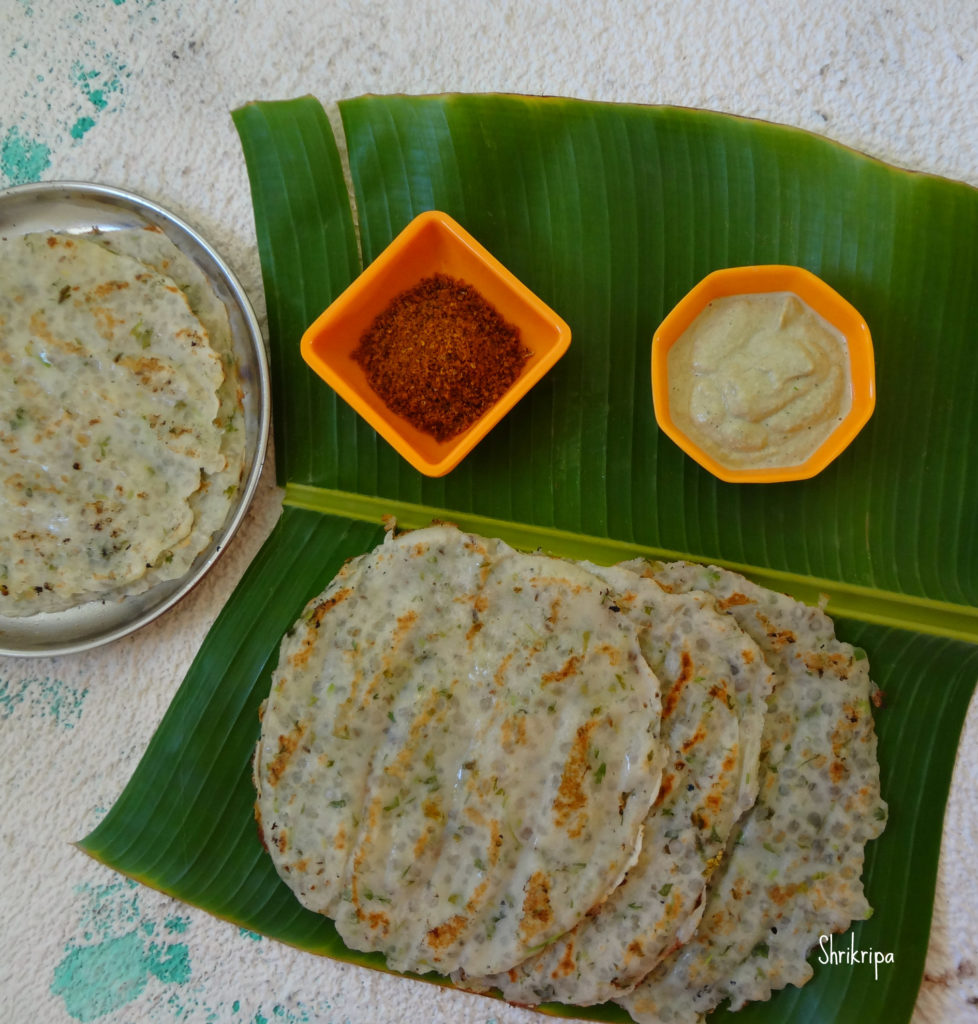
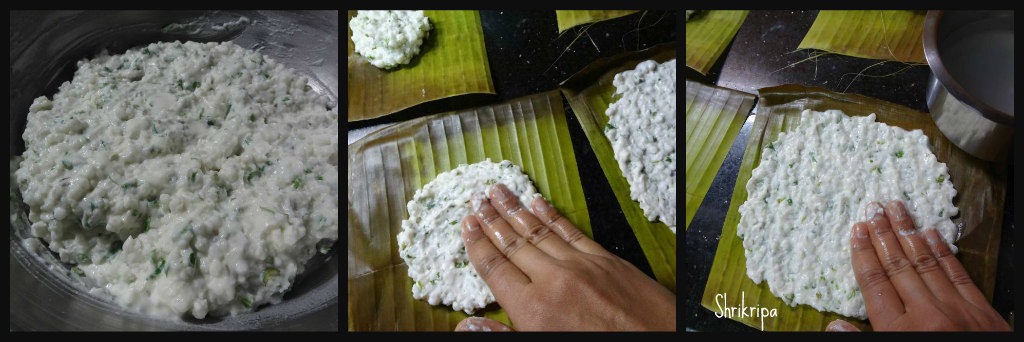
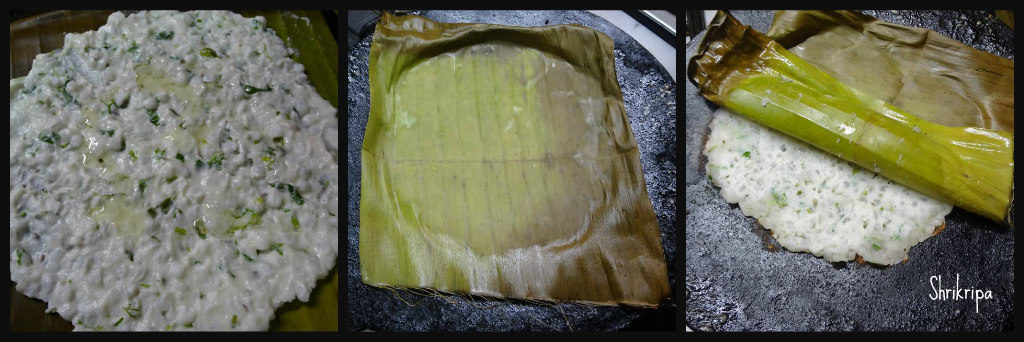
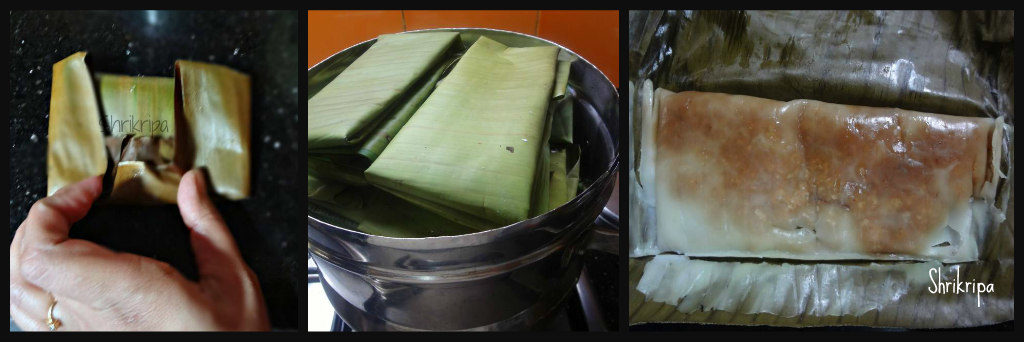
– Then you can start making Dosa on heated iron griddle. Take one serving spoon of batter and pour, don’t spread. Keep gas flame in simmer, spread little ghee, close the lid and cook. Don’t flip the Dosa. Only one side cooking is needed for this. Here I have used half serving spoon of batter for each small roundel. Personally, I like to serve this as small cute roundels.
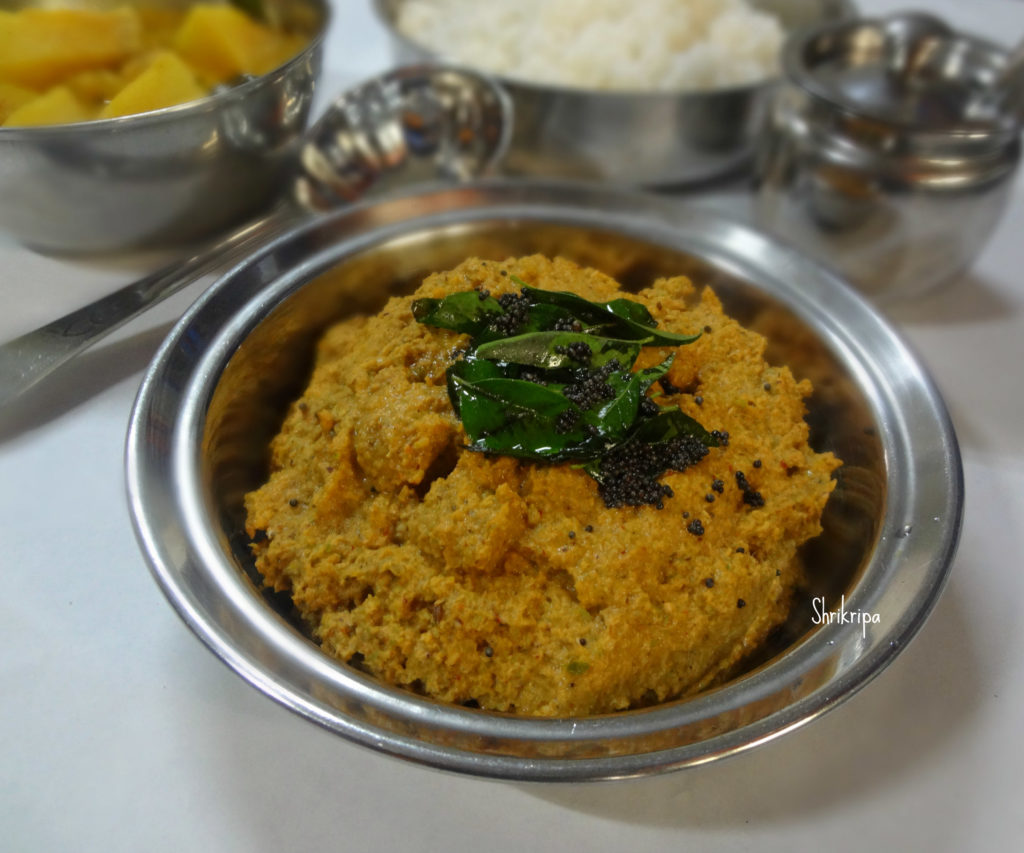
-This Dosa tastes good with honey or onion and coconut chutney with red chillies.