For some people, eating gluten -free is a necessity due to their sensitive gut or any other medical conditions. They normally prefer whole food without gluten , which is highly nutritious with many health benefits. As a good source of fibre, buck wheat is known for its low Glycemic index, hence it is safe to eat people with diabetic condition as well.
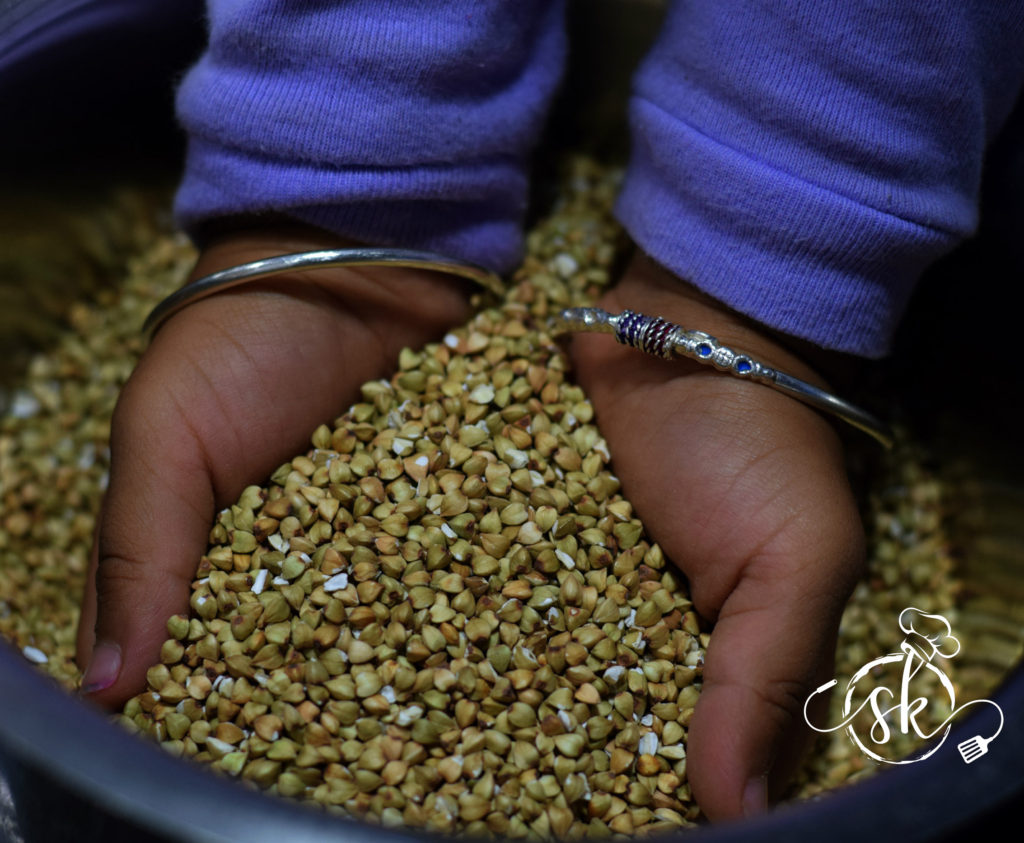
Buckwheat Is one such Super food and earlier I have posted Buck wheat honey Noodle recipe and now it is my experiment with the whole seed, which my sister has carried and got it for me. You must be wondering, why I have written Buckwheat as a seed? Yes! The name buckwheat causes confusion and usually people think that, it is some other form of grain and related to wheat. It is seed of the flower from the plant, which belong to the same family as Sorrel and Rhubarb. The seeds are in triangular shape. These categories of seeds, which we normally consume as a grain is known as “pseudo cereals” and Amaranth and Quinoa are commonly used other pseudo cereals.
After seeing the seed/grain, I wanted to try our traditional Whole wheat dosa recipe by replacing whole wheat to Buckwheat. It tasted really good and loved the earthy taste and grainy texture, just like whole wheat. It is quick, no fermentation and instant recipe with all the goodness.

How I made:
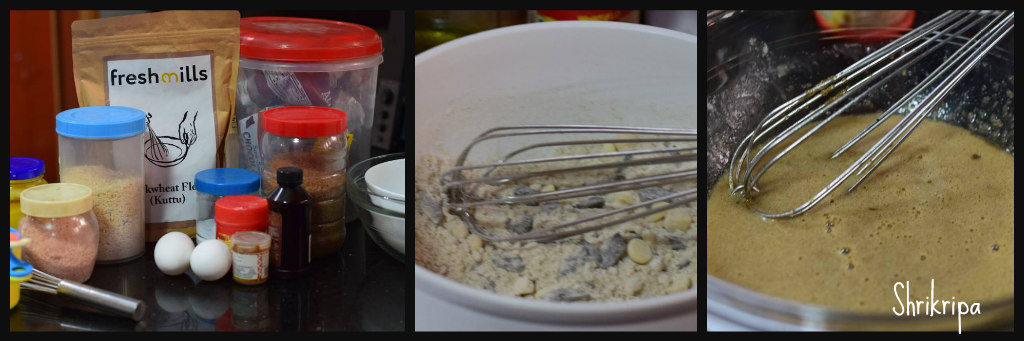
Ingredients:
Whole Buckwheat – 3 cups
Green chillies – 2
Ginger – ½ inch
Coconut – 1 cup (freshly grated)
Salt
Method:
-Soak Buckwheat after washing for a couple of hours.
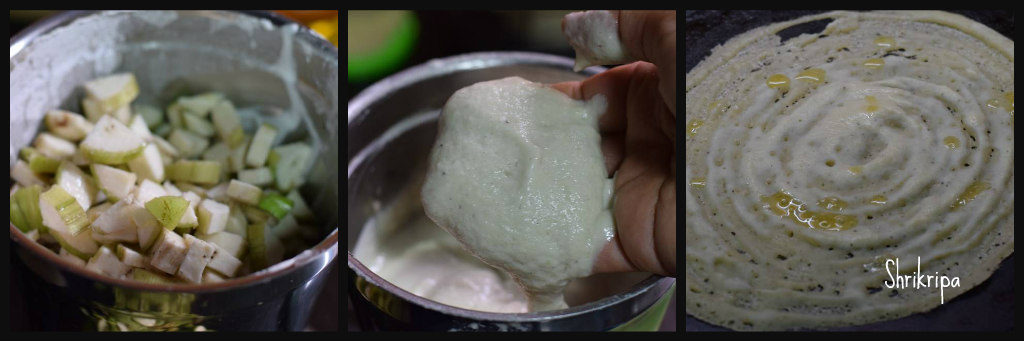
-In a mixer grinder, put soaked buckwheat, little water, salt, chilli, ginger , coconut and make a batter.
-Batter should not be very thin and watery. It should be like idli batter consistency.
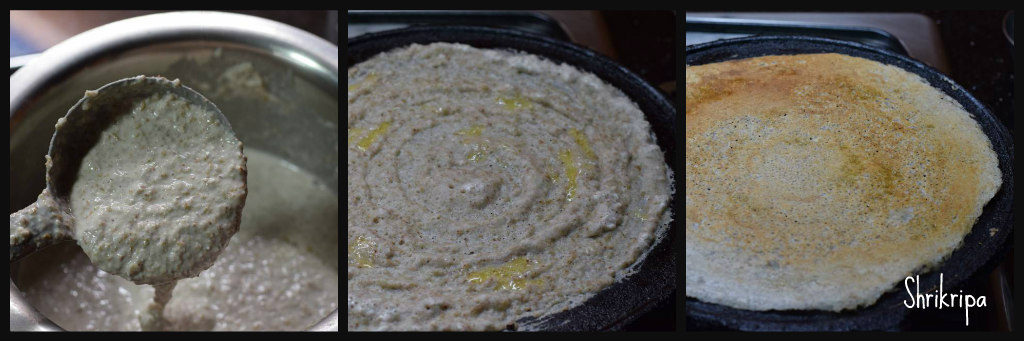
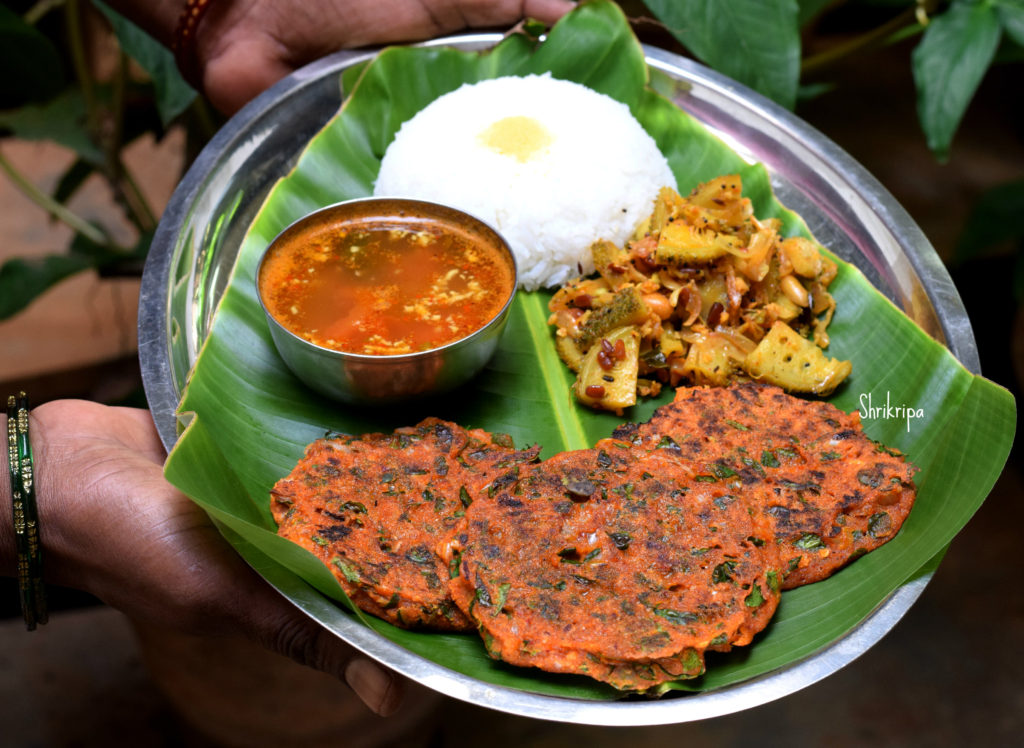
-Heat iron griddle. When it is hot, spread thin dosas, cook both the sides by pouring little ghee or oil.
-Serve with chutney or sambar.