Gujiya / Dry fruits Karanji/ Karjikai:

Deepavali aka Diwali is an important festival of India and is spread between three days. Indian festivals are incomplete without sweets and savouries. In India, each festival has its own significance in celebration as well as its menu. Gujiya is one of them and has a very important role during Diwali.

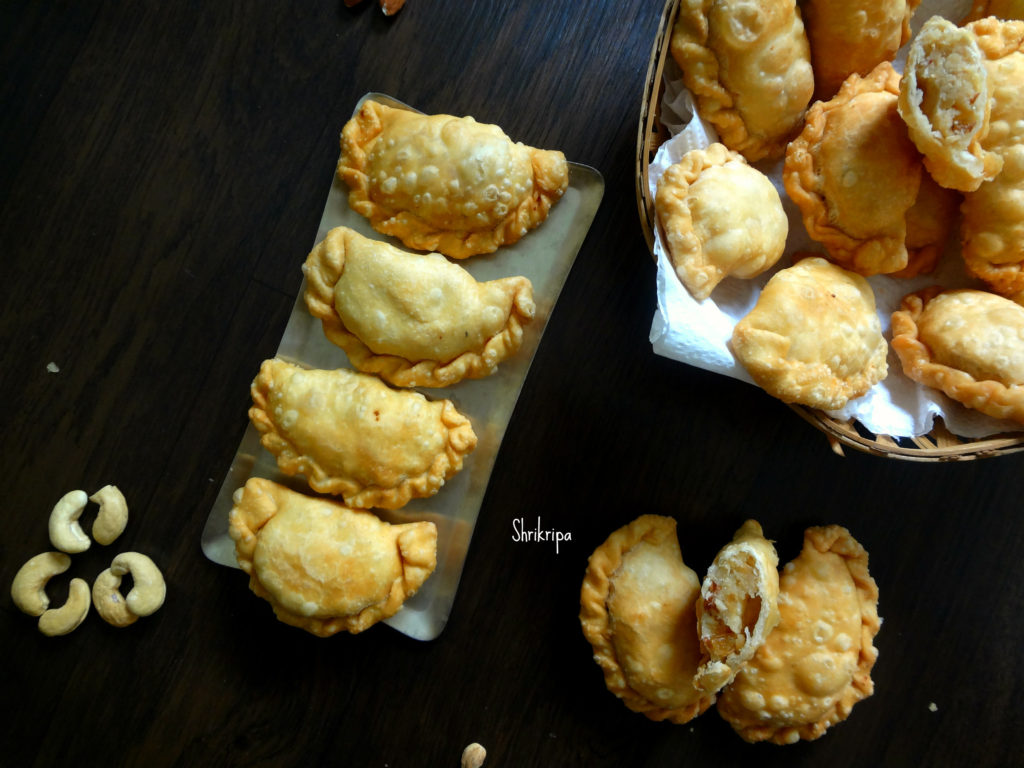
Gujiya is a deep-fried flour-based delicacy, with different fillings in different regions. It is known by a different name in each region. Outer cover will be the same and inner stuffing varies from Rava – sugar, coconut – jaggery, coconut – sugar, mawa (milk solids) with dry fruits or with only dry fruits are traditionally seen. Nowadays you get to see so many variations from chocolate to cheese filling as well as baked version.

In North India, after frying the Gujiya, they usually dip it in a sugar syrup and outer cover would be wet and shiny. In south India, we normally deep fry and serve as it is and it’s known as Karanji / Karjikai.

I used to follow Chef Sanjeev Kapoor and learnt so many recipes from him and this is one such recipe. Over the years, I tweaked it a little and adjusted it according to our taste and it has one added advantage of longer shelf life, due to the usage of milkmaid instead of khoya.
Ingredients:

For the outer cover / shell:

All-purpose flour – 2 ½ cups

Salt – ¼ tsp

Ghee – 6 table spoons

Water – As needed (normal water)

Oil – for Deep frying

For the stuffing /filling:

Desiccated coconut – 200 grams

Semolina – 2 table spoons

Almonds – ¼ cup

Cashew – ¼ cup

Raisin – ¼ cup

Cardamom – 1 tsp

Condensed milk – 1 tin (400 grams)

Method:

For the outer cover-

-In a bowl, add flour and pour ghee. Rub the ghee and flour by using your hand for 5 to 10 minutes. 

-After a while, flour would resemble like a semi wet crumb.

-Now add required amount of water to make a firm dough.

-Cover the dough with wet cloth and keep aside for half an hour.

Note: Dough approximately holds ½ cup of water.

In the meantime, prepare the stuffing –

-Roast semolina in a low flame, switch off the gas. Mix in all the other ingredients from almond to condensed milk.

-Keep it until mixture is non-sticky while touching. 

-Now comes the actual procedure. You can use three methods.

  1. Use Gujiya mould.

     2.Take a dough, roll into big thin circle, use cookie cutter to make small, uniform circle.

  1. Take little dough, make small poori like discs.

Here I have followed the third method.

This quantity has yielded 28 Gujiya.

-Divide the dough, make roundels, fill the stuffing, close into half.

-Dip your hand in water, now, start folding the edges from one corner and go on folding like a half diamond shape at regular intervals until you reach the other end.

-Keep this ready, stuffed, yet to fry Gujiya to air dry.

-Repeat the procedure and finish off the filling work.

-Heat the oil for deep frying in low temperature.

-When oil is hot, drop one by one Gujiya, fry in a low flame to get good results.

-When everything is fried and cooled, store it in an air tight container.

NOTE:

To get a perfect Gujiya – these points are very important. 

1- Rubbing the ghee + flour. 

2-Frying in a low fire 


Banana Halwa:

Banana or Plantain Halwa was an integral part of my childhood. Usually this Halwa is made by using Kerala big banana which is called as” Nendra variety” but in our home, we used to have lots of overripe bananas from our family farm. To finish off all those overripe small bananas (Kadali variety of Mangalore), amma used to make Halwa or Banana Preserve/ Berati all the time. It was a very regular sweet at our house hold. Today I will share this recipe to all our readers-      

Ingredients:

Over ripe banana – 22

Sugar – 1 bowl

Ghee – ½ to ¾ cup

Cashew nuts – 2 tbl sp.

Method:

-Put all the peeled bananas to mixer grinder and make a smooth paste. Measure this by using any bowl of your choice.

-If this paste is 3 cups in quantity take one cup of sugar in that same measurement cup. So, your ratio of banana paste and sugar will be 3:1.

-Fry cashew bits in a teaspoon of ghee and keep aside. Grease one plate with ghee and keep it ready.

-Take one thick bottomed kadai, put this paste and keep gas flame in a very low flame and cook for a while.

-When it changes its colour to milky white and then to a pale colour and when you smell the banana flavour in the air, add sugar and mix this in at a regular interval.

-Add ghee 2 table spoons at a time in-between while stirring. If you feel that the banana paste needs a little more ghee, add up to ¾ cup, some varieties of bananas need very less ghee and some need more.

-Now we will see, how we decide the quantity of ghee. While stirring if you feel that the mixture is a little dry and the bottom part becomes a little brown, keep adding it.

-If the ghee starts oozing at the sides, it is an indication to stop the addition of ghee.

-Now we will see how you know the doneness. It is very simple, keep on stirring until mixture leaves the sides of the kadai and ghee oozes out from the mixture.

-You can add cashew pieces at this stage or spread those pieces in a greased plate like me. After you are done with this, it is almost ready to shift to the plate.

-Before shifting I prefer to check, by taking one small peanut sized portion of the mixture and rolling it in-between your thumb and forefinger to make a small ball like structure. If it holds a ball like structure and does not stick to your finger, it is ready.

-Now remove from the flame, shift to a greased plate and pat this mixture evenly by using a flat, greased (apply some ghee) back of the spoon.

-Keep this aside for two or three hours to cool. Then cut this into the desired shape and store it in an airtight container.

-You can store this Halwa for a really long time (up to a month or two).


Besan Laddu:

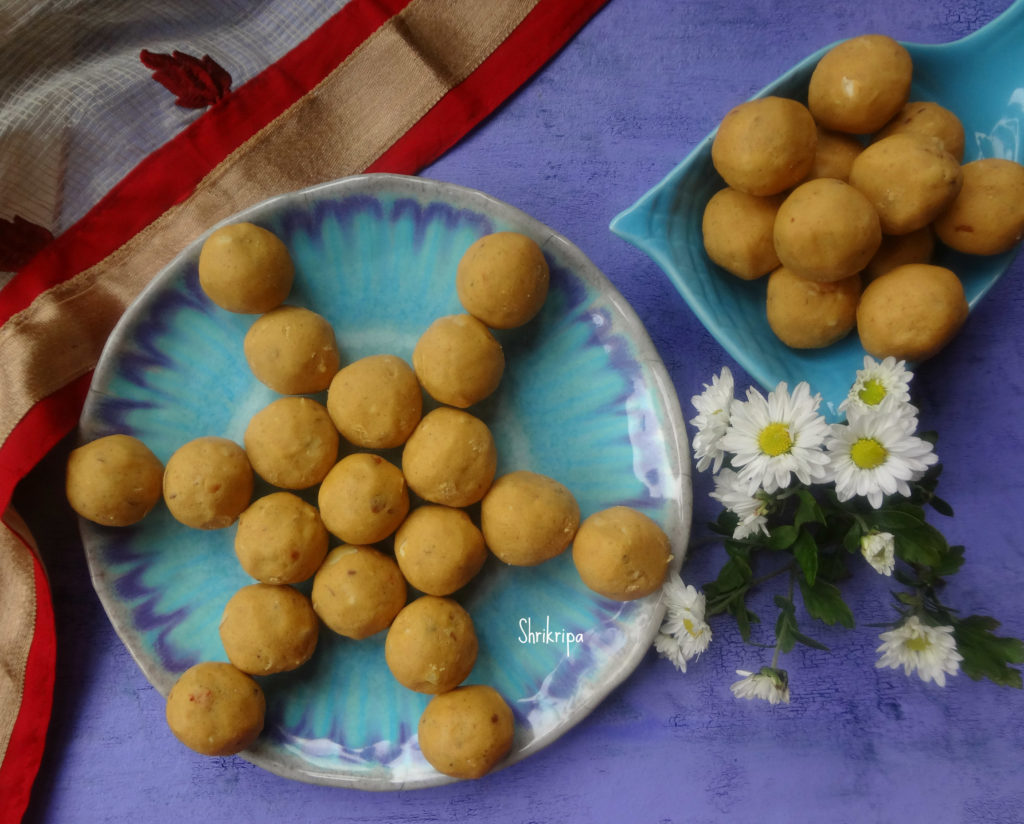
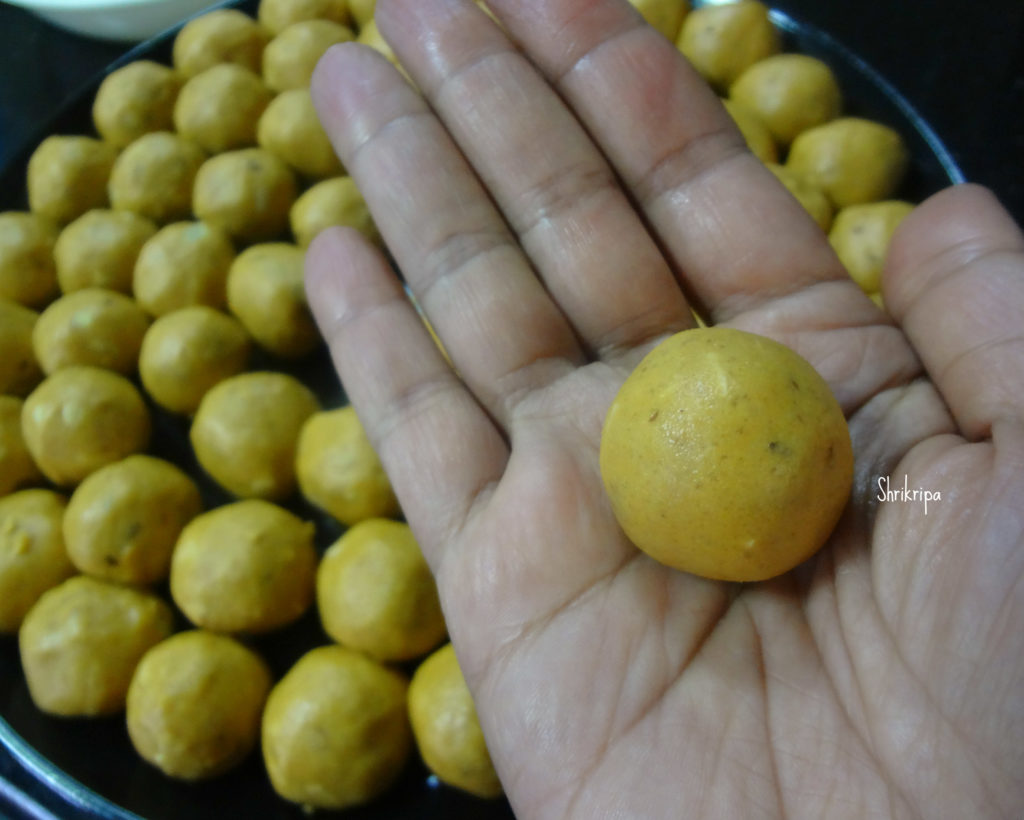
Besan laddu is one of the most popular Indian sweets prepared during the time of Deepavali or Diwali festival. Besan laddu is pretty simple and contains three main ingredients- Gram flour/ Besan, ghee and sugar. These melt in a mouth laddu’s are my family’s favourite.

pic main 1

Ingredients:

Gram flour/ Besan – 3 cups

Sugar – 2 ¼ cups

Ghee – 1 cup

Dry fruits – 1 cup

Cardamom powder – 1 tea spoon

Method:

-Chop dry fruits. I normally use half cup of cashew bits and half cup of slivered Almond bits.

-Dry roast almond and cashew bits and keep aside.

-Powder sugar and keep aside.

-Take one thick bottomed wok, roast Besan in very low temperature.

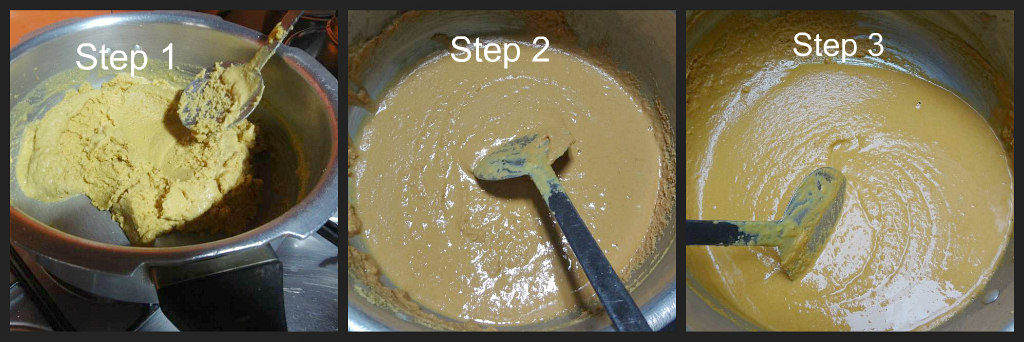
-When it is a little hot, start adding ghee little by little during the roasting process.

Ribbet collage 1

-Don’t add or pour all the ghee at one go. It will not help to roast evenly and it will make muddy consistency, and will affect in even roasting.

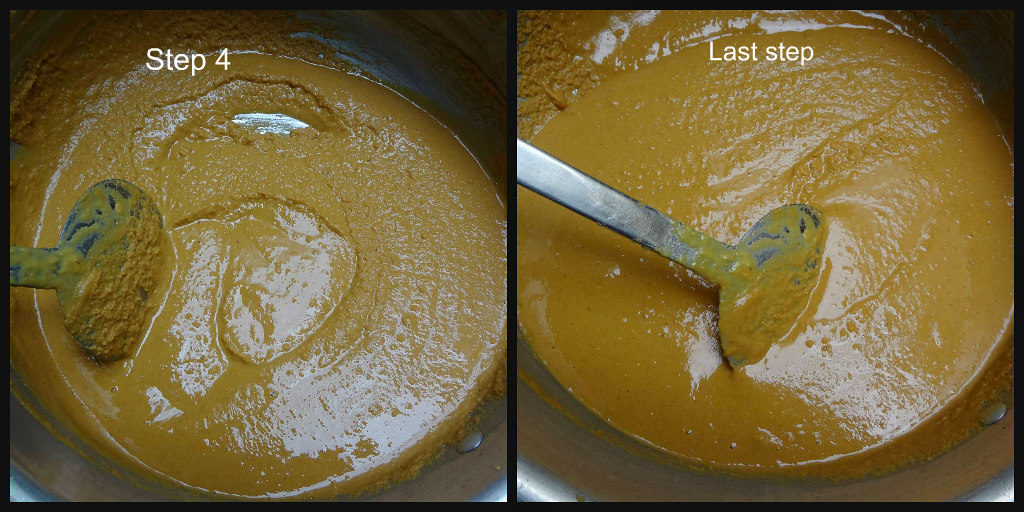
Ribbet collage 2

– I took exactly 30 minutes over a very small flame.

-When it roasts and after adding all the ghee, mixture becomes very runny and colour will turn into reddish brown.

-At this time your house will filled with roasted flour’s aroma. This is the time you should switch off the gas and leave this mixture to cool completely.

-It will take anywhere between 30 to 40 minutes.

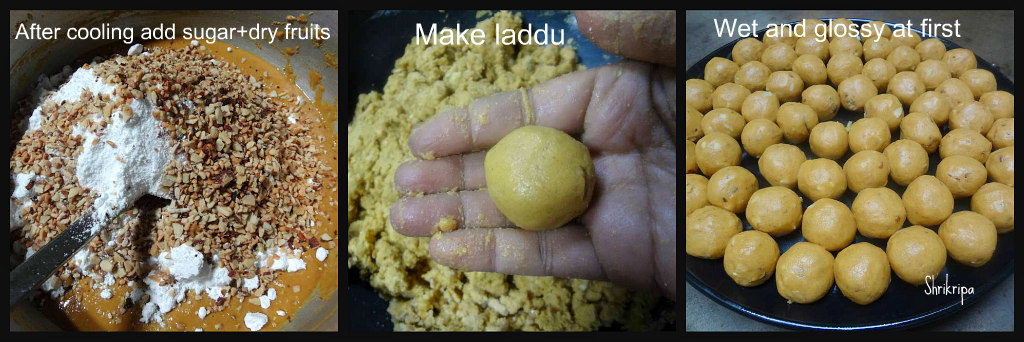
-Now add powdered sugar, cardamom powder and roasted dry fruits and mix everything properly.

Ribbet collage 3

-Now start using your hand and mix it once and start making small roundels by taking very little mixture at a time.

-At this time, you will feel that the laddus are a little wet and glossy and shining.

-Arrange these over a clean, dry platter. Because of the wetness, it tends to loosen its shape.

-After some time (one hour) laddu’s will be dry and glossy texture will vanish.

pic last

-I usually take these shapeless roundels and once again try to give shape and store it in an airtight container.

Shankarpali/Diamond biscuits:

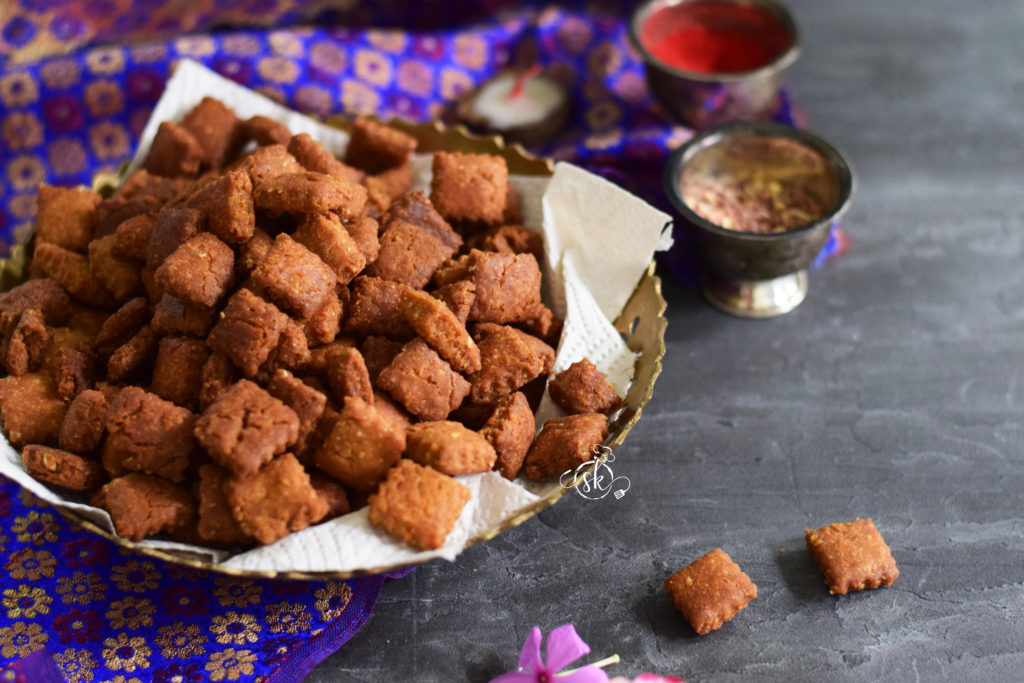
Shankarpali is a traditional Maharashtrian, deep-fried snack. It was introduced to us by our neighbour aunty. It is a very light, flaky, melt-in-the-mouth, a small, irresistible cookie that is deep-fried and not baked. It has a good shelf life, and one can enjoy it even after Diwali.

Traditionally, Shankarpali is made by using All-purpose flour. Here, I have used Whole wheat flour and oat flour and did not feel any change other than the colour of the final product.

If you want to use All-purpose flour, follow this recipe, replace the flour, and proceed.

Ingredients:

Milk – 1 cup

Ghee – ½  cup

Sugar – ¾ cup ( I have used Brown sugar)

Salt – 1 tsp

Cooking Soda – ¼ tsp

Flour – 3 ½ to 4 cups (as required) ( All-purpose flour OR Whole Wheat and Oat Flour)

Oil – to deep fry.

Method:

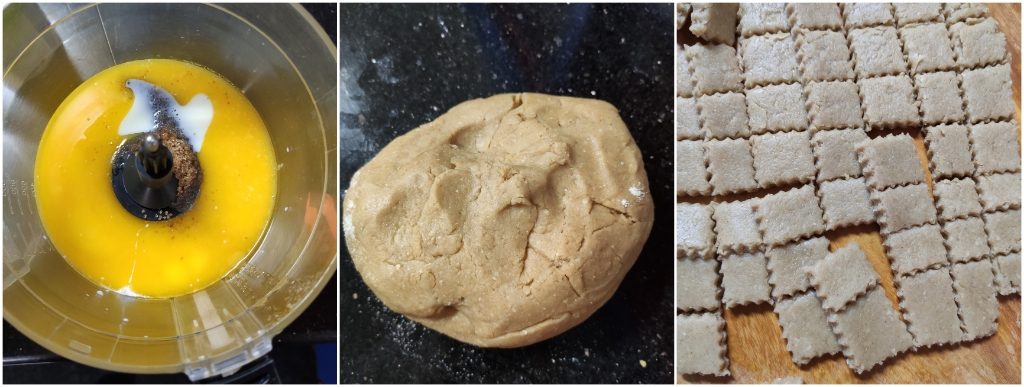
-Take one bowl or food processor, beat milk, ghee and sugar until frothy.

-In another bowl, take 2 cups of whole wheat flour and ½ cup of oats flour, salt, cooking soda and dry mix everything.

-Add the mixed flour to the liquid ( beaten milk and sugar), add some more whole wheat flour and make a soft, pliable dough by adding whole wheat flour little by little.         

– Cover this bowl and keep it aside for 15 minutes. Meanwhile, Keep the oil on a low flame to deep frying.

-Take a small portion of the dough, roll it into a thick ¼ inch circle, like a Roti. Remove the outer curved portion and make a square. ( it is optional to get only square pieces)

-Take a pizza cutter or any other zigzag cutter and cut this flattened disc. Now deep fry it on a low flame.

-When it becomes light brown, take it out and spread it on a tissue paper laid plate.

-When it is cool, store this in an airtight container.

NOTE: Keep the gas flame to a simmer and maintain the temperature of the oil. If oil is overheated, the shankarpali would turn into deep brown/ half-done and charred.