Mango Pickle (North Indian style):

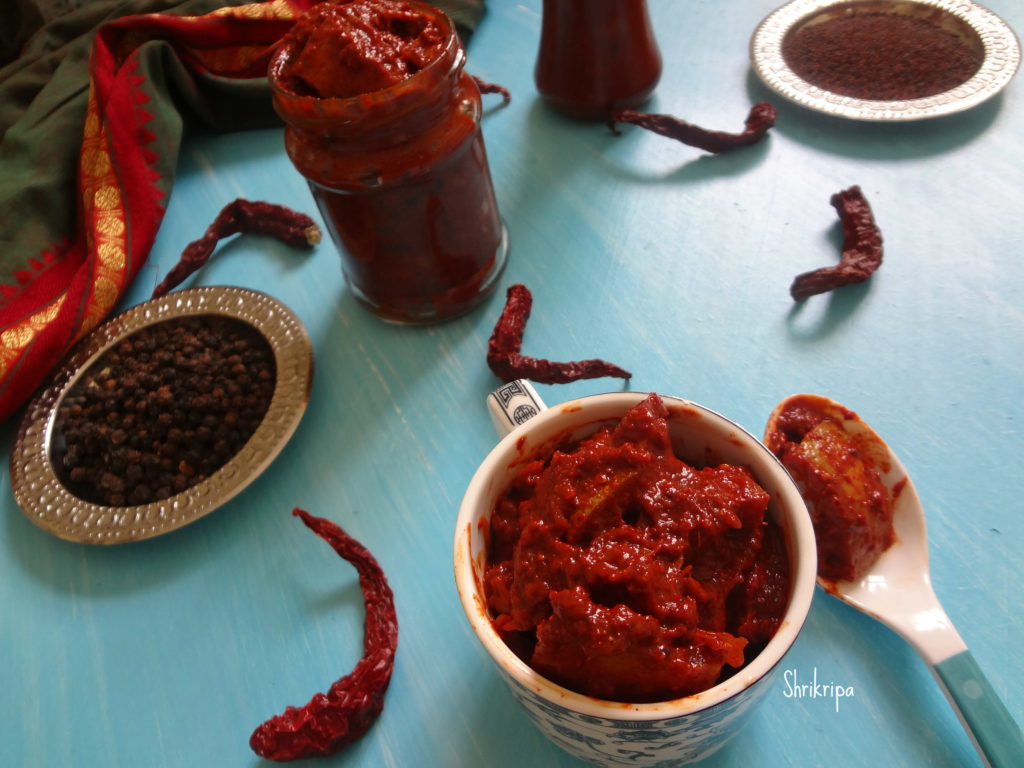
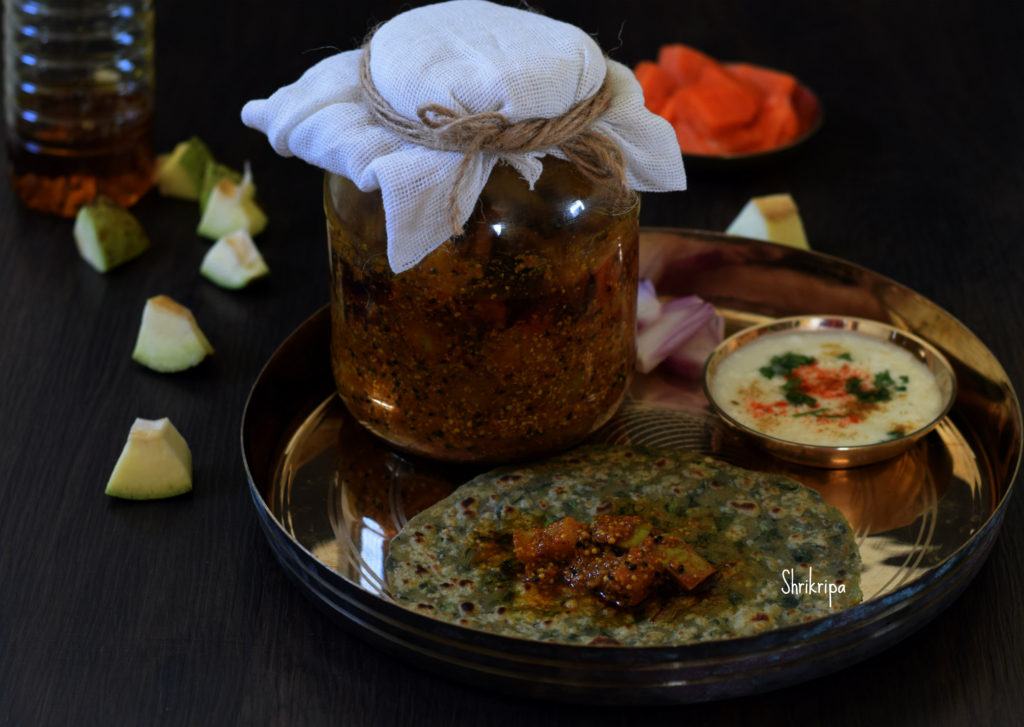
This pickle happened due to my daughters. It is a perfect accompaniment for any parathas or Thepla. I came to know about this recipe from my friend Kavita, who had gifted me this pickle, prepared by her. When it was about to finish my daughters insisted that I prepare it at home and this is the result of their insistence. I want to thank Kavita, who did answer all my queries patiently and guided me through the process.

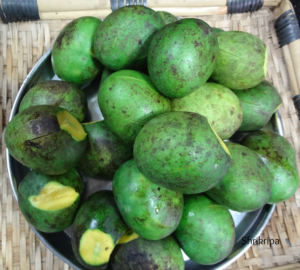
According to my friend, Thothapuri variety of mango tastes good for this masala. Hence I tried with the same.
Ingredients:

Mango – 1 kg (used Thothapuri variety)

Salt

Turmeric – 1 table spoon

Mustard oil – 1 cup

For Masala:

Red chilli powder – 2 table spoons

Hing – 1 table spoon

Fennel seeds -2 table spoons

Kalonji – 2 table spoons

Yellow mustard seeds – 3 table spoons

Fenugreek/Methi seeds- 1 ½ table spoons

Method:

-Wash, dry and cut the mango into pieces.

-Marinate these pieces with 2 fistful of salt, 1 table spoon of Haldi/ turmeric and mix thoroughly by using dry hand.

-Keep this for two hours and drain the oozed-out water and reserve it for future use.


-Spread these marinated mango pieces over dry cloth and dry under partial sun light or air dry.

-In the evening , remove those shrunken mango pieces and once again mix it with oozed out salted water which we have reserved from previous Marination process.

– The next (second) morning, drain and repeat the process of drying.

-On the second evening, those mango pieces will be ready to mix masala.

-First heat half a cup of mustard oil until it is very hot, then cool it.

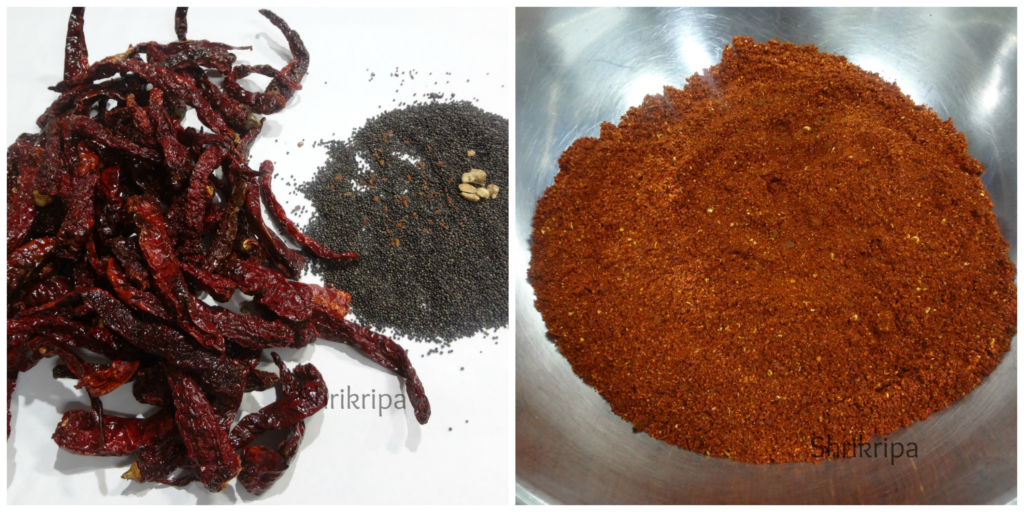
-Take all the ingredients from fennel seeds to methi seeds and lightly pound in a small mixer jar by using pulse option. Don’t make fine powder.

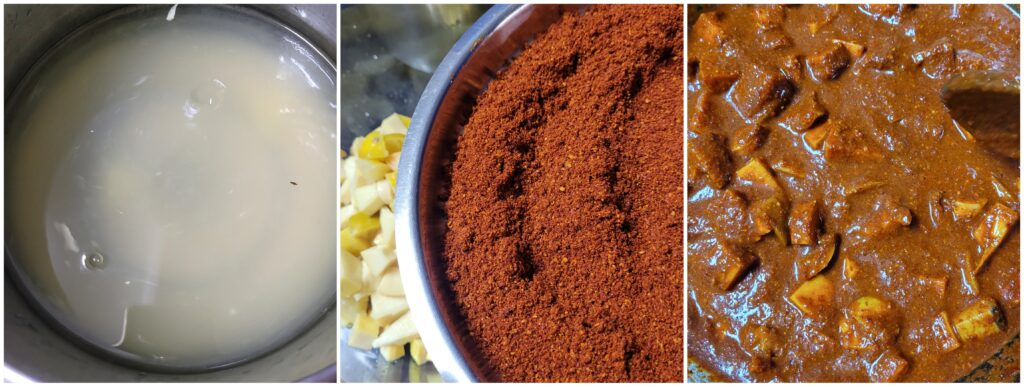
-Now take one bowl, mix in all the masalas, sun dried mango, additional salt and mix nicely by using your clean and dry hand.

-Fill the mixture in a glass bottle and pour cooled mustard oil and cover the bottle with muslin cloth and keep it under sunlight for 1 week or partial sunlight.

-After one week, pickle would reduce in quantity. Pour remaining half of mustard oil by heating at first, then cooling it.

-Cover the cloth and repeat the process of keeping it in sunlight for some more days.

-Now it is ready to consume.


Winter Veggie Pickle/Gajar, Gobhi aur shalgam ka achar:

Winter vegetables are very juicy, which can be preserved and enjoyed during the off season as well. In Northern India mainly in Punjab, they preserve these veggies by making pickle. I am very much fond of all kinds of pickles right from our traditional non-oily baby mango pickle to Andhra Avakaya and Punjabi mustard oil soaked root vegetables. No meal is complete without pickle. I usually prefer homemade pickles over store bought one and usually stocks lots of varieties for our regular usage. People who know me will surely agree with this. 😀

DSC05599_Fotor

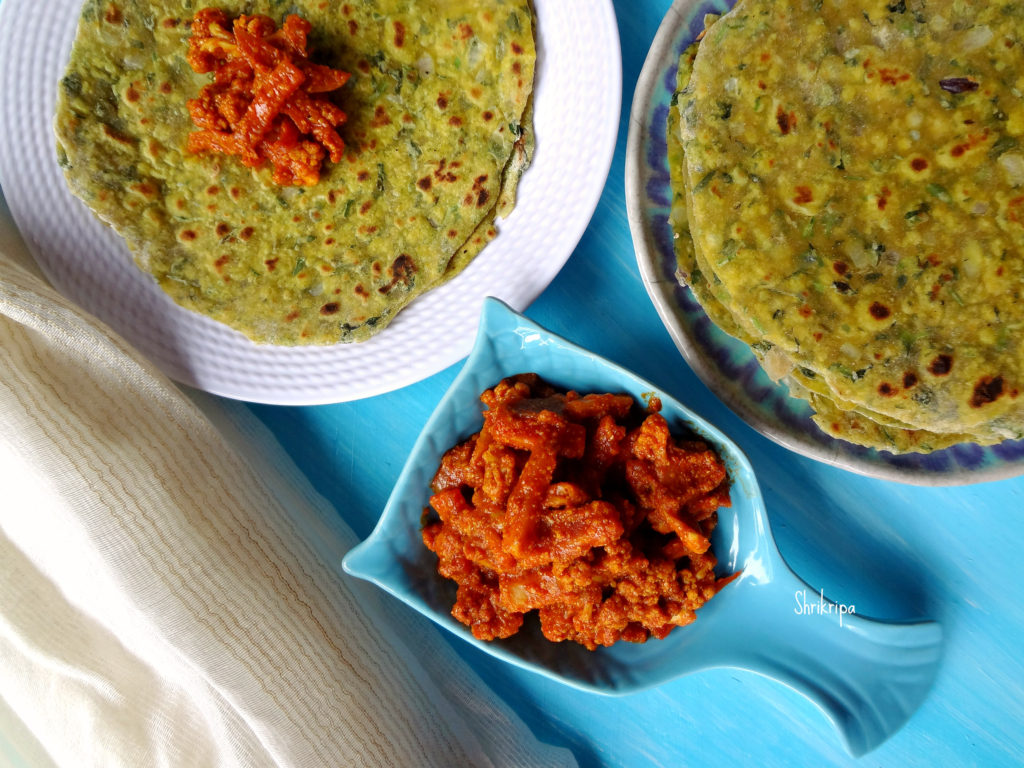
In this Pickle we use seasonal Red carrots, radish, cauliflower and Turnip chunks. Which is mixed with assorted spices, salt, jaggery and mustard oil. It is a classic combination with any kind of Indian flat breads.

How I make-

Ingredients:

Carrot – 250 grams (Red or Baby carrots)

Radish – 250 grams

Turnip – 250 grams

Cauliflower – 250 grams

Salt – ½ cup+ 1 table spoon (as needed)

Mustard oil – 50 ml

Refined cooking oil – 50 ml

Garlic cloves – 10

Yellow mustard – 50 grams

Turmeric – 1 + 1 tea spoon

Kashmiri chilli powder – 20 grams

Normal chilli powder – 20 grams

Vinegar – 50 ml

Jaggery – 75 grams

Method:

  • Wash, cut carrots, Radish, Turnip into long pieces.

DSC05546_Fotor

  • Remove small florets from cauliflower. Wash and drain.
  • Boil 4 to 6 cups of water in a big vessel. Add 1 table spoon of salt and 1 tea spoon of turmeric.

Ribbet collage 1

  • Blanch cauliflower, radish, Turnip, carrot pieces separately and drain and cool.
  • Spread these on a clean towel and keep it under the sun for 1 to 2 hours to remove all the water content.

Ribbet collage 2

  • If you are keeping and drying it inside the house, please switch on the fan or keep it for long hours, until it is dry.
  • Now keep everything ready for pickle masala and seasoning.
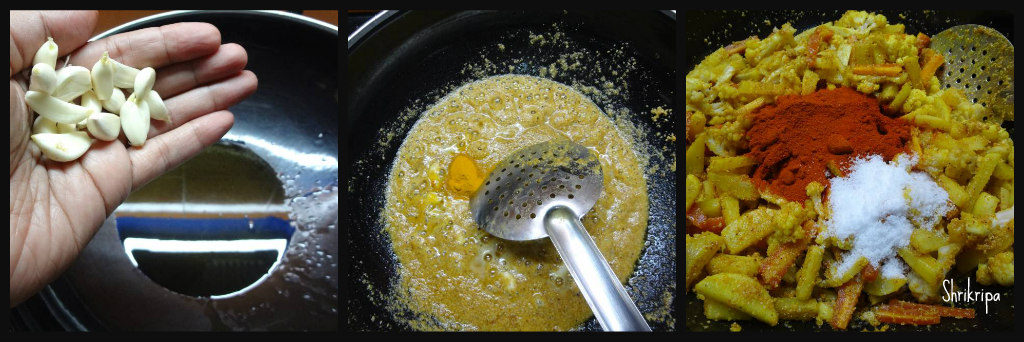
  • Take one thick kadai, pour oil, when it is hot, add garlic and fry for 2 to 3 minutes.

Ribbet collage 3

  • Add crushed yellow mustard, fry for one to two minutes.
  • Immediately add turmeric and dry veggies. Mix nicely.
  • Add both the chilli powders, salt and mix nicely.
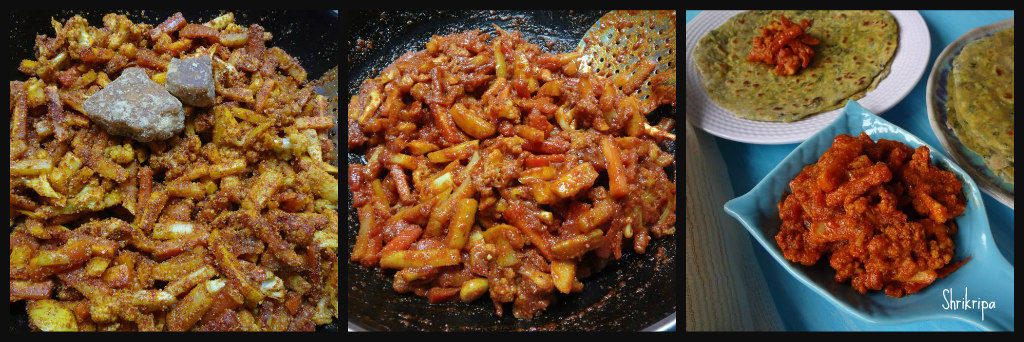
  • Then add grated jaggery (I have kept the jaggery piece to show) and vinegar.

Ribbet collage 4

  • Cook until all the masalas and liquid absorb and becomes like a mass.
  • Cool the mixture, store this in a clean, dry glass bottle.
  • It will set in a weeks’ time and one can relish after that period.
  • After it sets, I usually prefer storing it in the fridge to prolong its shelf life.

Indian Gooseberry/Amla Thokku:

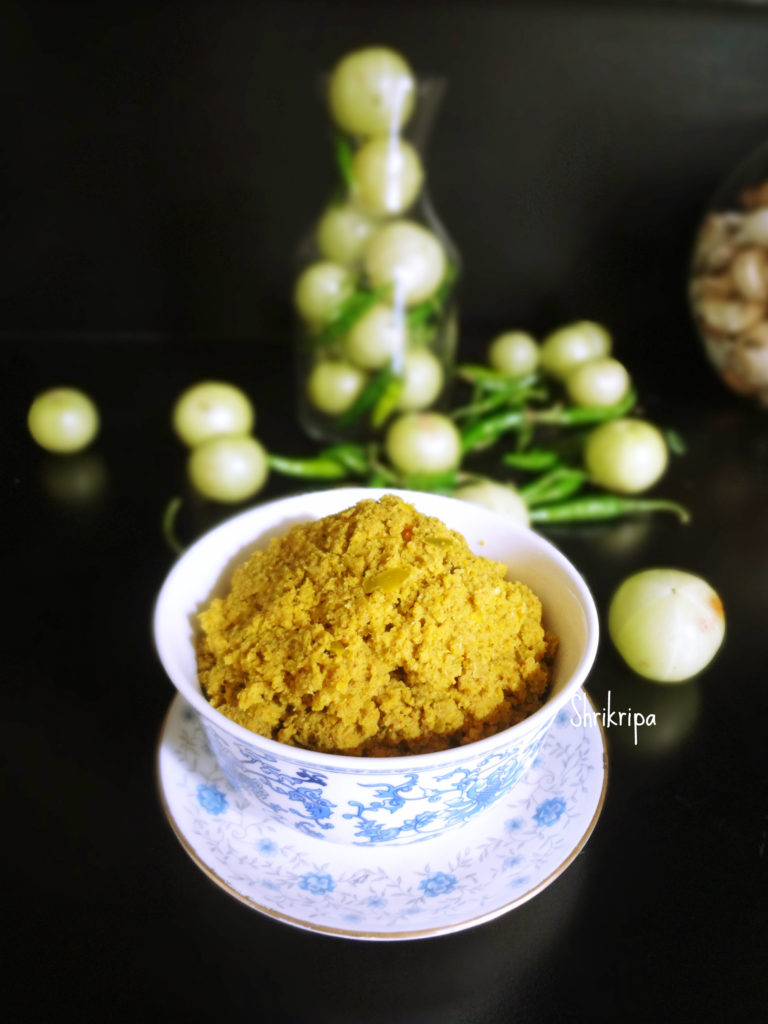
Indian gooseberry is a sour and tangy fruit with many medicinal values as it is a rich source of vitamin C. It is known as Nellikai in Kannada, Amla in Hindi. This berry has been used for years in Ayurvedic medicines as well as in Home remedies.

I used to get Amla Thokku from an “Iyengari shop”. I wanted to replicate this lip smacking Thokku at home. Hence, I began my experiment with the same and tried it a couple of times with some minute tweaks. I finally achieved the taste of the original Thokku and now it is my yearly ritual to prepare this in the season and preserving it for my year-round usage. This recipe has minimal ingredients and is very easy to prepare.

main 2

Now to the recipe:

Ingredients:

Amla – 300 grams.

Green chillies – 80 -100 grams

Mustard seeds – 2 tbsp.

Salt –to taste

Turmeric powder – 1tsp.

Method:

-Wash amla, pat dry them and remove the seeds.

-wash green chillies and pat dry them as well.

-put mustard and turmeric in a small mixer jar and powder it. Now add cleaned gooseberry and green chilies little by little and churn (dry grinding), take this out and keep it in a clean bottle, mix in salt and keep this bottle tightly closed in a cool, dry place.

-Every day mix this Thokku with a dry spoon/spatula, until it is set (almost 10 days), check for salt (it should be a little salty)

– After it sets, store this in a fridge.

Ways to Use this Thokku:

  • You can have this Thokku with white rice and little ghee.
  • You can also have it with curd rice.
  • Lassi: mix 1 tea spoon of Thokku in thin butter milk and drink as spicy, tangy lassi.
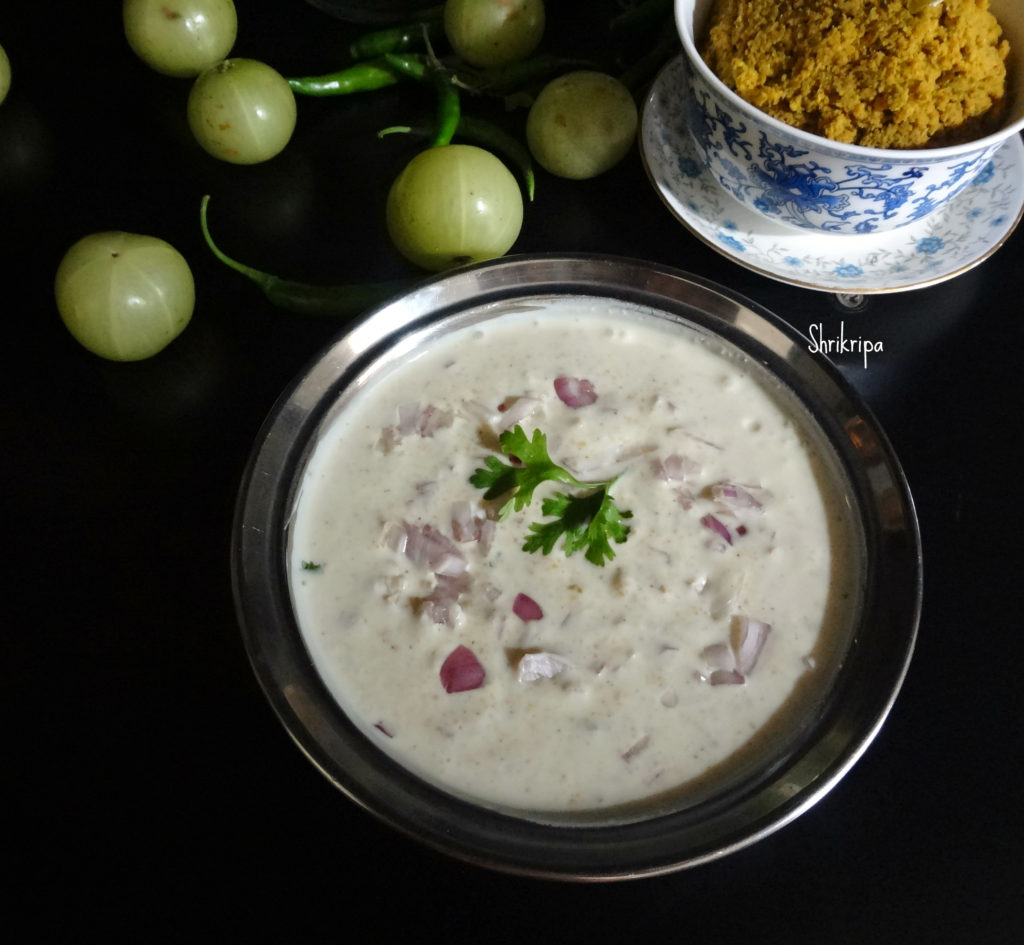
  • Make raita with curd: In a vessel take one table spoon of Thokku, add little curd and chopped onion, mix nicely and relish this raita with plain rice.

raita 3

  • It helps to reduce acidity and soothes. It also helps to regain appetite when you are not well.

Dudle huli Uppinakai/ Citrus medica Pickle:

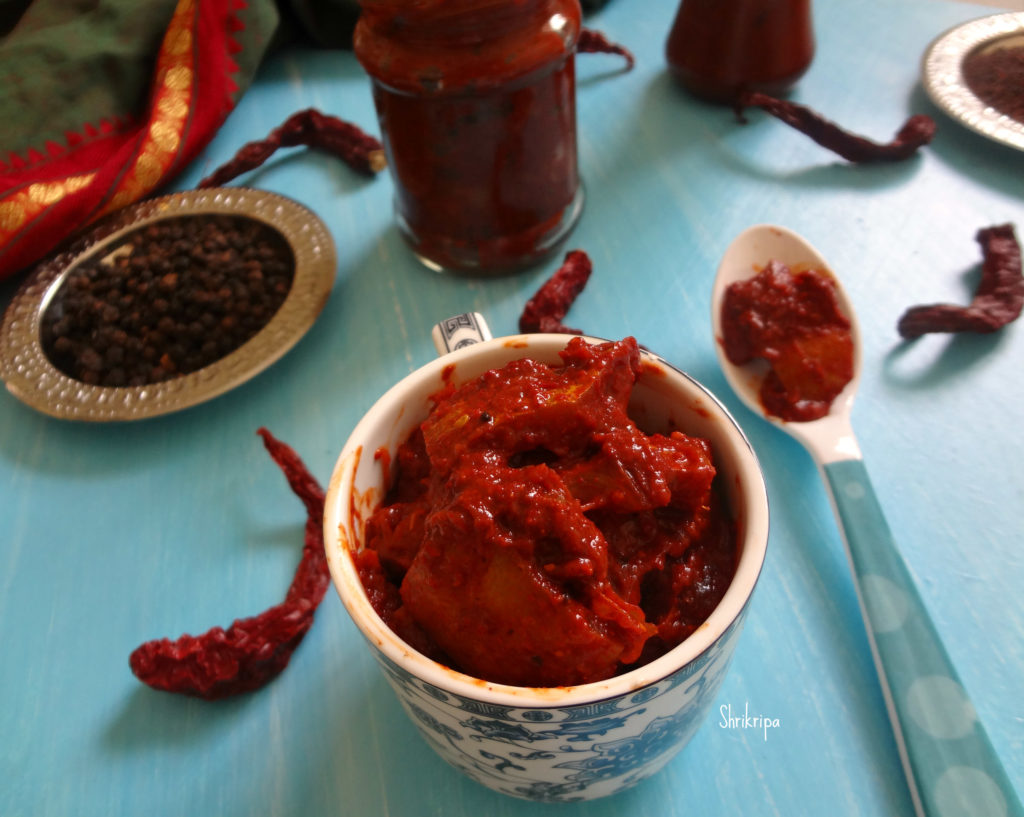
Dudle huli is a big lemon and is known as Citrus medica. Citrus medica is much bigger than normal lemon with thick outer rind and less sour and sweeter than normal lemon, excellent for thin Rasam, juice, pickles or Chithranna. Last week I have already posted Chithranna recipe by using this lemon. When I got hold of so many huge lemons, I did try to make this much-loved pickle of Dudle huli. Due to its thick skin, it tastes divine with curd rice and this pickle can be relished within one week after its preparation. I never tried its pickle due to unavailability, hence asked my sister in law who is an expert in preparing this pickle. All thanks to her for this wonderful recipe.

pickle main 1

Ingredients:

Big lemon / Dudle huli – 3 to 4

Salt

Dried red chillies – 100 grams

Black pepper – 1tea spoon

Fenugreek seeds – ½ tea spoon

Cumin – 1 tea spoon

Mustard – 3 tea spoons

White Sesame seeds – 1 tea spoon

Turmeric powder – 1 tea spoon

Seasoning:

Sesame oil – 1 table spoon

Mustard – 1 tea spoon

Hing – ¼ tea spoon

Curry leaves – 2 springs

Method:

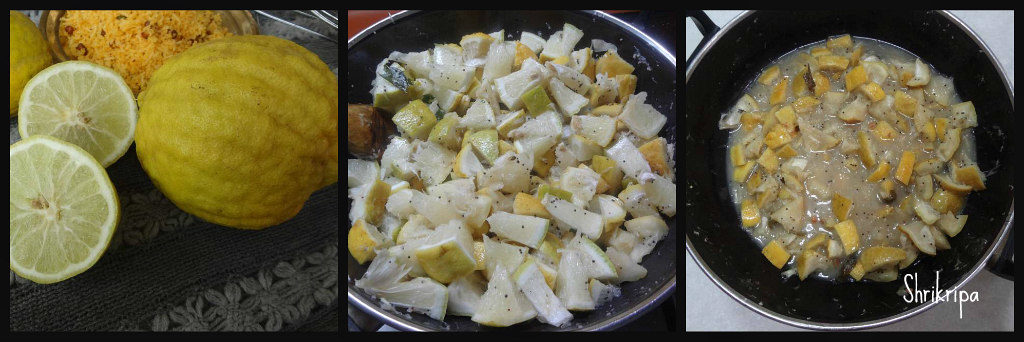
-Chop lemon into bite size pieces, after washing and wiping it dry.

-Take one tawa, do seasoning part, by heating sesame or any vegetable oil, splutter mustard seeds, add hing and curry leaves, fry until curry leaves wilts.

Ribbet collage 1

-Next add chopped lemon and toss for a while and add 1 cup of salt and mix until water oozes out.

– Switch off the gas and leave this mixture to cool down to room temperature.

– In the meantime, prepare pickle masala.

-Take one thick bottomed kadai, dry roast fenugreek until it reaches dark, not burnt.

-Next proceed with sesame, mustard, cumin, black pepper one by one separately.

-Now take 1 teaspoon of oil and fry red chillies until crisp. Lastly add turmeric and fry after switching off the gas.

Ribbet collage 2

-Cool this fried and roasted items and make powder by using dry mixer jar.

– Spread this powder on a plain paper, cool and mix with seasoned and cooled lemon mixture.

Ribbet collage 3

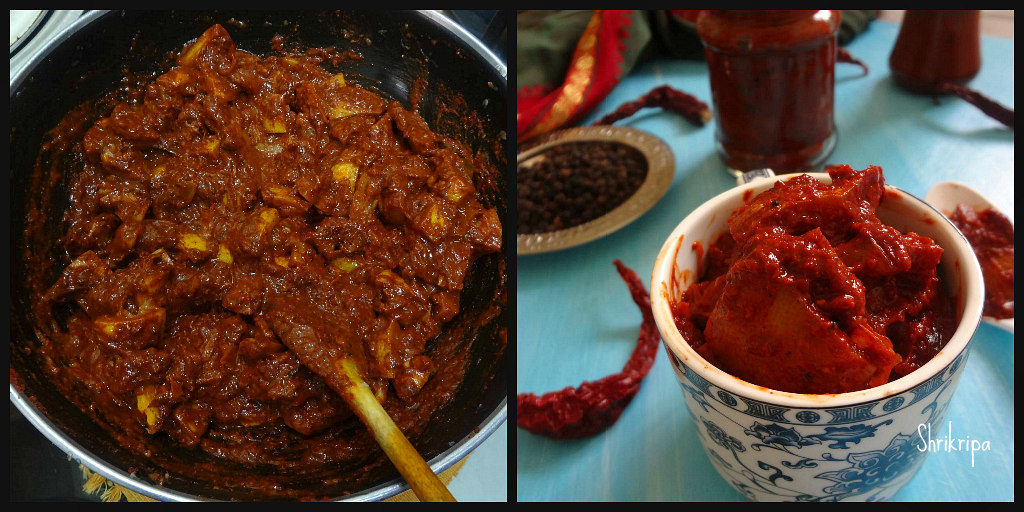
-Mix everything nicely, check for a salt, if needed add more. store it in a dry glass jar.

-Once in two days, mix this pickle by using dry spoon until it sets.

pickle main

-After one week, you can start enjoying this fresh pickle and store this in a fridge for longer shelf life.


Kanile Uppinakai/ Bamboo shoot-Lemon Pickle:

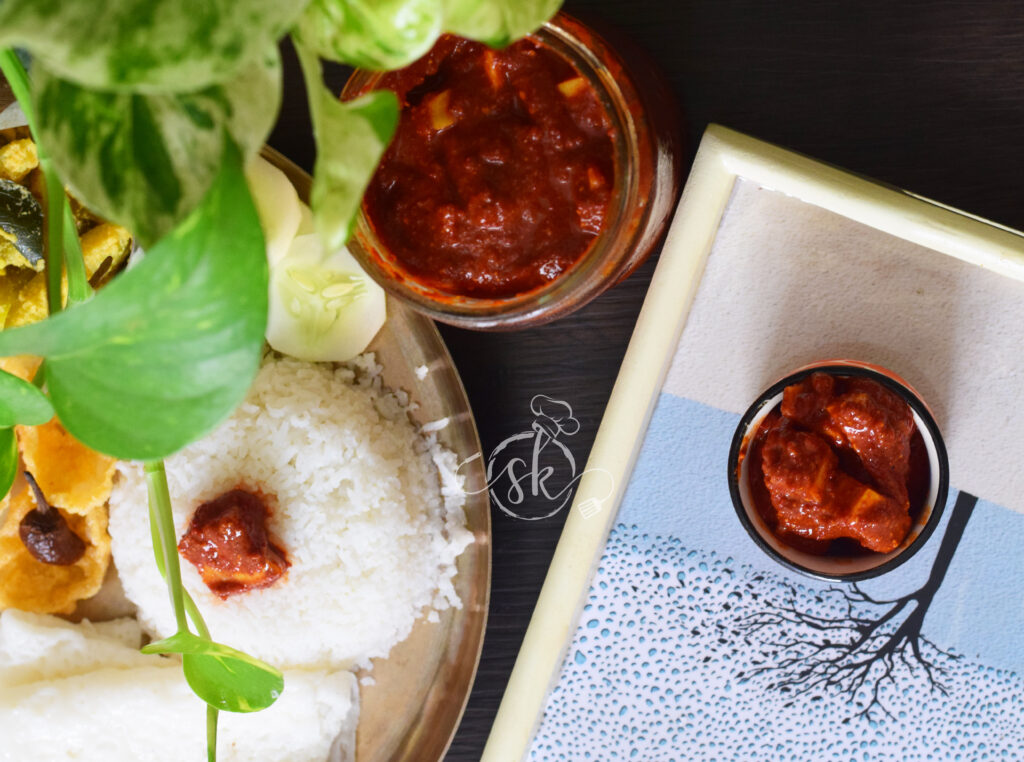
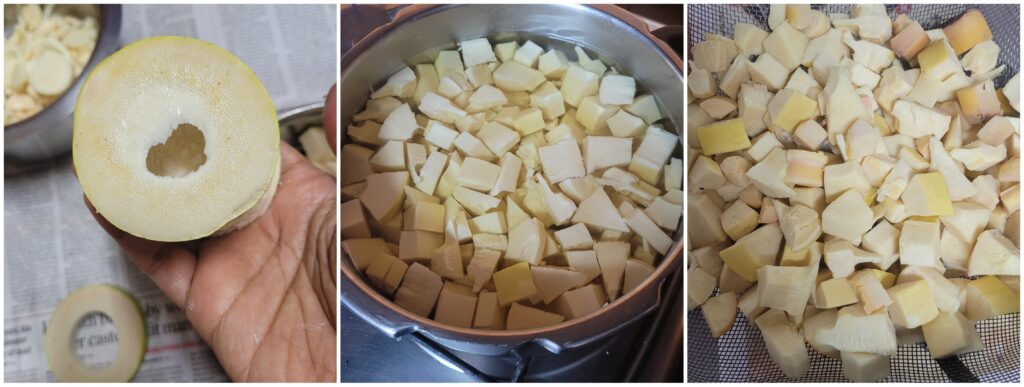
As I mentioned earlier in my “How to Chop Bamboo Shoot” Post, usually, while chopping bamboo shoots for any curries, we use Bamboo shoot’s knots or their nodes in pickle making. Usually, pickles require some souring agent to give a balanced taste. So, the Bamboo shoot needs some souring agent to enhance the taste and the shelf life. That is why we use lemon, Houglum or raw mango as an accompaniment. This image has an empty alt attribute; its file name is DSC_0631-blog-1-1-1024x762.jpg  Here, I have used Lemon with bamboo shoots. Bamboo shoot – 1 bowl (chunks from the 4 to5 nodes) Lemon -12 Water -1 lit Salt- 250 grams Byadagi Red chilli -100 grams (around 56) 25 grams of mustard 1.5 tsp – methi 1.5 tsp – turmeric powder 1/4 tsp – hing Method: -At First, Cook Bamboo shoots chunks in adequate water for one whistle in a cooker. Discard that water; air dry those bamboo shoot chunks.
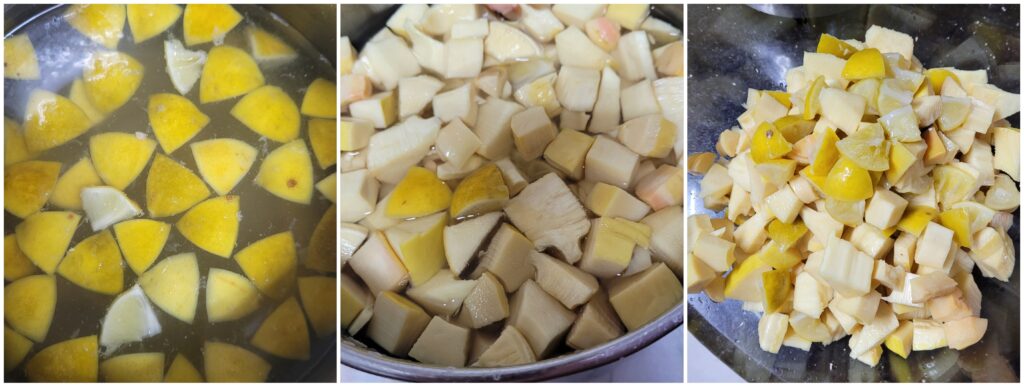
-Wash lemons, wipe and quarter lemon, remove seeds and keep it ready. -In the meantime, Boil water and salt until you find a crystal-like, white, shiny surface. -Now, put lemon pieces into hot, salted water and allow to cool. When the saltwater turns cool, the lemon peel becomes pale in colour. This image has an empty alt attribute; its file name is Picsart_24-09-05_13-35-40-332-1024x387.jpg -Add cooled, drained bamboo shoot pieces to lemon and salt water. Allow to soak and marinate overnight. -Next day, prepare masala. Dry roast methi until dark brown and allow it to cool. -Dry roast mustard, remove it and allow it to cool. -Add a little oil and roast red chillies in the same kadai. When red chilli is puffed and roasted, switch it off, add turmeric powder, and mix well. pic 33 -When everything becomes cool, make a powder in a mixer jar, add a pickle masala powder. -Drain the salt water,from the marinated lemon and bamboo shoot, and mix the pickle masala and required amount of drained salt water and mix everything well. This image has an empty alt attribute; its file name is Picsart_24-09-05_13-34-56-437-1024x387.jpg -Close the lid and allow them to absorb all the flavours for at least a day. Then, mix this pickle again, bottle it in a clean, dry bottle, and store it under refrigeration. It stays good for 6 to 8 months under refrigeration.

Idikayi Uppinakai / Whole mango pickle in roasted masala:

Happiness is when your reader as well as a distant cousin of yours messages you and requests you to post one of our traditional age-old pickle recipe. When you respond saying, this variety of mango (wild raw mango) is not available where you reside. Immediately comes the response, he will bring and give it to you. Not only bringing this raw mango from 250 km away, he has not forgot to remind me, “Don’t forget to post”. This post is dedicated to him, Rajendra. G.

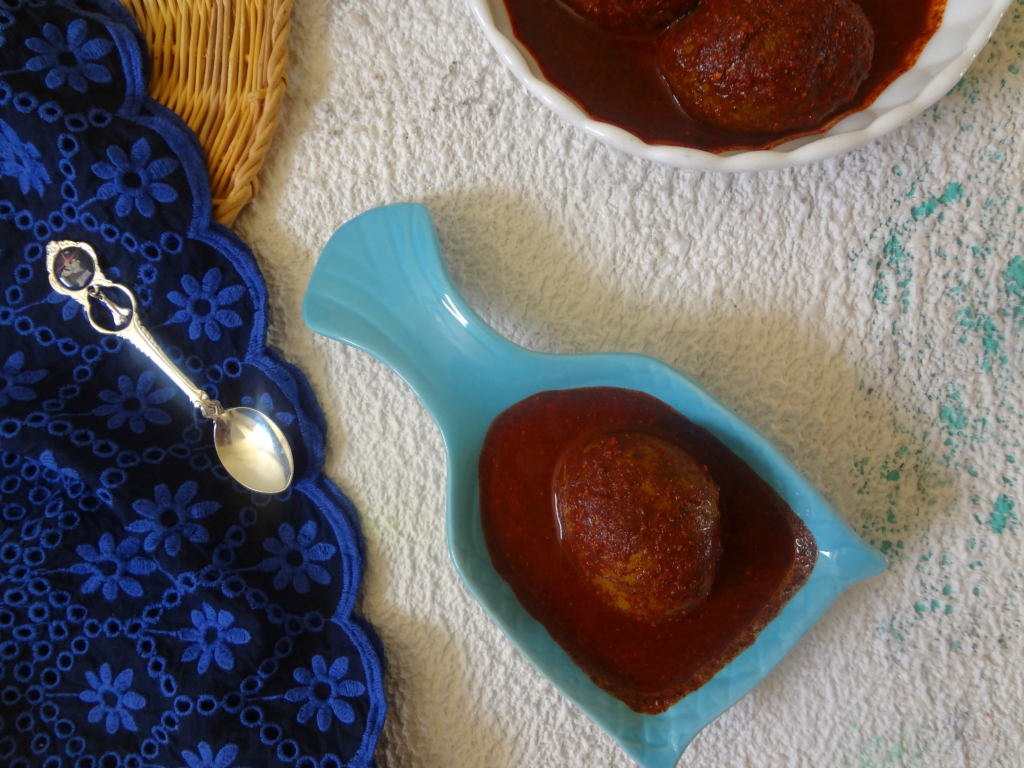
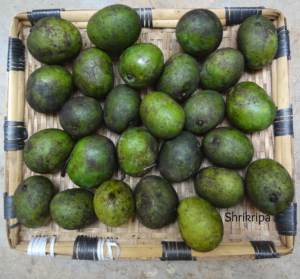
Idikayi is nothing but whole mango. We use wild whole mango in this pickle. Speciality of this pickle is, it is fully grown, just before ripening stage of mango. So, while eating, you can enjoy and savour salted seed as well. Usually we relish this with Kerala matta rice kanji or normally we call as, kucchilakki ganji with this pickle.

Masala is used in this pickle is roasted and fried with very little oil. So literally it is very mildly hot pickle without oil. Even small kids relish this.

pic 2

Ingredients:

Whole mango – 23

Red chillies – 250 gms (I normally use Byadagi variety)

Mustard – 100 gms

Fenugreek /methi seed – 1 table spoon

Hing – ½ tsp

Turmeric – 2 tsp

Salt – 2 to 3 cups

Water – 4 cups

To boil mangoes:

Water – half of the vessel

Salt – 1 fist full.

Method:

          First let’s start the pickle making by preparing the mangoes. Wash mangoes, remove its stalk part and give 3 to 4 slits here and there.

pic 3         pic 4

          Boil water in a big vessel (take half of the vessel). Add one fist full of salt to this water.

pic 5    pic 6

          Drop all those mangoes, cook until outer skin become pale green and remove from the water and drain.

          Cool this into room temperature.

          Make salt water: Take 3 cups of salt and 4 cups of water in a pan and boil this in a medium heat. How to check the doneness? Whenever salt and water quantity is right, salt will form a glossy layer at the top. If you don’t find any mirror layer, add little more salt and proceed boiling. When it is ready, switch off the gas and cool this water. It should reach room temperature, before using.

          Start making pickle masala.

          Dry roast methi, mustard and hing separately.

          Fry red chillies little by little by putting 1 tsp of oil.

          Cool everything and make powder in a mixer jar.

          After making powder, mix everything together nicely and take required amount of powder, pour required amount of cooled salted water and make a paste.

pic 8     pic 9

          It should be a little flowy. Because mango should immerse in this liquid.

          Add cooled mangoes and mix.

          Adjust the consistency either by adding powder or salted water.

          Store this in an air tight glass jar.

          Next 3 to 5 days every day, make it a point to mix it and keep it aside by closing the lid.

pic 1

          After one week, you can start consuming and store this in a fridge to extend its shelf life.


Tamarind Pickle:

pic 1

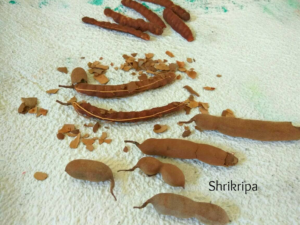
Tamarind has a very important place in the Indian kitchen and it has loads of health benefits as well as it is a treasure of anti-oxidants and dietary fibres.

Indians love its tangy and sweetish taste and enjoy this in chutney, relish, digestive candies, pickles and more.

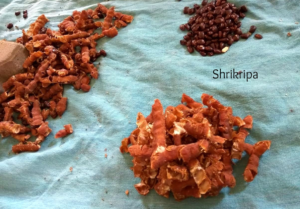
tamarind 1            tamarind 2

From childhood, I used to enjoy tamarind pickle and never knew about the recipe. Thanks to my brother-in-law who sourced the recipe and made it possible for me to enjoy this relish after so many years.

This is a family recipe of one of our friends from Mangalore and speciality of the local Jain community form coastal region.

Ingredients:

Tamarind- 100 grams

Dried red chillies – 200 grams (Byadagi variety)

Jaggery – 250 grams

Salt – 8 to 10 teaspoons

Water – 3 to 4 cups

Fenugreek /methi seeds – 1 tea spoon

Cumin – 2 tea spoon

Gingelly oil – 1 to 2 table spoon.

Mustard – 1 tea spoon

Garlic – 5 to 6 cloves (crushed)

Curry leaves – 1 spring

Method:

  • Soak tamarind and grated jaggery in water for some time.
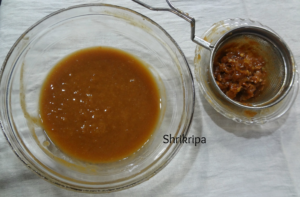
  • When it becomes soft, nicely squeeze out and sieve the liquid.

pic 9           pic 10

  • Discard all the roughage and fibres.
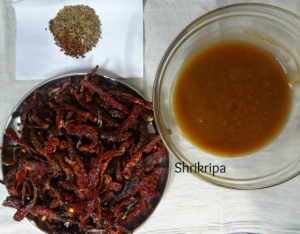
  • Dry roast methi and cumin.
  • Roast red chillies by putting very little oil.
  • Powder all the roasted items by using dry mixer jar.
  • Now keep one thick bottomed vessel on the gas stove, put oil and do seasoning.
  • When oil is hot, splutter mustard seeds, then add crushed garlic and curry leaves.

pic 11                pic 12

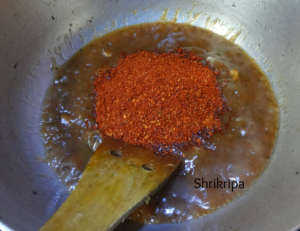
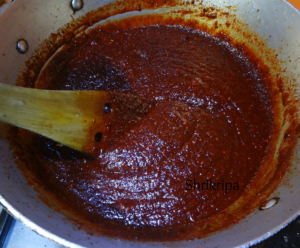
  • Pour tamarind and jaggery concentrate, salt, ground masala powder and boil.
  • After boiling it for some time, upper layer of the mixture will look glossy and it is the sign for its doneness.
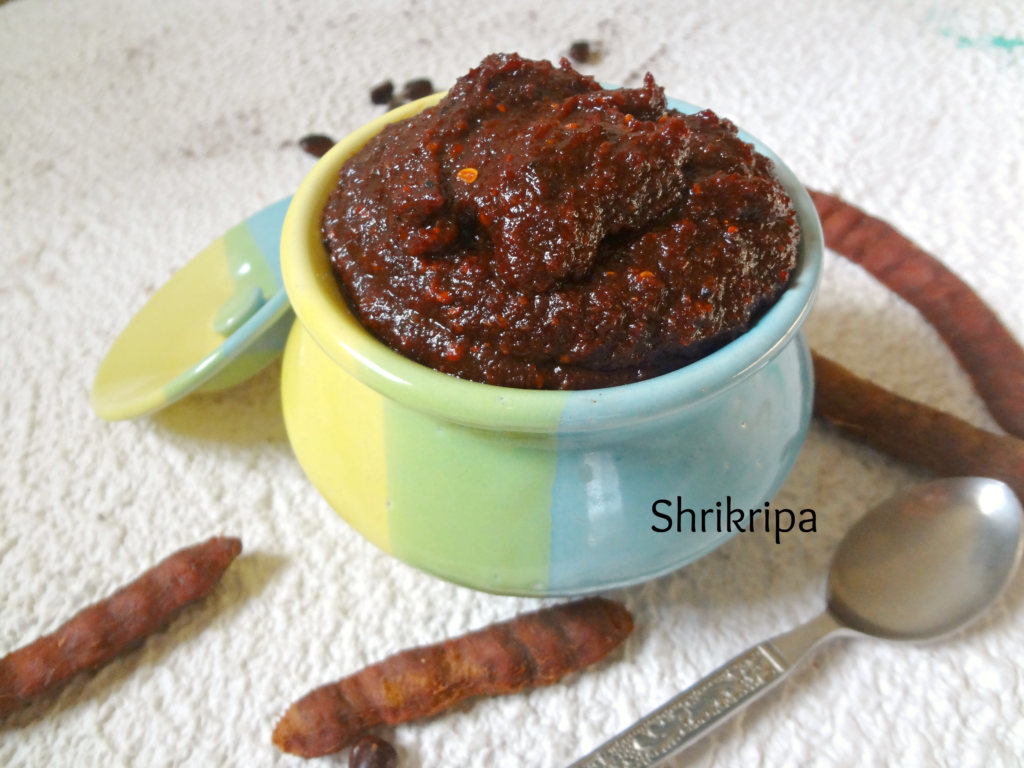
  • Switch off the gas, cool this mixture completely and store it in dry glass bottles and keep outside for two days to set and afterwards keep it in the fridge.

pic 6

  • It will stay up to one year if you store it in the fridge.