How to make Coconut Milk and Flour at Home:

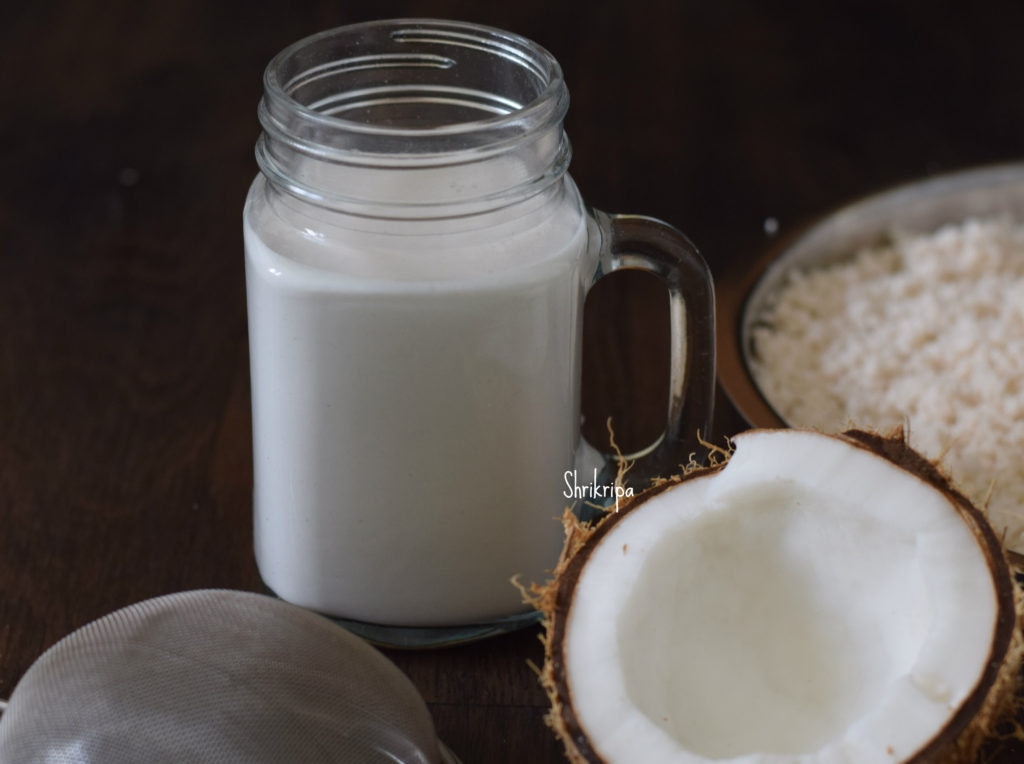
If you are a person, who extracts coconut milk for kheer/ payasam like me, it is best suited for you.

Coconut flour is rich in fibre, low in calorie as well as carbohydrate, gluten free and very popular in flour less or grain free baking.

From past two years I am experimenting with various home made healthy flours and last week when I extracted milk from couple of fresh coconuts, I wanted to try this and proceeded.

Method:

First, we will see the Procedure for Coconut Milk Extraction:

DSC_4524_Fotor

Ingredients:

Fresh coconut– 1 or 2

Water – 3 cups

Strainer – to extract the milk.

Procedure:

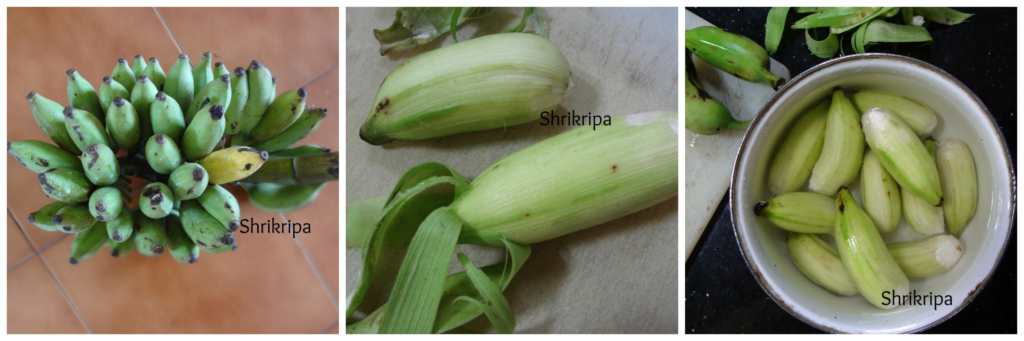
-Grate the coconut and collect the gratings. (If you are using some frozen fresh gratings, you can thaw and proceed).

-Next is a coconut milk extraction:

-Take fresh gratings, put one cup of water and grind into smooth paste and extract milk through sieve. This milk is a thick milk.

Ribbet collage 2

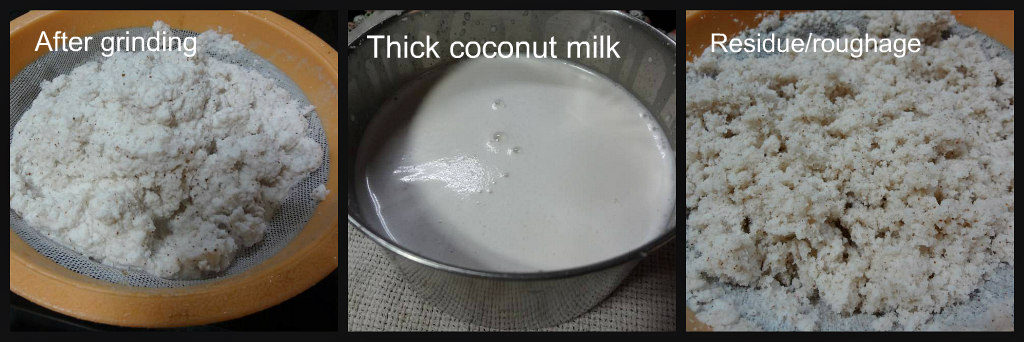
-Now once again take roughage of the coconut, put one more cup of water and grind, sieve the paste and it is our second extraction of milk.

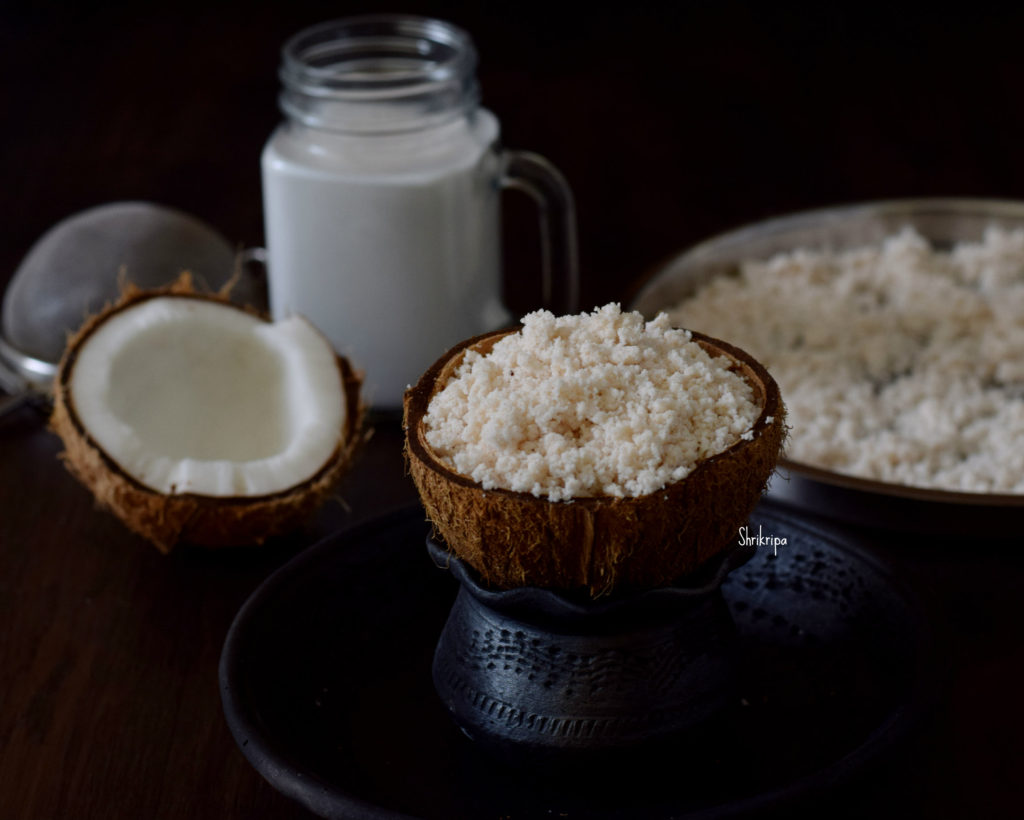
-Repeat the process and take out a third extraction as well and Collect the roughage and it is the Raw material what we need to make coconut flour.


Now we will see how to make coconut Flour:

DSC_4523_Fotor

Now you will know, what is coconut flour?

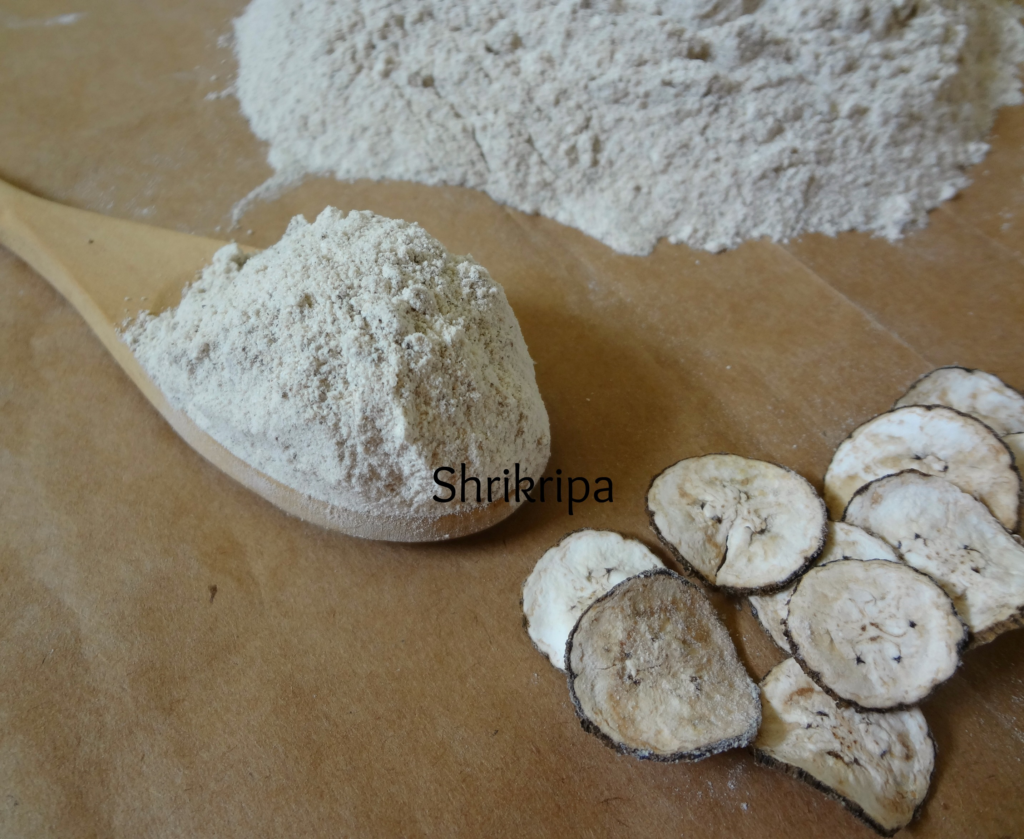
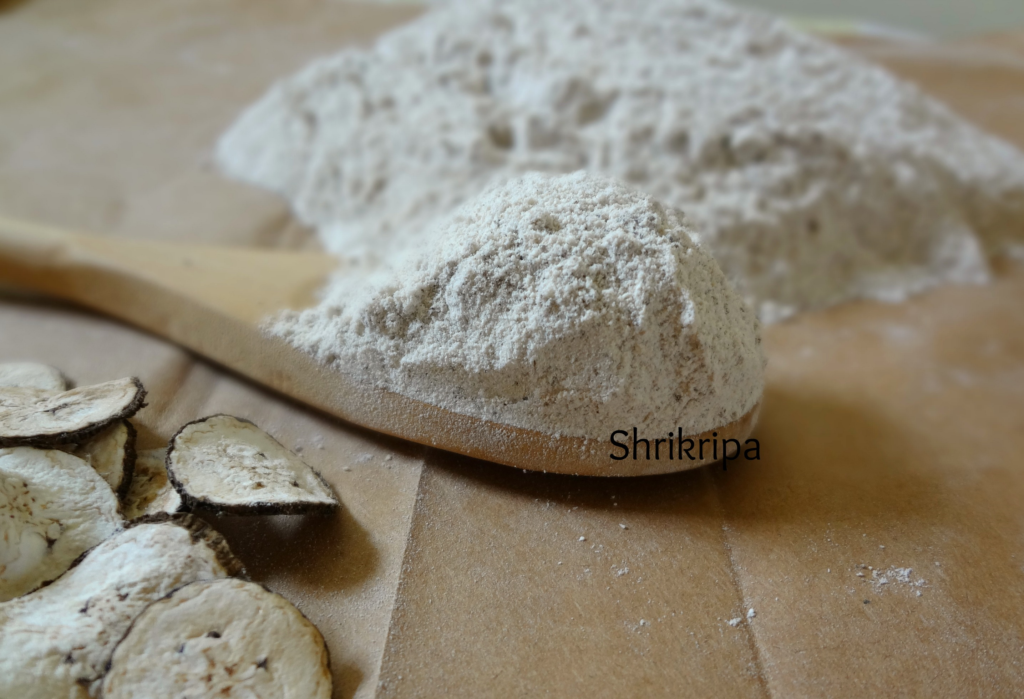
It is nothing but dried form of this roughage that we have, after the extraction of coconut milk.

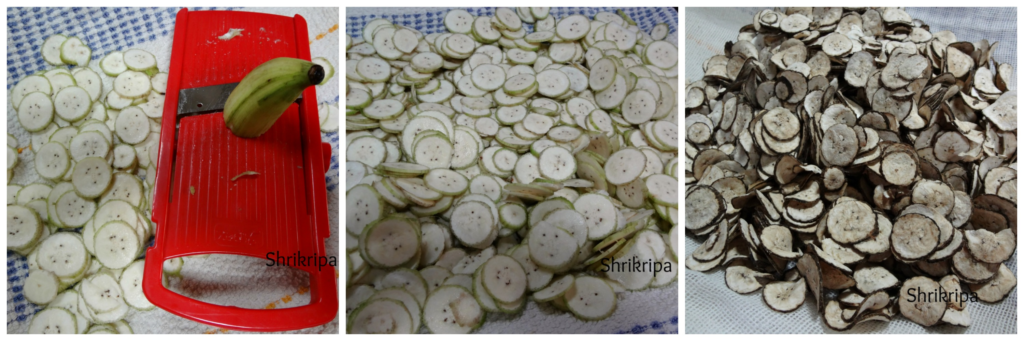
Take a dry towel, spread this roughage and air dry in a shaded place for a couple of days. That is it.

DSC_4553_Fotor

Your coconut flour is ready to use. When it has dried, it will be very dry and airy. It will appear like small beads.


Plantain/Raw banana flour:

Plantain flour is a powdered form of dried banana, which can be a good raw material for any healthy baking or cooking, for people who follow Paleo, Vegan, gluten-free diet and it is diabetic friendly and organic too. Last month when I was thinking about gluten-free baking and options regarding its flours, what immediately comes to mind is our day to day available ingredient- the cheaper, more nutritious alternative to commercially available gluten-free flours. I have seen banana flour as baby food in my native and people prepare this flour at home and feed their babies as a healthy top food. Keeping that in my mind, I headed towards preparing homemade banana flour. I took small varieties of homegrown bananas from my native and started my journey.

pic 1

Ingredients:

Raw bananas – 1 kgs

Method:

-Select firm and raw bananas.

-wash, peel outer skin and immerse in plain water.

collage 1

-Take one wide, big plate. Line with one clean towel.

-Slice bananas directly on towel. Keep this in bright area, either near window sill or under sunlight.

collage 2

-If you keep under sunlight, it will take 2 days to dehydrate and become crisp.

-If you keep indoors, it will take 4 days to dehydrate.

-After it becomes crisp and dry, powder this in a dry grinding jar in a mixer grinder.

-Sieve the mixture and collect the fine powder.

pic 2

-Such a simple method and you will be ready with your gluten-free healthy flour for any of your bakes or for cooking!