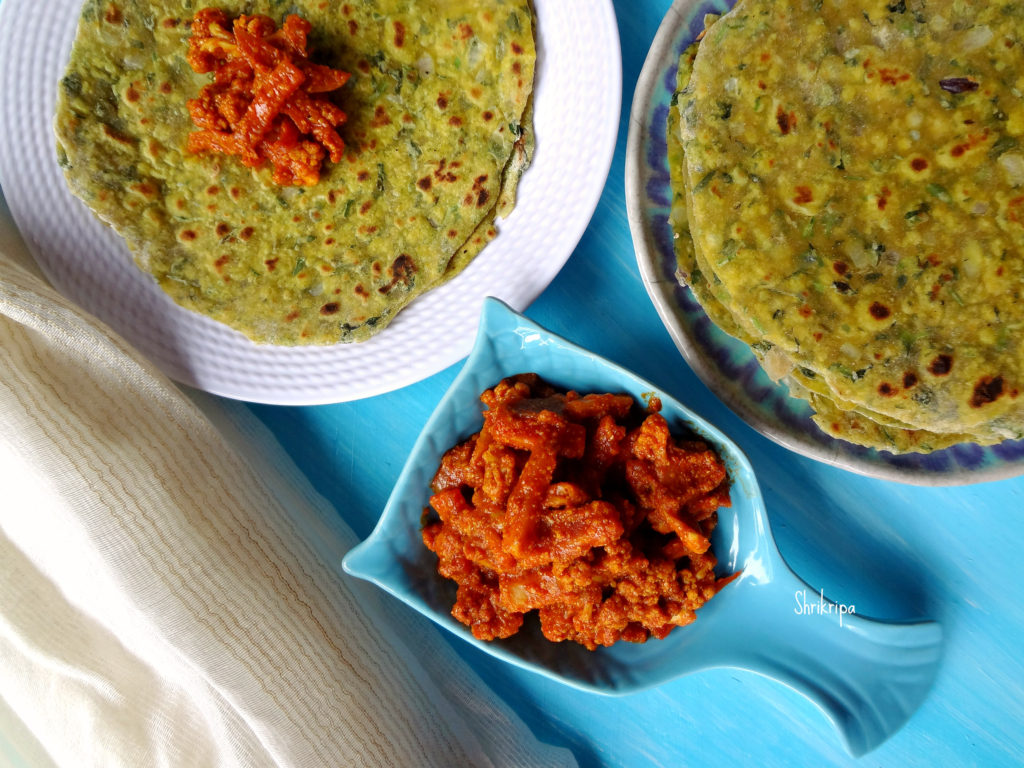
Winter Veggie Pickle/Gajar, Gobhi aur shalgam ka achar:

Winter vegetables are very juicy, which can be preserved and enjoyed during the off season as well. In Northern India mainly in Punjab, they preserve these veggies by making pickle. I am very much fond of all kinds of pickles right from our traditional non-oily baby mango pickle to Andhra Avakaya and Punjabi mustard oil soaked root vegetables. No meal is complete without pickle. I usually prefer homemade pickles over store bought one and usually stocks lots of varieties for our regular usage. People who know me will surely agree with this. 😀
DSC05599_Fotor

In this Pickle we use seasonal Red carrots, radish, cauliflower and Turnip chunks. Which is mixed with assorted spices, salt, jaggery and mustard oil. It is a classic combination with any kind of Indian flat breads.

How I make-

Ingredients:

Carrot – 250 grams (Red or Baby carrots)

Radish – 250 grams

Turnip – 250 grams

Cauliflower – 250 grams

Salt – ½ cup+ 1 table spoon (as needed)

Mustard oil – 50 ml

Refined cooking oil – 50 ml

Garlic cloves – 10

Yellow mustard – 50 grams

Turmeric – 1 + 1 tea spoon

Kashmiri chilli powder – 20 grams

Normal chilli powder – 20 grams

Vinegar – 50 ml

Jaggery – 75 grams

Method:

  • Wash, cut carrots, Radish, Turnip into long pieces.

DSC05546_Fotor

  • Remove small florets from cauliflower. Wash and drain.
  • Boil 4 to 6 cups of water in a big vessel. Add 1 table spoon of salt and 1 tea spoon of turmeric.

Ribbet collage 1

  • Blanch cauliflower, radish, Turnip, carrot pieces separately and drain and cool.
  • Spread these on a clean towel and keep it under the sun for 1 to 2 hours to remove all the water content.

Ribbet collage 2

  • If you are keeping and drying it inside the house, please switch on the fan or keep it for long hours, until it is dry.
  • Now keep everything ready for pickle masala and seasoning.
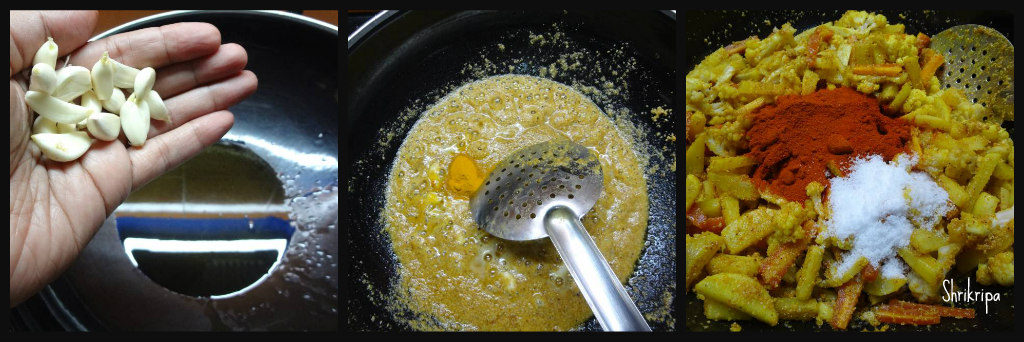
  • Take one thick kadai, pour oil, when it is hot, add garlic and fry for 2 to 3 minutes.
Ribbet collage 3

  • Add crushed yellow mustard, fry for one to two minutes.
  • Immediately add turmeric and dry veggies. Mix nicely.
  • Add both the chilli powders, salt and mix nicely.
  • Then add grated jaggery (I have kept the jaggery piece to show) and vinegar.
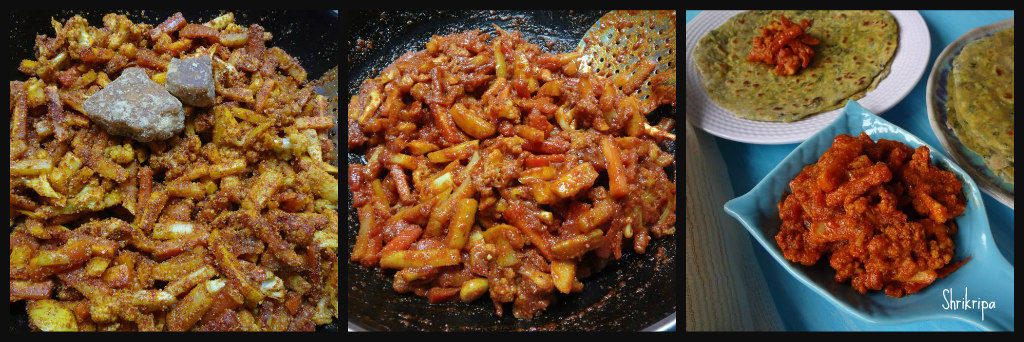
Ribbet collage 4

  • Cook until all the masalas and liquid absorb and becomes like a mass.
  • Cool the mixture, store this in a clean, dry glass bottle.
  • It will set in a weeks’ time and one can relish after that period.
  • After it sets, I usually prefer storing it in the fridge to prolong its shelf life.

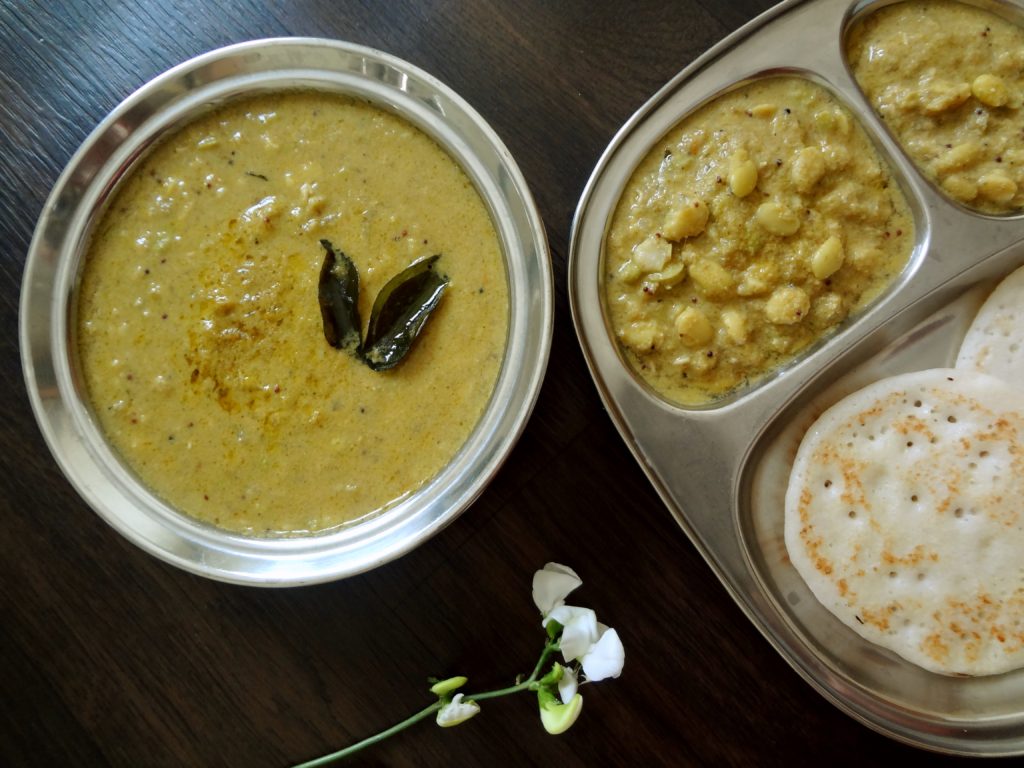
Hitikida avarekalu/ Deskinned Hyacinth bean curry:

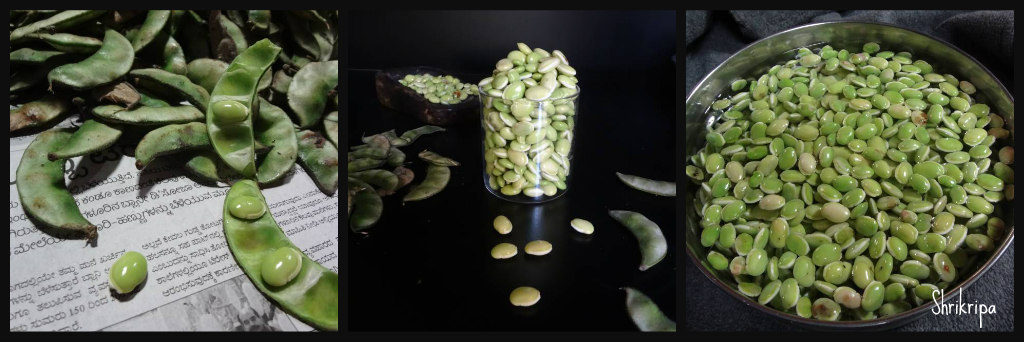
Avarekai has many names like Lablab or Hyacinth bean.

Avarekai is an integral part of every household of native Bangalore or Mysore region during every winter. People wait for its arrival. Winter special lima bean is called “Sogadavare” and it has double the aroma of what we get normally throughout the year.

DSC05495_Fotor

Initially I used to struggle with avarekai recipes and never used to get that authentic touch. Now over the years, I have mastered this authentic, tasty curry and my family started liking it and we do enjoy our share of this traditional curry with soft dosas.

If you are using fresh beans, it is a little time-consuming process. During the season we even get the deskinned ones. If you have frozen beans, curry making is an easy task.

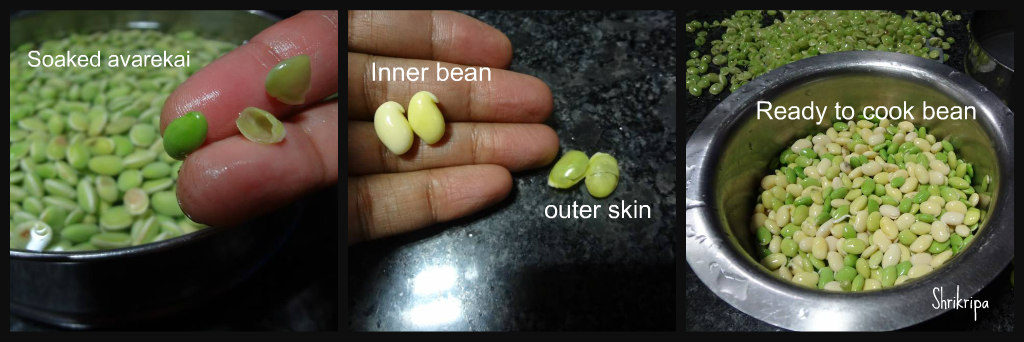
At first, we will see the procedure of de skinning –

-At first take a fresh bean pod, remove outer thick green skin and separate the light yellowish green bean. Collect all the shelled beans, soak it in water for 3   to 4 hours.

Ribbet collage 1

 Now starts your time consuming real exercise. Dip your hand in water, remove soaked beans and start deskinning by keeping the bean in between your thumb finger and fore finger and press a little, you will see the transparent outer skin would flip and inner bean will come out. Continue the exercise until it is done and collect deskinned “Hitikida bele” and proceed to make very tasty curry.

Ribbet collage 2

Now we will see the procedure of “Hitikida bele saaru” /Curry

Ingredient-

Deskinned Avarekai – 1 big bowl

Onion – 1 for seasoning

Oil – 3 table spoons

Ghee – 2 tea spoons

Mustard – 1 tea spoon

Curry leaves – 2 springs

Green chillies – 4 (3 for grinding + 1 for seasoning)

Garlic – 8 cloves (4 for grinding + 4 for seasoning)

Coconut – 2 cups

Tamarind – marble size

 Coriander seeds – 2 tea spoons

Cumin – ½ tea spoon

Cinnamon – ½ inch

Clove – 2

Ginger – ½ inch piece

Coriander leaves – ½ cup

Method:

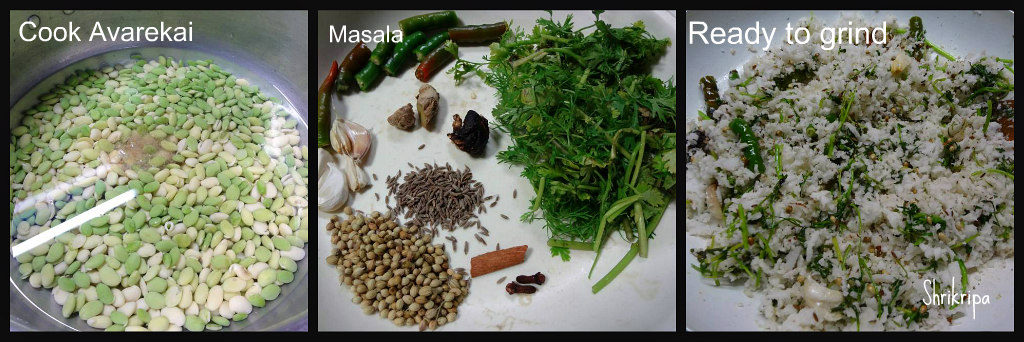
-Cook avarekai with required amount of water and salt. You can opt for a cooker or an open vessel. Slow coking gives a better result for this curry.

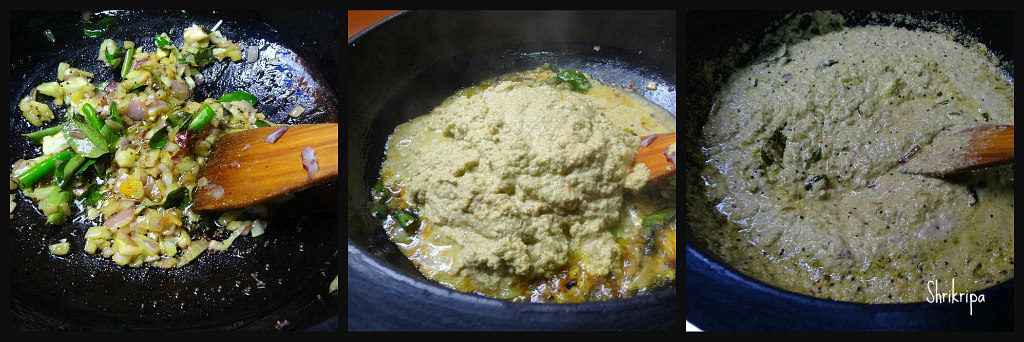
– Next is the masala preparation. Fry Coriander, cumin, cinnamon, cloves. When coriander becomes light brown, add garlic, ginger, green chillies, coriander leaves,tamarind and coconut and fry until it emits a nice aroma.

Ribbet collage 3

-Switch off the gas, cool the content and grind this in to a smooth paste by adding required amount of water.

-Now do the seasoning, heat oil, splutter mustard, curry leaves, garlic, green chilli, chopped onion and fry until onion becomes light brown.

Ribbet collage 4

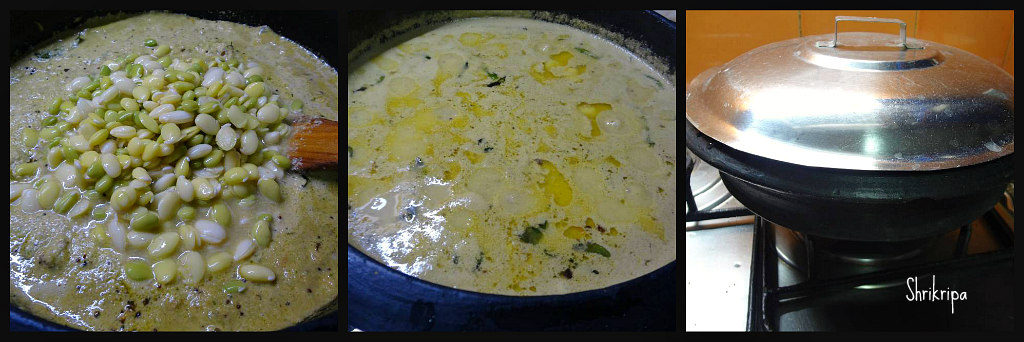
-Add ground masala paste and fry for a couple of minutes. Add cooked avarekai and add enough water.

-At this time, consistency of the curry should be a little watery, as cooking proceeds and after some resting time, it becomes thick and becomes perfect.

Ribbet collage 5

-Boil this mixture until you see a thin creamy layer at the top.

-Switch off and pour 2 tea spoons of ghee, give one mix and close the lid. Rest this for some time, and serve with dosas, chapati’s or plain rice or jeera rice.

DSC05491_Fotor

Note:

-I usually prepare this curry in the night, and re heat and serve with dosas in the morning.

-In this way, it absorbs all the flavours and sets properly.