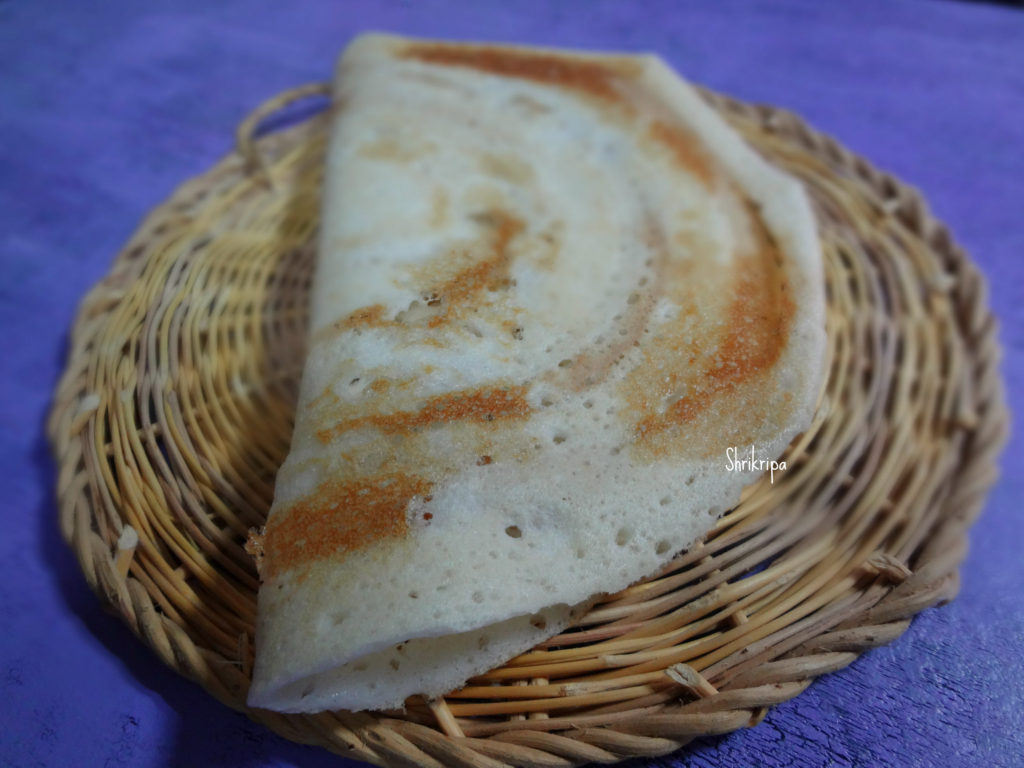
Halasina hannu is Jack fruit and Kottige is nothing but idly or kadubu,also known as Halasina Hannina kottige Or Gatti in local language. In which mixture is wrapped in pre-wilted banana leaves like pockets and steam cooked. Like bottle gourd kottige, which I have posted earlier, it is not a savoury kind, it is sweetish and bustling with jackfruit flavour which is enhanced even more with the usage of banana leaves wrap.
Jackfruit season is considered as a feast time in our region. Usage starts from tiny raw fruit form to ripened stage. You will find couple of curry recipes in my blog which I have posted earlier as well as Ripe jack fruit Dosa.

Now we will see how to make kottige, in our traditional method.
Ingredients:
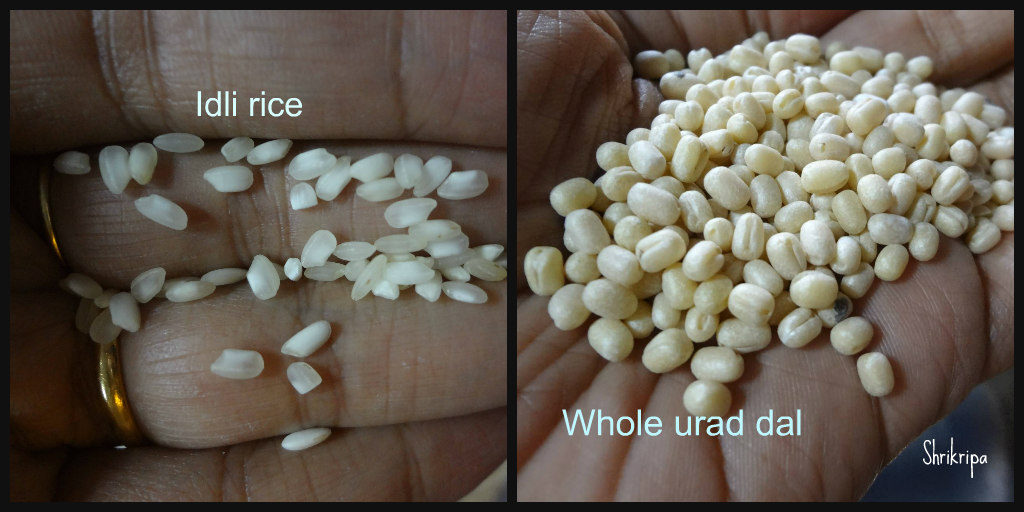
Dosa rice – 2 cups
Jackfruit – 2 cups (cleaned)
Fresh coconut gratings – 1 cup
Grated jaggery – ¼ to ½ cup (according to your taste)
Ghee – 1 table spoon
Salt
Method:
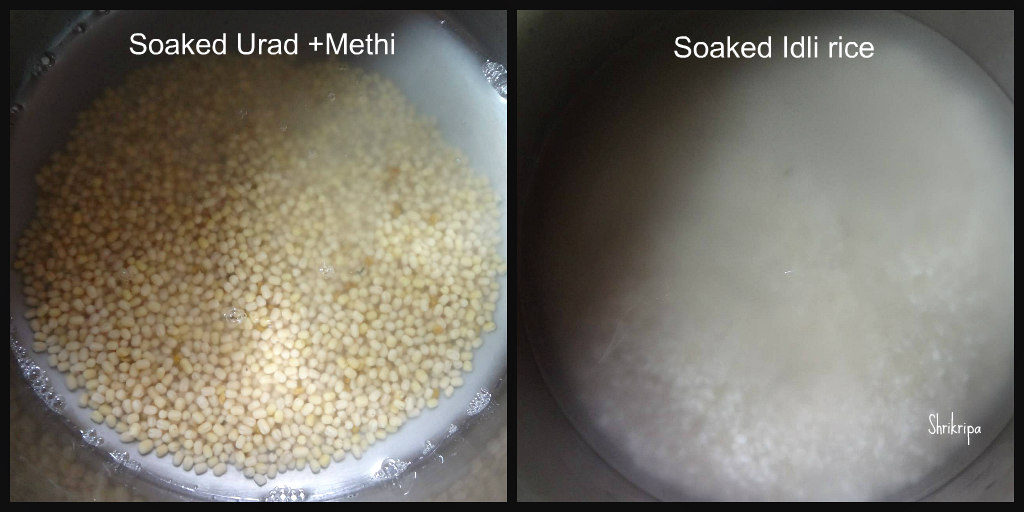
-Wash Dosa rice (white raw rice) and soak for 2 to 3 hours.
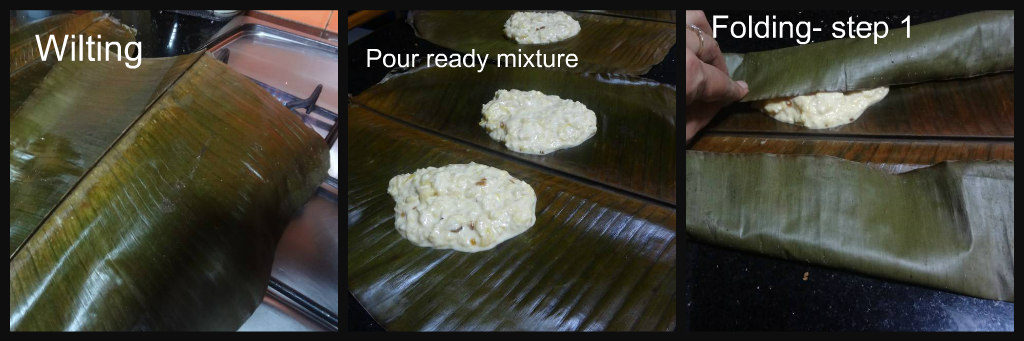
-If you are using banana leaves, wilt the leaves on gas flame, wipe with a wet cloth and keep it ready.
-If you are using idli mould, grease the moulds with little ghee and keep aside.
-Chop jack fruit, separate fruit pods, remove outer thin white fibres as well as inner seed and take only yellow fruit part.
-Mix grated coconut and jaggery as well as ghee and keep aside.
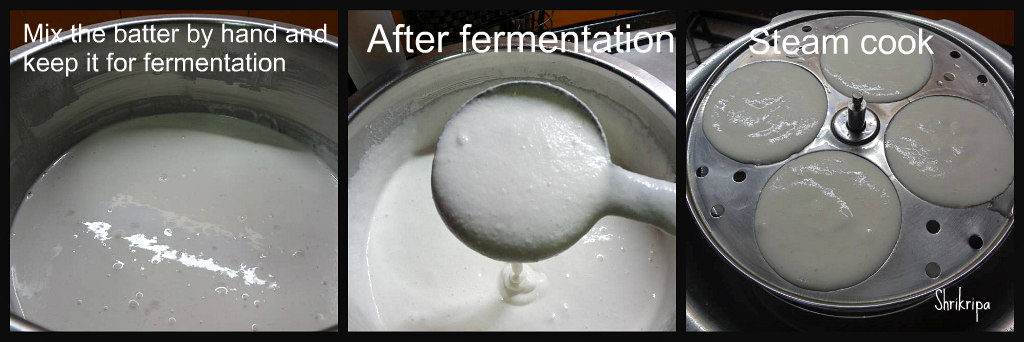
-Grind rice into fine paste by adding very little water and salt.
-Now take jack fruit little by little and whip a little to chop roughly by using same mixer jar in which rice batter is ground.

-Take one wide bowl, mix in ground batter, roughly whipped fruit pulp, coconut-jaggery mixture.
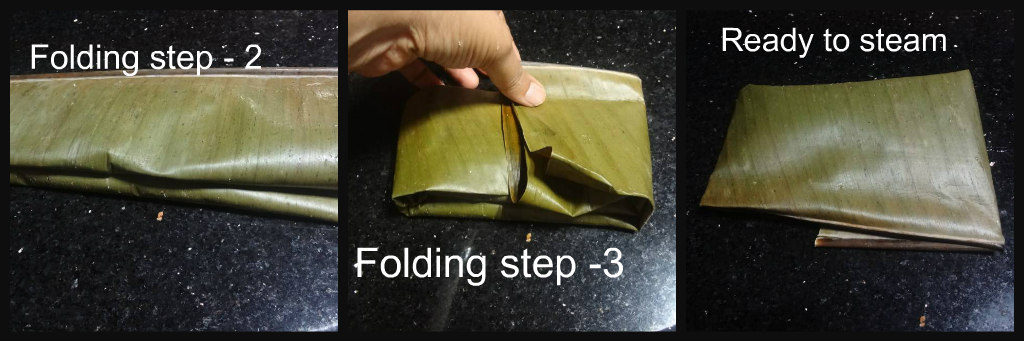
-Mix nicely, spread the wilted banana leaves and pour one spoon and fold it like a sealed pocket. (refer the below pictures)
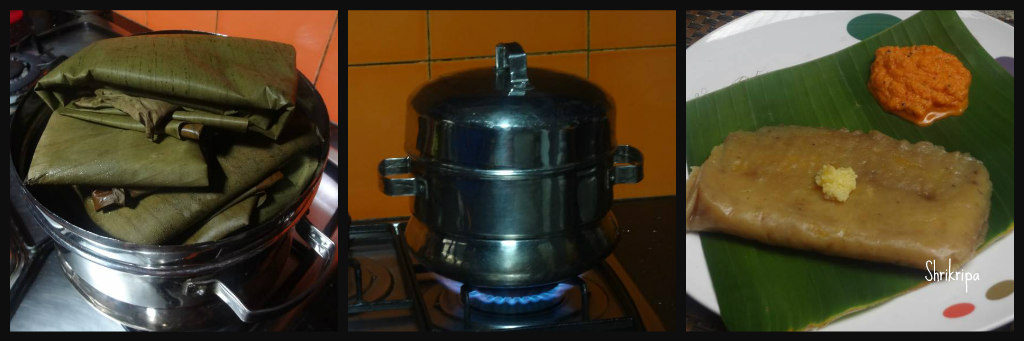
-Assemble all these packets in a water filled idli steamer or Momo steamer and cook this for half an hour to 40 minutes in medium to slow heat.
-If you are using idli mould, pour required amount of batter and steam cook like an idli.
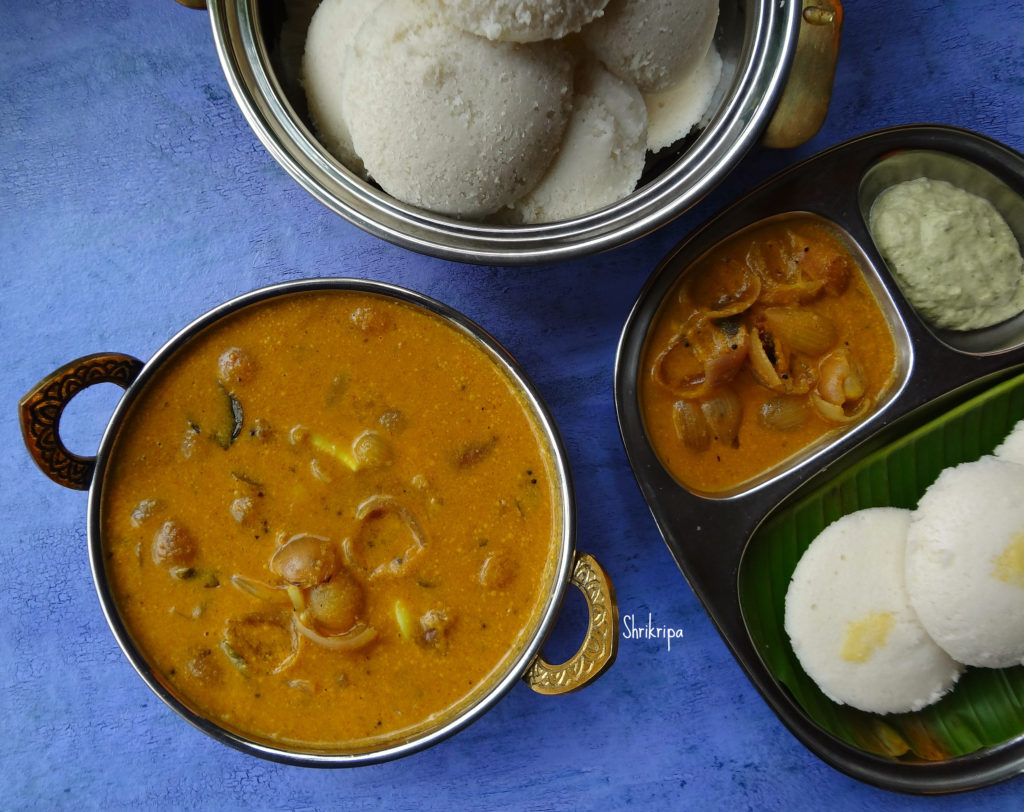
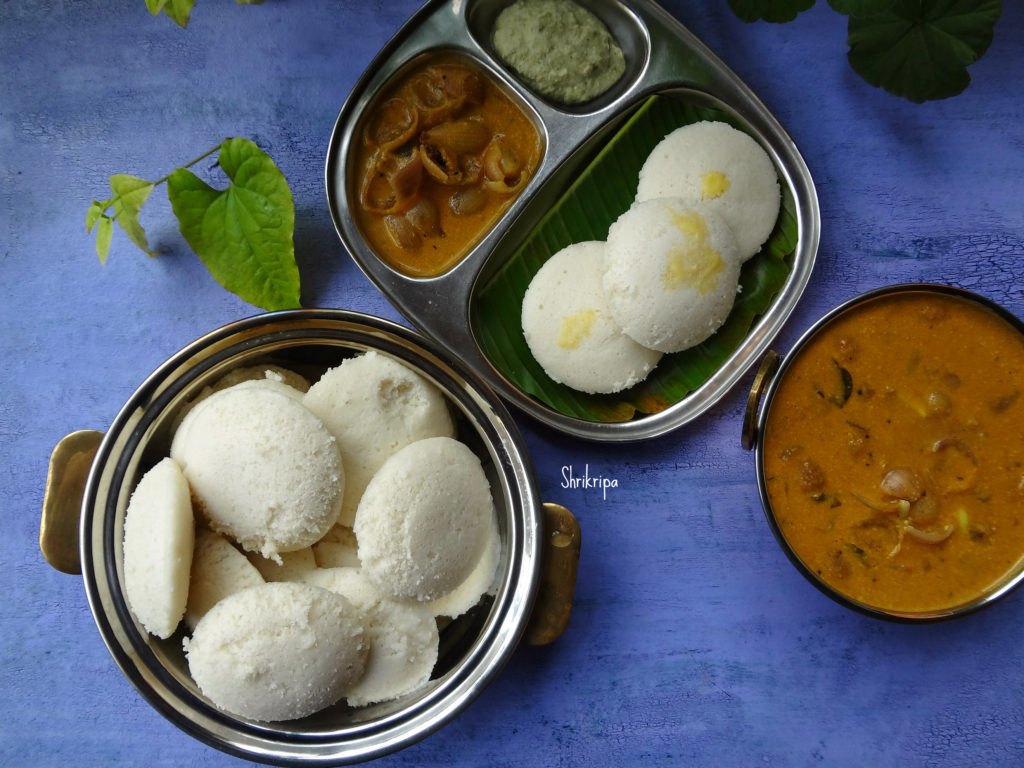
-Relish this jackfruit idli or kottige with ghee or coconut and ginger chutney.
-We usually steam cook this on the previous night and keep it ready for the next day’s breakfast. In this way, It will be easy in the morning as now you just have to prepare chutney and serve.