Avalakki – Genasina upkari/ Seasoned Poha with Sweet potato and chana curry:

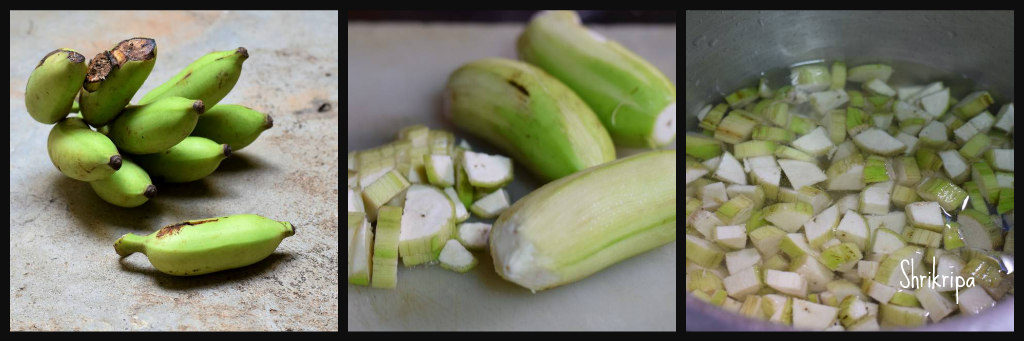
Bajil/ Avalakki is a default name for seasoned paper thin poha either with added chopped onion or plain. It is a speciality of our native, Mangalore .

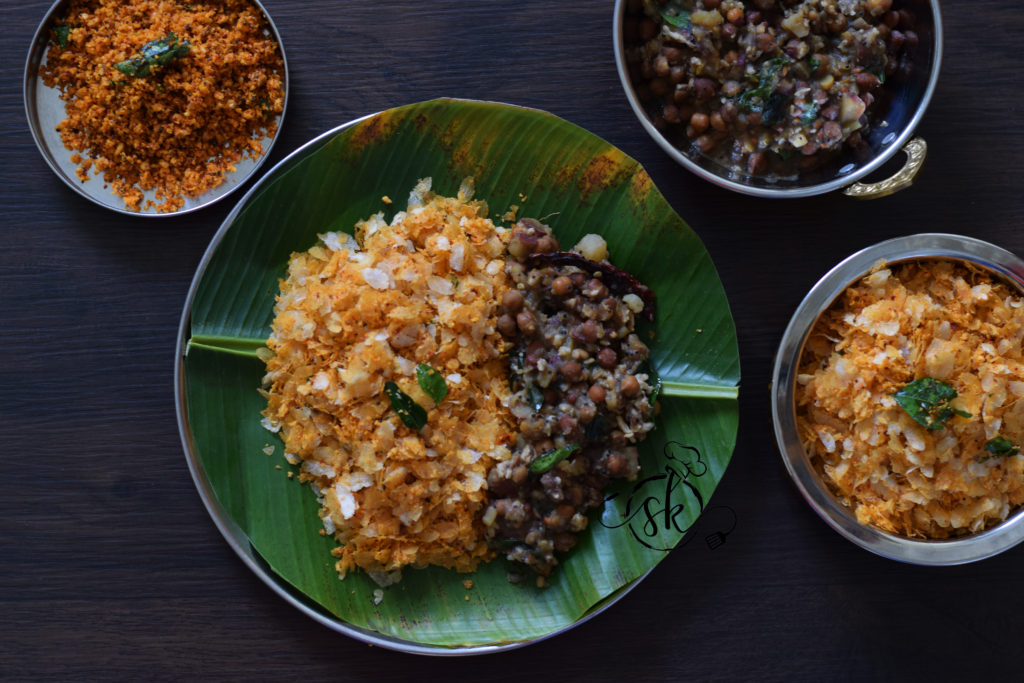
When it is combined with Chana curry, which is known as Kadle- Bajil. It is very nutritious ,protein rich combo breakfast option and truly  filling to our tummy as well. Here I have used my home-grown Sweet potato with soaked black chana or Bengal gram. It is two very  easy dishes combined together to make a pair. It is a no onion dish and appropriate breakfast option for any day either feast / Vrat .

Even though many people would have tasted Avalakki oggarane in any of our temples. This particular dish is almost extinct in today’s world. Hence wanted to share it with you all.

At first, we would see, how to prepare Kadle/Chana curry: Addition of Sweet potato is an optional. 

It is a semi solid ,simple, little sweet as well as spicy seasoned dish.

Ingredients:

Black Chana – ½  cup

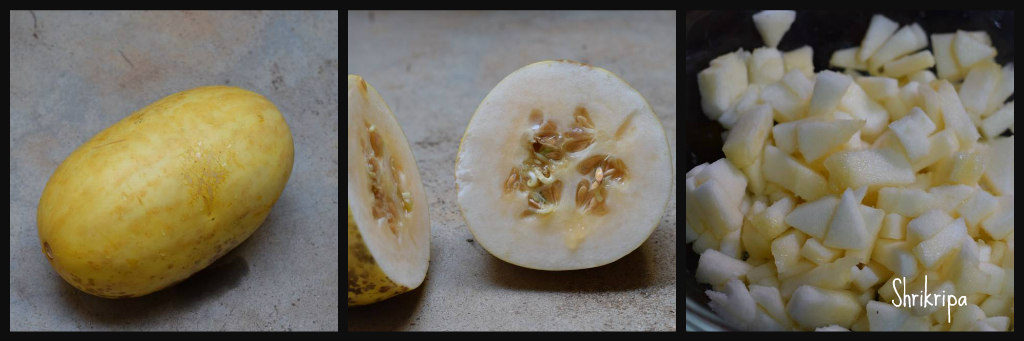
Sweet potato – 1 or 2 (optional) 

Salt

Jaggery (optional)

Red chilli powder – 1 tsp

Coconut oil – 1 tablespoon

Mustard – 1 tsp

Urad dal – 1 tsp

Hing – ¼ tsp

Red chilli – 1 or 2

Curry leaves – 1 spring

Coconut – (grated)

Method:

-Soak Chana , on previous night.

-Cook chana with little water and salt in a cooker. Dice Sweet potato with outer skin intact.

-When Chana is done, add sweet potato pieces and cook that as well.

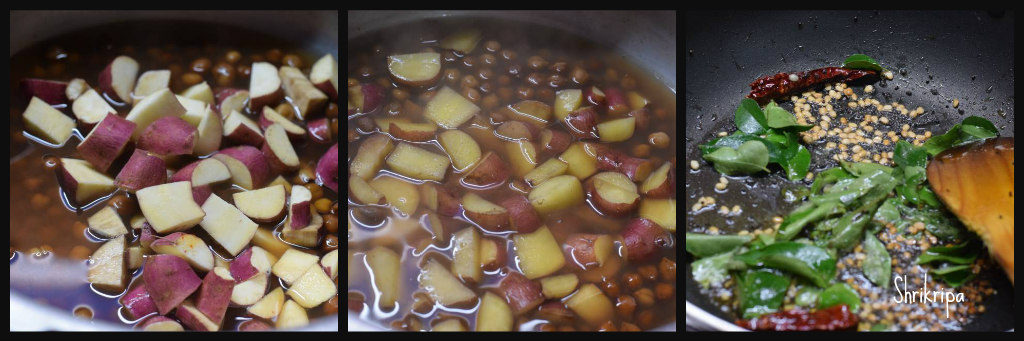
-Prepare seasoning, heat oil, splutter mustard, add urad dal, red chilli, when dal becomes red, add curry leaves.

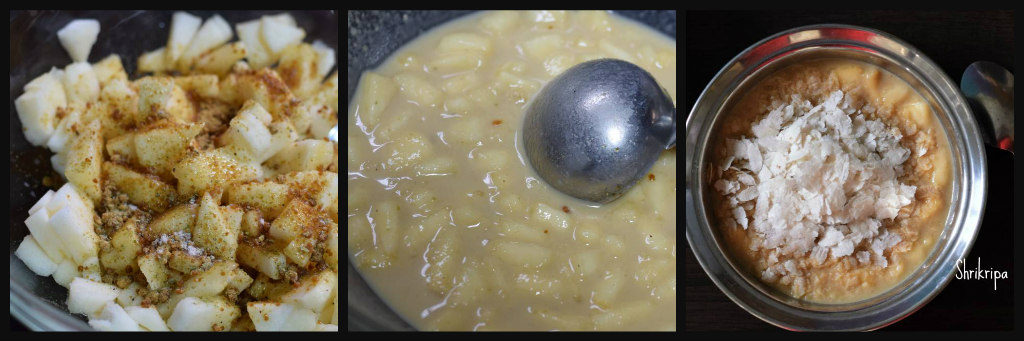
-Now add cooked chana and sweet potato and mash a little, to give a texture.

-Add jaggery, red chilli powder, adjust salt and Boil. when it becomes little thick, add grated fresh coconut, and switch off the gas. Serve with Seasoned Poha/ Avalakki Oggarane.

Now We would how to prepare Seasoned Poha/ Avalakki Oggarane:

Ingredients:

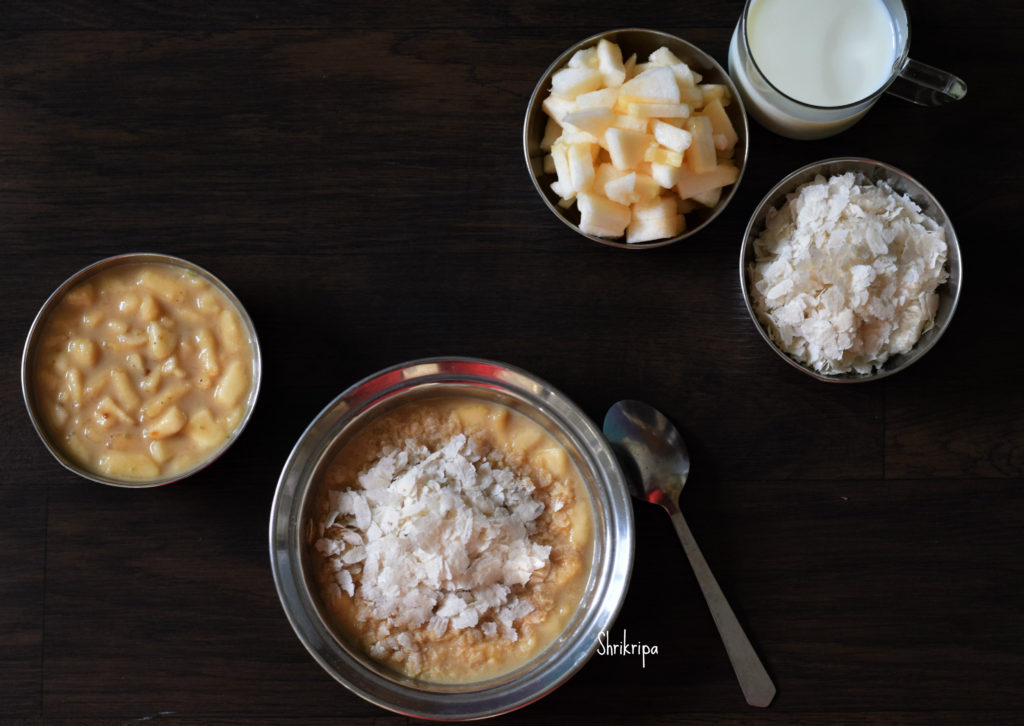
Fresh grated coconut – 1 cup

Salt

Rasam powder OR Roasted coriander, cumin, red chilli, little hing.

Little tamarind

Jaggery – ½ tsp

Paper thin poha – as needed

For seasoning:

Mustard – 1 tsp

Urad dal – ½ tsp

Red chilli -1

Curry leaves – 1 spring

Method:

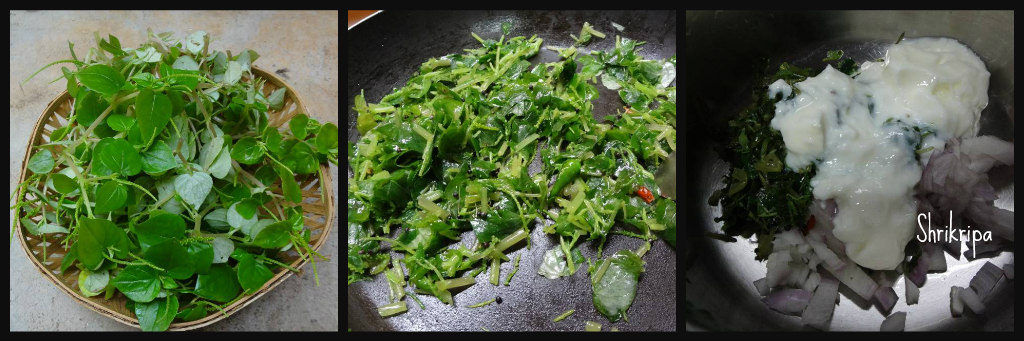
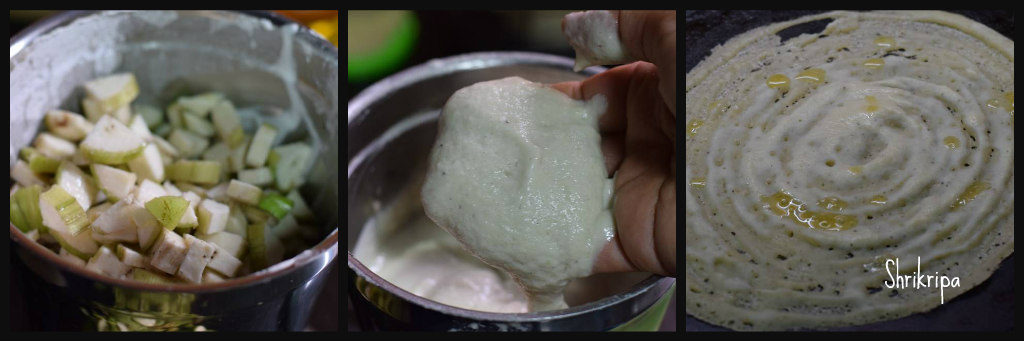
-At first, dry grind coconut, Rasam powder or roasted masala , jaggery, tamarind ,salt.

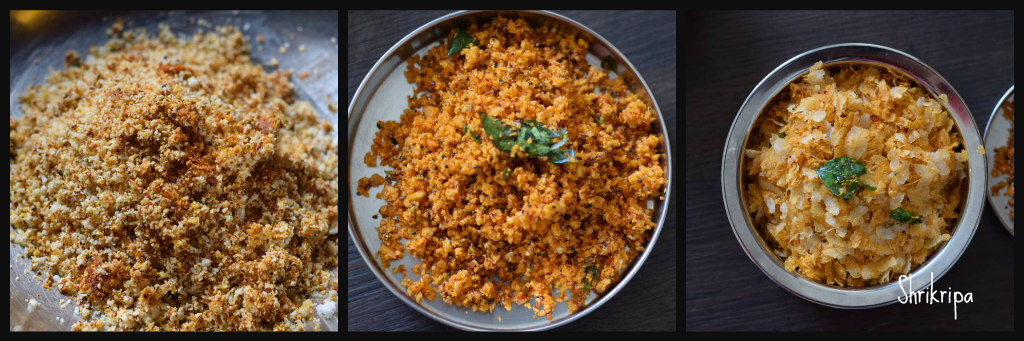
-To this mixture, add seasoning mix nicely by hand.

-Add required amount of poha and mix nicely by using your hand and serve with Chana and Sweet potato curry.

-Relish the Age-old filling breakfast with your near and dear ones.

Apple Halwa

Yesterday, while preparing Apple jam, my Research oriented husband came in and asked me what I was doing, I said – Apple jam , planning to finish the stock which we bought couple of weeks back

He said, “why not halwa?” I was like 🙄🤔

Then, I changed my mind and took my share of  jam when it was done. Proceeded to make Halwa with the remaining quantity, by adding little ghee in-between at a regular interval.

Surprisingly, it turned out super delicious and here I am presenting my end result which was experimental.

Here I have used fruit as a whole /with skin. Normally Apple turns out sour when you cook /boil . To avoid the sour taste, normally I bake it until it is done, then grind into a puree, sieved, and proceed to make jam then halwa with the added mild cinnamon flavour. One can add cardamom as well. Sugar can be replaced with an organic jaggery as well. Even though I have not tried with the jaggery, my friend Aruna has tried with the jaggery and result was just amazing, which was deep brown in colour.

Ingredients:

Golden yellow Apple – 1 kg (Any variety would do)

 Sugar – ¾ kg

Ghee – ½ to ¾ cup

Cinnamon or Cardamom – 1 or 2 pinches

Method:

-Wash Apples, dice ,remove seed part and arrange in a baking dish. For Initial preparation, please refer here

-Bake this in a 170°C pre-heated oven for 15 minutes at first.

-Remove, flip those apple pieces, and continue further 15 minutes.

-After 30 minutes, check the doneness. If it is soft, well cooked ,remove it.

-If it is not done, bake for further 5 or 10 minutes.

-When it is cool, add a little water and churn in a juicer by adding 1 or 2 cups of water.

-Sieve ,discard the roughage ( fibre as well as outer skin remains)

-Put this pulp in a thick bottomed kadai, add sugar,  cook until it turns into little thick and turns into mass.

-Add ghee 2 tablespoons at a time in-between while stirring. If you feel that the Apple puree  needs a little more ghee, add up to ¾ cup, some varieties of Apple need very less ghee and some need more.

-Now we will see, how we decide the quantity of ghee. While stirring if you feel that the mixture is a little dry and the bottom part becomes a little brown, keep adding it. If the ghee starts oozing at the sides, it is an indication to stop the addition of ghee.        


-Now we will see how you know the doneness. It is quite simple, keep on stirring until mixture leaves the sides of the kadai and ghee oozes out from the mixture. You can add cashew pieces at this stage or spread those pieces in a greased plate like me.

-After you are done with this, it is almost ready to shift to the plate. Before shifting I prefer to check, by taking one small peanut sized portion of the mixture and rolling it in-between my thumb and forefinger to make a small ball like structure. If it holds a ball like structure and does not stick to your finger, it is ready.

-Now remove from the flame, shift to a greased plate, and pat this mixture evenly by using a flat, greased (apply some ghee) back of the spoon.       


-Keep this aside for two or three hours to cool. Then cut this into the desired shape and store it in an airtight container.

-You can store this Halwa for a really long time (up to a month or two).


Raw Mango Pickle ( No oil version)

Mango pickle, who does not like it?! It is a perfect accompaniment to any Indian meal. As a south Indian, I need to have one piece of pickle with curd rice to end each meal of mine. 😉

Due to lockdown, I was thinking of not indulging in pickle making. But, around two weeks back, when I happen to see huge Mangoes which are specifically meant for the pickle, I could not resist. Picked up only one, which itself was weighing one kilogram. It is our coastal recipe, which does not need loads of oil nor any added preservative . It has freshly ground masala and if you wish, added seasoning to enhance the taste and  known as Adangai.

Now we would see the procedure-

Ingredients:

1 big mango – weighed 900 grams

Salt – 1 glass tumbler ( 150 ml)

Hing – ½ tsp (solid hing) If it is powder add little more.

For pickle masala:

Fenugreek seeds – 1 tsp

Mustard – 2 tbl spoons

Cumin – 1 ½ tsp

Byadagi red chillies – 20 – 25 (acc to taste)

Black pepper corns – 10

Method:

-Dry roast crystal salt and remove all the moisture. Cool.

-Wash mango, dry it out, chop into small chunks.

-Take one glass bowl or stainless-steel bowl, add roasted and cooled salt, mango pieces, hing. Mix everything, close and keep aside for 12  to 24 hours.

-Next day, dry roast methi until it is brown. Next, mustard until it splutters. Next roast red chillies, by adding 1 tsp of coconut oil   until crisp. Add pepper and roast for 2 minutes.

-Cool all these, make a powder. After that, collect the water, oozed out from the mango. Add into mixer jar and grind further to make a fine paste.

-Add the paste, marinated mango and mix together. Store it in a clean , dry glass bottle.

-If you want the seasoning – you can heat 2 tsp of coconut oil, splutter mustard, add hing and pour it over the ready pickle.

-Rest the pickle for at least ten days to absorb all the masalas , while doing so, in between give a stir by using dry spoon once in two days. It would fasten the marination process and pickle would turn out best by absorbing all the masalas.


Pomegranate Peel Tambli:

Like coconut tree and banana plant , pomegranate is also an extremely useful plant to mankind. Starting from its bark, young leaves , fruits, and its outer peel have many medicinal properties.

In olden days, people never used to buy a fruit from outside. In our villages, people used to eat home grown seasonal fruits , which included wildly grown many berries, guava, chikoo, mango , bell fruits etc. Banana bunch used to be hanged at one corner of the house and it was the only fruit which was available  365 days. Pomegranate was rare, if any person is ill or recuperating after surgery etc  then only, it used to enter our houses. So, lady of the house used to treat that not less than the gold 😉 . She used to make it a point to clean the peel by removing all those white covers, break it into 4 to 6 pieces, carefully sun drying and used to store it near “chulha” / we call it as a “ole katte” ( it is basically a olden day’s cooking platform, which used wood as fuel). Throwing out the peel was not heard of and it had an enormous importance in every family in our region.

According to my co sister, who is an ayurvedic doctor, Ayurveda holds Pomegranate fruit in higher regards because of its antioxidant, pro biotic nature. Due to its anti-bacterial and anti-microbial quality, it helps to bind the stools and helps to control the diarrhoea. She says, Astringent- bitter taste of the peel is the reason behind its anti-diarrhoea quality. Hence, it can be used to cure diarrhoea and not in constipation. Pomegranate peel powder is good for oily skin. If powder is mixed with rose water and applied as a face pack , it reduces acne and brings glow to oily face.

In traditional home remedies When fruit has been used to treat Anaemia , peel has been used to treat dysentery/ diarrhoea (even with blood) . We normally prepare Kashaya by boiling couple of pieces of dried peel in a cup of water, reduced to half and consumed either plain or by adding little jaggery. Otherwise, every now and then, prepare Tambli and consume to maintain our gut health .

Tambli is preferred to total wellbeing of our gut because , it is more palatable than the Kashaya, as well as it consists  curd ,which again is a pro-biotic. Hence, if we include pomegranate peel in our regular diet every now and then, it helps in intestinal detoxifying and cleansing. In return it would helps to improve digestion.

Now we would see how to dry those fruit peels at first: It is quite simple. Remove all the white sheath beneath the fruit kernels, dry under the sun or keep it near the windowsill . When it is crisp ,breaks while folding, that is it. Store it in an airtight jar or zip lock. Use whenever it is needed.

Tambli preparation:

Ingredients:

Dried Pomegranate peel – 2 pieces

Black whole pepper – 6 to 8

Cumin – ½ – ¾ tsp

Fresh grated Coconut – 1 fistful

Curd – 1 to 1 ½  small serving spoon

Salt

Ghee

Method:

-Fry pepper, cumin, broken pieces of the peel until it is  crispy.

-Grind these into fine paste by adding coconut ,salt and sufficient water.

-Add curd, adjust the consistency by adding water.

-If needed season with ghee, cumin and curry leaves and serve with rice or drink as it is.

NOTE:

1) For vegan version, instead of ghee or clarified butter one can use coconut oil .

2)You can use whole black pepper corns or white pepper corns.


Salted jackfruit Vada / Sole vade:

Sole , uppad pachir , uppinalli hakida halasinakai , these are all different names of salted / brined jackfruit. Which is basically a firm fully grown, matured but un-ripened jackfruit which is preserved in salt water. We usually relish this in the rainy season or in the off season by preparing some of our traditional dishes.

Salting the jackfruit, side by side preparing the chips is part of our childhood memories – sort of a preparation for rainy season. Which used to be a family affair and real fun altogether. Now a days, if I need to do something, either ask mom or buy it locally from Mangalore stores . Last weekend got a fistful of brined jack from my sister in law and made this age old / my grand mom’s recipe. Which I used to relish during my childhood. Just before the process of putting the fresh ones, there used to be a process of cleaning and sterilising the porcelain jars or Barani.  Which used to include, the process of emptying last year’s stock as well 😀 . So, all these delicacies used to be a result of such operations 😉 . You can call this as Salted jackfruit Vada or thattai or Nippattu. We hardly need any preparation for this delicacy. Curry leaves is the main flavour over here.

Ingredients:

Salted / brined jack – around 2 fistfuls

Rice flour – around ½ cup

Cumin – 1 to 2 tsp

Chopped green chillies – 2

Chopped curry leaves – around ½ cup

If needed – little salt.

Oil – to deep fry

Method:

-Soak salted jack in a big bowl of water. Wash couple of times to remove excess salt.

-If salt is excess, sometimes it needs little extra soaking time in fresh water.

-Squeeze and as much as possible, drain the water and grind jackfruit pieces in a mixer jar.

-After grinding into smooth paste, add cumin, chopped green chillies, curry leaves, and mix it nicely.

-Now, take required amount of rice flour and make a pliable dough.

-Check for the salt, if needed add and adjust.

-Take one small piece of banana leaf or  butter paper. Pat small Vada.

-Heat oil and deep fry like any other deep-fried savouries. Enjoy with your evening tea or coffee.


Beans Palya:

Fresh French beans are really tasty and loaded with high fibre and nutrients. One of my twin daughters doesn’t like beans in any form and it is very tedious to make her eat this veggie. Whenever I want to cook this veggie, I surely reach out to this fool proof recipe of my mom, which is really simple with very minimal ingredients, at the same time, full of flavours of green chilli and onions. This Subzi tastes good with rice or roti.

Ingredients:

French beans – ½ kg

Onion – 1 or 2 (medium)

Green chillies – 2

Salt – as needed

Jaggery -as needed

Fresh grated coconut – 2 table spoons

Seasoning:

Coconut oil – 1 table spoon

Mustard – 1 tea spoon

Urad dal – 1 tea spoon

Cumin – ½ tea spoon

Curry leaves – 2 springs.

Method:

-Wash, remove fibre from both sides by breaking both the tops of French beans.

-Hold fistful of beans in your left hand and chop uniformly.

-Chop onions and green chilli.

-Take one thick kadai or wok, do seasoning. Heat oil, splutter mustard, add urad dal, cumin.

-When urad dal becomes red, add curry leaves, onion and green chillies and fry for a while until onion becomes transparent and glossy.

-Next add chopped beans, salt, jaggery and toss for two minutes.

-Add one cup of water, close the lid and cook this in a low fire.

-When water evaporates, if beans are yet to cook, add little extra water and cook further.

-When it is done, garnish with fresh coconut and mix this mixture. Cook further for 2 minutes and enjoy this super delicious, simple palya/ Subzi either with hot rice, Rasam or with chapati/Roti.


Peperomia Herb / Neer kaddi Raita :

Pepperomia Pellucida also known as Vietnams Crab claw herb. which is known as Neer kaddi/ Neer panthi in our coastal line. Even though it is known for its medicinal as well as culinary use, we never use this in cooking.

Whenever I see a Peperomia herb in my small kitchen garden, feel nostalgic by thinking about my childhood activity. During that time, we used to play with its watery stem and used to wipe our writing slate with it 😀 It is a common weed, which is shallow rooted, water filled stem and light green transparent leaves with a tiny granule kind of flowers.

Which has a peppery taste with a pleasant aroma. Entire plant is an edible and known for its medicinal properties such as anti-arthritic, diuretic as well as analgesic . It is very popular as a salad herb and here I have used it in a curd-based dish.

Ingredients:

Peperomia herb – one small bunch

Coconut oil – 1 tsp

Mustard – ½ tsp

Urad dal – ½ tsp

Hing – little

Curry leaves

Green chilli – 1

Salt

Curd

Onion – 1 (small)

Coriander leaves

Method:

-Remove root, wash and drain the herb. Chop herb, green chilli.

-Do seasoning- heat oil, splutter mustard, add urad dal and fry. Add hing, curry leaves, green chilli and fry until green chilli wilts.

-Now add chopped herb and toss until it wilts.

-Cool the mixture, add chopped onion, salt, curd , coriander leaves.

-Tastes good as a side dish with hot rice or whole wheat paratha.


Chibud Harshale/ Mash melon Rasayana:

Chibud is a variety of Melon which is oblong and larger in size, normally found in various parts of India. Known by many names like chibbada, Chiber, Mash melon, Cucumis melo.

It belongs to the melon family; outer skin is like coloured cucumber and taste is bland and fleshy. Normally used in a raw uncooked form by making juice, lassi, salad or coconut milk or plain milk laden Rasayana as well as Poha added Rasayana. which is a snack by itself and considered as a Vrat/ fasting Food.

Just few days back, when I was returning from Karkal, found this fruit after a long time and picked up and relished with family by making Poha added Chilled Rasayana in this summer Heat.

If you want to try this recipe, you can use over ripe musk melons or Banana and proceed.

Ingredients:

Chibud melon – 1

Grated jaggery – as required

Coconut milk / plain milk – 1 to 2 cups

Cardamom powder – 1 tsp

Poha – little

Method:

-Chop Chibud melon into small chunks by removing outer skin as well as centre core.

-Mix in jaggery powder, cardamom powder and mix nicely.

-After mixing jaggery, it melts a little. If you are serving it chilled, refrigerate it.

-While serving, mix in coconut milk or plain milk according to your choice.

-Add little poha and serve as a cool snack.

Plantain stem curd curry/ Bale dindina pachadi :

Banana stem or Plantain stem is a rich source of fibre ,potassium and Vitamin B6 which helps to maintain a fluid balance within our body. Banana stem is diuretic which helps to detoxify our body and hence it is used extensively to treat kidney stone naturally.

Banana stem can be consumed in a raw form like Juice, Dosa ,curd based pachadi as well as plain Salad. We can make  Rasam, palya or sambar by cooking.

If you want to see a detailed pictorial guide for “How to chop Banana stem” you can refer this link .

Ingredients:

Plantain stem – 6 – 8 inch

Hing – a generous pinch

Salt

Curd – 1 cup

Green chillies – 2 to 3 ( we normally use Bird eye chillies)

Coconut oil – 1 tsp

Mustard – 1 tsp

Curry leaves – 1 spring

Method:

  • Slice plantain stem into discs, remove thread like fibre while slicing.
  • Chop the roundels into thin slices.

  • After slicing the roundels, stack 5 to 6 roundels one over the other and chop as desired. I usually make square small pieces for this salad.
  • Sprinkle salt, generous amount of hing and mix it thoroughly.
  • If you are using green chillies , chop them. If you are using bird eye chillies, use as it is.

  • Do seasoning, heat oil, splutter mustard, add chillies and curry leaves.
  • Add this seasoning over salad. Crush all the seasoning by using hand. This step would help to release the chilli flavour.
  • Add curd and mix. Serve as a side dish with Rice. It tastes good with Roti’s as well.


Instant Raw Banana Dosa:

Raw banana has been used as a baby food from ages. It contains various essential vitamins, minerals and dietary fibre as well as small amount of protein. It is very good for digestive health and people with diabetes. In our native, raw banana is an integral part of our cooking. It starts from baby food/ banana flour porridge, side dishes, curry as well as instant dosa like this. You might be wondering, how come? Raw banana usage? Indeed, there is a reason behind extensive usage. Our elders are all from agricultural background. They all were into Areca nut farming. In between Areca nut plants, there will be Banana, pepper, Cocoa and many more side crops.

Usually we use small variety banana for this dosa and not a big banana variety. This recipe which I learnt it from one of my Atthey and trust me, it is very tasty. It is quick, instant, vegan, gluten free and what not?

Let us see, how I make it –

Ingredients:

Raw small variety bananas – 9 – 10

Salt

Soaked rice or rice flour – 1 tablespoon.

Method:

-Wash, peel outer fibre or main skin of the banana and chop into bite size.

-Immerse in water and keep aside.

-If you are using soaked rice, make a paste at first, add drained banana pieces, salt and grind into smooth paste by adding sufficient water.

-Batter should not be very thin and watery. It should be like idli batter consistency.

-heat iron griddle. When it is hot, spread thin dosas, cook both the sides by pouring little ghee or oil.

-Serve with chutney or sambar.