Apple Halwa

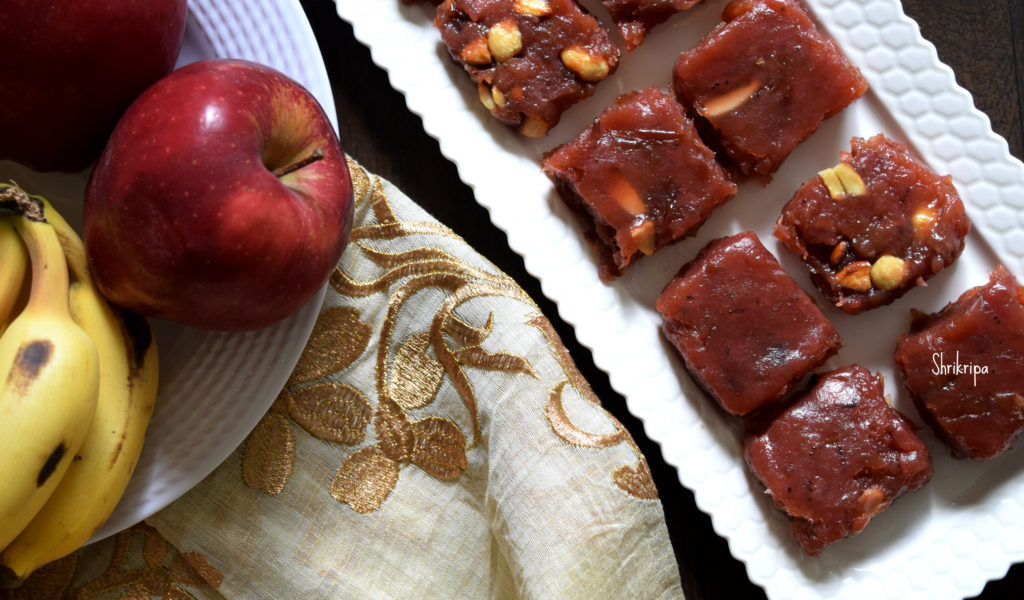
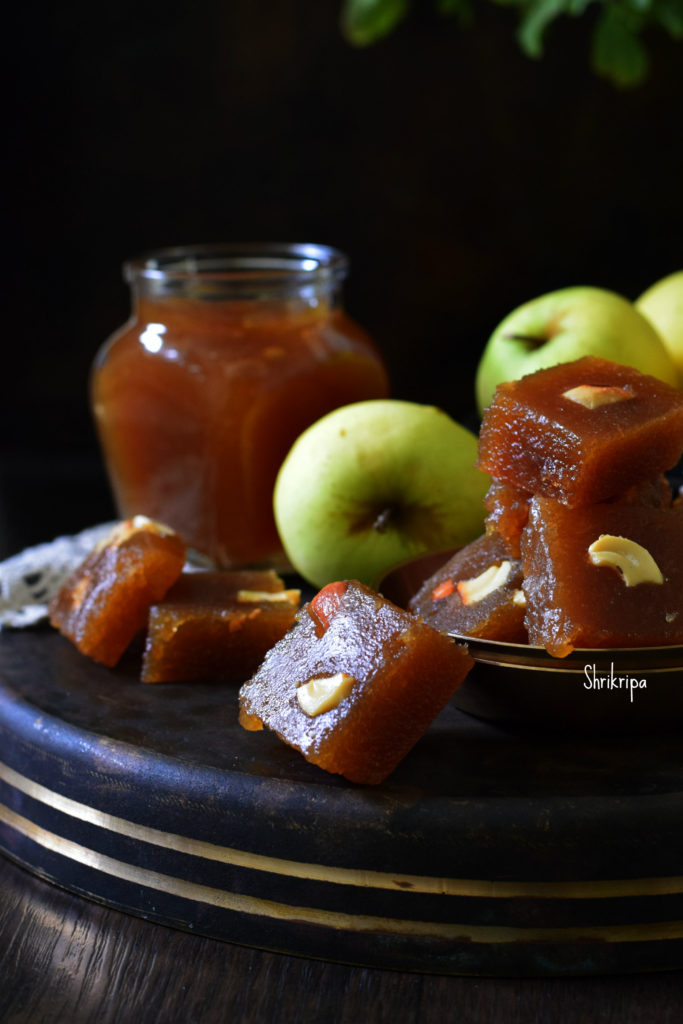
Yesterday, while preparing Apple jam, my Research oriented husband came in and asked me what I was doing, I said – Apple jam , planning to finish the stock which we bought couple of weeks back

He said, “why not halwa?” I was like 🙄🤔

Then, I changed my mind and took my share of  jam when it was done. Proceeded to make Halwa with the remaining quantity, by adding little ghee in-between at a regular interval.

Surprisingly, it turned out super delicious and here I am presenting my end result which was experimental.

Here I have used fruit as a whole /with skin. Normally Apple turns out sour when you cook /boil . To avoid the sour taste, normally I bake it until it is done, then grind into a puree, sieved, and proceed to make jam then halwa with the added mild cinnamon flavour. One can add cardamom as well. Sugar can be replaced with an organic jaggery as well. Even though I have not tried with the jaggery, my friend Aruna has tried with the jaggery and result was just amazing, which was deep brown in colour.
Ingredients:

Golden yellow Apple – 1 kg (Any variety would do)

 Sugar – ¾ kg

Ghee – ½ to ¾ cup

Cinnamon or Cardamom – 1 or 2 pinches

Method:

-Wash Apples, dice ,remove seed part and arrange in a baking dish. For Initial preparation, please refer here

-Bake this in a 170°C pre-heated oven for 15 minutes at first.

-Remove, flip those apple pieces, and continue further 15 minutes.

-After 30 minutes, check the doneness. If it is soft, well cooked ,remove it.

-If it is not done, bake for further 5 or 10 minutes.

-When it is cool, add a little water and churn in a juicer by adding 1 or 2 cups of water.

-Sieve ,discard the roughage ( fibre as well as outer skin remains)

-Put this pulp in a thick bottomed kadai, add sugar,  cook until it turns into little thick and turns into mass.

-Add ghee 2 tablespoons at a time in-between while stirring. If you feel that the Apple puree  needs a little more ghee, add up to ¾ cup, some varieties of Apple need very less ghee and some need more.

-Now we will see, how we decide the quantity of ghee. While stirring if you feel that the mixture is a little dry and the bottom part becomes a little brown, keep adding it. If the ghee starts oozing at the sides, it is an indication to stop the addition of ghee.        


-Now we will see how you know the doneness. It is quite simple, keep on stirring until mixture leaves the sides of the kadai and ghee oozes out from the mixture. You can add cashew pieces at this stage or spread those pieces in a greased plate like me.

-After you are done with this, it is almost ready to shift to the plate. Before shifting I prefer to check, by taking one small peanut sized portion of the mixture and rolling it in-between my thumb and forefinger to make a small ball like structure. If it holds a ball like structure and does not stick to your finger, it is ready.

-Now remove from the flame, shift to a greased plate, and pat this mixture evenly by using a flat, greased (apply some ghee) back of the spoon.       


-Keep this aside for two or three hours to cool. Then cut this into the desired shape and store it in an airtight container.

-You can store this Halwa for a really long time (up to a month or two).


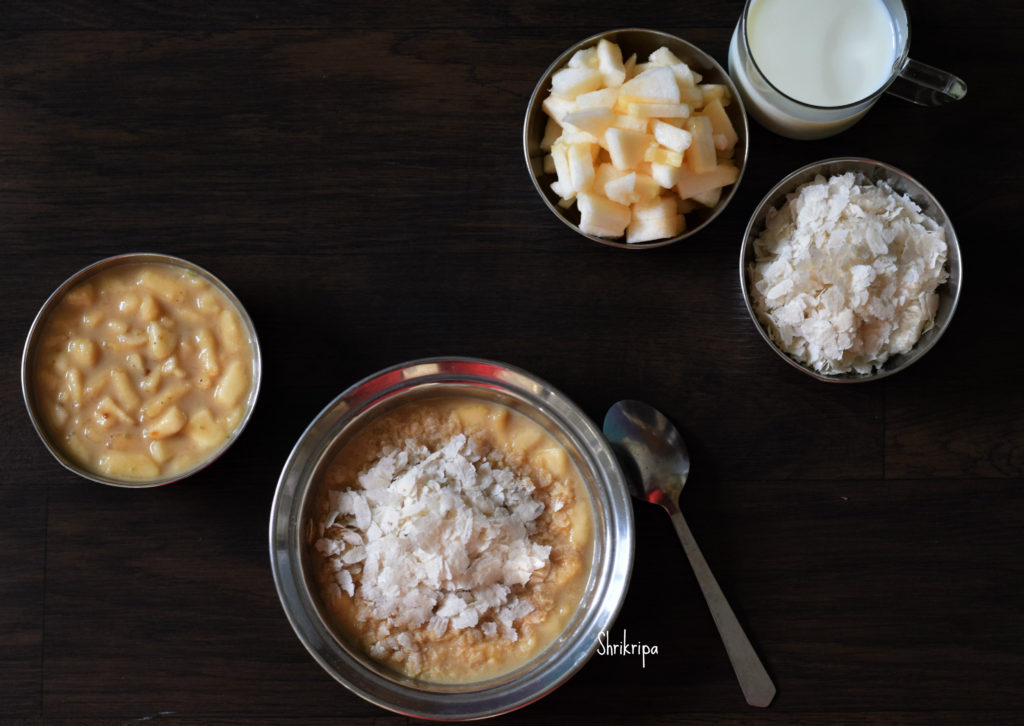
Chibud Harshale/ Mash melon Rasayana:

Chibud is a variety of Melon which is oblong and larger in size, normally found in various parts of India. Known by many names like chibbada, Chiber, Mash melon, Cucumis melo.

It belongs to the melon family; outer skin is like coloured cucumber and taste is bland and fleshy. Normally used in a raw uncooked form by making juice, lassi, salad or coconut milk or plain milk laden Rasayana as well as Poha added Rasayana. which is a snack by itself and considered as a Vrat/ fasting Food.

Just few days back, when I was returning from Karkal, found this fruit after a long time and picked up and relished with family by making Poha added Chilled Rasayana in this summer Heat.

If you want to try this recipe, you can use over ripe musk melons or Banana and proceed.

Ingredients:

Chibud melon – 1

Grated jaggery – as required

Coconut milk / plain milk – 1 to 2 cups

Cardamom powder – 1 tsp

Poha – little

Method:

-Chop Chibud melon into small chunks by removing outer skin as well as centre core.

-Mix in jaggery powder, cardamom powder and mix nicely.

-After mixing jaggery, it melts a little. If you are serving it chilled, refrigerate it.

-While serving, mix in coconut milk or plain milk according to your choice.

-Add little poha and serve as a cool snack.

Seven cup Burfi :

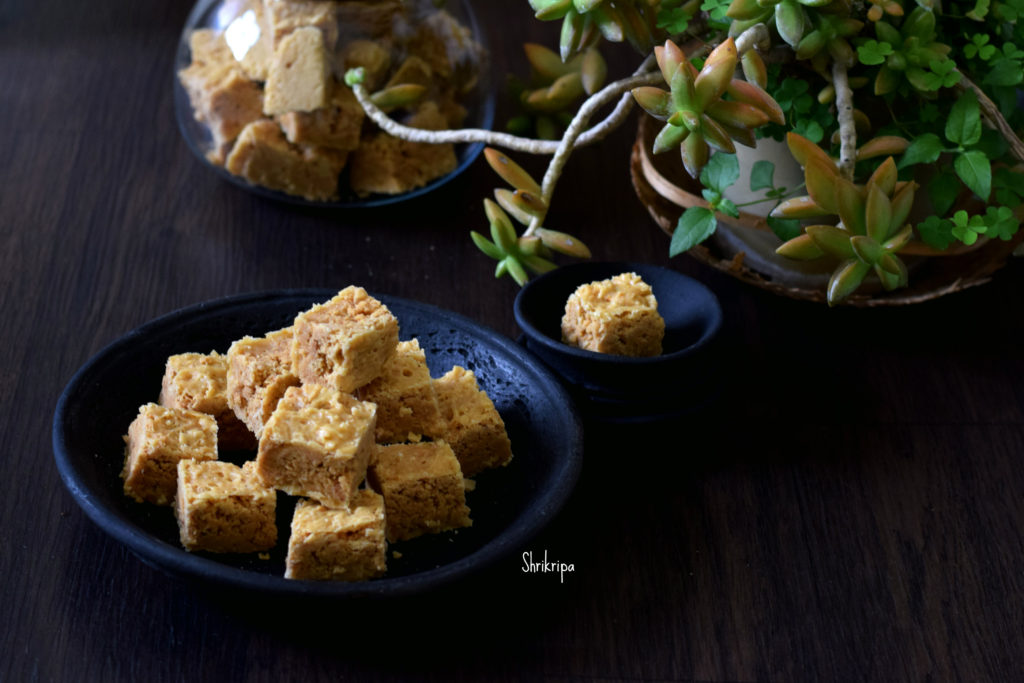
I am celebrating my blog’s 3rd Anniversary, what more reason do we need to celebrate than this? Presenting  one of the easiest sweets which can be prepared in a jiffy and with a straightforward. It is very easy to follow, no hassles of  making sugar syrup and worrying about its consistency. I must say, it is a beginner’s recipe, which is pretty simple, straight forward and hassle free. Mix everything, start making and at the end, be vigilant while achieving the right consistency and follow the notes, whatever I have listed. Even if you messed up a little, no worries, it would turn out delicious. If it is under done, it would be fudgy and if it is overdone, it would be like sweet granules. 😀

Ingredients:

Besan /Bengal gram four – 1 cup

Milk – 1 cup

Ghee – 1 cup

Fresh grated coconut – 1 cup

Sugar – 3 cups ( I normally put 2 ¾ cup)

Method:

-Take one thick bottomed kadai, add everything from Besan to sugar.

-Switch on the gas. Fire should be kept at low flame and you should continue stirring without removing your hand.

-After 10 to 15 minutes you will see the changes and mixture will become bubbly and shiny.

-Now it is the time to add cardamom powder and be vigilant. It will be ready in any moment from now.

-When it is done, mixture will leave the sides, base and sides of the vessel will become light brown or sometimes we see the ghee separating and oozing out from the bubbles. (these are the indications to remove)

-Now pour this mixture to a greased vessel, don’t touch or press after pouring, leave as it is.

-Cool it for about 5 min and mark the lines by using a sharp knife.

-Once it is completely cooled (it takes anywhere between 2 to 3 hours), invert the plate on another plate or by keeping butter paper. It needs some knocking at the base because air bubbles would restrict the easy exit.

–   Remove gently, break all the pieces and store it in an airtight container.

Your 7 cup Burfi is ready to serve!


Apple – Banana Halwa (Microwave Method):

Traditionally halwa making takes a very long process and I have shared the recipe already.  You need a time and patience to attempt. When you make the same halwa with a less effort by using microwave, nothing like it. I do agree with the side effects of using microwave and personally I myself avoid using microwave many times.

This time, I wanted to finish off lot of over ripe bananas as well as tasteless apples and at the same time, I was pressed for time as well. That is how, I opted for this method and here is the procedure. I must tell you that, taste or texture wise there is no change or variation.

Here, I have not removed the outer skin of the apple and it was perfectly blended while cooking.

Ingredients:

Banana – ¾ kg (over ripe one)

Apple – ¾ kg (any variety)

Sugar – 2 cups

Ghee – 4 to 6 tsp

Cardamom – 1 tsp (powdered)

Cashew bits – optional

Method:

-Here I have used my LG Microwave and opted for Gajar halwa under Indian Cooking setting and proceeded. As I write the method, I would mention the timing, so that any one can make this halwa by using any Microwave.

-Chop Banana and apples (with skin) and put it in a glass bowl (microwave safe)

-In LG Microwave, when I opted for microwave IC1 = Gajar halwa and in one cycle it runs for 14 min.

-So, cook for 13 to 14 minutes at first. After first cycle, mix everything properly and keep it for 2nd cycle (again 13 to 14 minutes)

-Remove the bowl, add sugar and mix everything properly and keep it for 3rd cycle (again 13 to 14 Minutes)

-After taking out, add 4 tsp of ghee and mix everything and keep it for 4th cycle (again 13 to 14 minutes)

-Lastly add 2 tsp of ghee and keep it for 5th cycle (again 13 to 14min) and at this time, it appears as non-sticky and turns into a mass like structure.

-Over all it took me 1 hour and 10 minutes but in between my work, I did it whenever I pleased and finishes the work 😀

-Add in roasted cashew bits. If needed, please cook for some more minutes and spread the mixture in a ghee applied plate.

-After it cools down, maybe overnight, cut into pieces and store it in an air tight box. It stays good and shelf life is very long.

Note: You can use only banana as well.


Balehannina Berati Payasa / Payasam by plantain preserve:

First, I want to wish a very very happy “Ugadi” to all my readers.  Ugadi marks the beginning of the new Hindu lunar Calendar, which is based on the change in the moon’s orbit. Ugadi is a Lunar New year for us.

On the eve of this festival I made our traditional payasam and enjoyed with my family.

“Berati” is nothing but preserved fruit pulp, which is cooked until it forms into thick mass and usually made when it is in abundance and stored for future use.

How to preserve jackfruit and Banana / Berati is already shared in my blog. 

In Coastal region we love jack and Banana in many forms. Berati Payasa (preserved Banana or Jack)  is one of them.

Now we will see traditionally how it is made:

Ingredients:

Berati / Banana preserve – 1 bowl

Coconut – 1 (To extract milk)

-OR-

Thin coconut milk – 2cups

Thick coconut milk – ½ cup

Salt – ½ tsp

Cardamom powder – ½ tsp

For Seasoning:

Ghee – 1 tbl sp

Thin Coconut slices – 2 tbl sp

Cashew pieces – 2 tbl sp

OR

Toasted black sesame – 1 table spoon

Fresh coconut slices – 1 to 2 table spoons

Method:

  • Take out Berati from your freezer and keep aside for some time to attain room temperature.

  • Slice coconut by using small knife, chop these sliced pieces into small bits.
  • Toast black sesame and keep aside.
  • Take little ghee and fry coconut bits and keep aside.
  • If you want to, you can add ghee roasted cashew bits as well.
  • Grate coconut (coconut should be fresh), put one cup of water and grind this in a mixer jar and extract milk by sieving this ground mixture. This is thick coconut milk and you should keep this separately. We use this at the end stage of Payasa making.
  • Do this procedure a couple of times to get a thin extract and lastly discard coconut fibre.
  • If you are using readymade coconut milk, please skip this step.
  • Now take one thick bottomed vessel, put Berati, thin coconut milk and dissolve Berati and keep this on a gas stove to boil.
  • Usually while making Berati, we put Sugar, so no need of additional sugar.

  • Lastly add thick extract of coconut milk and give one boil. Don’t boil it much. Add Cardamom powder and mix.       
  • Remove from fire and add fried coconut pieces, toasted black sesame or cashew brittles to prepared Payasa.
  • Serve with lunch thali or as a dessert.

NOTE:

  • Traditionally only toasted sesame and coconut bits are added.
  • Vegans can omit ghee and roast all the items, instead of frying.


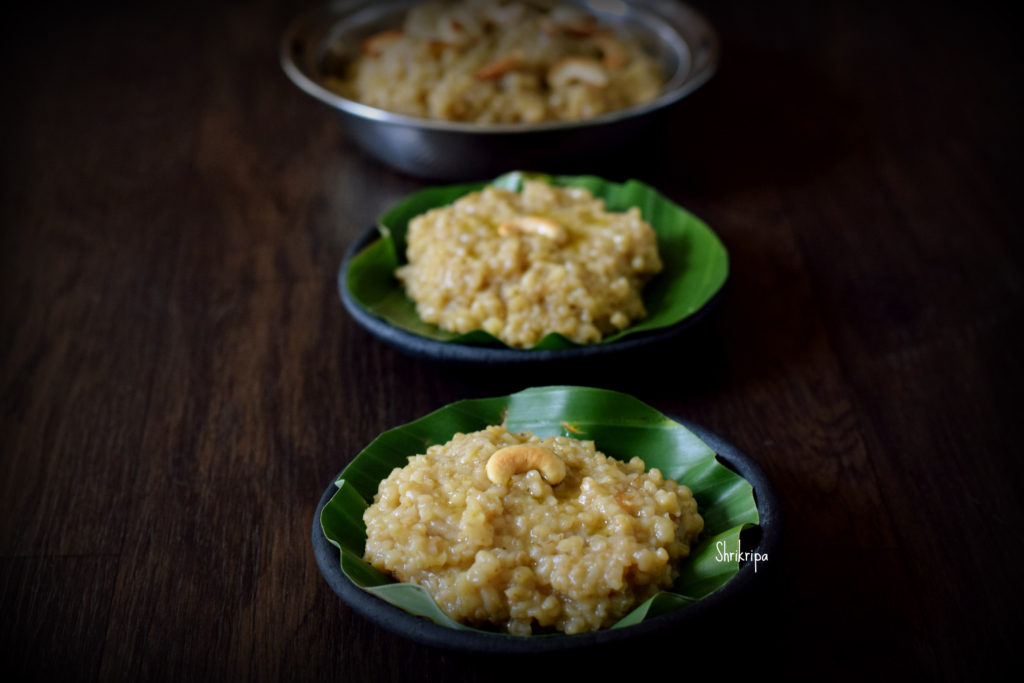
Nolen Gur Payesh / Rice kheer with date palm jaggery:

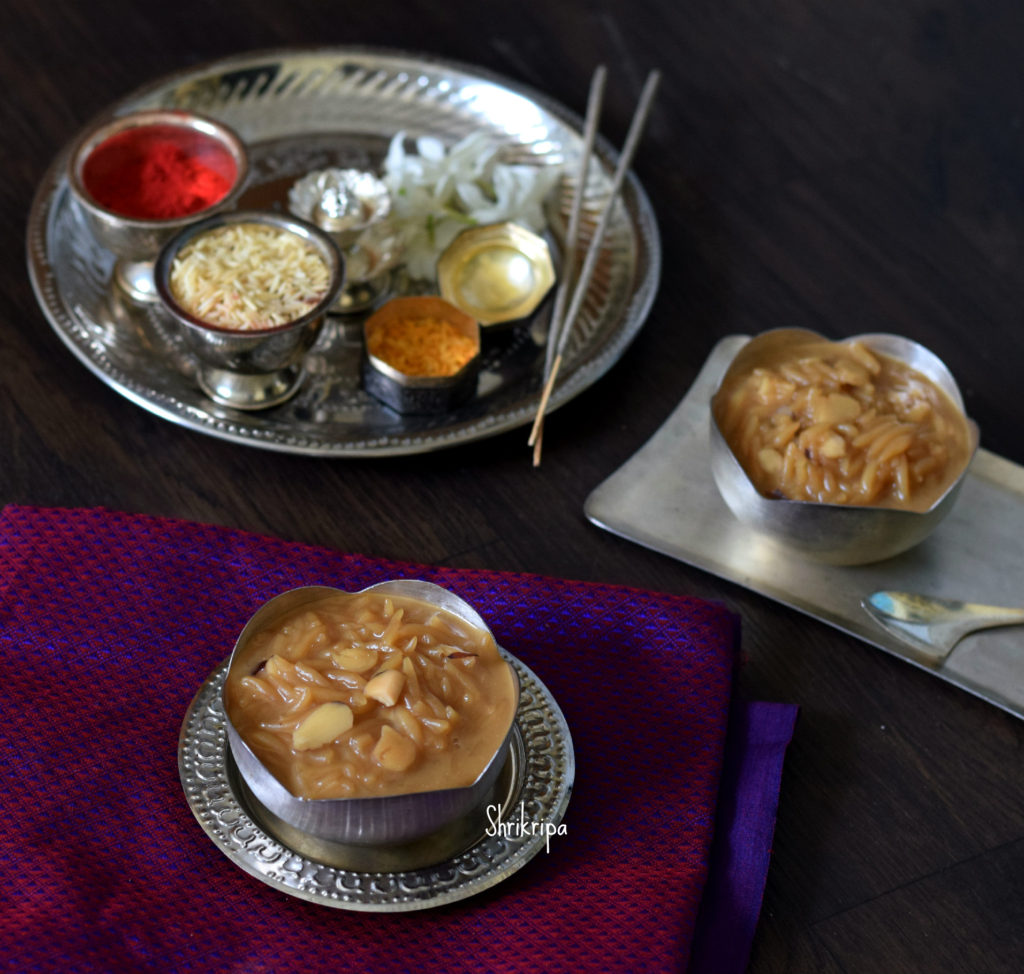
Rice kheer or Paramanna is an integral part of any festivities in many parts of India. Every region has its own method or style. Usage of ingredients would differ according to the region. Such as the addition of plain milk or coconut milk. Usage of Jaggery or sugar. So, in west Bengal, they use date palm jaggery, which is known as Nolen Gur, which is available only during the wintertime; they make a lot of delicacies by using this special jaggery. It ranges from Nolen Gur Payesh, Nolen Gur Rasgulla, Nolen Gur Sandesh are the few.  I wanted to try this out in my cooking and bought it online.

They usually use plain tiny grain rice or dried rice-shaped vermicelli, which is known as Chushi pithe. Chushi pithe is nothing but handmade Rice vermicelli. In Mangalore, we make rice noodles known as Halittu or Paradi and use them in a Payasa/ kheer, and we usually use coconut milk. So, I tried my regional method and proceeded. It tasted divine!! Usage of coconut milk and taste of the palm jaggery was the best decision, and it was very rustic and flavourful in taste.

Ingredients:

Chushi Pithe/handmade rice vermicelli – 200 grams (you can use small grain rice as well)

Almond or Cashew – ½ cup (slivered)

Nolen gur – 300 grams (used Patali gur)

Coconut milk – 200 grams

Cardamom powder – 1 tsp

Ghee – 1 tsp (vegans can skip this)

Method:

-Take one thick bottomed vessel, add ghee and fry almond and rice vermicelli (Chushi pithe) or if you are using plain rice.

-Add around one litre of water and cook until rice cooks perfectly. Whenever it’s needed, add extra water little by little and cook.

-Now, add jaggery of your choice, boil until it smells divine and the aroma spreads. Here, the raw smell of the jaggery should vanish.

-Lastly, add one tetra pack of coconut milk, give one boil. Garnish with cardamom powder and mix.

NOTE:

-If you are using fresh homemade coconut milk, extract three times, preserve thick (1st extract) and add at the end.

-thin coconut milk of 2nd and 3rd extracts can be added while boiling or cooking rice vermicelli.


Baked Carrot Halwa:

Baked halwa is an experiment to attempt halwa in an easy manner.   This halwa is not a grainy textured one, it is very smooth and flavourful.

I was thinking of trying out carrot halwa by baking and felt like using my regular carrot halwa ratio in this as well to maintain nice colour and flavour by using Delhi Red carrot which is available only during the winter months as well as the regular orange one.

In this recipe, at first, I have cooked the carrot, then pureed and baked. The recipe goes like this –

Ingredients:

Red carrot – 1 kg

Regular carrot – ½ kg

Milk – ½ cup

Sugar – 2 to 3 cups (according to your taste)

Cardamom – 1 tsp

Saffron – 8 – 10 strings (optional)

Salt – one pinch (it really helps in balancing the taste)

Ghee – ½ cup

Slivered almonds – (roasted)

Method:

-Wash, slice the carrots. Take one pressure cooker and cook carrot by adding milk and saffron until 2 to 3 whistles.

-When cooked carrot comes to room temperature, churn it into a puree by adding sugar or you can do it like me.

-Now take this puree, mix in sugar, cook until sugar dissolves and add ghee, salt and cardamom. check the sugar and if needed adjust according to your taste.

-Transfer this mixture into a baking dish and bake this in a pre-heated oven at 180 °C for 40 to 60 minutes or until top layer becomes dark and bubbly.

-Remove from the oven and spread the almond slivers at the top and you can proceed to enjoy as it is or with a scoop of ice cream.


Broken wheat Huggi:

Huggi is a very popular, semi solid dessert of North Karnataka and each house has its own method. It is a sort of homely recipe and you would not find in any restaurant. Broken wheat is known as Godhi nucchu in Kannada language. I learnt Some of my favourite North Karnataka recipes from my previous neighbour aunty, who hails from Solapur near Gulbarga. I used to enjoy whatever she used to offer, starting from simple triangle chapati, obbattu, obbattu saru, chapparadavarekai palya, chavlikai palya and khara byale saru to Godhi nucchina Huggi, which she used to offer to God, every Friday evening and used to offer as a prasadam to us.

Aunty used to use hardly 3 ingredients and it used to taste divine. It is no coconut dessert and you can feel the texture of wheat as well as flavour. Preparation is very quick and simple and needs hardly any pre-preparation.

Recipe goes like this-

Ingredients:

Broken wheat – 1 cup

Jaggery – ¾ cup

Salt – ¼ tsp

Ghee – ¼ cup

Cardamom powder – 1 tsp

Cashew pieces – Roasted (Optional)

Method:

-Wash broken wheat twice. Cook with 3 cups of water and a pinch of salt for 2 to 3 whistles.

-Mean time, heat jaggery by adding ½ cup of water. Strain the liquid and remove the impurities.

-Add strained jaggery syrup to cooked wheat and cook further at a very low temperature.

-When raw smell of jaggery vanishes, add ghee and cook further by mixing in between.

-Lastly when mixture becomes like a mass, add cardamom powder, garnish with roasted cashew and serve.

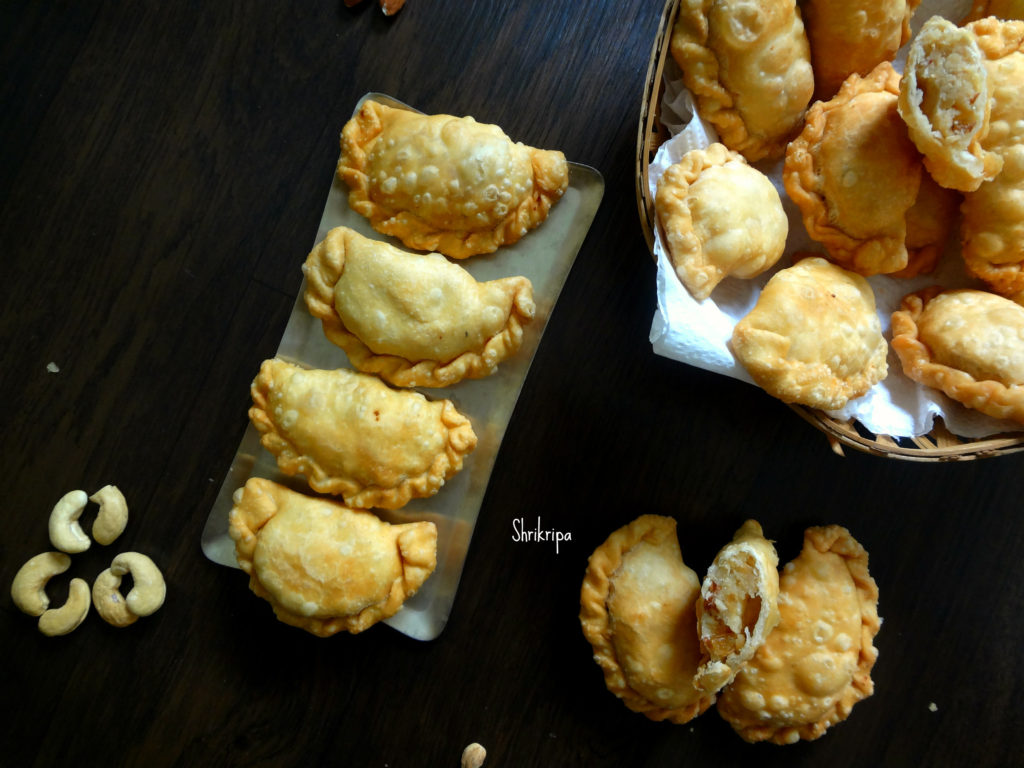
Gujiya / Dry fruits Karanji/ Karjikai:

Deepavali aka Diwali is an important festival of India and is spread between three days. Indian festivals are incomplete without sweets and savouries. In India, each festival has its own significance in celebration as well as its menu. Gujiya is one of them and has a very important role during Diwali.

Gujiya is a deep-fried flour-based delicacy, with different fillings in different regions. It is known by a different name in each region. Outer cover will be the same and inner stuffing varies from Rava – sugar, coconut – jaggery, coconut – sugar, mawa (milk solids) with dry fruits or with only dry fruits are traditionally seen. Nowadays you get to see so many variations from chocolate to cheese filling as well as baked version.

In North India, after frying the Gujiya, they usually dip it in a sugar syrup and outer cover would be wet and shiny. In south India, we normally deep fry and serve as it is and it’s known as Karanji / Karjikai.

I used to follow Chef Sanjeev Kapoor and learnt so many recipes from him and this is one such recipe. Over the years, I tweaked it a little and adjusted it according to our taste and it has one added advantage of longer shelf life, due to the usage of milkmaid instead of khoya.

Ingredients:

For the outer cover / shell:

All-purpose flour – 2 ½ cups

Salt – ¼ tsp

Ghee – 6 table spoons

Water – As needed (normal water)

Oil – for Deep frying

For the stuffing /filling:

Desiccated coconut – 200 grams

Semolina – 2 table spoons

Almonds – ¼ cup

Cashew – ¼ cup

Raisin – ¼ cup

Cardamom – 1 tsp

Condensed milk – 1 tin (400 grams)

Method:

For the outer cover-

-In a bowl, add flour and pour ghee. Rub the ghee and flour by using your hand for 5 to 10 minutes. 

-After a while, flour would resemble like a semi wet crumb.

-Now add required amount of water to make a firm dough.

-Cover the dough with wet cloth and keep aside for half an hour.

Note: Dough approximately holds ½ cup of water.

In the meantime, prepare the stuffing –

-Roast semolina in a low flame, switch off the gas. Mix in all the other ingredients from almond to condensed milk.

-Keep it until mixture is non-sticky while touching. 

-Now comes the actual procedure. You can use three methods.

  1. Use Gujiya mould.

     2.Take a dough, roll into big thin circle, use cookie cutter to make small, uniform circle.

  1. Take little dough, make small poori like discs.

Here I have followed the third method.

This quantity has yielded 28 Gujiya.

-Divide the dough, make roundels, fill the stuffing, close into half.

-Dip your hand in water, now, start folding the edges from one corner and go on folding like a half diamond shape at regular intervals until you reach the other end.

-Keep this ready, stuffed, yet to fry Gujiya to air dry.

-Repeat the procedure and finish off the filling work.

-Heat the oil for deep frying in low temperature.

-When oil is hot, drop one by one Gujiya, fry in a low flame to get good results.

-When everything is fried and cooled, store it in an air tight container.

NOTE:

To get a perfect Gujiya – these points are very important. 

1- Rubbing the ghee + flour. 

2-Frying in a low fire 


Banana Halwa:

Banana or Plantain Halwa was an integral part of my childhood. Usually this Halwa is made by using Kerala big banana which is called as” Nendra variety” but in our home, we used to have lots of overripe bananas from our family farm. To finish off all those overripe small bananas (Kadali variety of Mangalore), amma used to make Halwa or Banana Preserve/ Berati all the time. It was a very regular sweet at our house hold. Today I will share this recipe to all our readers-      

Ingredients:

Over ripe banana – 22

Sugar – 1 bowl

Ghee – ½ to ¾ cup

Cashew nuts – 2 tbl sp.

Method:

-Put all the peeled bananas to mixer grinder and make a smooth paste. Measure this by using any bowl of your choice.

-If this paste is 3 cups in quantity take one cup of sugar in that same measurement cup. So, your ratio of banana paste and sugar will be 3:1.

-Fry cashew bits in a teaspoon of ghee and keep aside. Grease one plate with ghee and keep it ready.

-Take one thick bottomed kadai, put this paste and keep gas flame in a very low flame and cook for a while.

-When it changes its colour to milky white and then to a pale colour and when you smell the banana flavour in the air, add sugar and mix this in at a regular interval.

-Add ghee 2 table spoons at a time in-between while stirring. If you feel that the banana paste needs a little more ghee, add up to ¾ cup, some varieties of bananas need very less ghee and some need more.

-Now we will see, how we decide the quantity of ghee. While stirring if you feel that the mixture is a little dry and the bottom part becomes a little brown, keep adding it.

-If the ghee starts oozing at the sides, it is an indication to stop the addition of ghee.

-Now we will see how you know the doneness. It is very simple, keep on stirring until mixture leaves the sides of the kadai and ghee oozes out from the mixture.

-You can add cashew pieces at this stage or spread those pieces in a greased plate like me. After you are done with this, it is almost ready to shift to the plate.

-Before shifting I prefer to check, by taking one small peanut sized portion of the mixture and rolling it in-between your thumb and forefinger to make a small ball like structure. If it holds a ball like structure and does not stick to your finger, it is ready.

-Now remove from the flame, shift to a greased plate and pat this mixture evenly by using a flat, greased (apply some ghee) back of the spoon.

-Keep this aside for two or three hours to cool. Then cut this into the desired shape and store it in an airtight container.

-You can store this Halwa for a really long time (up to a month or two).