Lemon Rasam:

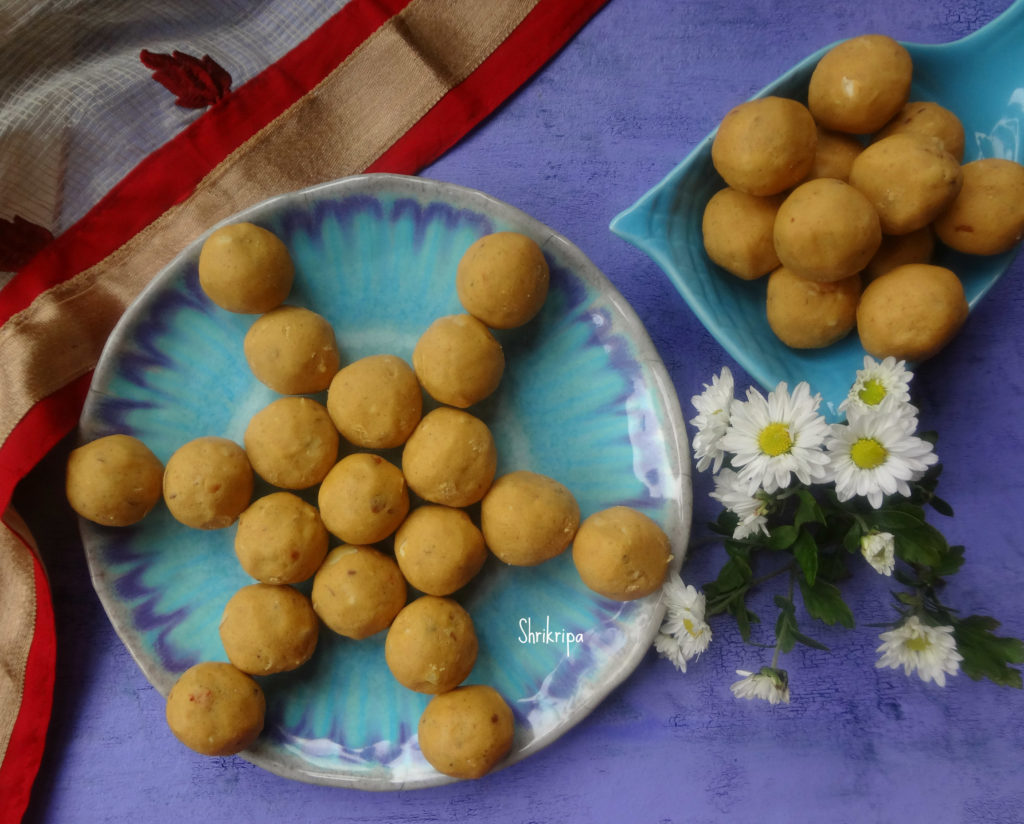
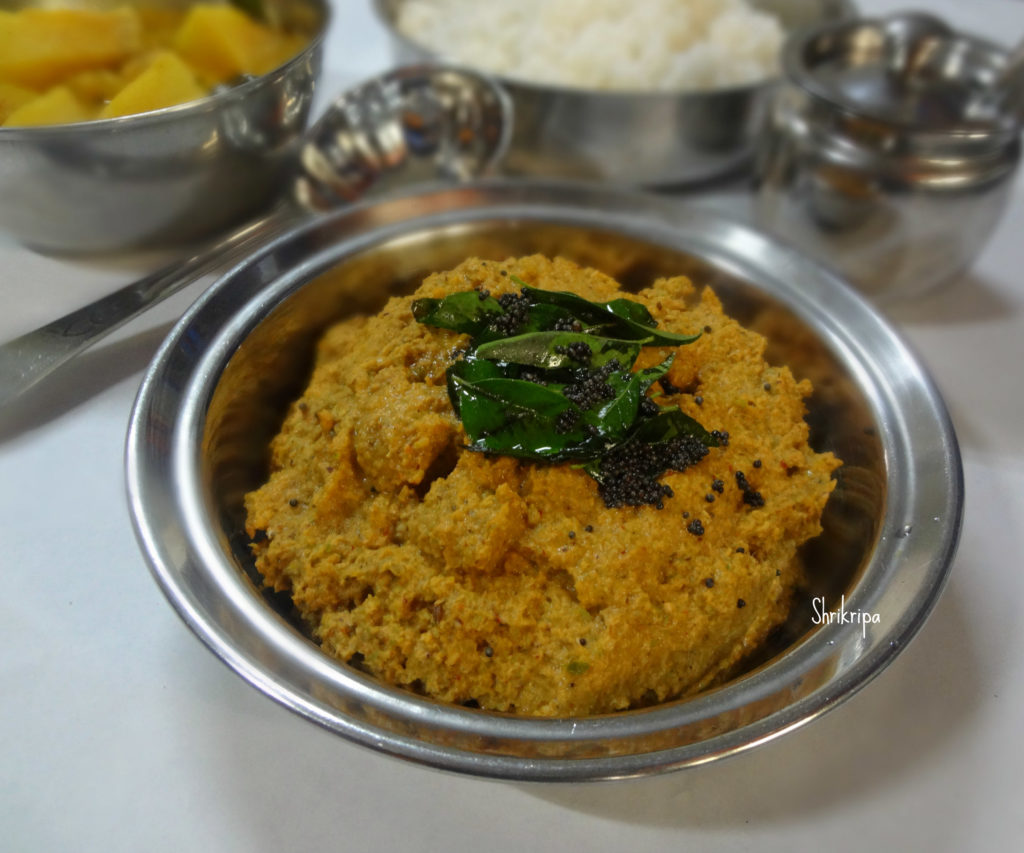
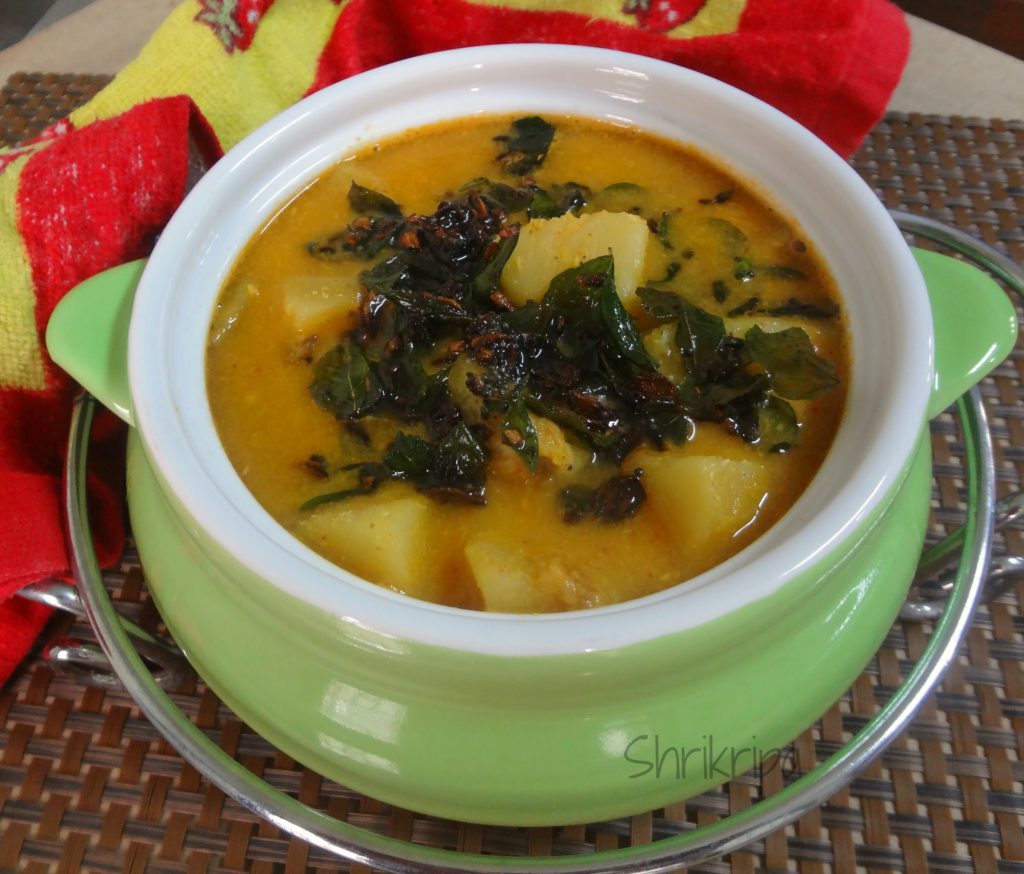
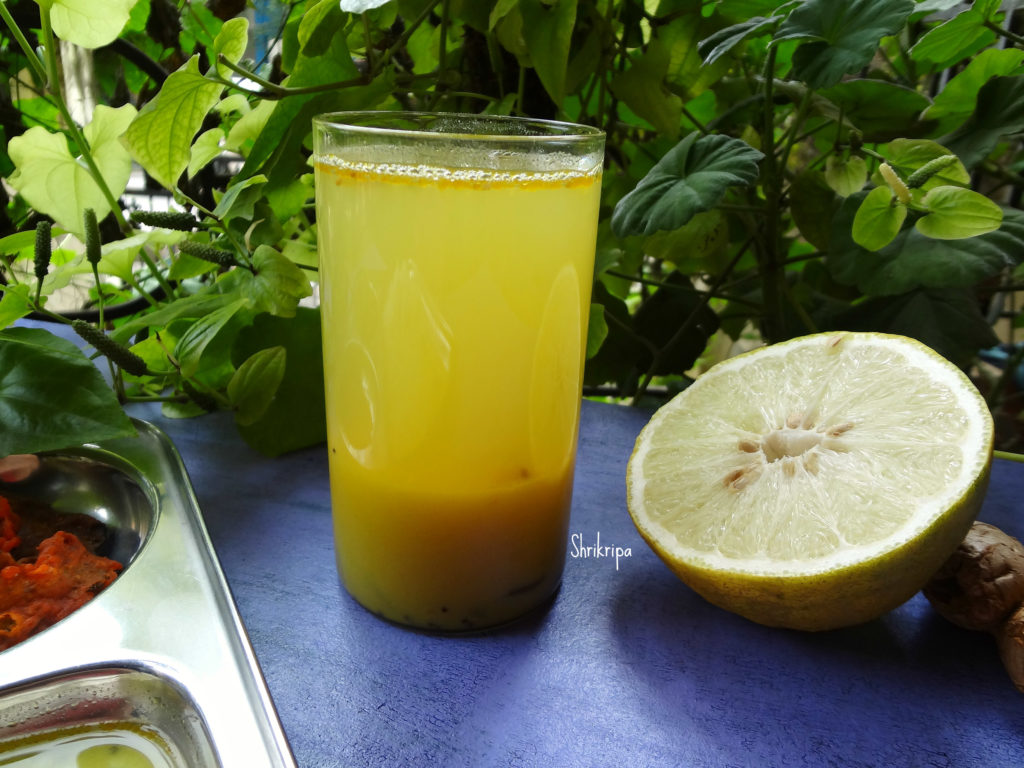
After all these festivities and indulgence, our digestive system surely needs some soothing, healing and a simple lunch. This lemon Rasam surely fits the bill and we can enjoy this Rasam with some hot rice, vegetable Subzi and little pickle. This time I had some huge lemons from my native. which we call as Dudle huli /Citrus medica. This Rasam is very good for treating sour throat as well. You can enjoy this as a soup and heal the throat pain.

pic 1 main

Ingredients-

Toor dal – 1 cup (cooked)

Green chillies – 4

Ginger – ½ inch

Hing – Toor dal size

Salt

Jaggery – 1 table spoon

Curry leaves – 1 spring

Lemon juice – ½ of big lemon or 1 small lemon

Seasoning:

Coconut oil – 1 tsp

Mustard – 1 tea spoon

Cumin – ½ tea spoon

Red chilli – 1

Curry leaves – 1 spring

Method:

-Chop green chillies, cut ginger julienne and keep.

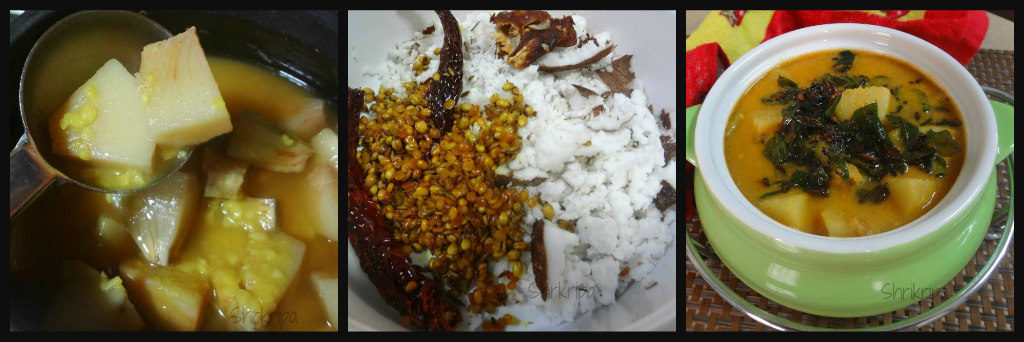
-Take Four to five cups of water in a pot, put ginger, green chillies, curry leaves, salt, jaggery, hing and cook for a while.

Ribbet collage 1

-When ginger and green chillies are cooked, add cooked dal and adjust the consistency, check for salt and jaggery.

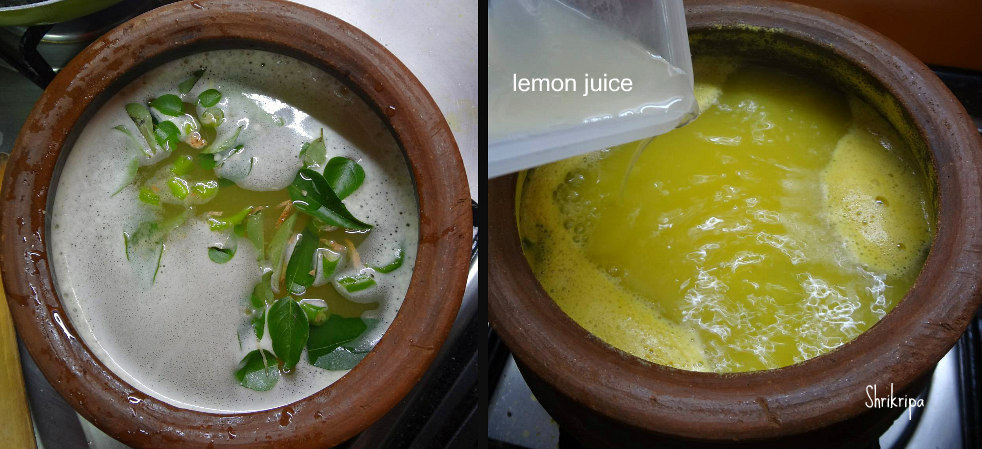
– Boil for 3 to 5 minutes and switch off. Now add lemon juice by removing the seeds if any.

-Do the seasoning by heating oil, add mustard and splutter. Next add cumin, broken red chilli and curry leaves and mix all these and add this over ready boiled Rasam.

pic 2 main

Close the lid and rest this for 10 minutes to absorb all the flavours and then serve.


Besan Laddu:

Besan laddu is one of the most popular Indian sweets prepared during the time of Deepavali or Diwali festival. Besan laddu is pretty simple and contains three main ingredients- Gram flour/ Besan, ghee and sugar. These melt in a mouth laddu’s are my family’s favourite.

pic main 1

Ingredients:

Gram flour/ Besan – 3 cups

Sugar – 2 ¼ cups

Ghee – 1 cup

Dry fruits – 1 cup

Cardamom powder – 1 tea spoon

Method:

-Chop dry fruits. I normally use half cup of cashew bits and half cup of slivered Almond bits.

-Dry roast almond and cashew bits and keep aside.

-Powder sugar and keep aside.

-Take one thick bottomed wok, roast Besan in very low temperature.

-When it is a little hot, start adding ghee little by little during the roasting process.

Ribbet collage 1

-Don’t add or pour all the ghee at one go. It will not help to roast evenly and it will make muddy consistency, and will affect in even roasting.

Ribbet collage 2

– I took exactly 30 minutes over a very small flame.

-When it roasts and after adding all the ghee, mixture becomes very runny and colour will turn into reddish brown.

-At this time your house will filled with roasted flour’s aroma. This is the time you should switch off the gas and leave this mixture to cool completely.

-It will take anywhere between 30 to 40 minutes.

-Now add powdered sugar, cardamom powder and roasted dry fruits and mix everything properly.

Ribbet collage 3

-Now start using your hand and mix it once and start making small roundels by taking very little mixture at a time.

-At this time, you will feel that the laddus are a little wet and glossy and shining.

-Arrange these over a clean, dry platter. Because of the wetness, it tends to loosen its shape.

-After some time (one hour) laddu’s will be dry and glossy texture will vanish.

pic last

-I usually take these shapeless roundels and once again try to give shape and store it in an airtight container.

Ash gourd peel chutney:

In our native, we get very good, thick fleshed Ash gourd and usually outer skin (we call it as Odu) will be hard and usually remove ¼ an inch thick. After this we usually scrape the outer green part and use it in a dry curry/Subzi/palya. But what I get it in Bangalore has very thin outer skin and I usually peel only outer green part and use it in a really tasty chutney and it is very healthy as well as pairs very well with hot rice or Dosa or idly.

chutney

Ingredient:

Ash gourd peel – Whatever is available.

Green chillies – 2 to 3

Salt

Tamarind – ½ tea spoon

Coconut – ¼ cup to ½ cup

Method:

-Chop the peels and cook this with green chillies, tamarind and salt by adding very little water.

-When it is cooked, switch off the gas and cool the mixture.

-Grind with coconut by adding little water.

-Add seasoning as you wish.

-Serve either with rice or Dosa.


Kumbalakai/Ash gourd Dosa:

When I prepared Kashi halwa, so much quantity of the inner fleshy part was left and I was not in the mood to throw it away. I immediately made a couple of breakfast options from the remaining inner fleshy part, which can be made by adding ash gourd pieces as well. I feel that the inner core has more flavour than real ash gourd: D Ash gourd is considered as super food which has many healing properties and it is very good for the human body. It is low in calories hence it is good for weight watchers as well as diabetics.

Ash gourd main 1

This Dosa batter is like normal urad dal Dosa and one can prepare paper thin roasted Dosa or thick set Dosa as you wish.

Ingredients:

Dosa rice / White normal rice – 3 cups

Urad dal – ¼ cup

Ash gourd inner soft part – 3 cups (you can use ash gourd pieces as well)

Salt

Method:

-Wash Ash gourd, peel outer skin and remove inner core with seeded part. (Core part can be used to make Dosa batter)

Ribbet collage 1

-Remove seeds and take white part and keep it ready.

-Wash rice and dal together. Soak for 2 hours.

Ribbet collage 2

-Grind soaked rice and dal with ash gourd core part or pieces by adding sufficient salt.

-Batter should be smooth and consistency is like normal Dosa batter.

-Ferment this ground batter for 8 hours or overnight.

-Next day prepare Dosa as you wish.

Ribbet collage 3

-If you like crisp roasted one, spread as thin as possible on heated iron griddle.

-If you wish soft, porous kind, spread like a set Dosa and enjoy with coconut chutney.


Ash gourd Sweet Dosa:

Ash gourd or winter melon or white pumpkin has so many health benefits and it is literally the most ignored veggie of all. In our native we prepare so many varieties of dishes from this white coloured veggie. This Dosa is prepared by using the inner core of the vegetable by removing its seeds. You can make it sweet or plain, that is your choice. I like the sweeter version. It is very soft and melts in your mouth. Today we will see how it’s made.

ribbet 3_Fotor

Ingredients:

Dosa rice – 3 cups

Poha – 1cup

Fenugreek seeds – 1 tsp

Ash gourd inner soft part – 1 cup (you can use white part as well)

Coconut gratings – ½ cup

Turmeric powder – ½ tsp

Salt and jaggery- to taste

If you want sweeter versions add jaggery or else you can omit.

Eno fruit salt – ½ tsp

Method:

-Wash Ash gourd, peel outer skin and remove inner core with seeded part. (Core part can be used to make Dosa batter)

Ribbet collage 1

-Remove seeds and take white part and keep it ready.

-Wash, soak rice, fenugreek seeds with sufficient water by putting beaten rice as well.

Ribbet collage 2

-After 3 to 4 hours of soaking, grind this by putting Ash gourd, jaggery, salt, turmeric, coconut into smooth batter. Check for sweetness or salt.

– Keep this batter for fermentation. In Bangalore weather, I usually grind any batter around afternoon, so that the next morning it will be perfect.

-The next morning add Eno fruit salt, mix nicely and keep aside for 10 minutes.

– Then you can start making Dosa on heated iron griddle. Take one serving spoon of batter and pour, don’t spread. Keep gas flame in simmer, spread little ghee, close the lid and cook. Don’t flip the Dosa. Only one side cooking is needed for this. Here I have used half serving spoon of batter for each small roundel. Personally, I like to serve this as small cute roundels.

-This Dosa tastes good with honey or onion and coconut chutney with red chillies.

Kashi Halwa – Ash gourd Halwa:

Ash gourd halwa is very popular in Coastal belt of South Canara region. It has many names like Kushmanda halwa, Dumroot,Kumbalakai halwa or Kashi halwa. All names are one and the same. Basically, grated Ash gourd is cooked until its water evaporates, further cooked with sugar and some ghee and flavoured with cardamom. Which is a very laborious job, but once you taste it, you will never regret making it.

halwa main

We will see how to prepare this tasty dessert –

Grated Ash gourd – 3 cups (tightly packed)

Sugar – 1 ½ cup

Ghee – ½ to ¾ cup

Salt – a pinch

Cardamom powder – 1 tea spoon

Roasted Cashew nut pieces – ½ cup (as needed)

Method:

-Wash Ash gourd, peel outer skin and remove inner core with seeded part. (Core part can be used to make Sweet Dosa or Plain Dosa batter)

Ribbet collage 1

-Grate ash gourd and collect gratings and water which is oozing out while grating.

-Put all this in a thick wok and keep it in a fire. Cook until water dries up.

Ribbet collage 2

-When water dries up, add salt, enough sugar, and cook. Once again you will see lots of liquid.

-Don’t worry, mix in-between and wait until it is dries up. Now it is time to start adding ghee at intervals.

Ribbet collage 3

– Now onwards it needs continuous stirring and in-between add 2 table spoons of ghee at a time.

-Keep on stirring until mixture leaves the sides and becomes like a mass.

– When it is done, you will notice three things. When you flip the mixture from the bottom, you will notice little whitish parts (like roasted), when you drop the mixture it will not stick to the spoon and drop like a mass and ghee oozing out at the edges.

Ribbet collage 4

-This is when it is perfectly done and time to add Roasted cashew nut pieces, cardamom powder mix thoroughly and switch off the gas .

Ribbet collage 5

Now leave this ready Halwa to cool or Serve Hot.

-When it attains a room temperature, store this in an air tight container.


Avalakkki/Poha Chiwda:

Chiwda or Chivda is an integral part of Diwali festival. It is nothing but savoury rice flakes or Poha. This is not the usual deep fried one. It is a melt in the mouth kind, is very low in calories and is a light snack. My mom used to make this with Nylon Poha or super thin Poha.

Chiwda main

This is how my mom used to make it-

Ingredients:

Nylon Poha /Paper thin poha – 500 Grams

Tamarind powder or Amchur powder – 2 tsp.

Salt – to taste

Sugar powder – to sprinkle.

Seasoning:

Oil – 4 tbl sp

Peanuts – 4 tbl sp

Mustard- 2 tbl sp

Cumin- 1 tbl sp

Hing – 1 tsp

Curry leaves – 7 -8 springs

White sesame seeds – 2 tbl sps

Turmeric powder – 2 tsp

Green chillies – 3 -4 Chopped

Dry Coconut bits –  3 tbl sp

Coriander leaves – 3 tbl sp

Method:

-In the morning keep beaten rice /Poha under the sun by spreading on a thin clean cloth.

chiwda 1

-If you want you can cover this Poha by using another thin cloth to avoid dust accumulation while drying.

-Keep this for two to three hours or until it becomes crunchy.

– When it is ready, remove from outside and keeps everything ready for seasoning.

chiwda 2

– Chop green chillies, curry leaves, coriander leaves.

– Slice coconut and make bite size pieces.

-Make sugar powder and keep aside.

-Now take one big kadai, put oil. When it is hot add peanuts.

chiwda 3

-When it is half done, add mustard. After it splutters go on adding Cumin, hing, curry leaves and green chillies one by one.

-When curry leaves become crisp add coconut bits and fry a little.

-Lastly add chopped coriander leaves and fry nicely until coconut bits becomes brown.

-Now add all the powders- turmeric, salt, tamarind and sugar.

-Switch off the gas, add sun dried Poha and mix thoroughly until it holds all the masalas.

chiwda 4

– Don’t put lot of pressure while mixing, if you do so, crunchy Poha will break and will not hold the shape.

-After mixing, cool and store this in an airtight container. This stays good for one month or more.

Enjoy this with evening tea.

NOTE: If you don’t have access to sunlight, you can roast this in kadai after doing seasoning. Keep it for some time in a low fire and make Poha crispy or use microwave for roasting before seasoning.

Shankarpali/Diamond biscuits:

Shankarpali is a traditional Maharashtrian, deep-fried snack. It was introduced to us by our neighbour aunty. It is a very light, flaky, melt-in-the-mouth, a small, irresistible cookie that is deep-fried and not baked. It has a good shelf life, and one can enjoy it even after Diwali.

Traditionally, Shankarpali is made by using All-purpose flour. Here, I have used Whole wheat flour and oat flour and did not feel any change other than the colour of the final product.

If you want to use All-purpose flour, follow this recipe, replace the flour, and proceed.

Ingredients:

Milk – 1 cup

Ghee – ½  cup

Sugar – ¾ cup ( I have used Brown sugar)

Salt – 1 tsp

Cooking Soda – ¼ tsp

Flour – 3 ½ to 4 cups (as required) ( All-purpose flour OR Whole Wheat and Oat Flour)

Oil – to deep fry.

Method:

-Take one bowl or food processor, beat milk, ghee and sugar until frothy.

-In another bowl, take 2 cups of whole wheat flour and ½ cup of oats flour, salt, cooking soda and dry mix everything.

-Add the mixed flour to the liquid ( beaten milk and sugar), add some more whole wheat flour and make a soft, pliable dough by adding whole wheat flour little by little.         

– Cover this bowl and keep it aside for 15 minutes. Meanwhile, Keep the oil on a low flame to deep frying.

-Take a small portion of the dough, roll it into a thick ¼ inch circle, like a Roti. Remove the outer curved portion and make a square. ( it is optional to get only square pieces)

-Take a pizza cutter or any other zigzag cutter and cut this flattened disc. Now deep fry it on a low flame.

-When it becomes light brown, take it out and spread it on a tissue paper laid plate.

-When it is cool, store this in an airtight container.

NOTE: Keep the gas flame to a simmer and maintain the temperature of the oil. If oil is overheated, the shankarpali would turn into deep brown/ half-done and charred.


Breadfruit Peel Chutney:

Yes!!! You heard it right. In our household we never throw out nutritionally filled outer peel of the veggie or the seeds. I normally make it a point to use as frequently as possible in one form or the other. Normally vegetable stock is an easy option. If only one variety is available, chutney or relish is an alternative tasty option too.

Don’t throw away organically grown or home-grown veggie skins. These are a real treasure of flavour and vitamins. Normally breadfruit is grown without any pesticide. 

This chutney can be relished with hot plain rice with ghee or with any flat breads. 

chutney main

Ingredients: 

Breadfruit peel – From one fruit

Coconut – ½ cup

Urad dal – 1 tea spoon

Cumin – ½ tea spoon

Dried red chilli – 2

Green chilli – 1 or 2

Garlic – 3 to 4 cloves

Tamarind – ½ tea spoon

Coconut oil – 1 table spoon

Salt

Seasoning:

Coconut oil – 1 tea spoon

Mustard – ½ tea spoon

Curry leaves – 1 spring

Method:

-Wash bread fruit peel before peeling. Once again wash and remove white latex, which oozed out while peeling.

-Take one small kadai, pour oil, when it is hot add urad dal fry until it is light brown.

Ribbet collage 1

-Next add cumin, red chilli, and fry until chilli puffs and becomes crisp.

– Now add peels, garlic, green chilli and fry until outer peel changes its colour and wilts a little.

-Next you can add coconut, tamarind and salt, switch off the gas. Toss for one minute and cool this mixture.

-Grind this cooled mixture in a mixer grinder with enough water.

– Do seasoning by heating oil, splutter mustard and add curry leaves and pour it over the chutney.


Breadfruit/Deevi halasu sambar:

Breadfruit is seasonal much-loved veggie in our coastal region of Karnataka.

It is something we all grew up with – “a comfort food”

It can be consumed when it is mature, but still firm and can be cooked and eaten in so many forms.

This picture is not enough to bring out the glory of this sambar. This veggie is very soft, melt in the mouth type and combined with this sambar, it makes a heavenly gravy.

breadfruit main

Let us see how to prepare it –

Ingredients:

Bread fruit – 1

Salt

Red chilli powder – 1 tea spoon

Jaggery – 1 to 2 tsp

Toor dal – ¼ cup (cooked)

For masala:

Coriander – 1 table spoon

Cumin – ½ table spoon

Urad dal – 1 ½ table spoon

Hing – ¼ tea spoon

Grated fresh Coconut – 1 bowl

Tamarind – 1 tea spoon

Seasoning:

Coconut oil – 1 table spoon

Mustard – 1 tea spoon

Curry leaves – 1 spring

Onion – ½ (chopped)

Method: 

– Apply some oil to your hand. To some extent it will protect your hand from blackening

– Take fresh breadfruit, wash properly. Take one sharp knife and remove outer skin as thin as possible and reserve this to make chutney. Yup!! you heard it right: D

Ribbet collage 1

– Make four longitudinal pieces, remove inner pith (which is slightly harder and rubbery in nature)

-Immerse these pieces in bowl of water for 2 minutes.

– Take out and Make chunk like pieces.

– Cook these pieces with sufficient water, salt, jaggery, red chilli powder.   

Ribbet collage 2                     

–  Now take one kadai, add 1 tsp of coconut oil, put coriander, cumin, urad dal, hing and red chillies – fry in a low flame. When urad dal becomes red, switch off.

-Grind this masala by adding coconut, tamarind and required amount of water to fine paste.                            

-When breadfruit pieces are done, add cooked dal and ground masala. Check for the salt. Keep this on the stove top and boil this mixture.

-After it boils switch off and add seasoning by heating coconut oil, add mustard when it starts spluttering. Add curry leaves and chopped onion. Fry nicely till onion chunks are brown and add this over ready sambar.

-Enjoy this sambar with hot rice.