Kashmiri Pulav:

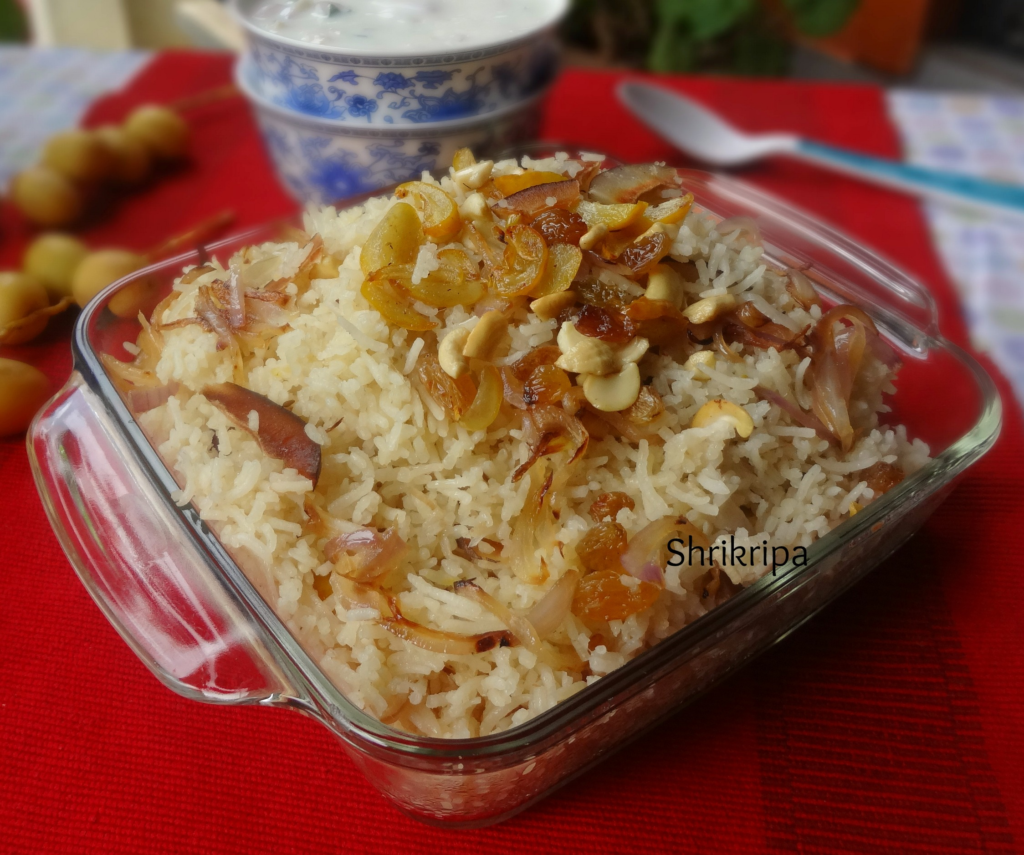
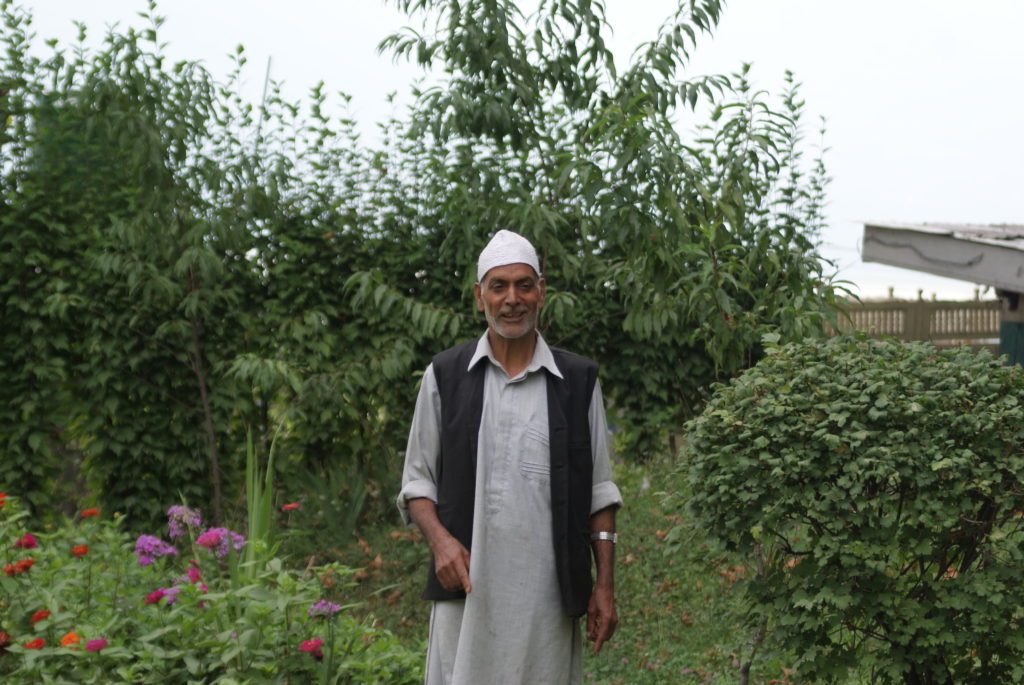
The Kashmiri Pulav what we see in restaurants have so many fresh fruits and dry fruits and are sweetish in taste as well. But in 2011, when we went to Kashmir, the care taker of our boat house made this wonderful Pulav which he served with tadka dal. That Pulav neither had fresh fruits nor so many dry fruits and it was not that sweet. It had raw yellow fresh dates, coconut chunks, cashew and raisins. My family liked this very much and wanted to note down the recipe to try it out. When I asked for the same.

pic 4

Our care taker Mahdha kaka was very happy to share his recipe and I want to dedicate this blogpost of mine to this humble man. 

SONY DSC

here we go for detailed account – 

Ingredients:

Basmati rice – 3 cups

Ghee – 150 Gms

Onion – 2 (sliced)

Ginger garlic paste – 1 tbl sp

Shahi jeera- 1 tsp

Bay leaf – 1

Salt

Saffron – 7 -8 strings

Hot milk – ¼ cup

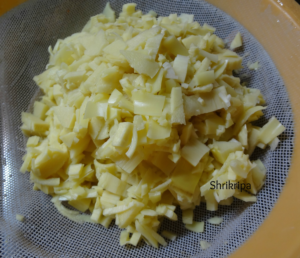
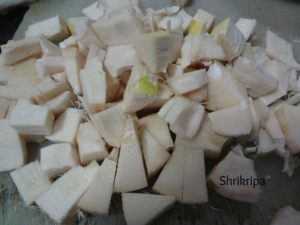
Yellow dates, Raisins, cashew and dry coconut bits – as you wish.

 Method:

    At first wash rice, soak for 10 min and drain the water and keep aside.

   Soak saffron in hot milk and keep aside. Slice dates, coconut etc.

   Now take one thick bottomed pan, put little ghee, fry cashew, raisin, coconut slices and dates one by one and keep aside.
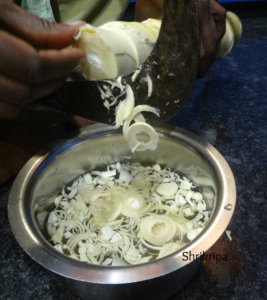
   Now fry half of the onion in to dark brown and keep aside.

   Pour remaining ghee, put Shahi jeera, bay leaf then remaining sliced onion and fry for a while.

– When it becomes brown add ginger garlic paste and fry until raw smell vanishes.

   Add drained rice, fry for a while.

   Now add 6 cups of water, salt and cook this rice by closing the lid and keeping it in a simmer.

  When rice is almost done, add soaked saffron with milk, fried onion, dates, raisins and cashew.
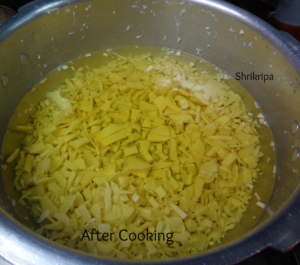
   Mix everything and keep it in a fire for little more time until all the water evaporates or until rice is done.
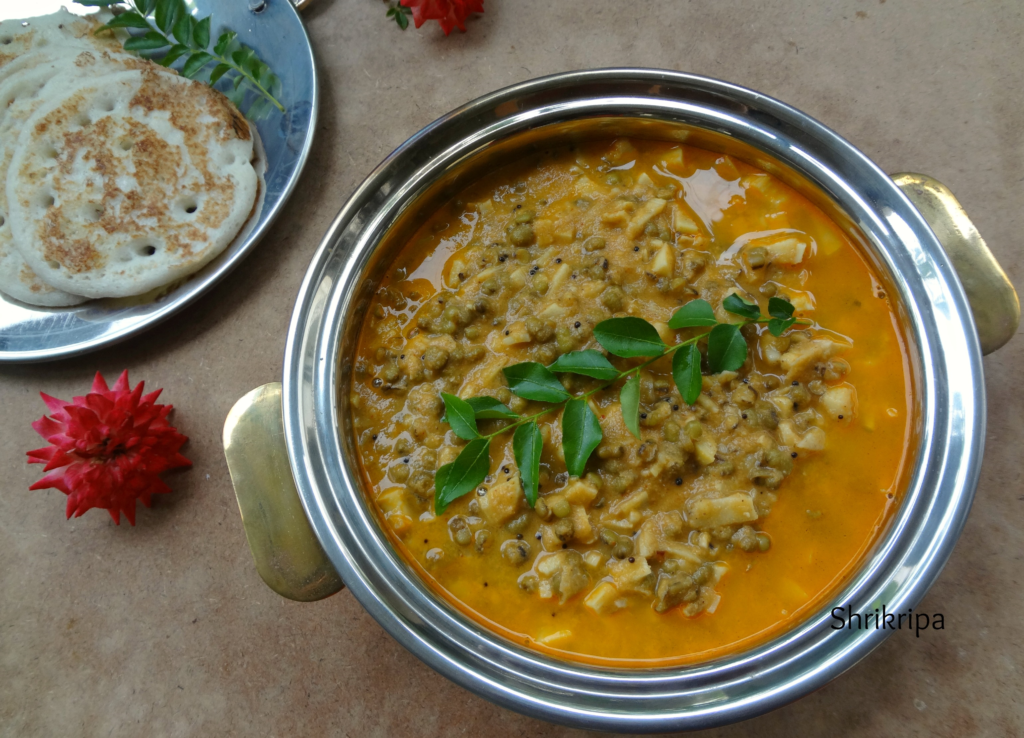
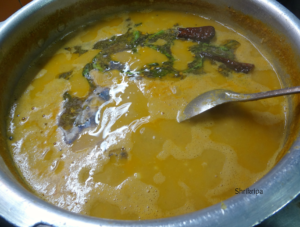
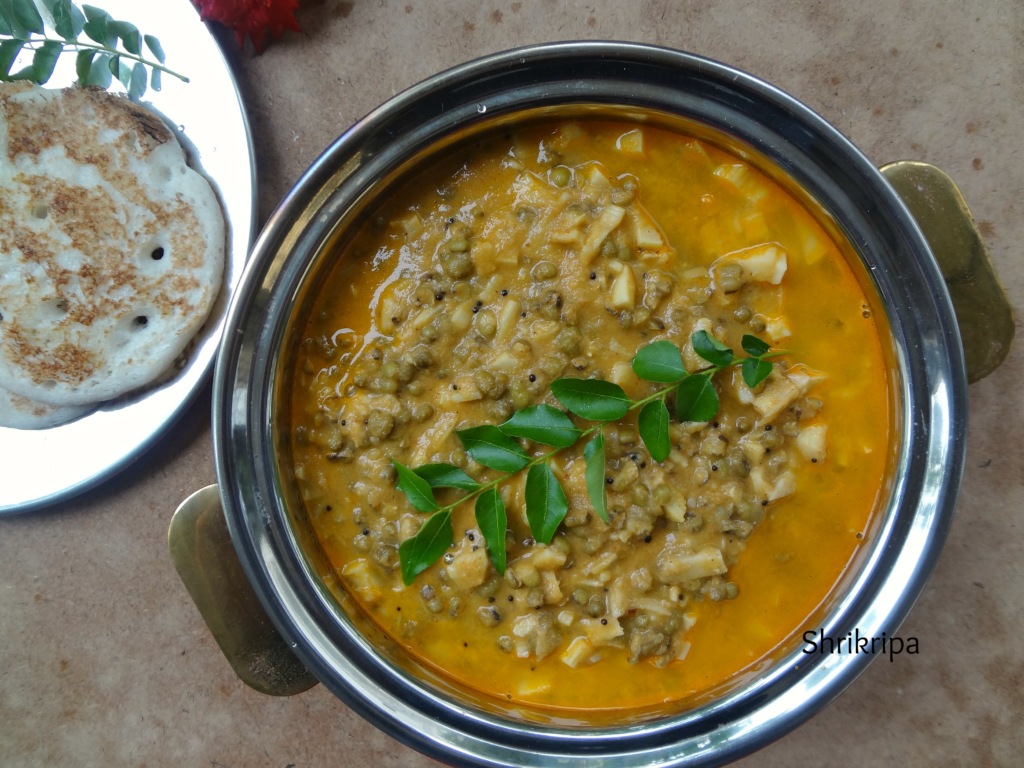
pic 7

         Enjoy this Kashmiri Pulav with Tadka dal.

Millet Choco chip cookie:

Millets are a very good alternative to normal All-purpose flour or whole wheat flour in gluten free baking. You can’t even recognize the core ingredient. It is gluten free as well as high in nutrition too.

When I was trying out some recipes for 2017 Millet calendar, I dished out a couple of recipes, which has turned out super tasty, and at the same time, healthy too.

At first, I tried Chocolate based cookie and it tasted good and here is the recipe-.

pic 1

Ingredients:

 Mixed millet flour -1 cup

Ragi flour – ¾ cup

Cocoa powder – 2 tbl sp.

Salt – ¼ tsp

Baking powder – ¾ tsp

Baking soda – ¾ tsp

Egg -1

Sugar – ¾ cup

Butter – 100 gms

Curd – 2 tbl sp

Vanilla essence – 1 tsp

Choco-chip – 2 tbl sp

Powdered sugar – to roll the dough.

Method:

-Put all the dry ingredients- flours, cocoa powder, salt, baking powder and soda, Choco chip in one bowl, mix nicely and keep aside.

– Take another bowl and put butter and sugar, beat until sugar dissolves and butter becomes smooth.

-Add in egg and beat, add vanilla essence, curd and beat until batter is smooth.

– Now add dry ingredient flour mixture and make cookie dough by mixing like Chapati dough.

– Take one round spoon and make uniformly sized ball, dip in a sugar powder and arrange in a lined baking tray.

– Bake this in a pre- heated oven at 170º C for 12 to 14 minutes or until base becomes light brown.

-When it is done, remove and cool. Store this in an air tight container.

pic 2

Note: This measurement yields around 28 cookies of this size.

Creamy Mushroom Curry:

This curry is very dear to my heart; I had dished out this recipe almost eighteen years back. At that time, I was not very familiar with cooking mushrooms. I wanted to try mushrooms at the same time; I had no clue how. I decided to keep the curry leaves’ flavour and creamy texture dominant, mainly because of my hubby’s fondness towards these two aspects.

This lightly spiced curry is very easy, and it has no frills attached. It is super simple with mind-blowing flavours of southern Indian spices. It takes less than 30 minutes to make. It is healthy, low fat, mild, and a perfect side dish for any roti, pulka or even bread.

For a vegan and tastiest version, you can use coconut milk and replace milk with coconut milk and if it is thick, avoid adding cornflour. 

Ingredients:

Mushroom – 200 grams

Onion – 1 (big)

Green chillies – 1 or 2

Curry leaves – 2 springs

Coconut oil – 1 tablespoon

Cumin – ½ teaspoon

Turmeric – ½ teaspoon

Salt

Pepper powder – ½ teaspoon

Garam masala – ¼ teaspoon

Milk – 1 cup

Corn starch – 1 ½ teaspoon

Method:

-Wash, wipe and slice the mushrooms.Chop onion and green chillies as well.

-Mix cornflour to milk and keep it aside. (If you are using coconut milk, avoid this step)

-Heat oil in a skillet, add cumin, curry leaves.

-Then add chopped onions and green chillies, turmeric and fry for a while.

-When onion becomes transparent, add in sliced mushrooms and fry for two to three minutes.

-When it starts wilting, sprinkle little salt and mix.

-Pour milk and cornflour mixture or Coconut milk and cook until it reaches a creamy texture.

-Lastly, garnish with a little pepper powder and garam masala.

-Enjoy with any flatbread.


Thagathe Soppina Vada/Cassia Tora Fritters:

Thagathe soppu is nothing but Cassia Tora or Senna Tora in English. It mainly grows as a weed in open grounds or road side in Rainy season. It is a very useful plant and mostly ignored by all. Leaves of this plant are not only used as a medicine; its seeds are also used widely in Ayurveda.

In our coastal belt, we do prepare lots of delicacies from its young leaves and this vade or fritters is one among them. These fritters are served as a snack or as a starter for lunch/dinner. This monsoon delicacy is also called dangar in Konkani. 

Ingredients:

Dosa rice – ¾ cup

Toor dal – 2 tablespoons

Dried red chillies – 5 – 8 ( Byadagi)

Salt

Hing – generous pinch

Tamarind – ½ tsp

Coconut – ½ cup

Chopped greens – 1 to 2 cups ( as needed)

Chopped onion – 1

Method:

– Wash and Soak rice and dal for 3 hours.

-Roast red chillies, chop onions , Clean the leaves, remove stalks, wash thoroughly ,chop the leaves and keep it ready.

– At first grind coconut, hing, salt, red chillies in to paste.

– To this, add soaked rice and dal mix, grind this into a small rava consistency by adding very little water.

– Remove from the mixer grinder, add chopped leaves , onion and mix thoroughly. 

-Heat oil in a small kadai. When it is hot, take bite size of batter and pat a little in your palm and deep fry.
-Serve this as a side dish with Dal – Rice or Rasam and rice.
 

Note: If you don’t have access to Cassia Tora leaves, instead you can use chopped Moringa or Methi or fenugreek leaves as well.


Instant Paddu:

This Recipe happened by fluke and I felt it was a very good option for kid’s tiffin boxes and basically my daughters loved it and they were asking me to include this as a regular item. So, I was thinking of sharing it with you all, lovely readers.

Last week when I made some biryani for kids and hubby’s tiffin box, no one was interested to carry a raita with them and I was left with one big bowl of onion and tomato raita. I wanted to utilise that sweetish raita in some way and thought of preparing rawa Paddu.

I took an inspiration from rawa idly mix and proceeded like that. Instead of adding only Rawa, I included millet idly rawa too and believe me, it was so tasty and the kids were saying “it was oozing with flavour and no side dish or chutney was needed” for this.

pic 7

Now we will see, how I proceeded –

Ingredients:

Normal Rawa – 1 cup

Millet rawa- 1 cup

Ghee – 1 table spoon

Mustard – 1 tsp

Urad dal- 1 tsp

Cumin- ½ tsp

Hing- ¼ tsp

Curry leaves – 1 or 2 springs(chopped)

Eno fruit salt – 1 Tsp

Curd – 2 cups

Chopped onion -1

Chopped tomato – 1

Chopped coriander – little

Salt

Sugar

Method:

-Make seasoning by taking ghee in one pan, when it is hot, add mustard. After mustard splutters, add urad dal, cumin, hing, chopped curry leaves and fry for a minute.

-Add plain rawa and millet rawa fry until it becomes grainy in texture.

pic 1

-Remove from the flame and cool the mixture into room temperature.

– Before preparing batter, take the curds, chopped onions, tomato, coriander leaves, salt and sugar mix nicely by adding Eno fruit salt.

pic 2   pic 3

– Now add seasoned, cooled rawa mix and give a stir. Mixture should be little watery kind at this point. Keep aside for 5 to 10 minutes so that batter will become thick now due to soaking of all the moisture by rawa.

-If batter is too thick you can add little more curds and adjust the consistency. It should be like idly batter and consistency should be little thick.

pic 4   pic 6

-Keep Appam or Paddu tawa, when it is hot keep it in a simmer, pour ½ tsp of ghee to every hole and pour the required amount of ready batter.

pic 5  pic 8

-Close the lid, cook for a while. Then flip and cook other side as well and then serve either as it is or with any chutney.

Note:

-Here I have used little millet idly rawa, you can use any millet rawa as well.

-If you don’t have access to millet rawa, you can use only rawa too.

– Here I have used Uppittu rawa/plain semolina/Bombay rawa.

-I did seasoning part on previous night and kept it aside for cooling. So that, morning it will be easy to mix and proceed to make Paddu.

-You can make this rawa mix and store it for a future use.

Idikayi Uppinakai / Whole mango pickle in roasted masala:

Happiness is when your reader as well as a distant cousin of yours messages you and requests you to post one of our traditional age-old pickle recipe. When you respond saying, this variety of mango (wild raw mango) is not available where you reside. Immediately comes the response, he will bring and give it to you. Not only bringing this raw mango from 250 km away, he has not forgot to remind me, “Don’t forget to post”. This post is dedicated to him, Rajendra. G.

Idikayi is nothing but whole mango. We use wild whole mango in this pickle. Speciality of this pickle is, it is fully grown, just before ripening stage of mango. So, while eating, you can enjoy and savour salted seed as well. Usually we relish this with Kerala matta rice kanji or normally we call as, kucchilakki ganji with this pickle.

Masala is used in this pickle is roasted and fried with very little oil. So literally it is very mildly hot pickle without oil. Even small kids relish this.

pic 2

Ingredients:

Whole mango – 23

Red chillies – 250 gms (I normally use Byadagi variety)

Mustard – 100 gms

Fenugreek /methi seed – 1 table spoon

Hing – ½ tsp

Turmeric – 2 tsp

Salt – 2 to 3 cups

Water – 4 cups

To boil mangoes:

Water – half of the vessel

Salt – 1 fist full.

Method:

          First let’s start the pickle making by preparing the mangoes. Wash mangoes, remove its stalk part and give 3 to 4 slits here and there.

pic 3         pic 4

          Boil water in a big vessel (take half of the vessel). Add one fist full of salt to this water.

pic 5    pic 6

          Drop all those mangoes, cook until outer skin become pale green and remove from the water and drain.

          Cool this into room temperature.

          Make salt water: Take 3 cups of salt and 4 cups of water in a pan and boil this in a medium heat. How to check the doneness? Whenever salt and water quantity is right, salt will form a glossy layer at the top. If you don’t find any mirror layer, add little more salt and proceed boiling. When it is ready, switch off the gas and cool this water. It should reach room temperature, before using.

          Start making pickle masala.

          Dry roast methi, mustard and hing separately.

          Fry red chillies little by little by putting 1 tsp of oil.

          Cool everything and make powder in a mixer jar.

          After making powder, mix everything together nicely and take required amount of powder, pour required amount of cooled salted water and make a paste.

pic 8     pic 9

          It should be a little flowy. Because mango should immerse in this liquid.

          Add cooled mangoes and mix.

          Adjust the consistency either by adding powder or salted water.

          Store this in an air tight glass jar.

          Next 3 to 5 days every day, make it a point to mix it and keep it aside by closing the lid.

pic 1

          After one week, you can start consuming and store this in a fridge to extend its shelf life.


Kanile Gashi /Bamboo Shoot and sprouted moong Gravy:

Kanile is nothing but Bamboo shoot. We coastal people, prepare some delicacies from this seasonal high fibre veggie, this curry is prepared by mixing with sprouted Green gram. which is very tasty and goes very well with Dosa or Rice. So, it is a seasonal treat for us.

We normally use fresh bamboo shoot and chop it in this manner. (please refer to the Post of How to chop Bamboo shoot)

pic 19

Ingredients:

Ready Bamboo shoot – 1 cup (you can use frozen or tinned too)

Sprouted green gram /moong – 1 cup

Salt

Red chilli powder – 1teaspoon

Green chilli – 1

Turmeric – ½ tsp

For Masala:

Coriander – 2 tsp

Cumin- 1 tsp

Red chilli – 3

Garlic cloves – 2

Fresh grated Coconut – 1cup

Tamarind – ½ tsp

Seasoning:

Coconut oil – 1tsp

Mustard – 1 tsp

Curry leaves – 1 spring

Red chilli -1

Method:

  • – Cook Sprouted moong and ready to cook bamboo shoots in sufficient water, by adding turmeric, red chilli powder, and slit green chilli.

pic 16  pic 15

  • – Roast coriander, cumin, red chilli and garlic by putting little oil for masala.
  • – Grind this into smooth paste by adding coconut and tamarind and sufficient water.

pic 17  pic 18

  • – Add this ground masala to cooked mixture and boil nicely.

pic 21

  • – Do the seasoning. Heat coconut oil ,splutter mustard ,add red chilli and curry leaves fry and pour over the curry.

How to Chop Fresh Bamboo Shoot/Kanile:

Kanile or Bamboo shoots are a seasonal, hollow grass which is a young shoot of Bamboo and it is available in a very short period of rainy season. It has very distinct subtle, earthy flavour with crunchy texture while eating. It is considered as one of the health foods because of its high contents of dietary fibres,minerals and low in fat.

pic 2

Preparing Bamboo shoot for cooking is little bit of a work.

Traditionally We follow 2 methods:

 One is Chopping and soaking in fresh water for 3 days by changing the water regularly every day and using.

I personally don’t prefer this method, because it emits little odour of bamboo shoot and prepared curry will also contain that odour.

  I usually follow this second method, which I learnt from my father in law, who was super knowledgeable in all these traditional cooking procedures.

  At first take harvested Bamboo shoots which we get in hilly sides, some shops or in all Mangalore stores of Bangalore in this season.

I usually buy my stock from the Mangalore store. After buying, remove outer tough layer, which is brown in colour by peeling one by one starting from the bottom.

 You can use your hand to peel the outer shell.

pic 3    pic 4

  After removing this outer woody shell, you will see only inner core which will be white in colour.

This white inner layer will have 2 parts. One is soft edible part and in between nodes.

Nodes will be thick, little sturdy and can be used in pickle making by adding lemons or mangoes.

Now this is ready to chop. Take one vessel, which is filled with water and chop and immerse it in a water.

 You can either chop circular fashion or bit size pieces. It is up to one’s choice.

pic 1     pic 5

 Start to chop from top of the conical area, proceed until you find a hard node. When you feel the node (here nodes were thick from 5th onwards) discard the node by cutting that part and proceed the chopping.

pic 6   pic 8

Now Take all the chopped bamboo, sieve the immersed water and put fresh water and cook this in a cooker for one whistle.

pic 12   pic 13

 When you open the cooker lid, you will see the water in yellow shade, discard this water by draining.

pic 14

Now collect the cooked Bamboo shoot and it is ready to cook by removing its impurities and natural bitterness.Use it in whatever dish you want to make.

How to Use nodes in Pickle making –

pic 9  pic 10

-Collect nodes, chop however you want and proceed with the above procedure as bamboo shoot. Cook in a pressure cooker with water and strain the yellow water, cool completely and use in pickle making.


Zucchini Chutney:

Zucchini, a member of gourd family is a popular summer squash, also known as courgette. Personally I like this spongy veggie and include this in so many Indian recipes.

Zucchini chutney is one of them and it is an excellent side dish for any Indian flat breads, Dosa, idly or Paddu.

pic 2.1

Ingredients:

Zucchini – 1

Garlic – 8 – 10 cloves

Green chilies – 3 -4

Salt

Oil – 1 tbl spoon.

Coconut – 1 small cup

Raw mango or tamarind –If mango (2 “small piece) If tamarind (½ tsp).

Seasoning: Oil – 1 tsp, mustard – ½ tsp and curry leaves.

Method:

  • Wash, chop zucchini into pieces.

pic 1

  • Take one small kadai; fry these pieces, garlic and green chillies by putting little oil until it wilts.
  • Switch off the gas, leave this for cooling.

pic 3  pic 2.1

  • When it cools down, add coconut, salt, either mango pieces or tamarind. Grind all this into a smooth paste by putting required amount of water.
  • If you want, add seasoning with mustard and curry leaves.


Jack Fruit Dosa:

Jackfruit Dosa is known as “Halasina hannina dose”. It is a traditional recipe of Mangalore. Here we use Soaked Raw Dosa rice and ripe jackfruit to make the batter. we can call this as a Jack pancake and serve with honey or with ginger chutney.

pic 5

Ingredients:

Dosa rice – 2 cups

Cleaned jack fruit – 1 big bowl

Salt

Method:

-Wash and soak Dosa rice in sufficient water for 3 to 4 hours.

– Chop the jack fruit, remove bulbs and separate outer cover and inner seed.

pic 1

– Collect only the outer yellow shell and put it in a mixer grinder, give couple of whipping sessions and remove.

-So that while grinding it will be easy to handle.

– Now take soaked rice, ground or crushed fruit, put little water and grind this in to a smooth paste by adding sufficient salt. Batter should be a little thicker than normal Dosa.

pic 2

-If you want to use this batter for the next morning, please refrigerate the same and use for the next day.

pic 3

– make Dosa’s by using hot iron griddle. No need to ferment this batter. Use ghee while roasting this Dosa. It should be a little thicker than normal Dosa. (thinner than set Dosa). When it is cooked, flip it and cook on the other side.

pic 4

-serve this with honey or with ginger chutney.

Note:

For ginger chutney: Fry red chillies with little oil and grind it with coconut, salt, little tamarind and piece of ginger.