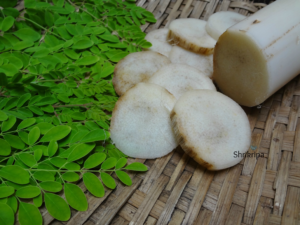
Where to start about the benefits of these two super foods? From my childhood, we used to relish banana stem and its flower in various dishes. Every part of banana plant is useful, be it its leaves, flower, stem, its outer fibre or fruit. No wastage of any part. Usually after the harvest of Banana fruit bunch, we should remove that plant and should allow its baby plant to grow and fruit. Usually after the harvest, banana plant is chopped off, outer fibre is peeled off and it is dried under the sun and used as a thread in tying Jasmine flowers. Inner core or pith is divided into 3 parts. Top most part, which is very slender and less fibrous will be used in raw salads. Middle portion is little more fibrous and used in cooking and making Dosa’s. Bottom part, which is more fibrous, mature and hard to chew will be used in juices, soups or Rasam’s.
Plantain stem is one of the best, natural high fibre vegetable. It also maintains fluid balance in our body and acts as a coolant, especially in Summer season.
Moringa or Drumstick leaves are considered as a “Power food” for its nutritionally rich nature.
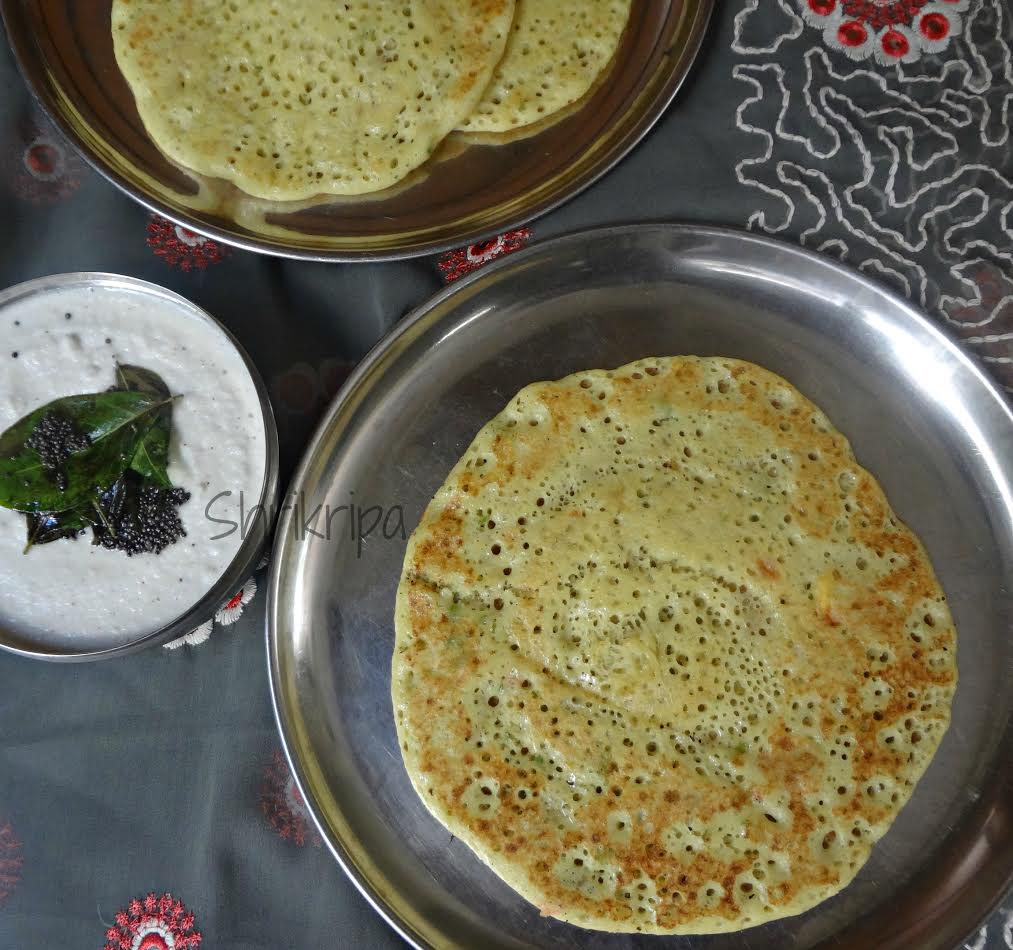
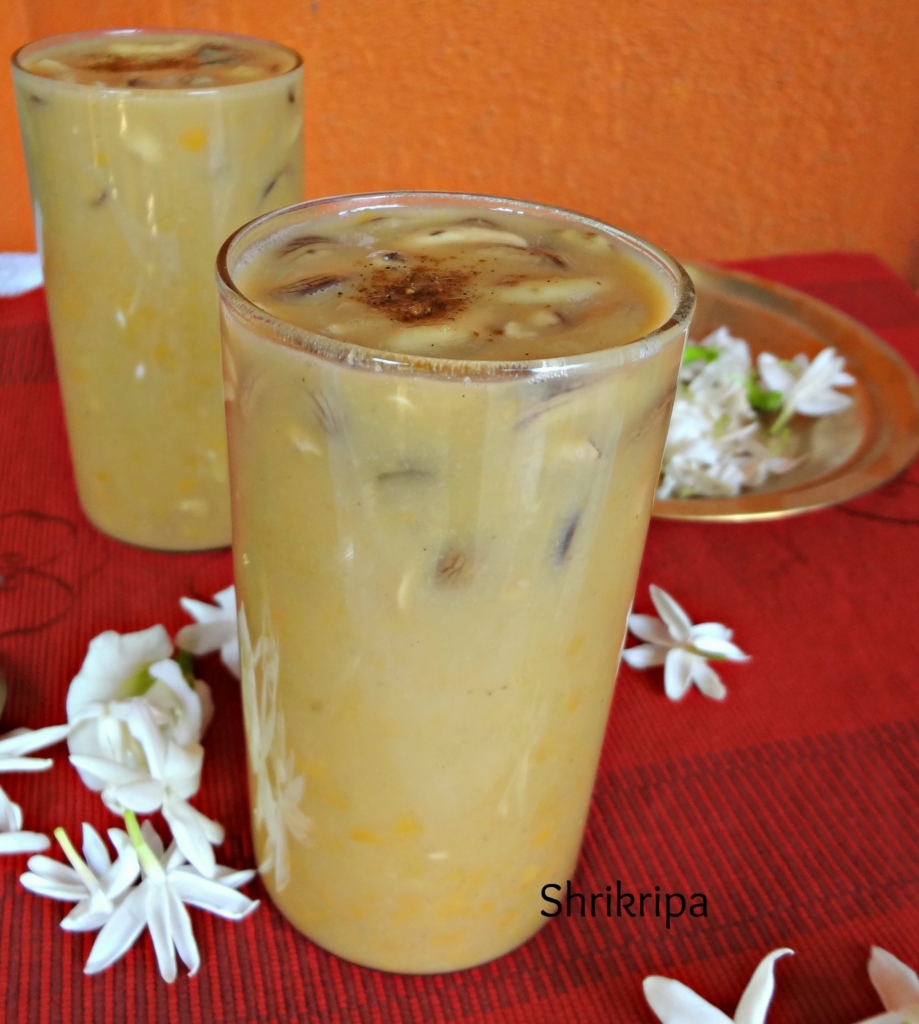
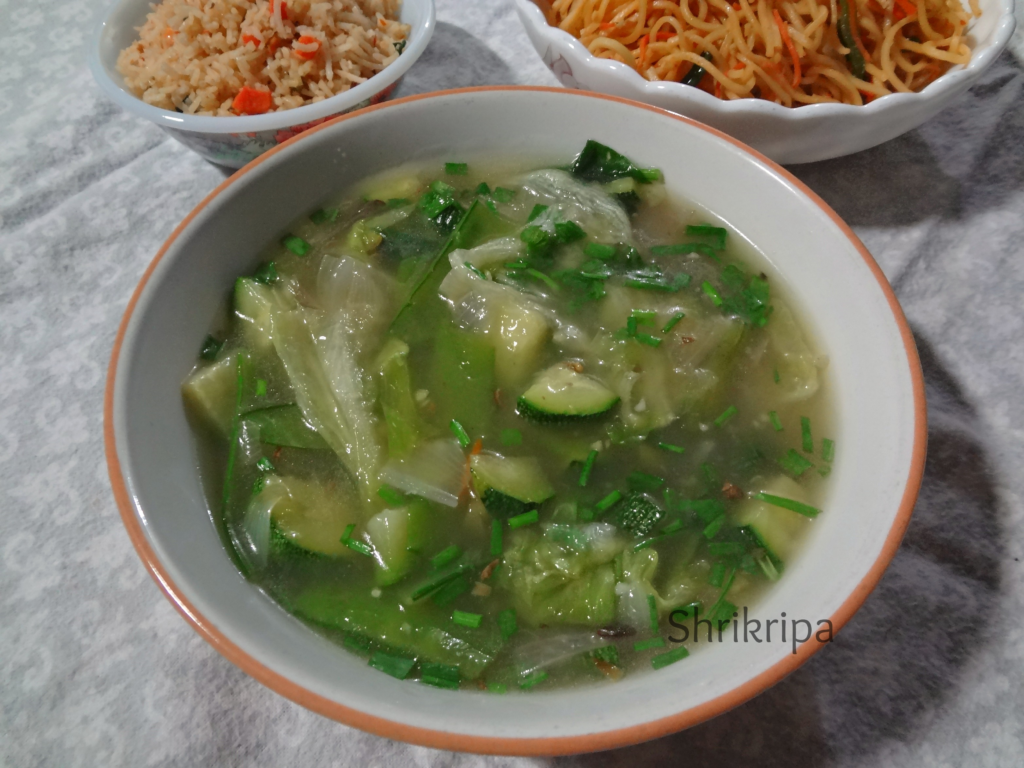
Here I have combined these two ingredients and made Rasam and trust me it is very tasty and can be used as an appetizer shot as well.

Ingredients:
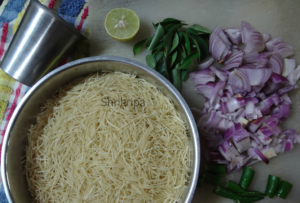
Plantain stem – 6- 8 inches long
Drumstick leaves – 1 cup
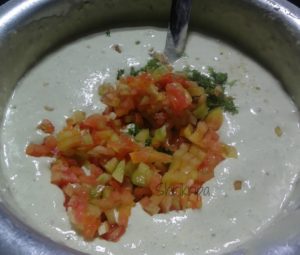
Tomatoes – 2
Tamarind – ½ tsp
Garlic – 8 cloves
Cumin – 1 tsp
Green chillies – 2 to 3
Salt
Jaggery – 1tsp
Coriander leaves – 1 table sp.
Seasoning:
Coconut oil – 2 tsp
Mustard – 1 tsp
Cumin – ½ tsp
Hing – one pinch
Red chilli-1
Curry leaves – 1 spring
Method:
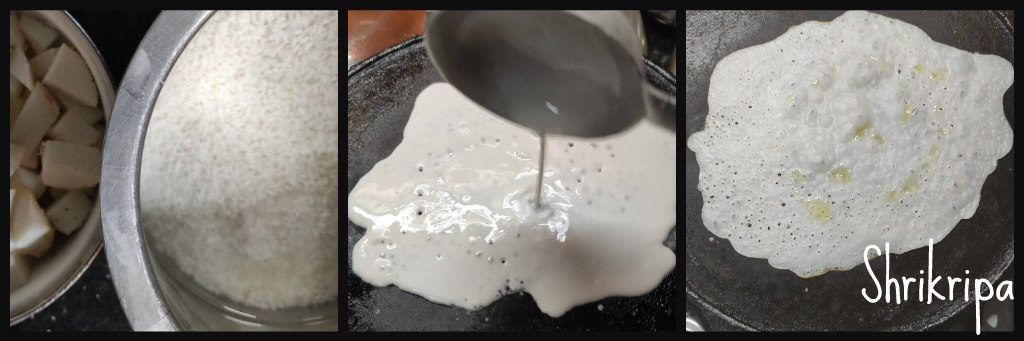
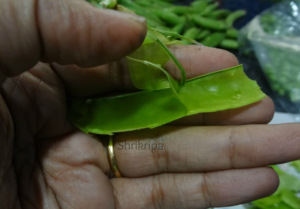
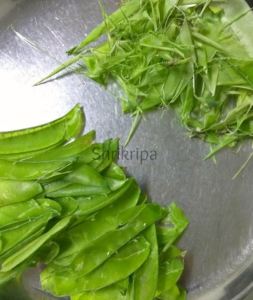
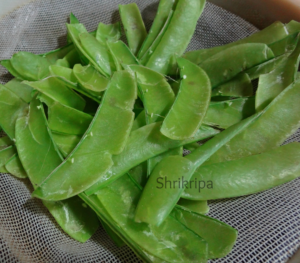
– Slice plantain stem into discs, remove thread like fibre while slicing.
– Chop the roundels into thin slices.

– Wash drumstick leaves, here you can use as it is, with its sticks intact. No need to remove intact stalks of these tiny leaves.
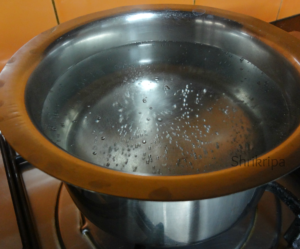
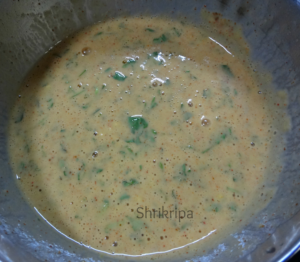
– Cook plantain stem pieces, drumstick leaves, chopped tomatoes, green chilli, tamarind in a pressure cooker for one whistle. Cool this mixture, grind and sieve. Discard the fibrous part.
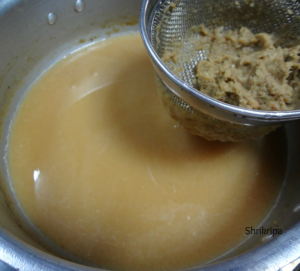

– Dry grind garlic and cumin. Add this to collected solution, add salt, jaggery and boil for a while.
– Garnish with coriander leaves and do the seasoning.
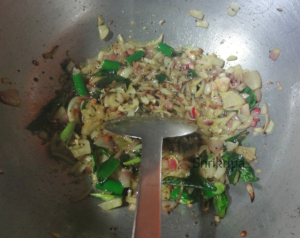
– Heat coconut oil, add mustard, when it starts to splutter, add broken red chilli, cumin and curry leaves.
– Serve this as an appetizer shot before food or as a Rasam with hot rice.


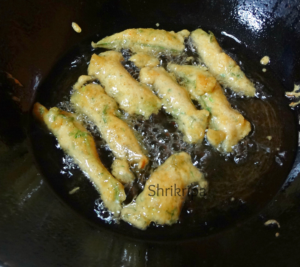 -Fry in a medium heat and when it is done, remove these into a tissue laid serving plate.