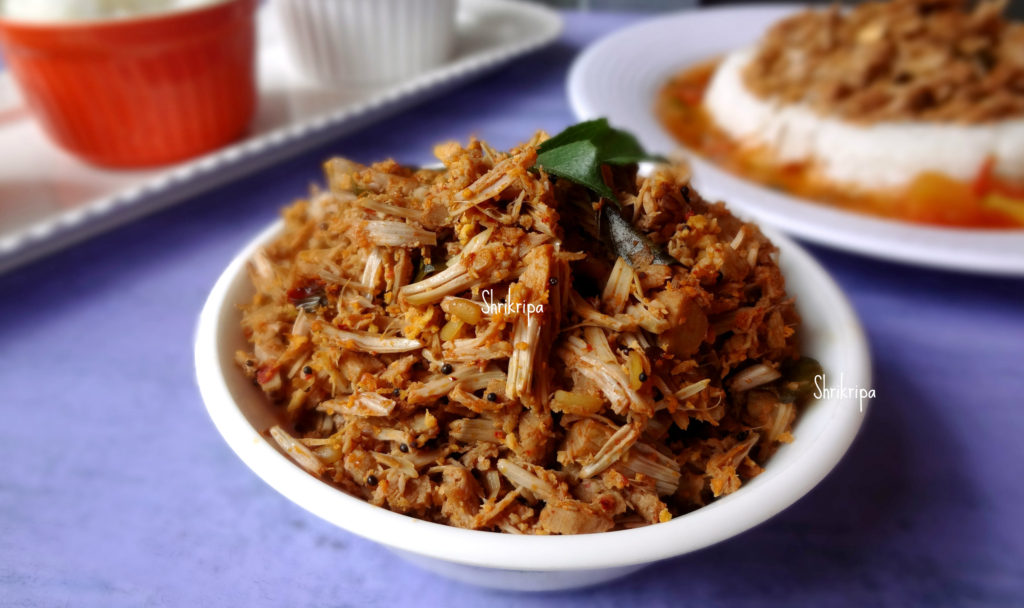
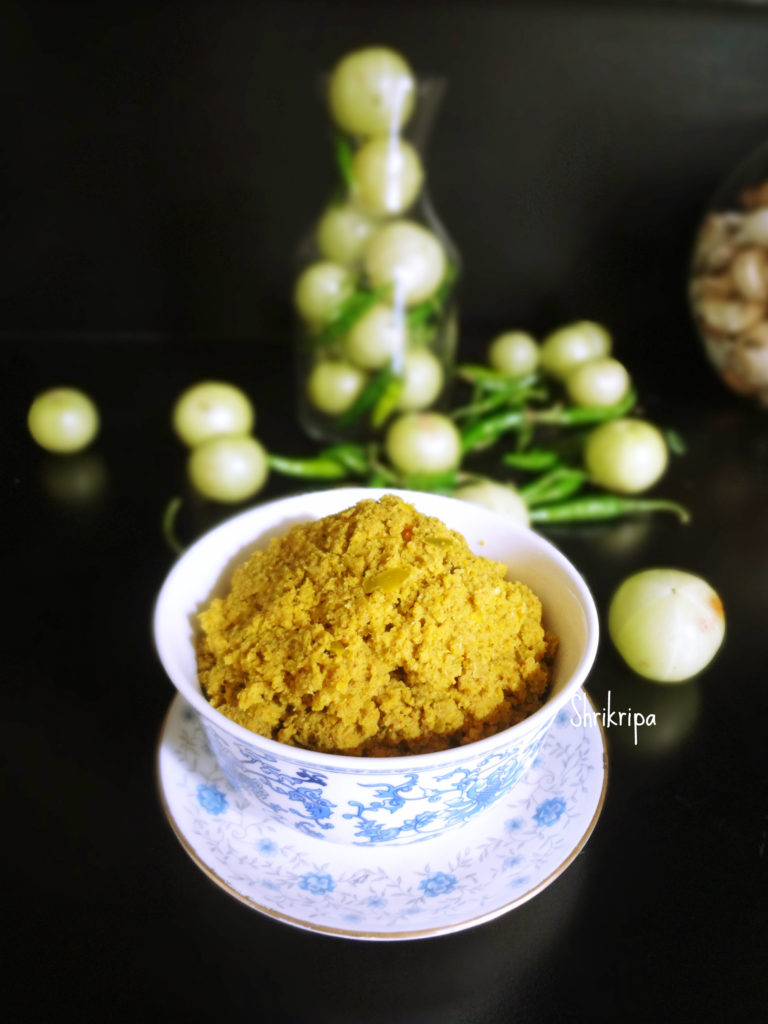
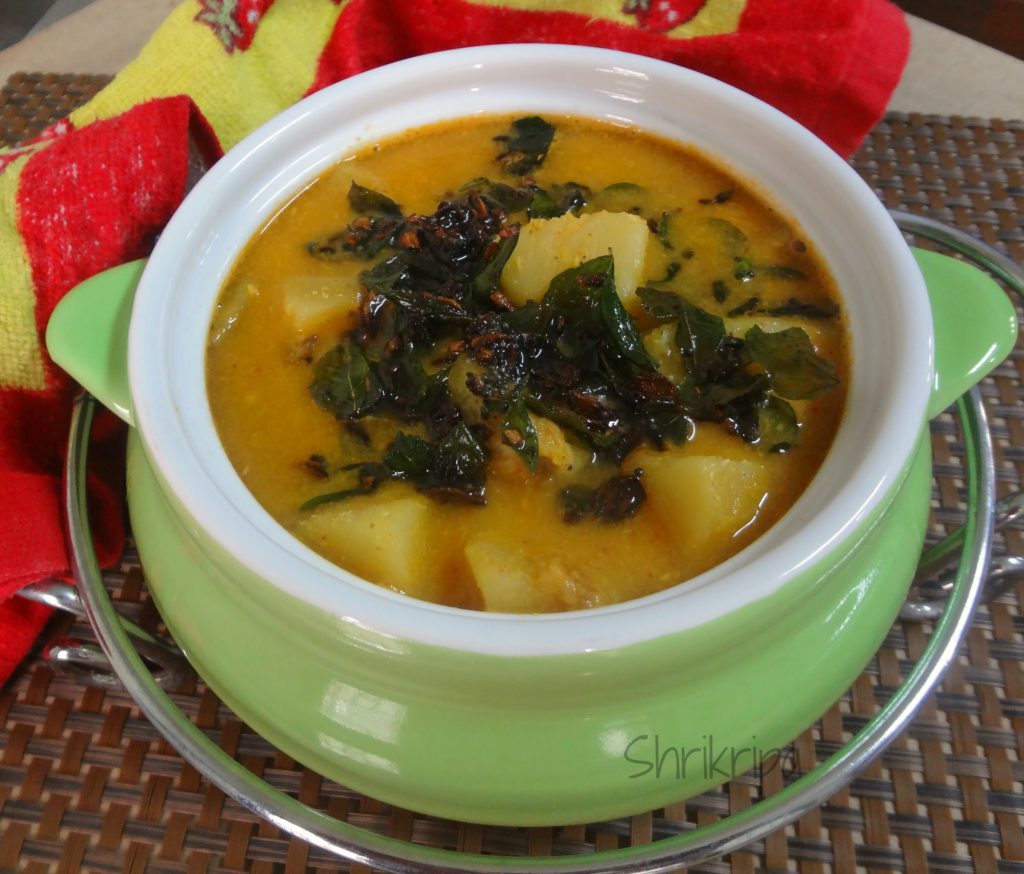
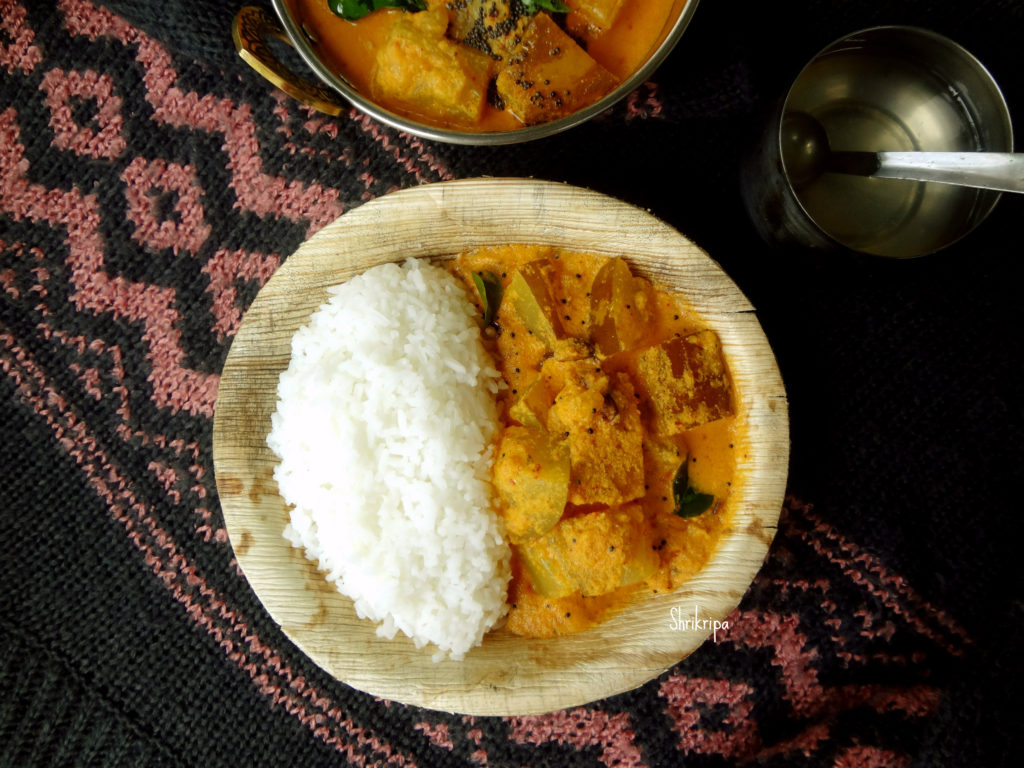
Traditionally we call this Sauthe kai Huli menasina Kodilu/Koddel. The literal translation of this is, Sauthe kai means sambar cucumber, Huli is tamarind, menasu is chilli, koddel is sambar or curry. It is sambar cucumber or coloured cucumber curry with a raw masala of fresh coconut flavoured with non-roasted masala.
Here we only use fresh coconut, Byadagi red chillies, tamarind as the main ingredient, and after boiling, seasoned with curry leaves, roasted garlic by using coconut oil.
To get an authentic taste, one should use coconut oil and freshly grated coconut for this curry.
Now we will see the recipe part.
Ingredients:
Coloured cucumber – 1
Salt
Red chilli powder – 1 teaspoon
Fresh coconut – 1 bowl
Red Byadagi chillies – 2 to 3
Tamarind – gooseberry size
Turmeric powder – ½ teaspoon
For seasoning:
Coconut oil – 1 tablespoon
Mustard – 1 teaspoon
Red chilli – 1
Curry leaves – 2 springs
Garlic – 10 cloves (crushed)
Method:
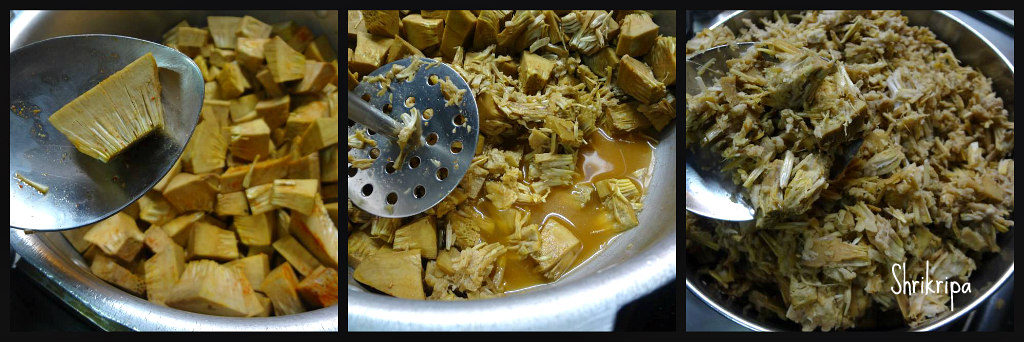
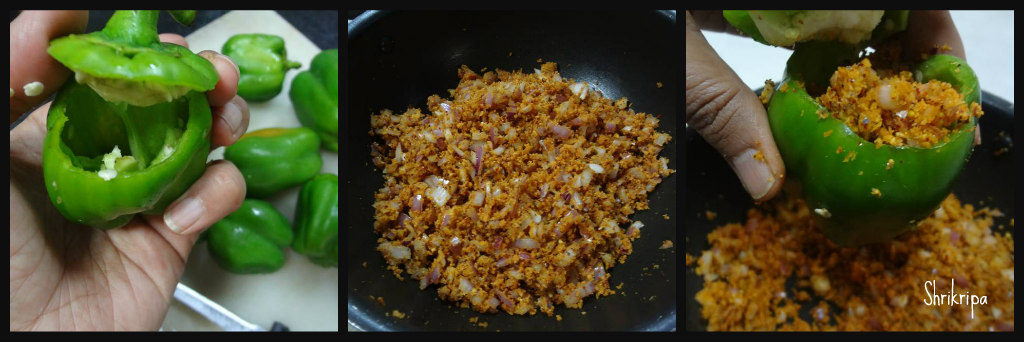
-Wash Mangalore/Coloured/sambar cucumber.
Chop off two ends, slice into four pieces, remove the inner core (seed part), and chop into bite-sized pieces.
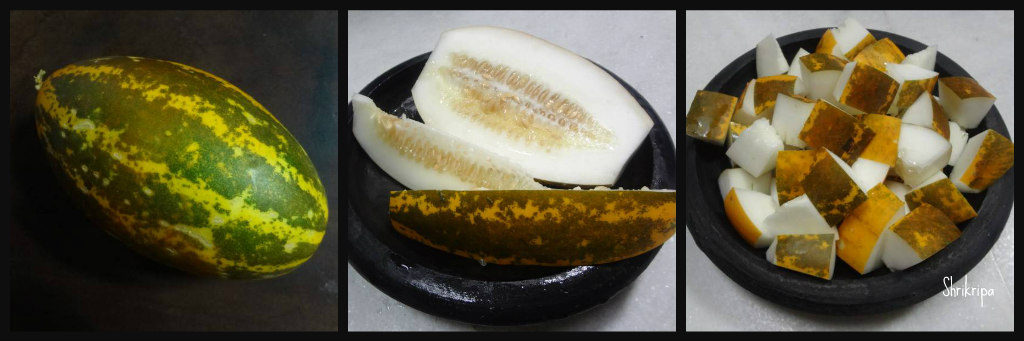
-Check now for the taste. If it is bitter, soak the pieces in plain water for 5 minutes.
-Discard the water and proceed. If cucumber tastes good, there is no need to soak in water, and you can directly proceed with cooking.
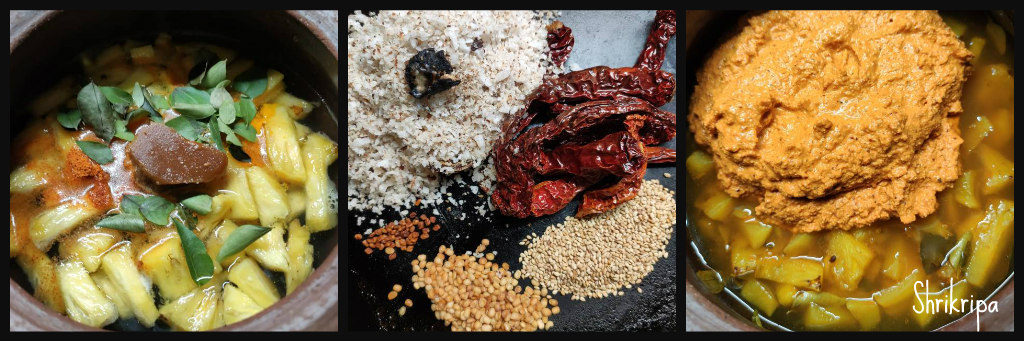
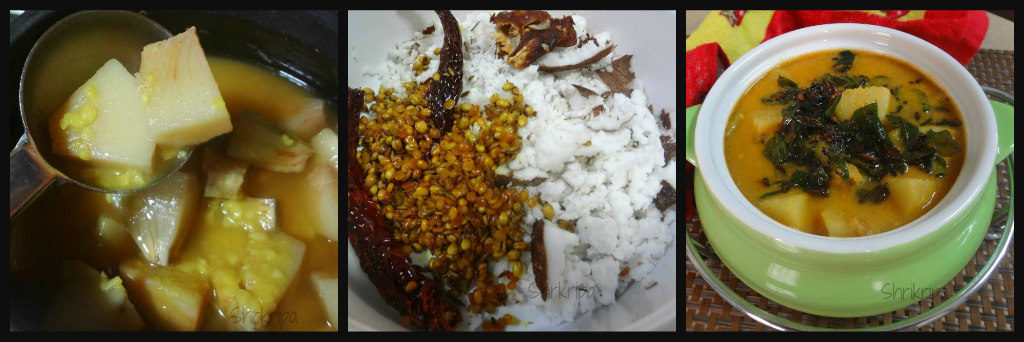
-Cook these pieces in a sufficient amount of water. Add salt and red chilli powder as well.
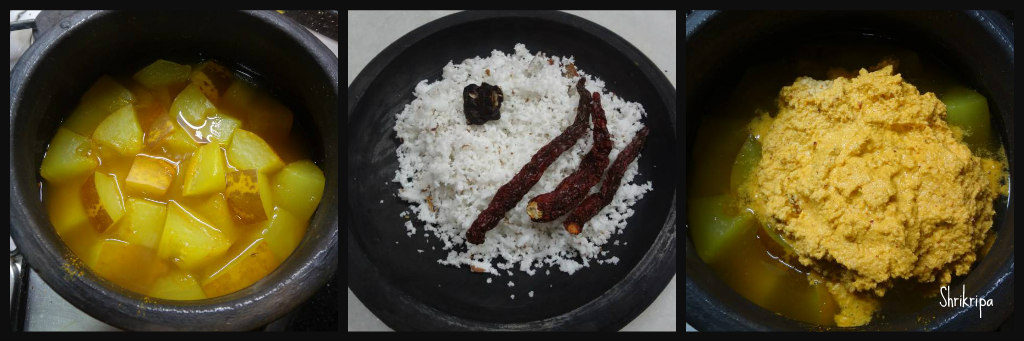
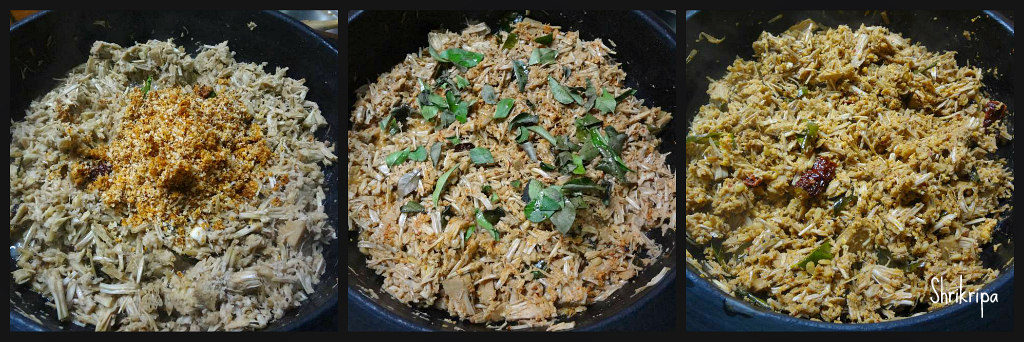
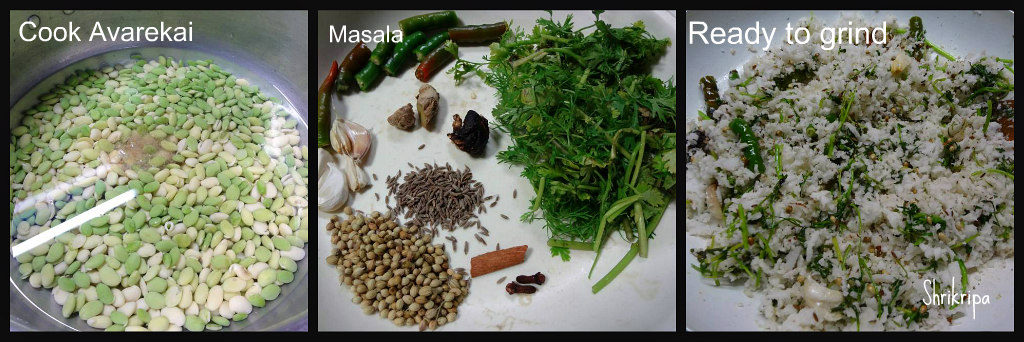
-In the meantime, grind masala by putting coconut, tamarind, red chillies and turmeric.
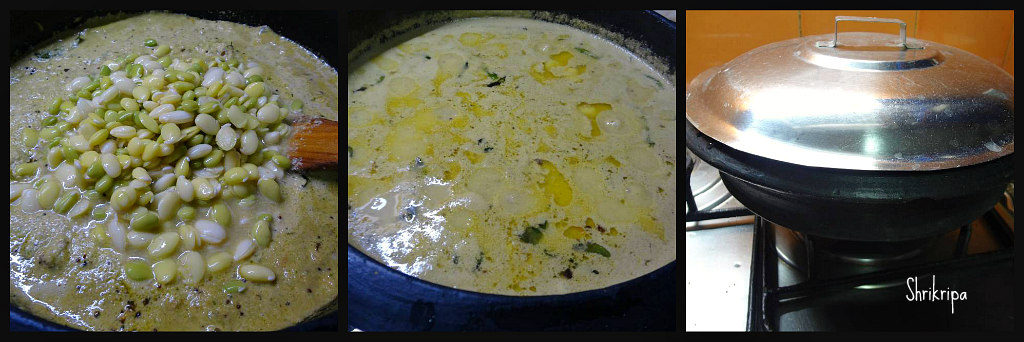
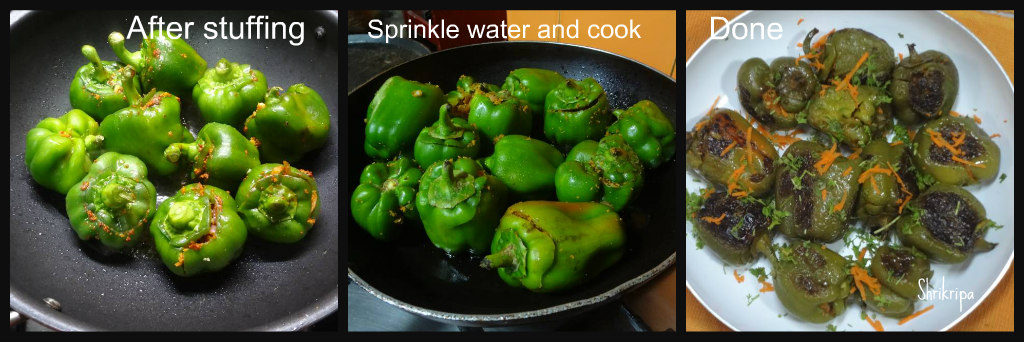
-When cucumber cooks well, add ground masala, adjust the consistency and boil.
-When the mixture boils nicely, switch off the gas.
-Prepare seasoning, heat oil, splutter mustard, add garlic, red chilli, curry leaves.
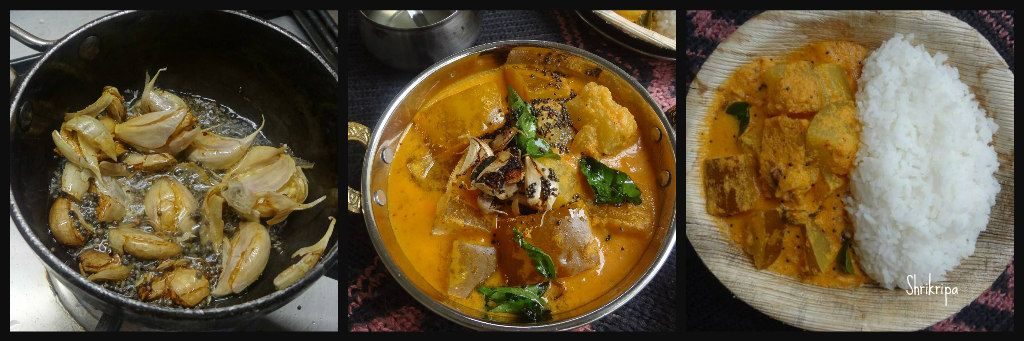
-When garlic becomes deep brown, add the seasoning over boiled gravy.
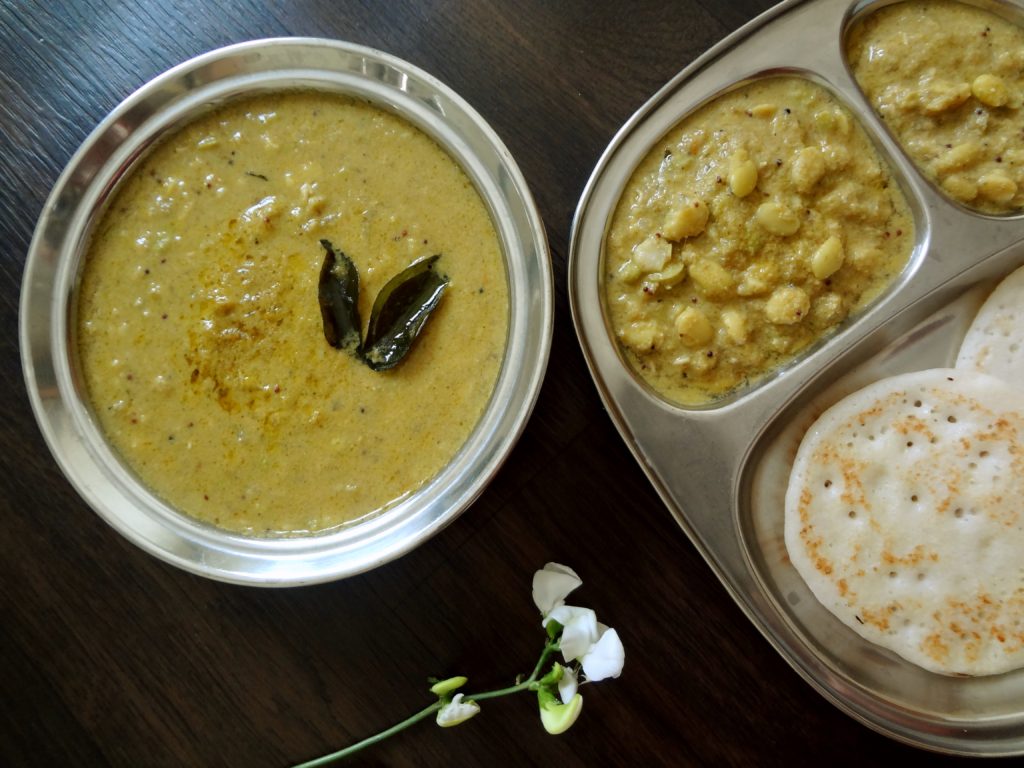
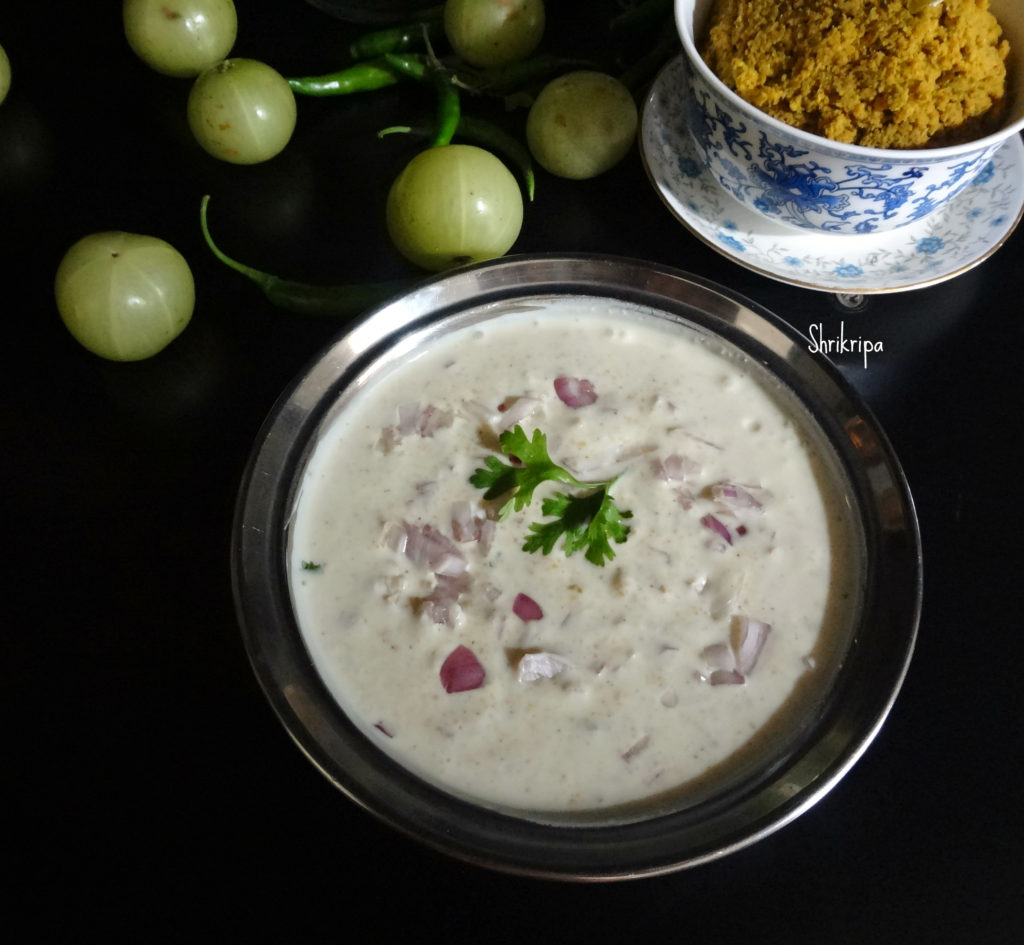
-Keep this closed for a while before serving to absorb all the flavours.
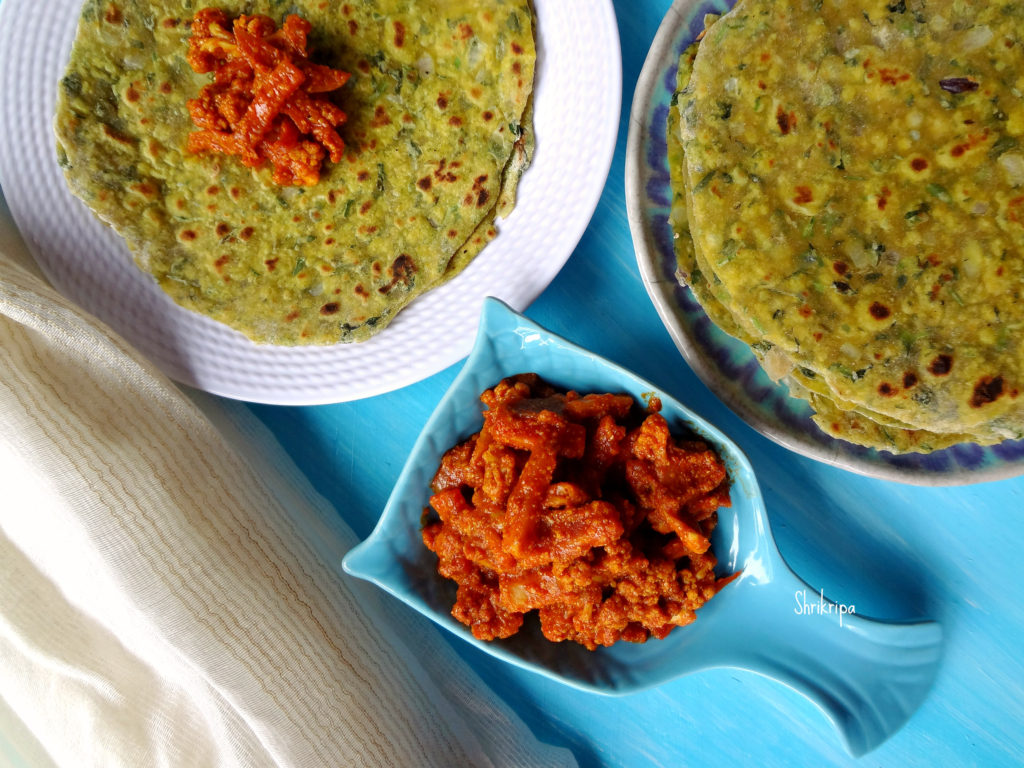
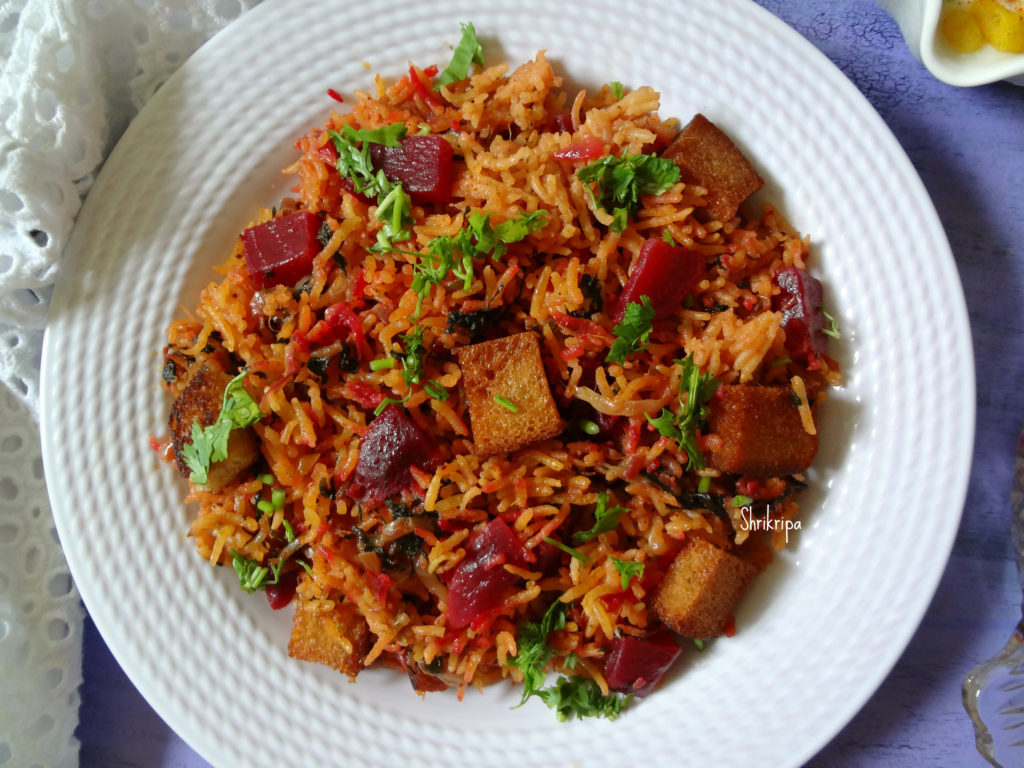
-Serve with hot rice.
One more variation of this curry is by adding –Turkey berry.
To know about the Turkey berry, you can click the link HERE.

The method is straightforward. Crush those washed turkey berries/ Kudane, put them in water, rinse them a couple of times, and remove the seeds as much as possible; in this way, the tartness of the berries vanishes. Keep as it is and follow the above procedure to make Cucumber curry.
-When cucumber cooks partially, add those washed and cleaned berries and cook further. Then, add freshly ground masala and curry by following the above description.

Note:
To maintain authentic taste,
-use fresh coconut, Coconut oil.
-Retain the outer skin of garlic and crush.
-Inner core or seed is used in a couple of recipes.
-One is Chutney, and the other one is Rasam. I will update ASAP.