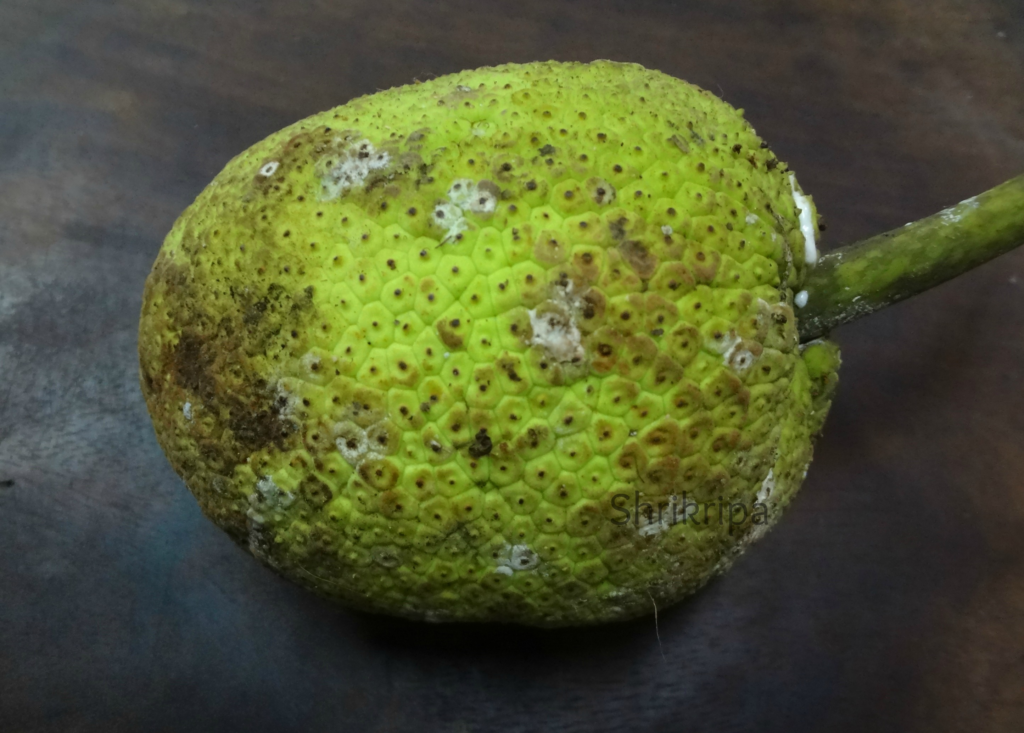
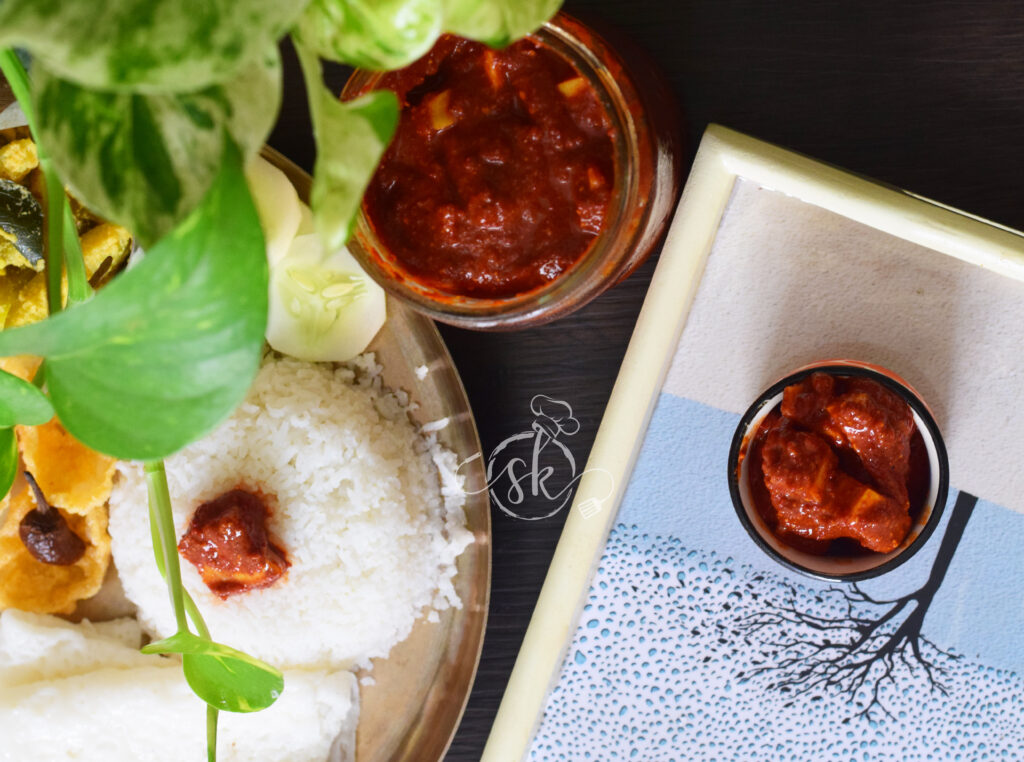
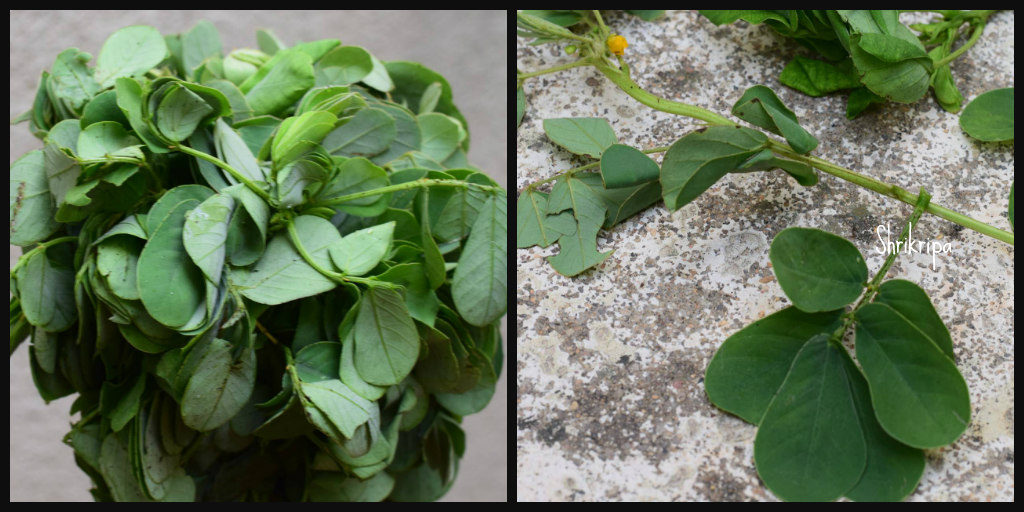
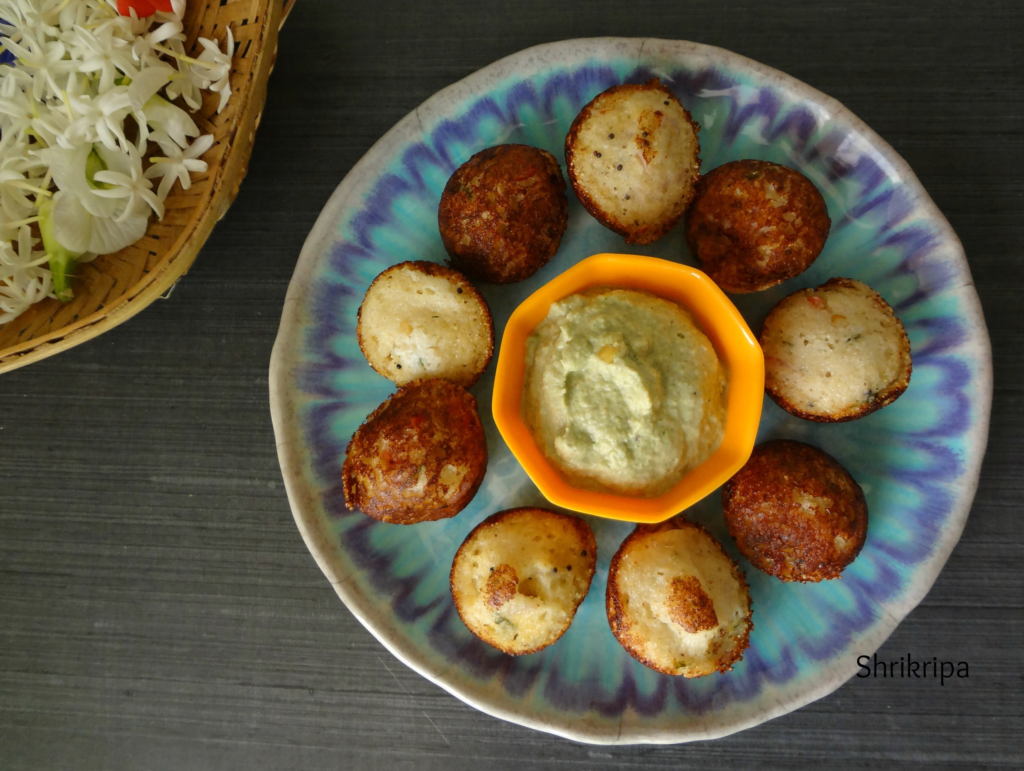
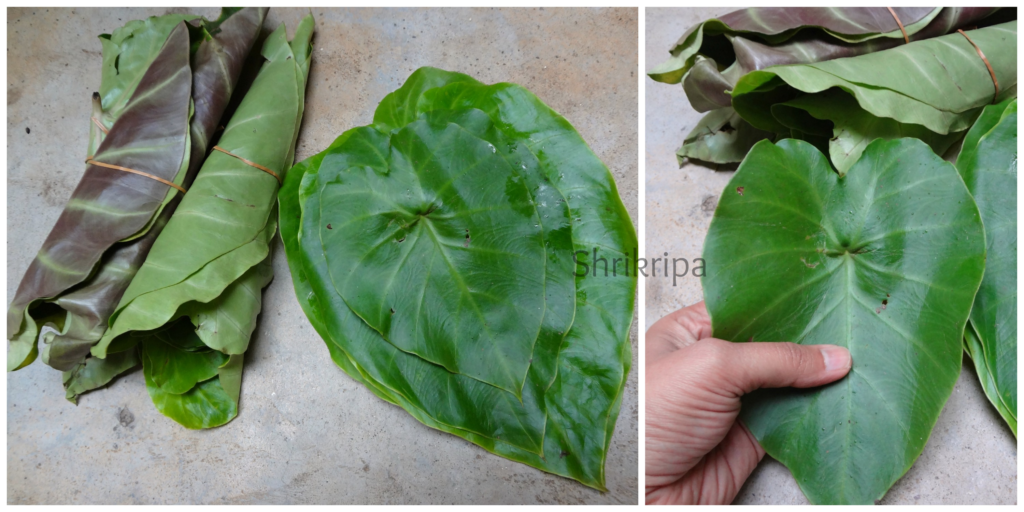
Pathrode, name itself will make any Mangalorean drool. That too if it is marakesavu leaf, fun is even more. Marakesavu is non-itchy, seasonal colocasia leaves. It is one more classic monsoon special from Mangalore. Pathrode is usually served with coconut oil either plain or pan fried by slicing.
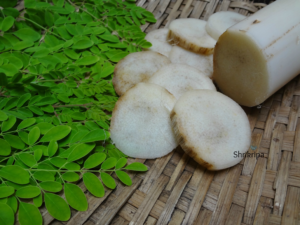
Marakesavu is commonly known as hitchhiker elephant ear and botanical name of this leaf is Remusatia vivipara. Leaf is large, oval, leathery textured, glossy on both the sides. Foliage disappears in winter and emerges after the first rain during monsoon. Grows widely on big tree trunks or in-between the stones, mainly emerges from the moss bed. The name itself suggests about its habitat. Here, “Mara” is Tree and “Kesavu” is colocasia.
We will see the Procedure-
Ingredients:
Dosa rice – 3 cups
Fresh Coconut – 1 ½ cup
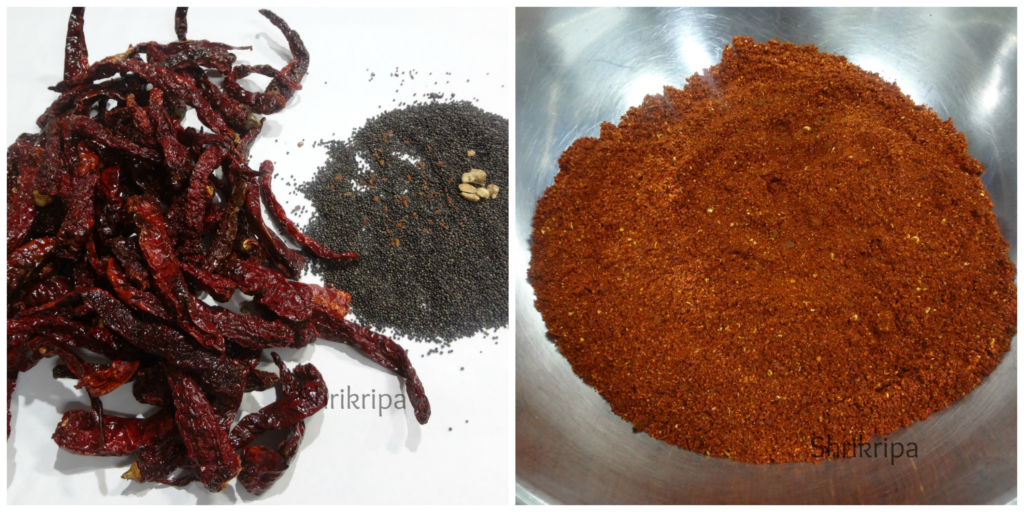
Dried red chillies – 12 (Roasted)
Hing – ¼ teaspoon
Salt
Jaggery – 1 table spoon
Tamarind – 1 table spoon (if normal colocasia use little more)
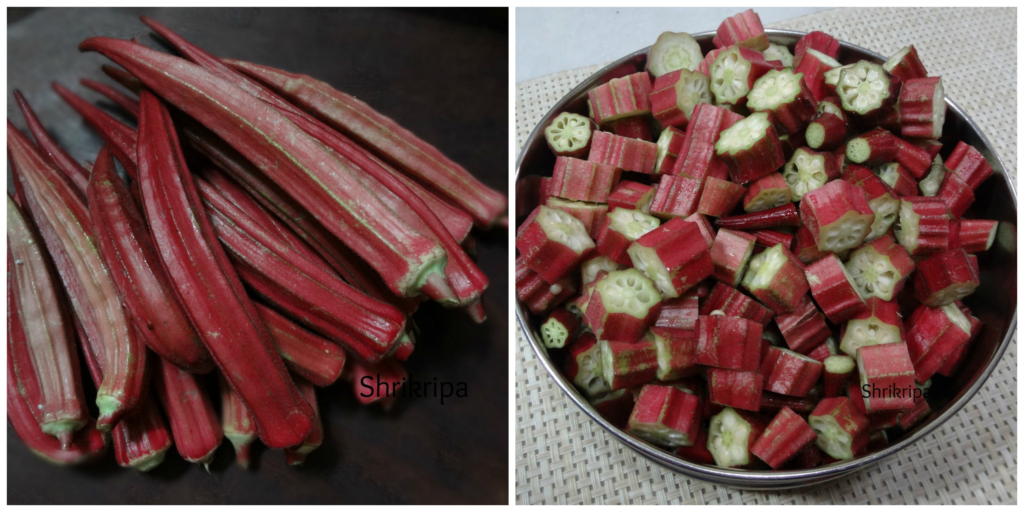
Marakesavu – 3 bundles
Coconut oil – for serving
Method:
– Wash the leaves, remove stem and trim.
– Wash and soak rice for 3 hours.
– Fry red chillies by putting very little oil.

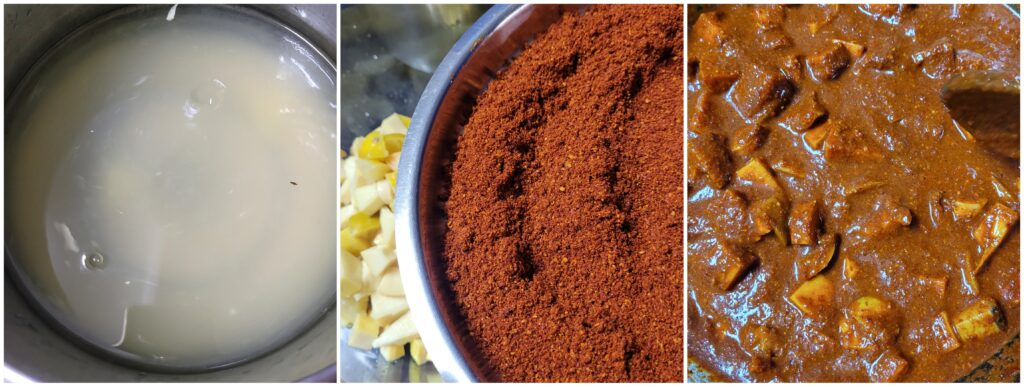
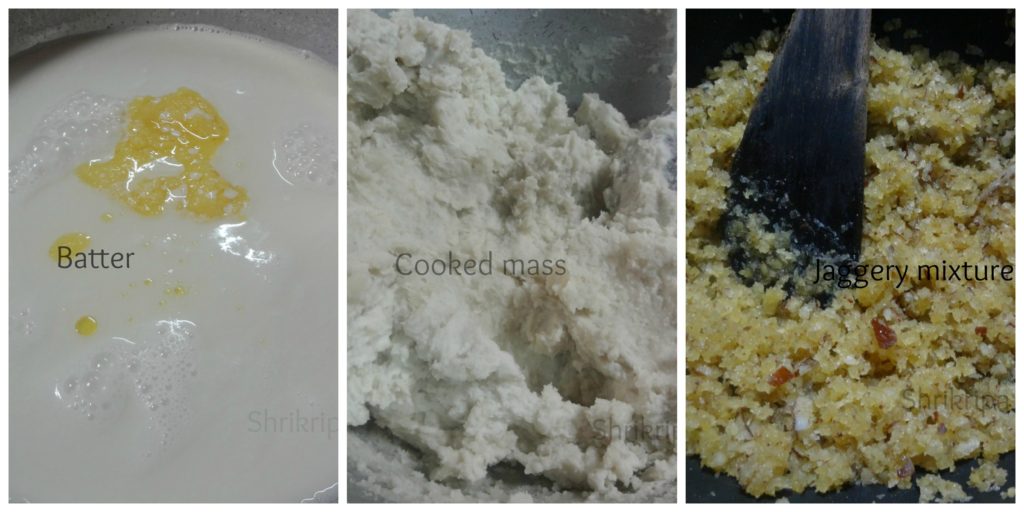
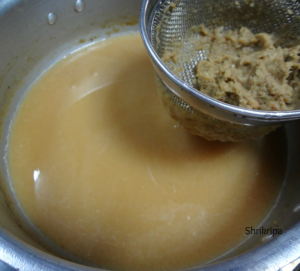
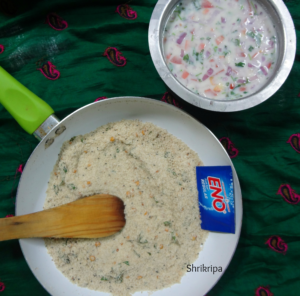
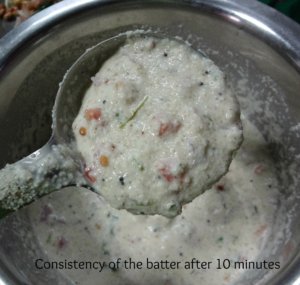
– Grind soaked rice, coconut, tamarind, jaggery, salt, roasted red chillies into smooth paste by adding sufficient water.
– Batter consistency should be like Dosa batter.
– Now, we are ready to make Pathrode.

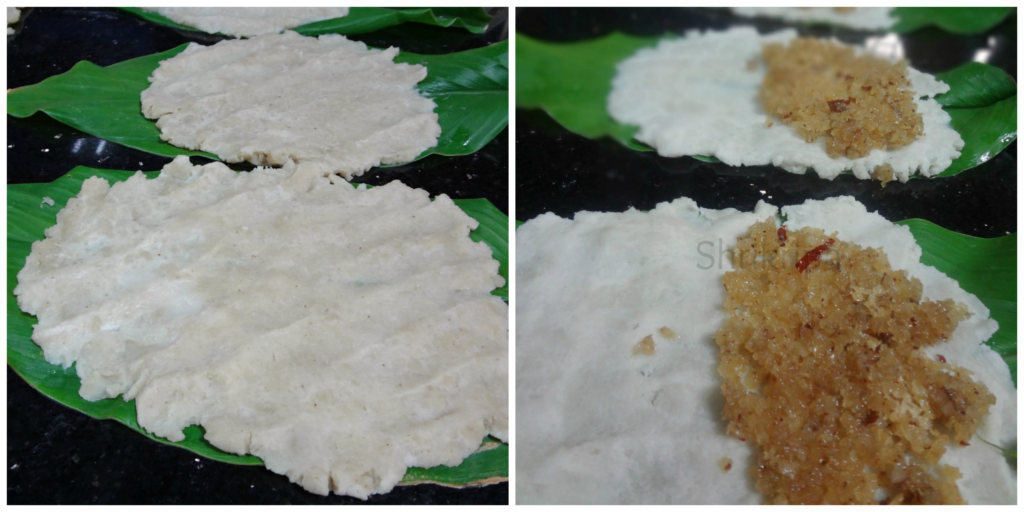
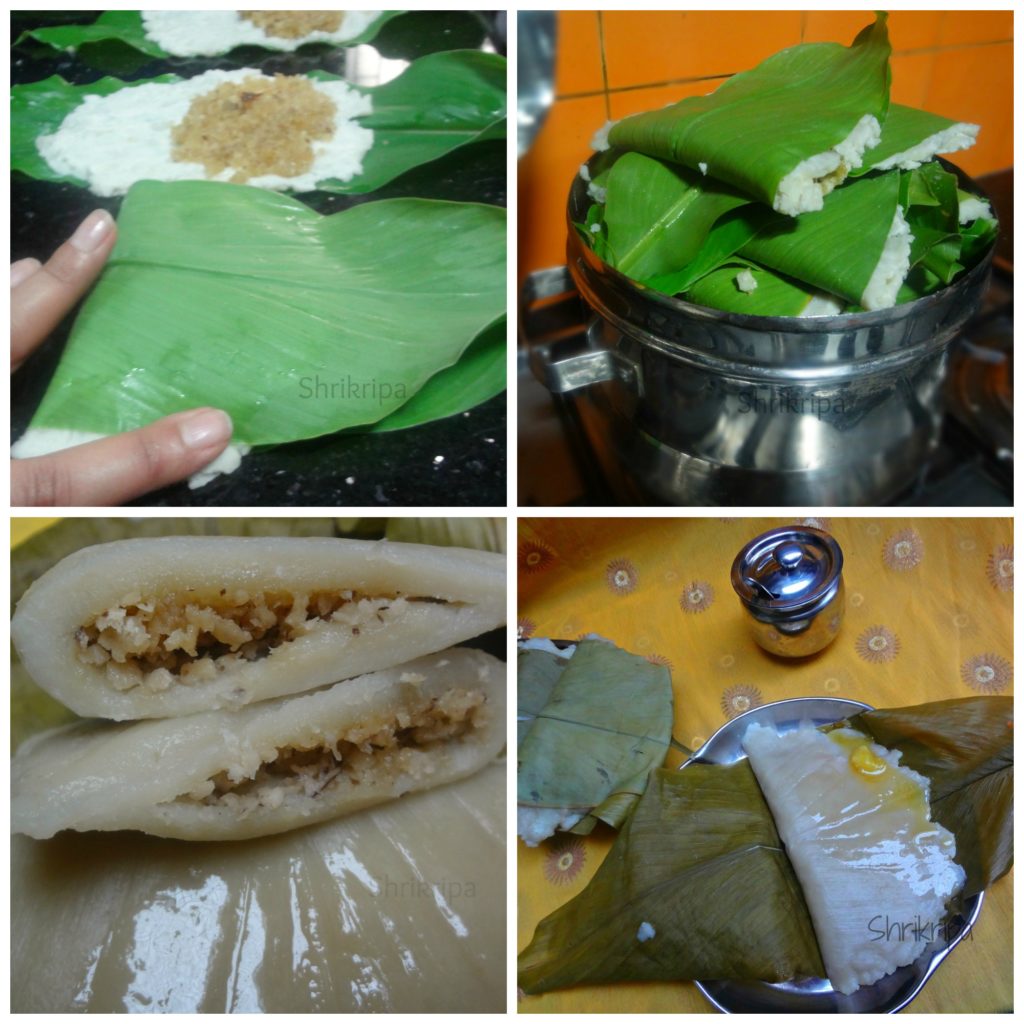
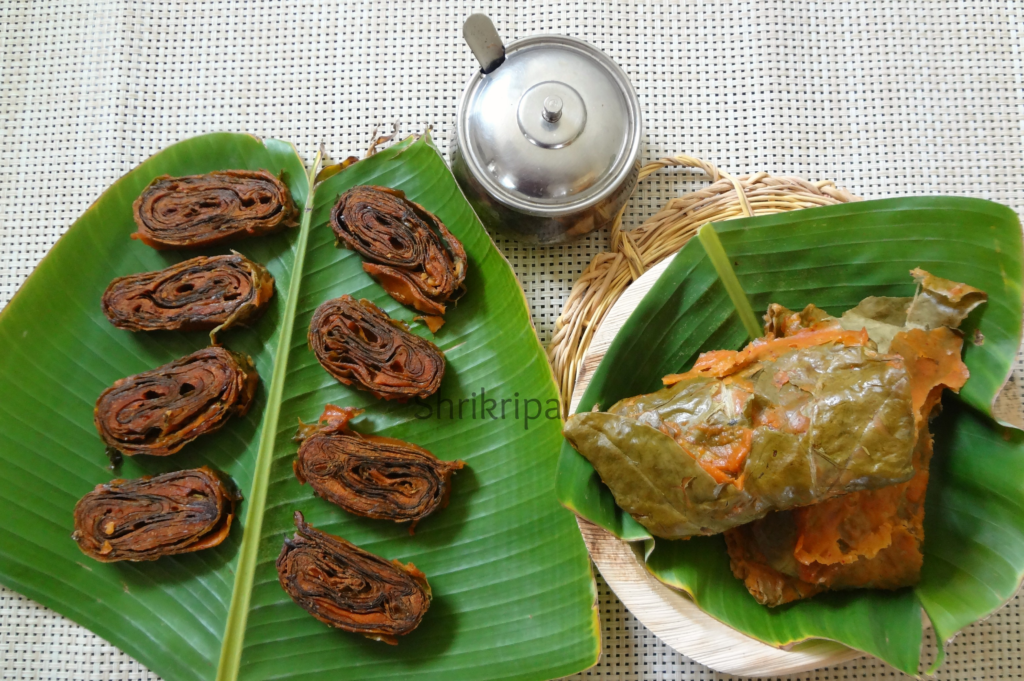
– Take biggest leaf from the lot, place upper glossy part downwards and apply ground batter on back side of the leaf. (pc:step 1)
– After applying on the first leaf, keep second one (slightly smaller than the first one)
– Proceed with the application. After applying on second leaf, keep the third leaf then fourth one and proceed.(pc: step 2&3)

– Now lift sideways, and fold. Make it like a mat. Apply some batter on these folds as well.
– Roll from the tip and proceed until the end and apply some batter on outer shell and keep this in a water filled idly steamer.
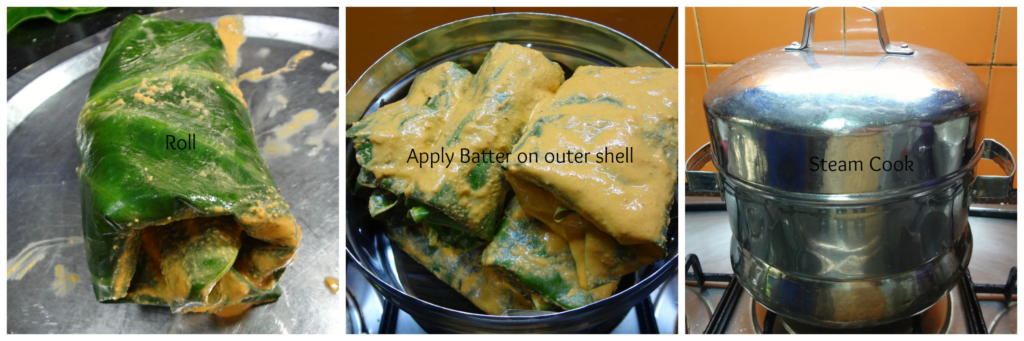
– Cook this for 45 minutes to one hour, depending on the quantity of the content inside the vessel, in a low fire.

– Serve fresh with coconut oil by slicing these cooked rolls or apply coconut oil and fry these in an iron tawa on both the sides and enjoy as it is for breakfast or with lunch or dinner.
NOTE:
-Tamarind is a key ingredient while making Pathrode.
– If it is Mara Kesavu, it is non-itchy and quantity of the tamarind doesn’t matter.
– If you are using normal colocasia leaves, tamarind plays a very crucial part, in removing the itchiness of the leaves. Use little more quantity than normal.
– You can prepare this same recipe by using big spinach leaves as well.