Happiness is when your reader as well as a distant cousin of yours messages you and requests you to post one of our traditional age-old pickle recipe. When you respond saying, this variety of mango (wild raw mango) is not available where you reside. Immediately comes the response, he will bring and give it to you. Not only bringing this raw mango from 250 km away, he has not forgot to remind me, “Don’t forget to post”. This post is dedicated to him, Rajendra. G.
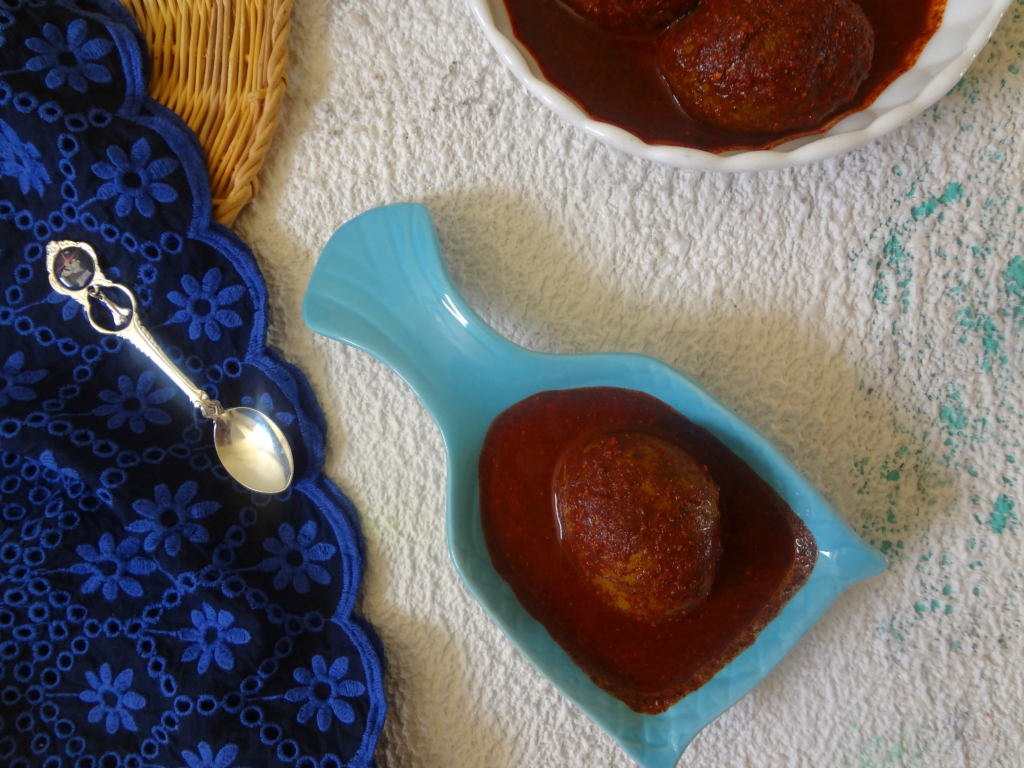
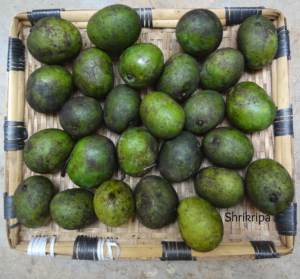
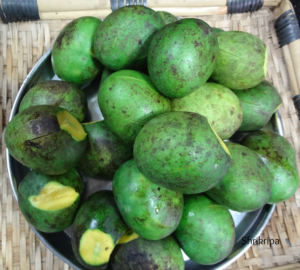
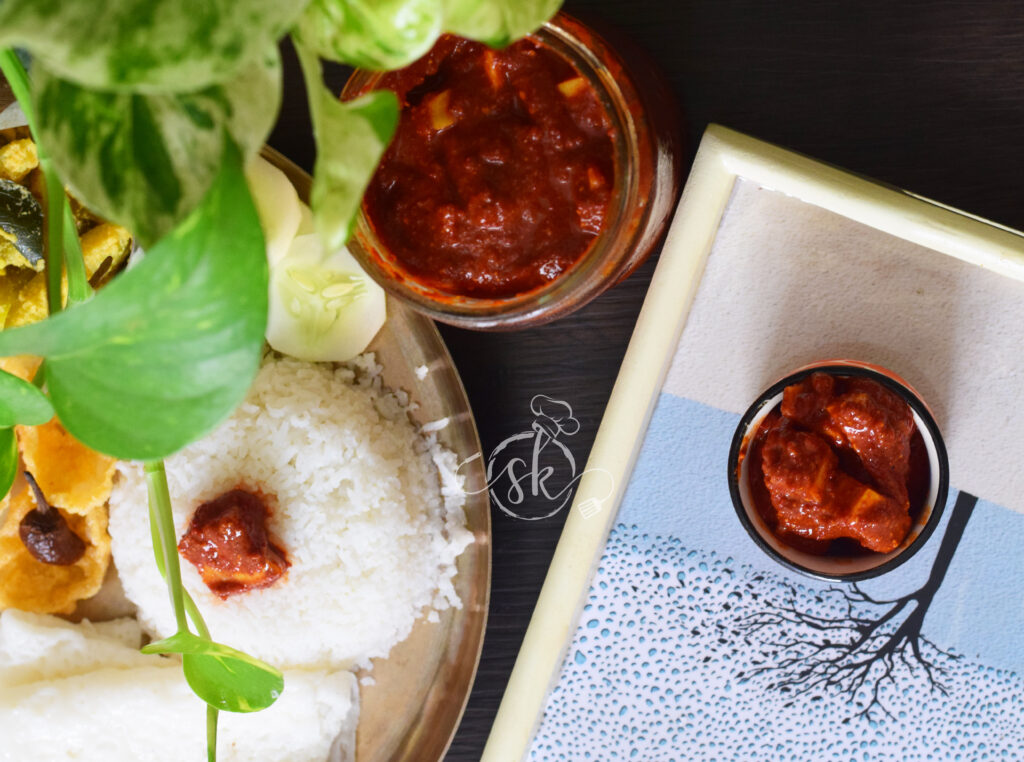
Idikayi is nothing but whole mango. We use wild whole mango in this pickle. Speciality of this pickle is, it is fully grown, just before ripening stage of mango. So, while eating, you can enjoy and savour salted seed as well. Usually we relish this with Kerala matta rice kanji or normally we call as, kucchilakki ganji with this pickle.
Masala is used in this pickle is roasted and fried with very little oil. So literally it is very mildly hot pickle without oil. Even small kids relish this.
Ingredients:
Whole mango – 23
Red chillies – 250 gms (I normally use Byadagi variety)
Mustard – 100 gms
Fenugreek /methi seed – 1 table spoon
Hing – ½ tsp
Turmeric – 2 tsp
Salt – 2 to 3 cups
Water – 4 cups
To boil mangoes:
Water – half of the vessel
Salt – 1 fist full.
Method:
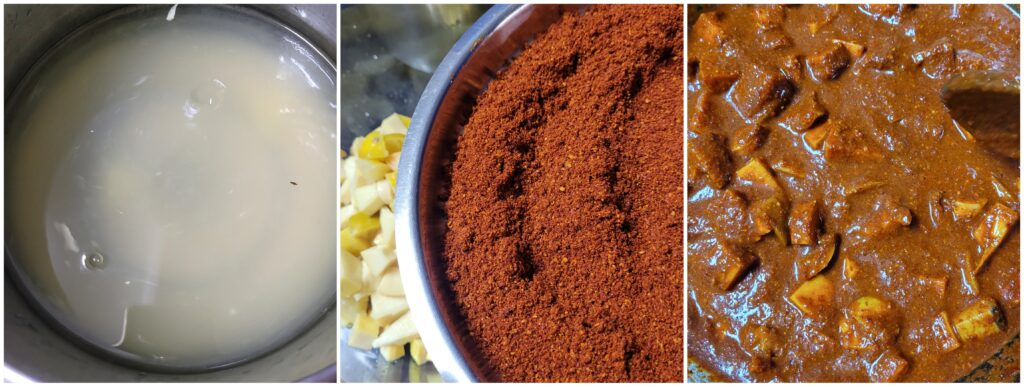
– First let’s start the pickle making by preparing the mangoes. Wash mangoes, remove its stalk part and give 3 to 4 slits here and there.
– Boil water in a big vessel (take half of the vessel). Add one fist full of salt to this water.
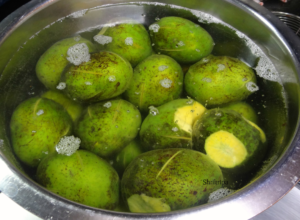
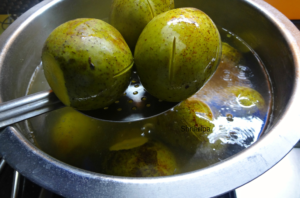
– Drop all those mangoes, cook until outer skin become pale green and remove from the water and drain.
– Cool this into room temperature.
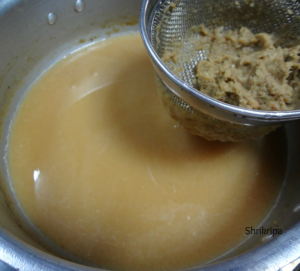
– Make salt water: Take 3 cups of salt and 4 cups of water in a pan and boil this in a medium heat. How to check the doneness? Whenever salt and water quantity is right, salt will form a glossy layer at the top. If you don’t find any mirror layer, add little more salt and proceed boiling. When it is ready, switch off the gas and cool this water. It should reach room temperature, before using.
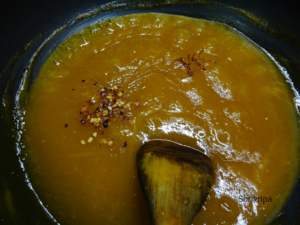
– Start making pickle masala.
– Dry roast methi, mustard and hing separately.
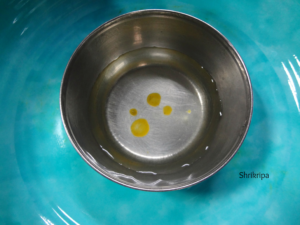
– Fry red chillies little by little by putting 1 tsp of oil.
– Cool everything and make powder in a mixer jar.
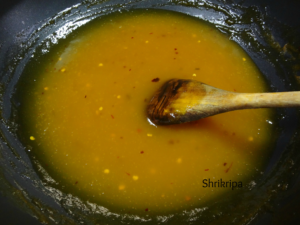
– After making powder, mix everything together nicely and take required amount of powder, pour required amount of cooled salted water and make a paste.


– It should be a little flowy. Because mango should immerse in this liquid.
– Add cooled mangoes and mix.
– Adjust the consistency either by adding powder or salted water.
– Store this in an air tight glass jar.
– Next 3 to 5 days every day, make it a point to mix it and keep it aside by closing the lid.

– After one week, you can start consuming and store this in a fridge to extend its shelf life.

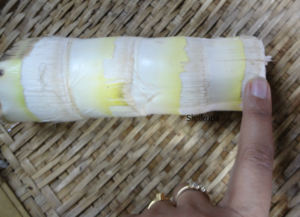
 Here, I have used Lemon with bamboo shoots.
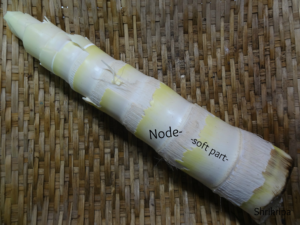
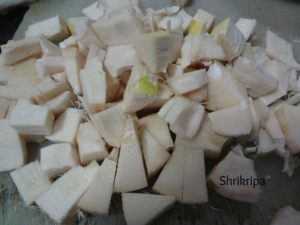
Bamboo shoot – 1 bowl (chunks from the 4 to5 nodes)
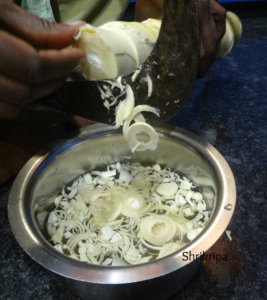
Lemon -12
Water -1 lit
Salt- 250 grams
Byadagi Red chilli -100 grams (around 56)
25 grams of mustard
1.5 tsp – methi
1.5 tsp – turmeric powder
1/4 tsp – hing
Method:
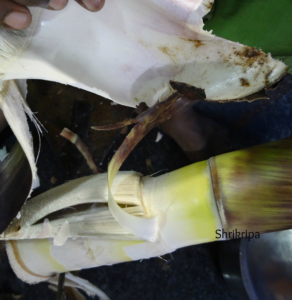
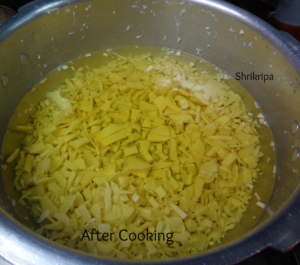
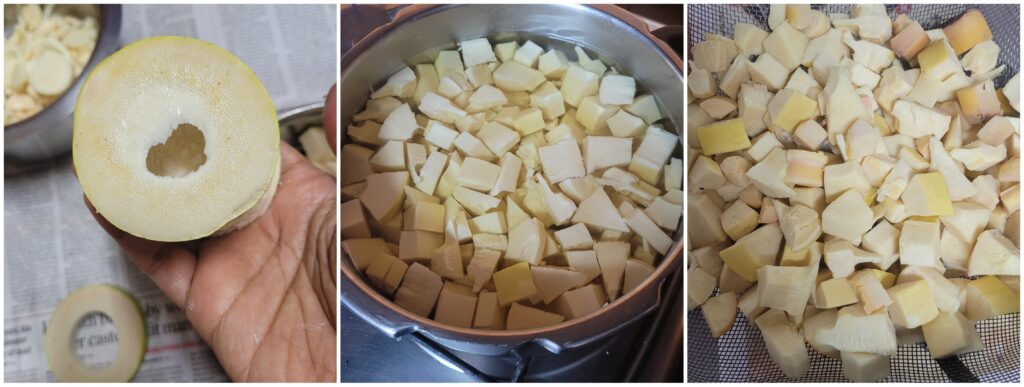
-At First, Cook Bamboo shoots chunks in adequate water for one whistle in a cooker. Discard that water; air dry those bamboo shoot chunks.
Here, I have used Lemon with bamboo shoots.
Bamboo shoot – 1 bowl (chunks from the 4 to5 nodes)
Lemon -12
Water -1 lit
Salt- 250 grams
Byadagi Red chilli -100 grams (around 56)
25 grams of mustard
1.5 tsp – methi
1.5 tsp – turmeric powder
1/4 tsp – hing
Method:
-At First, Cook Bamboo shoots chunks in adequate water for one whistle in a cooker. Discard that water; air dry those bamboo shoot chunks.
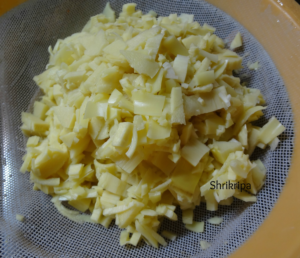
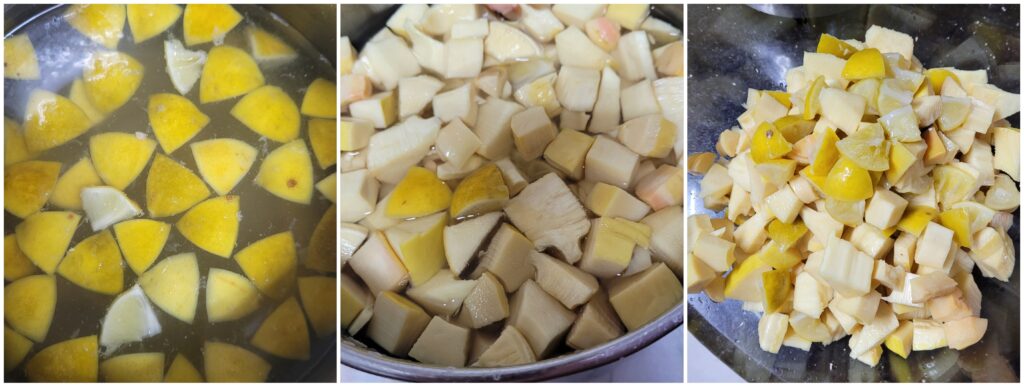 -Add cooled, drained bamboo shoot pieces to lemon and salt water. Allow to soak and marinate overnight.
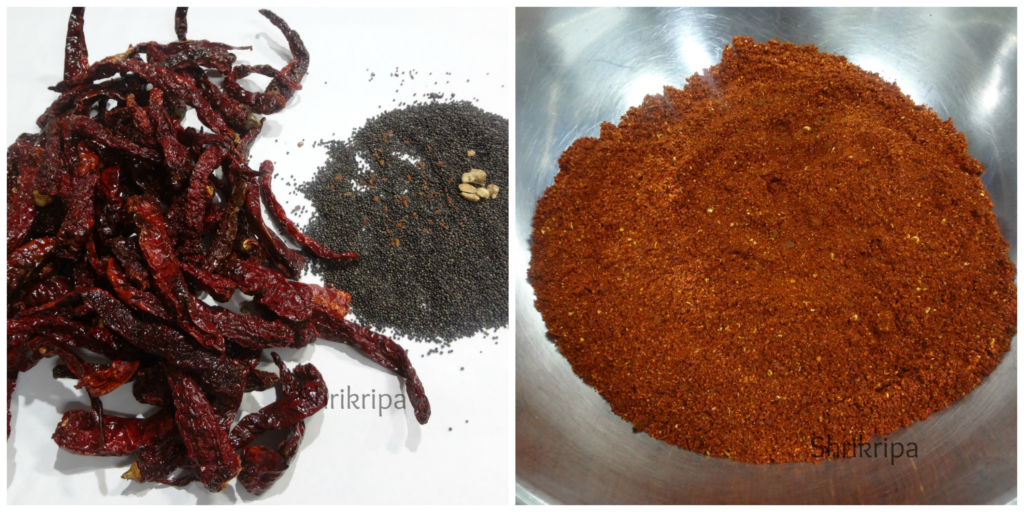
-Next day, prepare masala. Dry roast methi until dark brown and allow it to cool.
-Dry roast mustard, remove it and allow it to cool.
-Add a little oil and roast red chillies in the same kadai. When red chilli is puffed and roasted, switch it off, add turmeric powder, and mix well.
-Add cooled, drained bamboo shoot pieces to lemon and salt water. Allow to soak and marinate overnight.
-Next day, prepare masala. Dry roast methi until dark brown and allow it to cool.
-Dry roast mustard, remove it and allow it to cool.
-Add a little oil and roast red chillies in the same kadai. When red chilli is puffed and roasted, switch it off, add turmeric powder, and mix well.
 -When everything becomes cool, make a powder in a mixer jar, add a pickle masala powder.
-Drain the salt water,from the marinated lemon and bamboo shoot, and mix the pickle masala and required amount of drained salt water and mix everything well.
-When everything becomes cool, make a powder in a mixer jar, add a pickle masala powder.
-Drain the salt water,from the marinated lemon and bamboo shoot, and mix the pickle masala and required amount of drained salt water and mix everything well.
 -Close the lid and allow them to absorb all the flavours for at least a day. Then, mix this pickle again, bottle it in a clean, dry bottle, and store it under refrigeration. It stays good for 6 to 8 months under refrigeration.