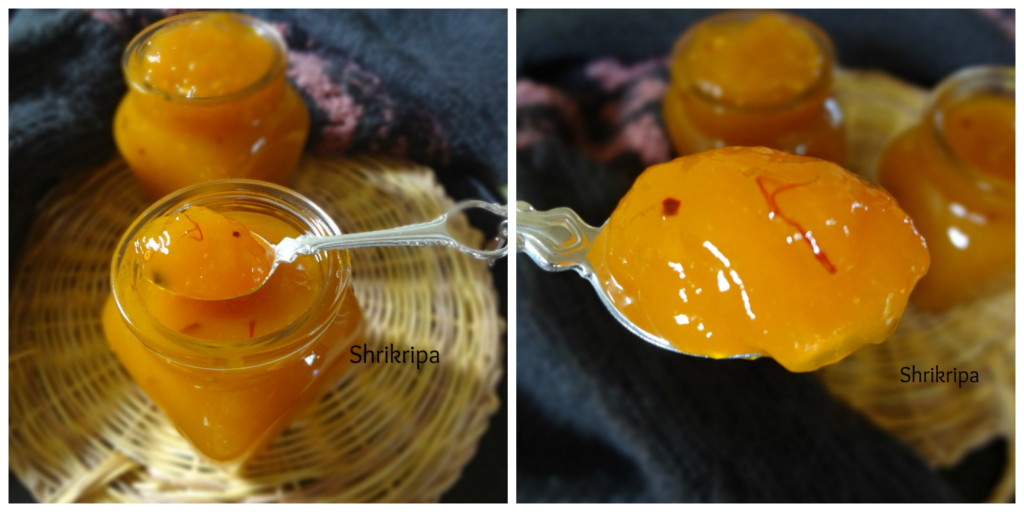
Who doesn’t love Mango? Unfortunately, all good things only last a while, but no worries, one can preserve mango by making some homemade jams to savour even after its season ends.!
I started making this Jam almost 3 years back and want to share my recipe before it vanishes from the market for this year. So, yesterday I made this and I’m sharing it with you all-
Thanks to my dear friend Poornima, who provides me with a whole lot of home grown organic Mango’s from their garden.
Now I will proceed towards the procedure-
Ingredients:
Mango’s – 500 Grams
Sugar- 500 grams
Saffron – 8 to 10 strands
Red chilli flakes – 1 teaspoon
Method:
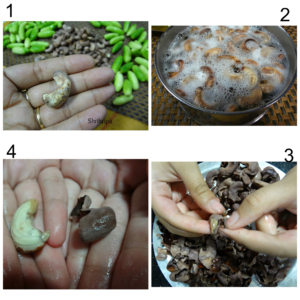
– Wash, Peel the mangoes and chop.

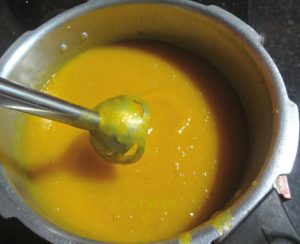
– Make puree by putting it in a mixer/ juice jar without adding any water.
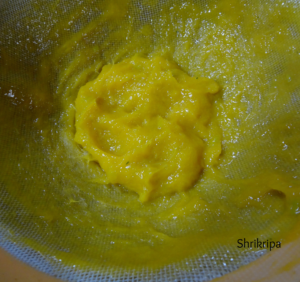
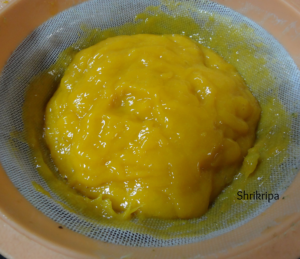
– Sieve this pulp to remove fibres (Here I have taken little fibrous home-grown variety)
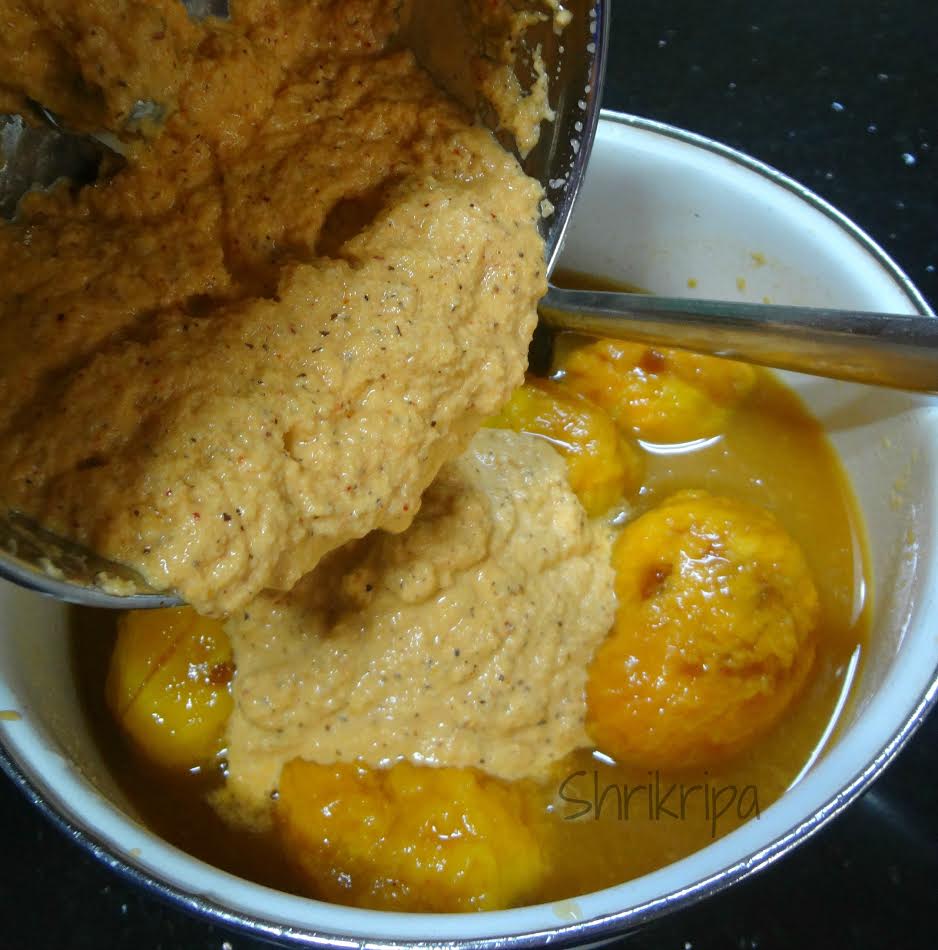
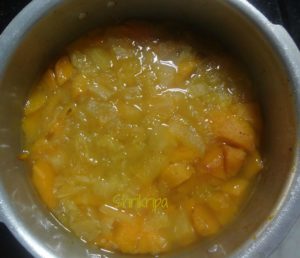
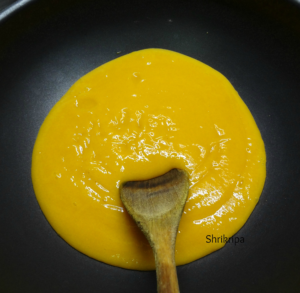
– Collect the smooth pulp and heat it in a low fire, until it starts boiling.

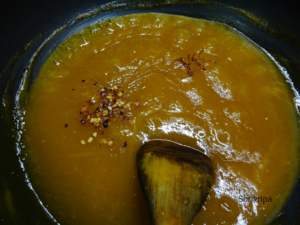
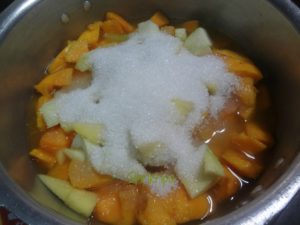
– Add sugar, saffron and red chilli flakes and cook until it is done.
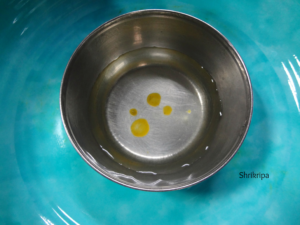
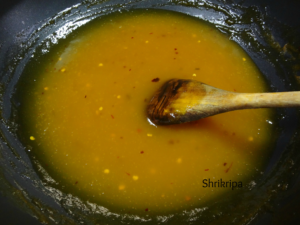
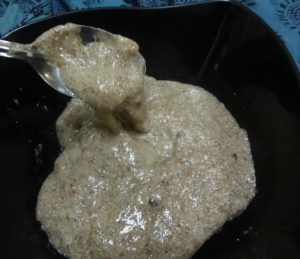
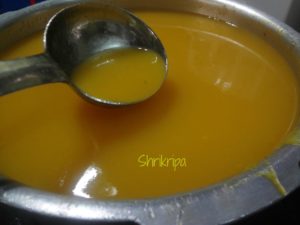
– To check the doneness, take some water in a small bowl, drop the cooked mixture in it, immediately it should form a thick mass. If it dissolves, then you should proceed cooking.
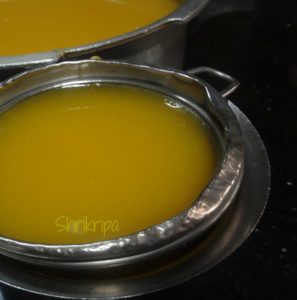
– When it is done, remove from the fire and cool completely.

– Store this in a clean, dry bottle and refrigerate.
NOTE:
-If you use very sweet mango, adjust the quantity of sugar.
-If you use Alphonso variety, no need of sieving and you can directly proceed towards cooking after making pulp.
– If Mango is very sweet, then add 1 teaspoon of lemon juice at the end to give little tangy taste.