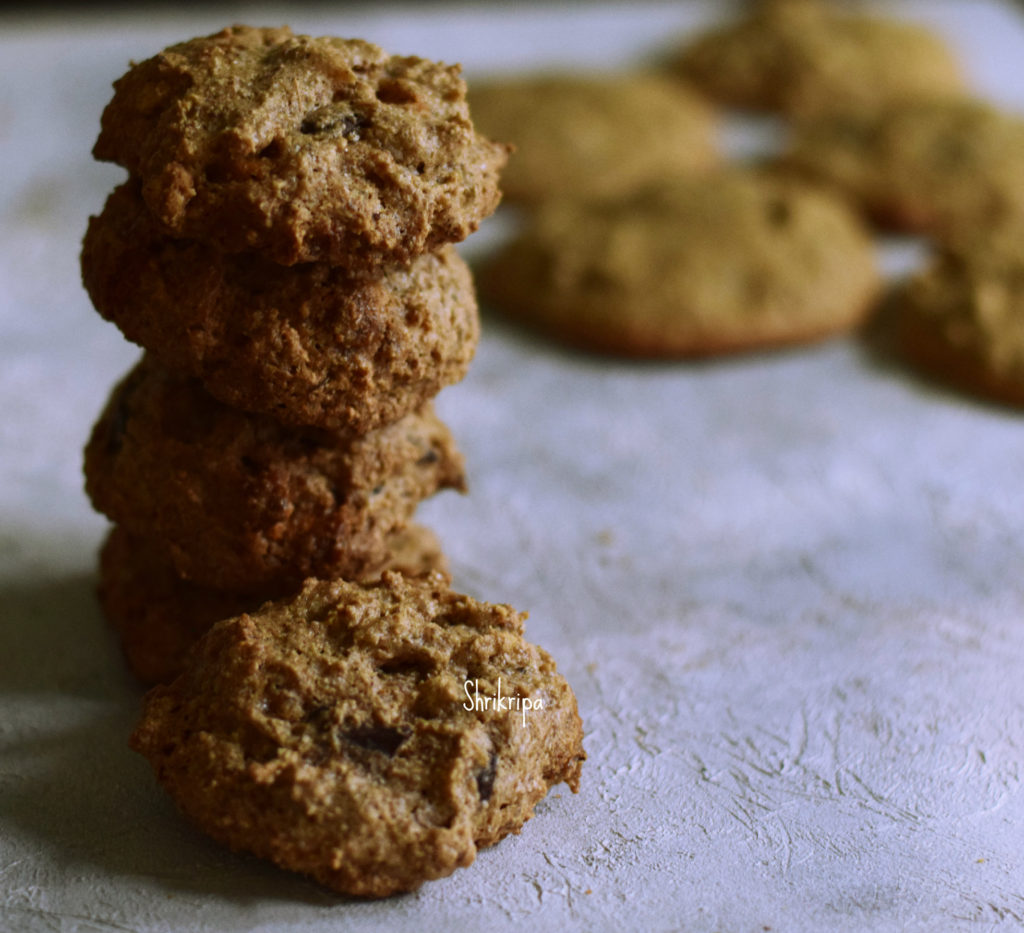
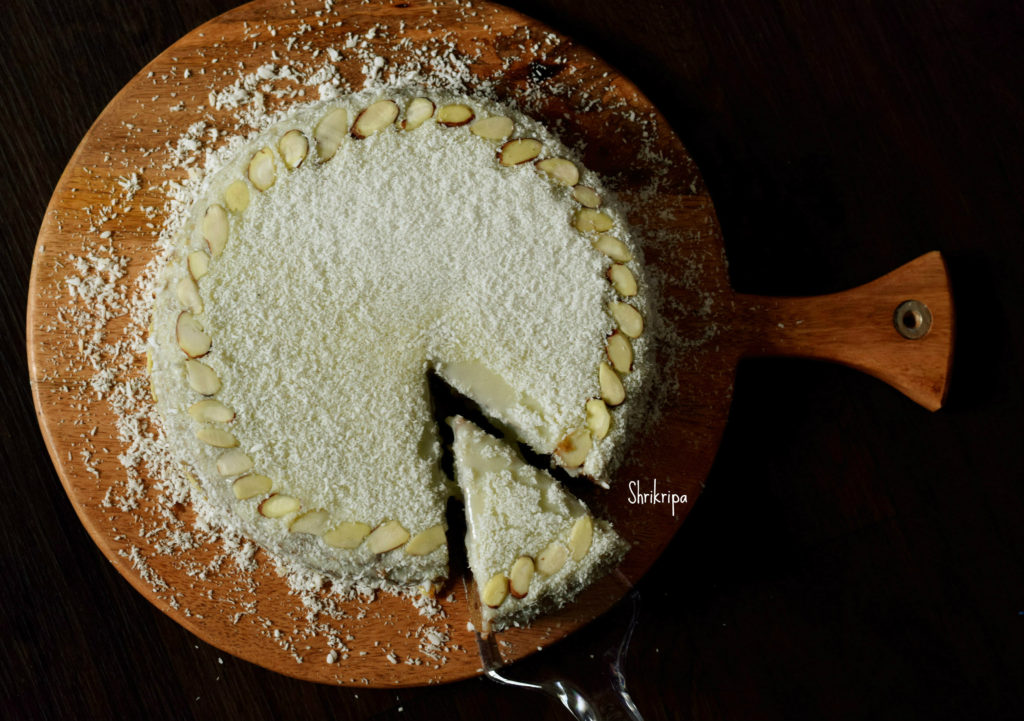
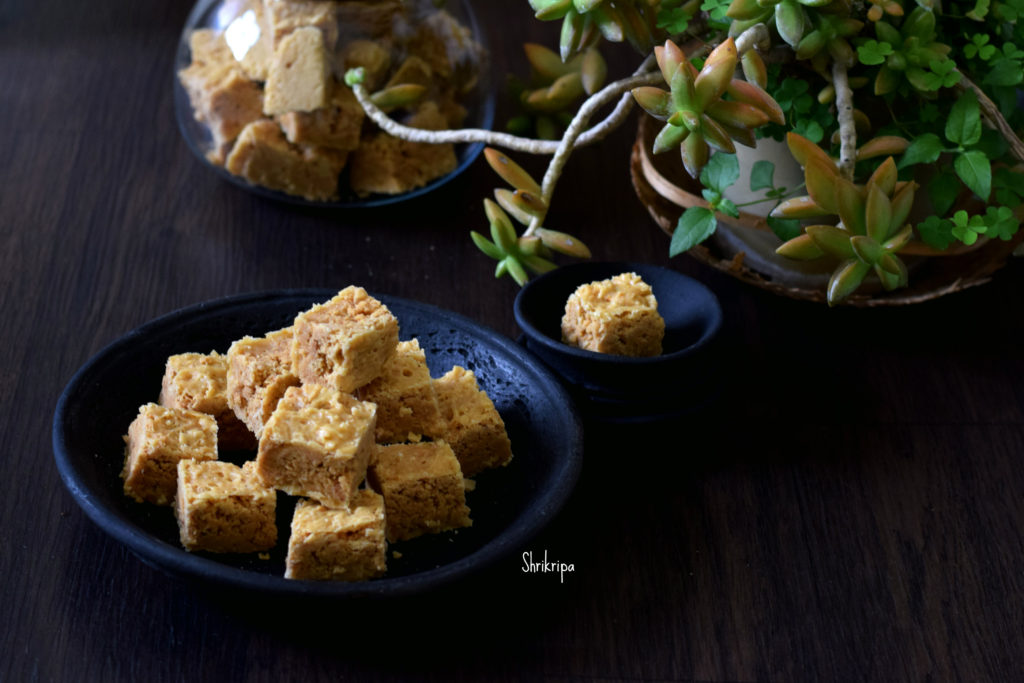
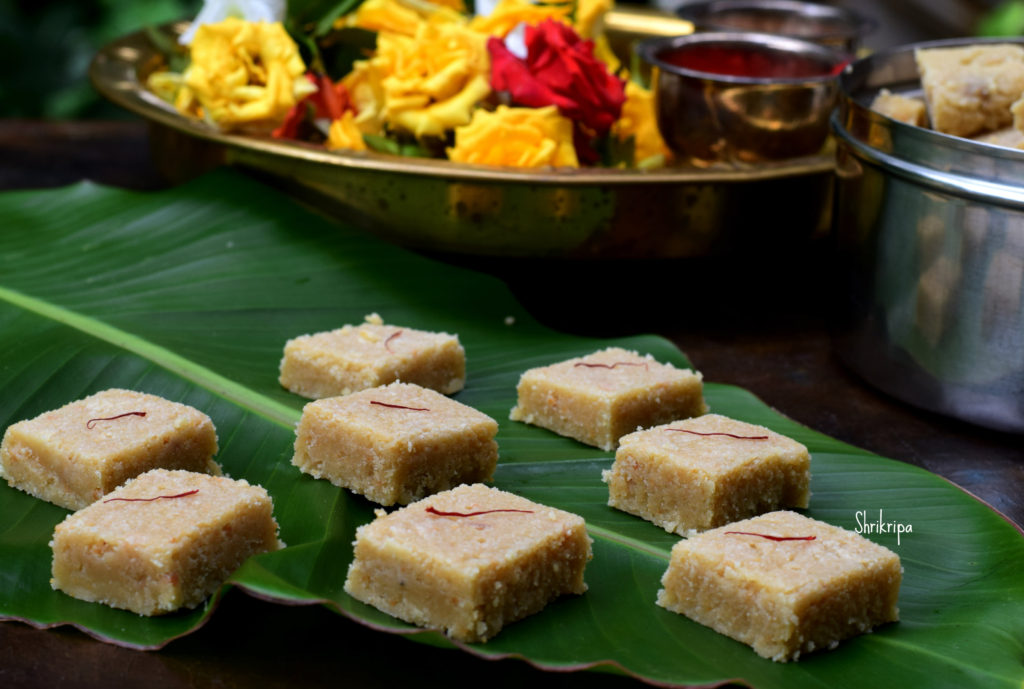
Who does not love Almond or Kaju Katli? Here I have combined the much loved two raw materials, with milk solid/ khoya, to give a melt in a mouth Indian dessert, In the form of burfi.
Almond cashew mawa Barfi is a super delicious, easy to make, melt in mouth Indian sweet or fudge recipe. A perfect sweet to make on any special occasion! Or festive time.
Ingredients:
Almond – ¾ cup
Cashew – 1/3 cup
Khoya /mawa – ½ cup / 100 grams ( unsweetened)
Sugar – 1 ½ cup
Water – ½ cup
Ghee – ¼ cup
Saffron – 10 – 12 strands
Method:
-Heat a cup of water, soak almond and cashew. Close the lid and keep it for 2 hours.
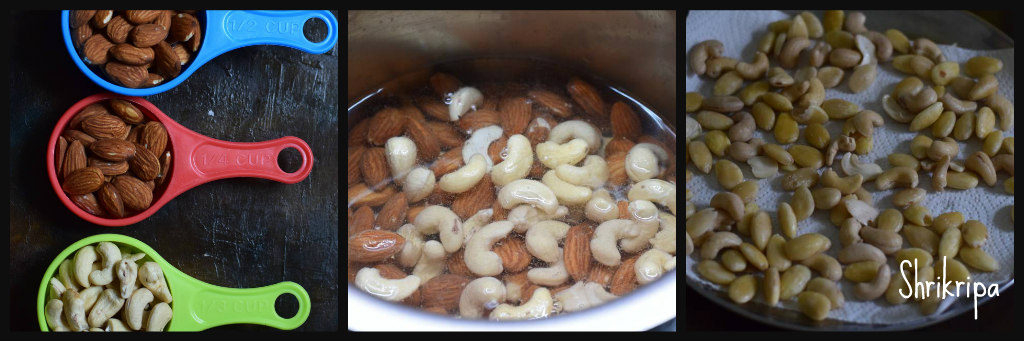
-After two hours, peel the almonds, drain the water, spread these on kitchen towel to remove extra moisture.
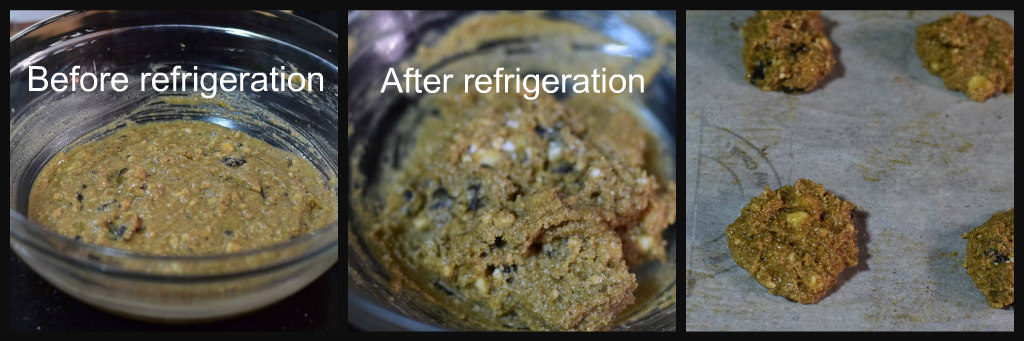
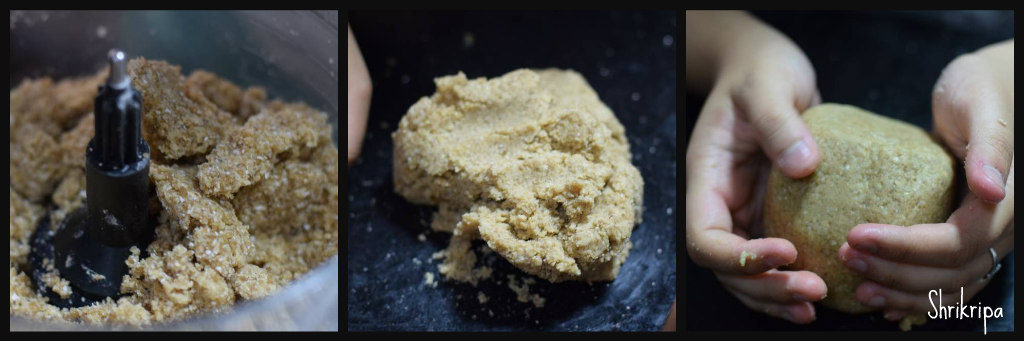
-Grind them in a small mixer jar, by using pulse option by giving intervals for mixing in between to get a smooth paste. Grease one steel plate and keep it ready as well.

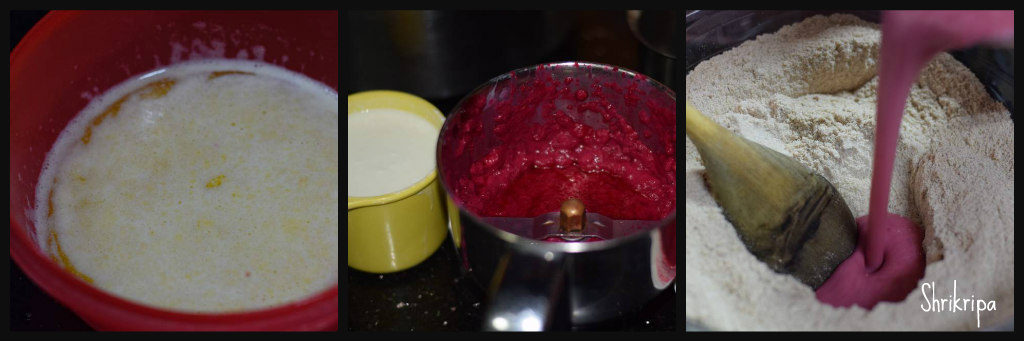
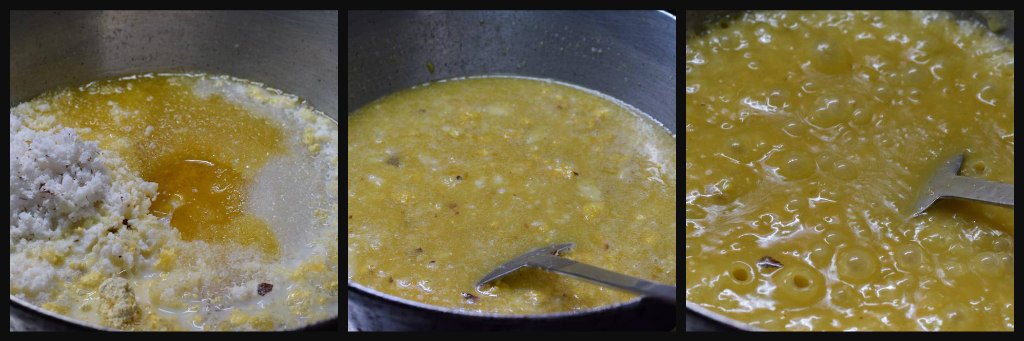
-Now, take one thick kadai, pour sugar, water, and boil until it reaches one thread consistency. It takes hardly 5 minutes, after initial boil.
-Add in Almond, cashew paste, after it melts and forms a homogeneous mix, add in grated Mawa.

-Stir everything in a low fire, without leaving hand. While stirring, add a tsp of ghee at regular interval and add saffron strands as well.
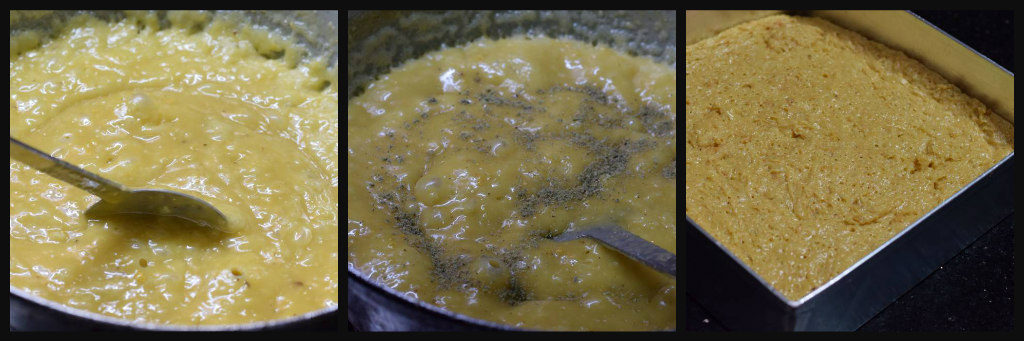
-When mixture leaves the sides, as well as thickens, check for the doneness. Take out little mixture, hold a small quantity, in between your thumb and forefinger, try to make a ball. Formed ball should shine as well as should not stick to your finger.
-If it passes the test, switch off the gas, and keep stirring for another 5 to 7 minutes, if any ghee is remaining, pour in between stirring.
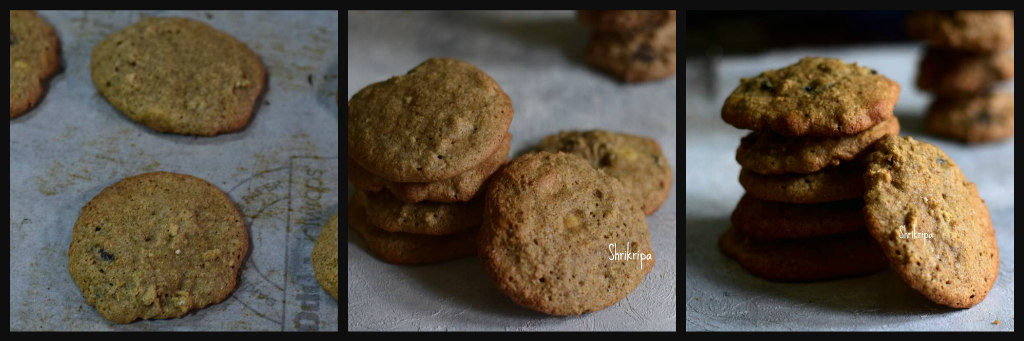
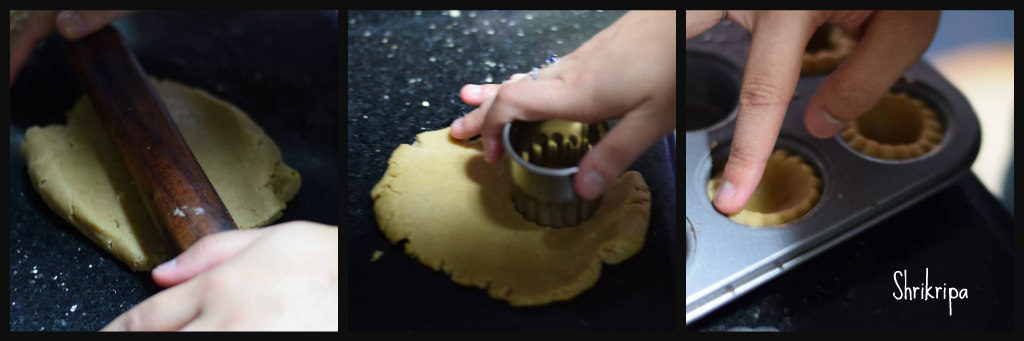
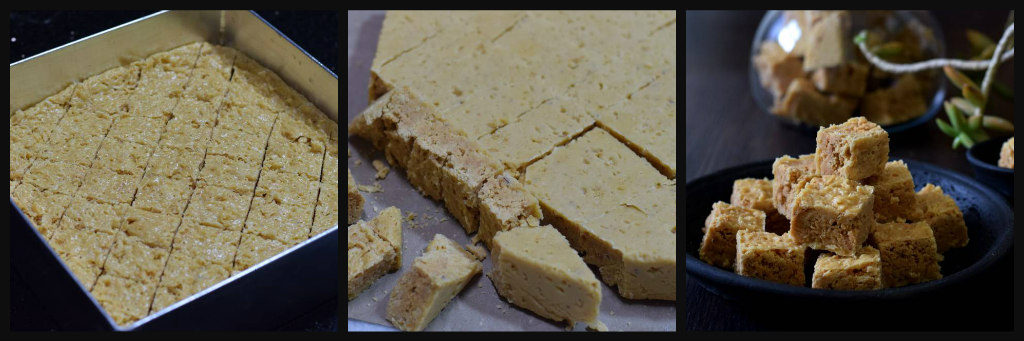
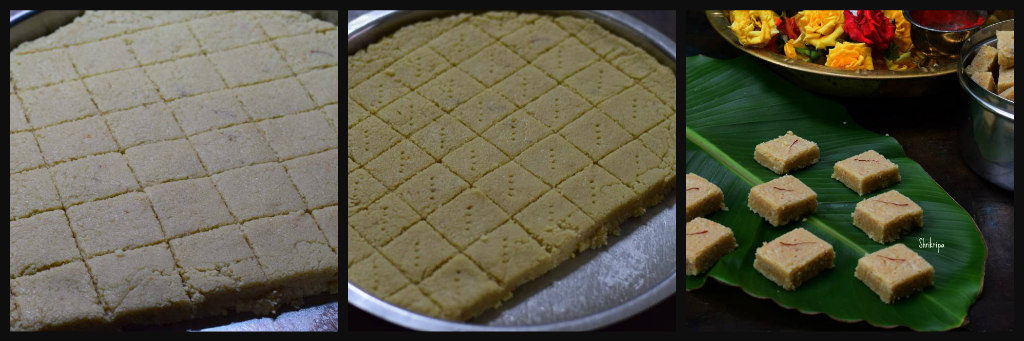
-Take the greased plate, pour the mixture, and spread evenly and leave it for 10 minutes. Mark the line and keep it aside for cooling. After cooling, take out pieces, store it in an airtight box.